This is a continuation to the very popular (and long) thread highlighting example chameleon cages. As to caging styles, decor, and species there are no guidelines! Of course GOC's, free ranges, and greenhouse types of caging are welcome too! Other owners will appreciate your contribution as they try to decide how to decorate or build their cages! ")
Last edited:


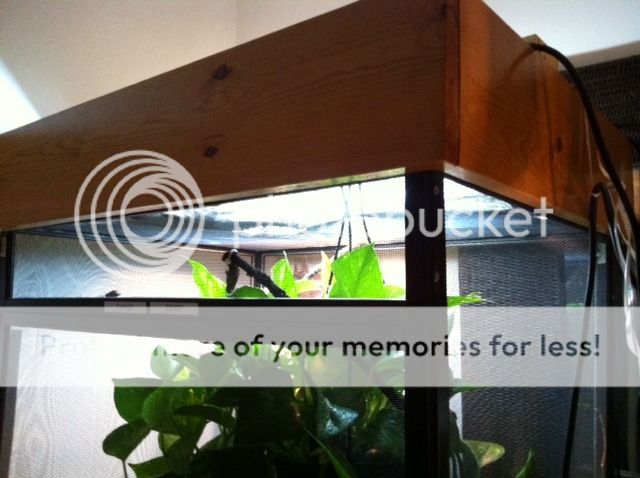
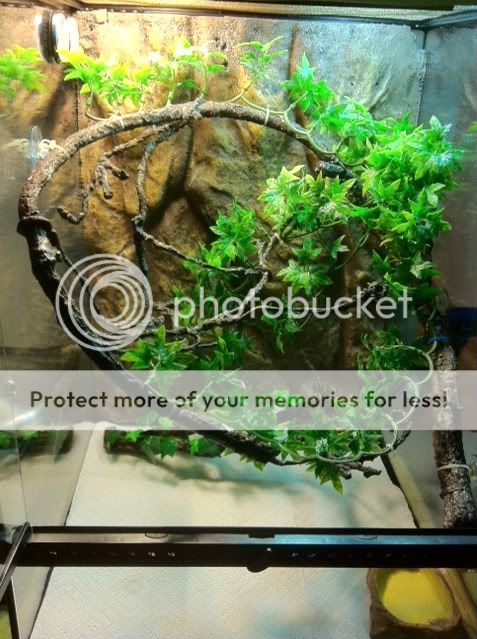

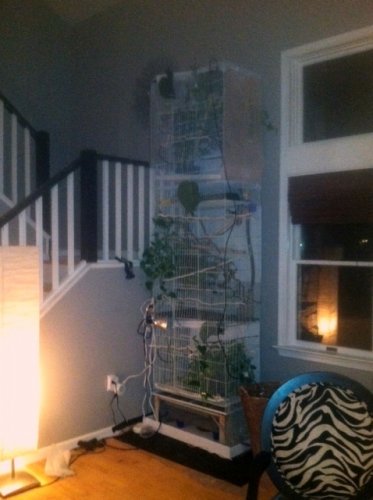
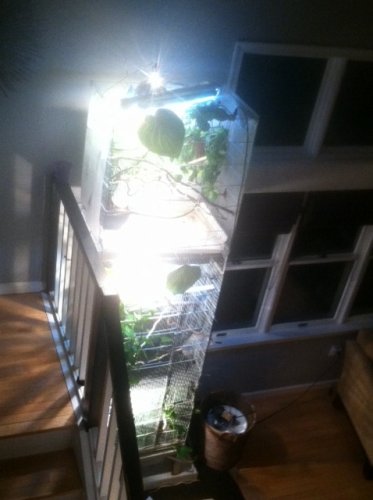
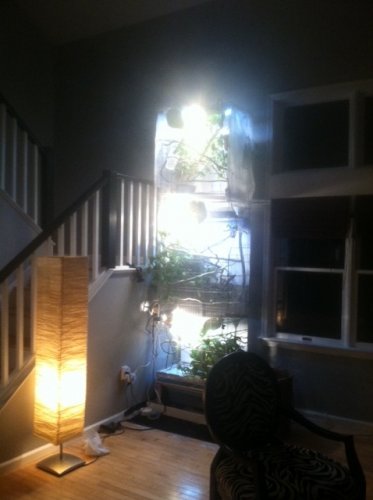
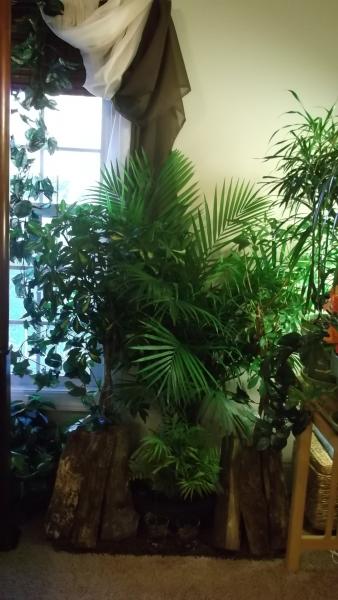
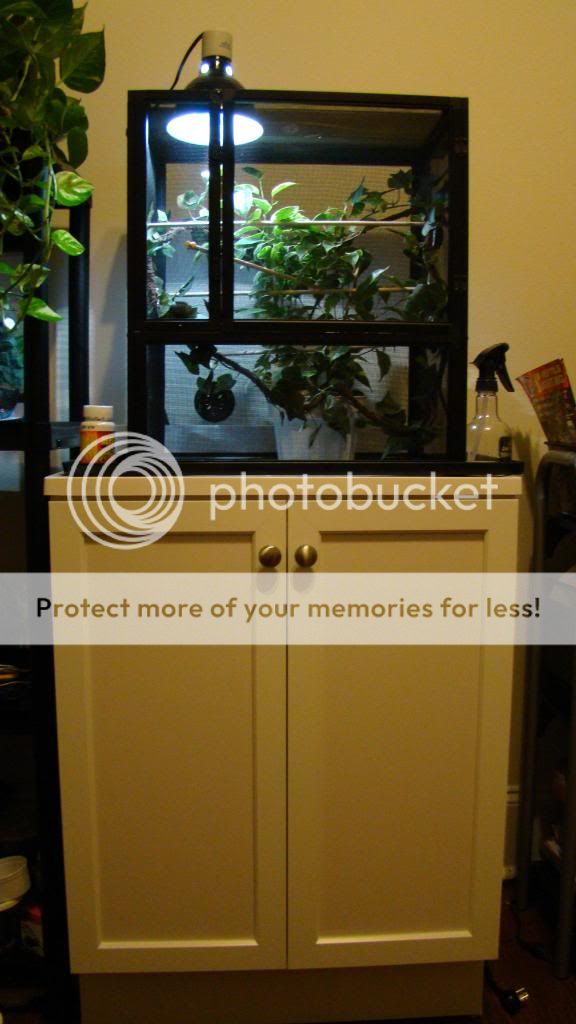
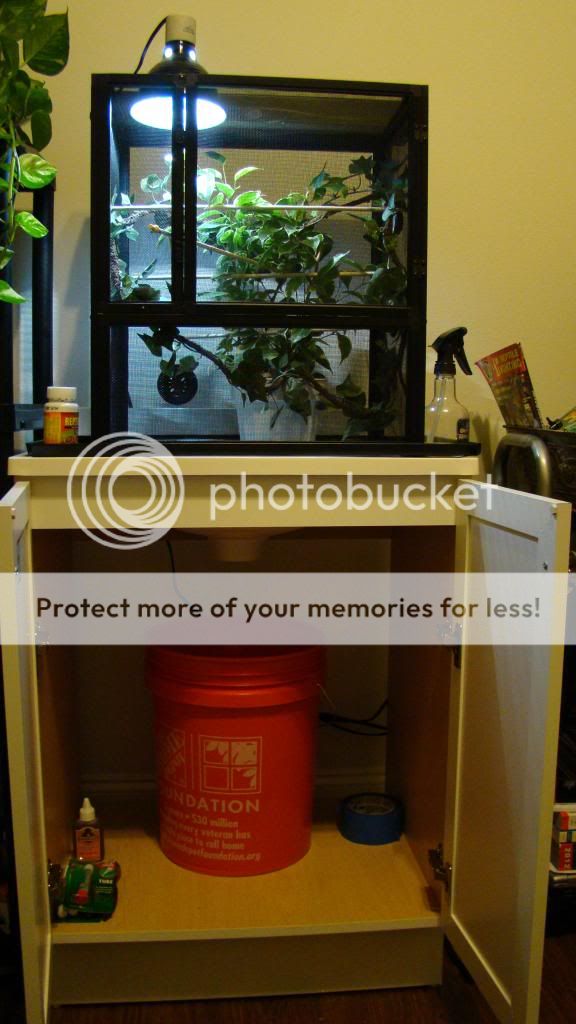
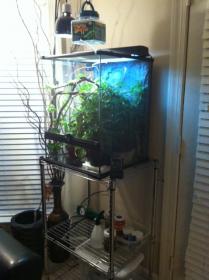
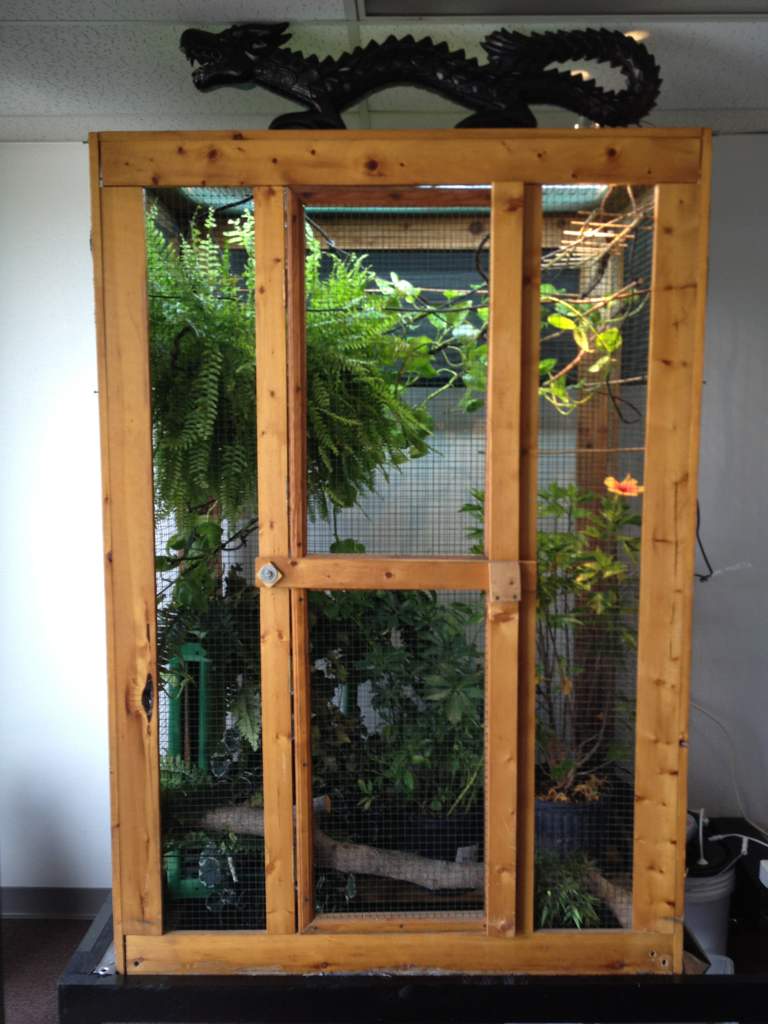
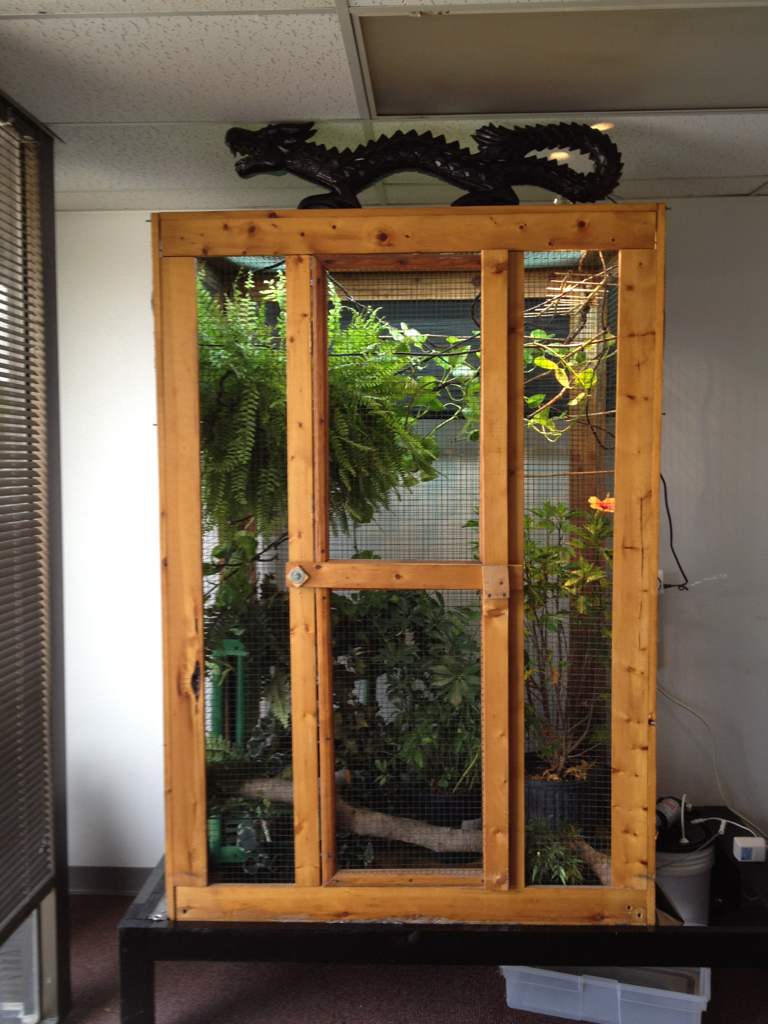
") . It is unconventional, I know. I just can't stand all the random cages in my house, and I have the height in the room so I thought I'd capitalize on it.
. It is unconventional, I know. I just can't stand all the random cages in my house, and I have the height in the room so I thought I'd capitalize on it.