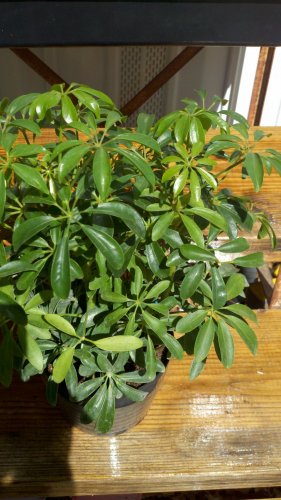
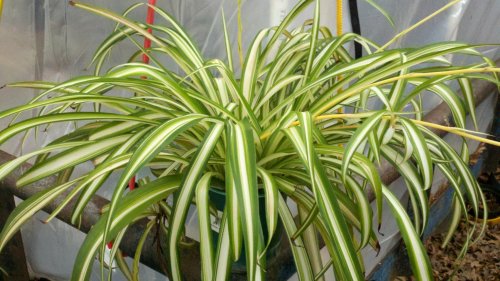
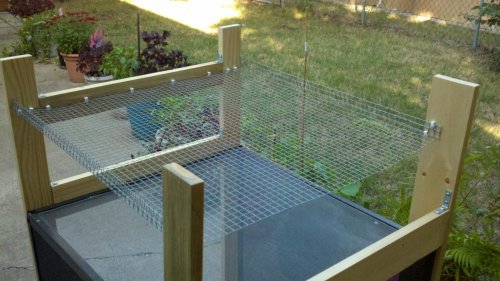
Well, I too am building a new chamy cage for our future veiled. I started this a while ago but ran into some design problems. Putting it up for the winter, I re-thought the ideas and have come up with a new design. The overall is 2'x2'x4'. It will have a 2'x2' drain pan in the bottom with hardware wire covering and a full 2'x3' front screen door. The raised wood frame will house a second level of hardware wire for the lights to sit on above the screen top to keep the little guy from getting too close to the light/heat source. I already have an umbrella plant and a spider plant and a bunch of fake pothos and vines. The back is going to be a 2'x3' board with fake rock for chamy to climb and water to drain down into the drip pan. There will be two more 1"x2" framing boards on the front to match the back ones. Any thoughts? I'm trying to build my own pump mister but can't figure out the specs on the pump motor. There are several suppliers with many different specs. I have all the rest of the parts already. (I hope I turned all the pictures the right way. Nothing is harder to look at than sideways pictures. Lol)
Navigation
Install the app
How to install the app on iOS
Follow along with the video below to see how to install our site as a web app on your home screen.
Note: This feature may not be available in some browsers.
More options
You are using an out of date browser. It may not display this or other websites correctly.
You should upgrade or use an alternative browser.
You should upgrade or use an alternative browser.
The Season For Cage Builds
- Thread starter mrfixit01
- Start date
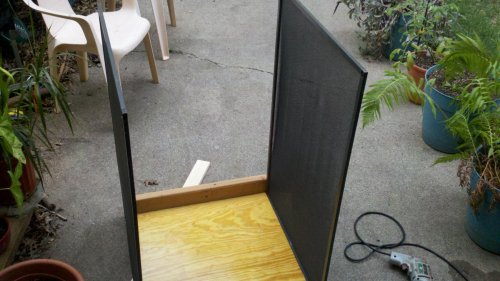
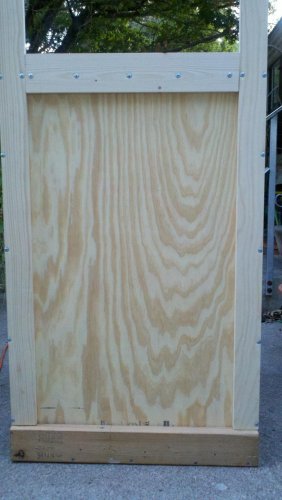
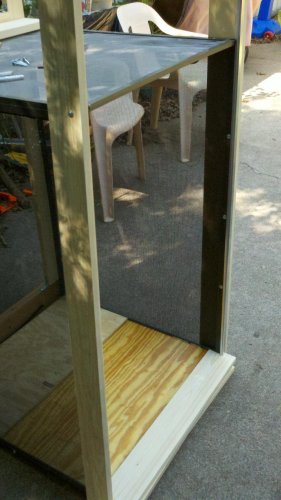
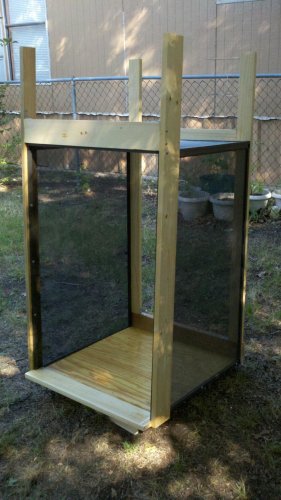
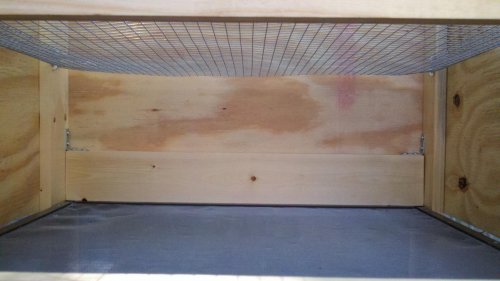
Raining on and off most of the day so I couldn't get much cage building done. Did manage to finish cutting all the framing pieces. Here are a couple of pictures showing the backing board that will be a "rock climbing" wall. Going to have to remake the front screen door. The original one won't fit. It's always something else isn't it?
Attachments

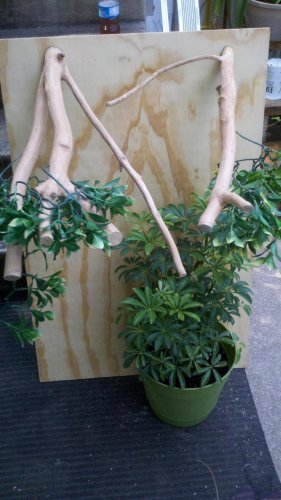
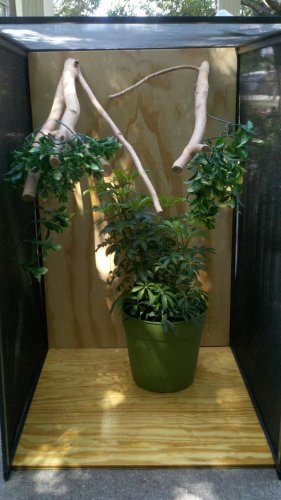
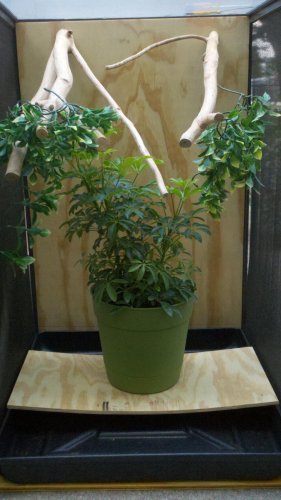
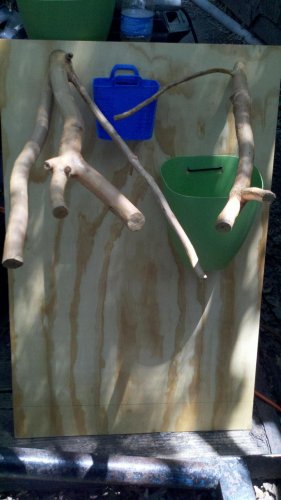
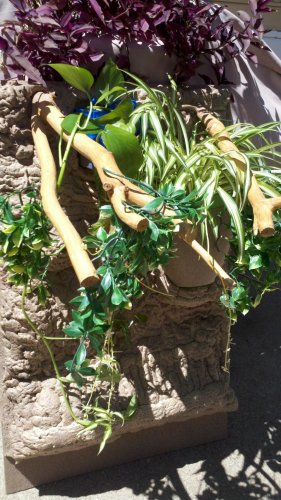
Got a little more done on my cage build today. Not a milestone but a big step toward the finish. Added some corner braces to the back frame. This helped 'square' the cage overall. Mounted some ash branches that I stripped the bark from. They were mounted at the top so that they could have a natural droop. Then I drilled some holes in them to hang some fake plants. Just one quick mock set up to see how the umbrella plant will fit with the drip pan in place. I want to mount two planter pots on the back board and then build the rock wall.
Attachments
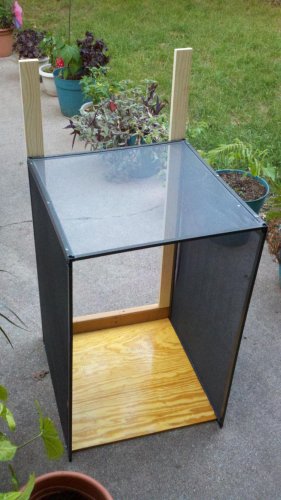
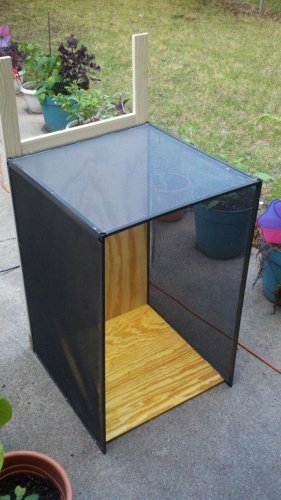
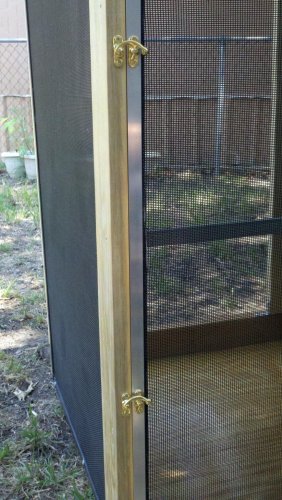
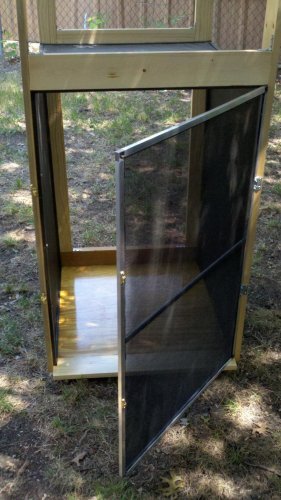
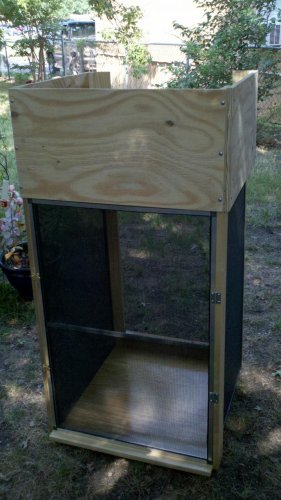
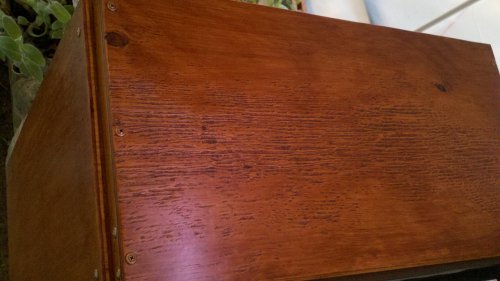
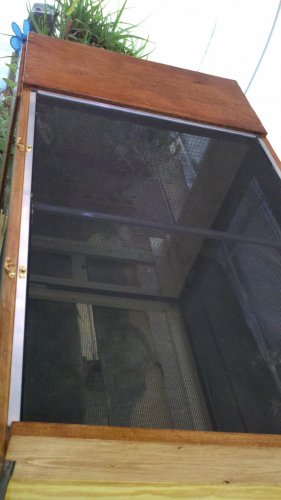
Time for my weekly update. Thanks for all the views. I hope you get some good ideas and feel free to share with me some ideas of your own if you want. Today I finished wood framing and then sealed it all with spar urethane to make everything waterproof. Two reasons I added the wood framing was that the screen frames kept bowing. So as I anchored the 1x3 pieces of wood I had to pull the aluminum frame to square it, too. Then I cut and added the hardware wire to the top, 9" above the cage top screen. The lighting will sit atop this and the side walls will be closed in to maintain heating below it. Today I also made the front door frame. I found some thicker aluminum framing at Home Depot. One thing I'm still working out is whether to drill holes in the sealed wood bottom or do as I planned and set the tray inside the cage with hardware wire covering it. That would be the simplest way but I'd have to move the umbrella plant every time I needed to clean the pan. So... I've also found a small pump for the mister/drip system. Tomorrow I'll spline the screen on the door and add it's latch. Next is to add a rubber spline around the door to keep live food inside! Thanks for reading and looking.
Attachments
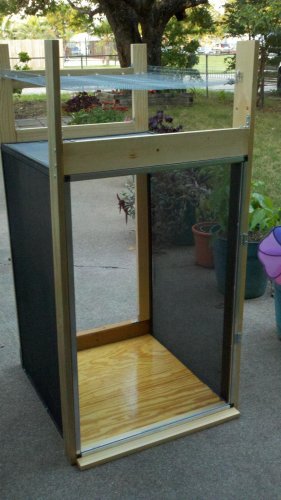
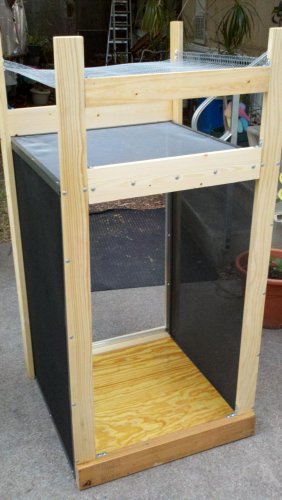
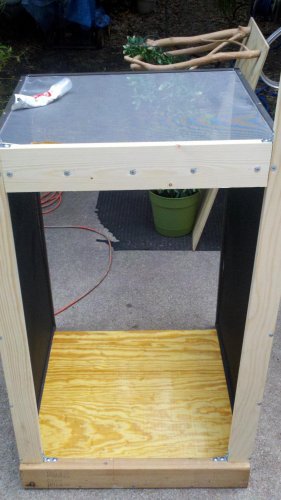
Whew, this is a long, slow process but it's been a fun project and very relaxing. About half of the materials I've had around here so mostly all I had to buy were some screws, lumber, and more spar urethane. Now I'm finally ready for the final spray stain. I didn't want to stain the wood so it's already 'water sealed'. Have to find a dark spray stain/varnish for the outside wood. See the closeup of the 'hood' assembly. The final step next week will be to finish the rock wall backboard. See you next weekend. (Of course I'll be reading along with everyone during the week here on the Chameleon Forums.) Thanks for looking.
Attachments
Continuing the Season for Cage Builds
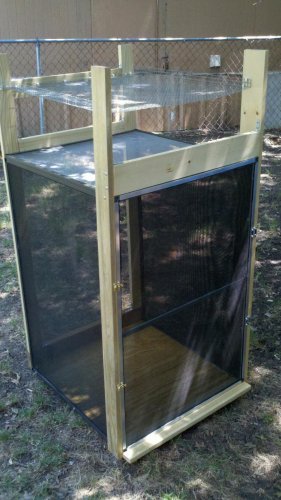
Hello ChamForum folks. Thanks for all the views. I've managed to get quite a bit of work done this week. Step one, the dark walnut urethane stain has been applied. Bought a quart but only needed a pint. Guess I'll have to build another one?
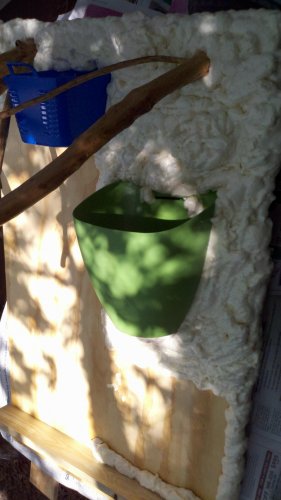
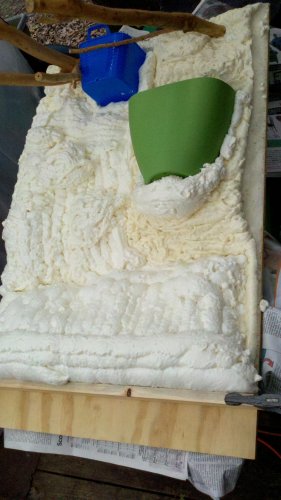
Then I got three cans of Stuff spray foam. I didn't try to make it too smooth. By the way, if you do this, over apply the foam and wait at least 24 hours before trimming. (It shrinks) Trimmed around the sides and some of the bigger bumps. Hung two containers and have matching potted plants ready to drop in them.
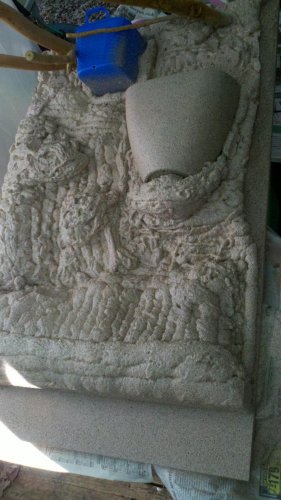
Finally sprayed fleck stone spray all over. It will need another coat but otherwise, the cage is done.
Next I'll have to put the mist/drip system together. See you all next weekend! Have a great Memorial Day everyone.
Hello ChamForum folks. Thanks for all the views. I've managed to get quite a bit of work done this week. Step one, the dark walnut urethane stain has been applied. Bought a quart but only needed a pint. Guess I'll have to build another one?
Then I got three cans of Stuff spray foam. I didn't try to make it too smooth. By the way, if you do this, over apply the foam and wait at least 24 hours before trimming. (It shrinks) Trimmed around the sides and some of the bigger bumps. Hung two containers and have matching potted plants ready to drop in them.
Finally sprayed fleck stone spray all over. It will need another coat but otherwise, the cage is done.
Next I'll have to put the mist/drip system together. See you all next weekend! Have a great Memorial Day everyone.
Attachments
NorCalAnthony
Avid Member
Had to add this since there is a five picture limit per post. Here's with the stone fleck spray.
Your cage is coming along great. I really like the way you're making spots to put plants in your rock wall. I'm doing something similar but with a different method. Keep up the good work and keep posting more pictures for us.
")
NorCalAnthony, thanks for the compliments. I got the idea from millsamus blog. It wasn't very specific so I had to wing it just from the pictures. Finding pots was hard and they are slightly heavy so I hope the wall mounts hold up! Let me know when you start your's. I'd like to see your progress. Thanks.
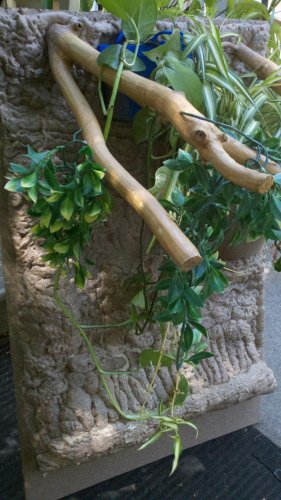
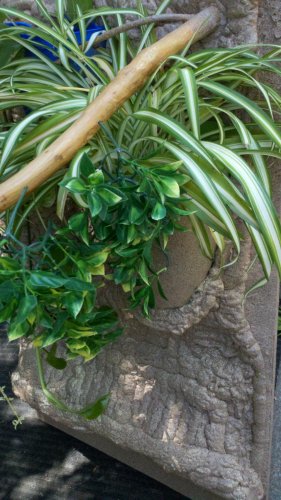
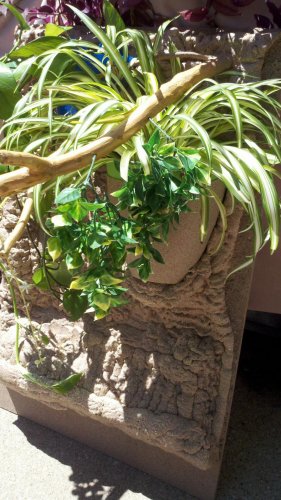
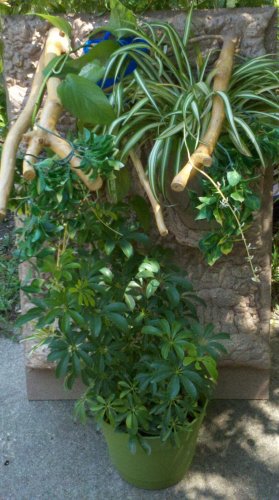
Well, tomorrow is Memorial Day and next weekend I will be driving for the local museum's charity fundraiser so I got to thinking, better work on the setup a little bit more. Here's what the back looks like with the live and fake plants in place. Still haven't put the vines in yet. I won't do that until the back is mounted inside the new cham home. So here are a few final pics for this weekend.
Attachments
NorCalAnthony
Avid Member
NorCalAnthony, thanks for the compliments. I got the idea from millsamus blog. It wasn't very specific so I had to wing it just from the pictures. Finding pots was hard and they are slightly heavy so I hope the wall mounts hold up! Let me know when you start your's. I'd like to see your progress. Thanks.
Here's the video that I got my inspiration from: http://www.youtube.com/watch?v=xDUH5B7I790
It doesn't show how to make the plant holders but I'm going to experiment with making my own out of the same styrafoam with a line for water runoff and then use some tub/shower caulking to make sure everything is sealed up good and then build the rock sections around all of that to make it look more realistic. At least that's the plan anyways lol. I'm not really sure how everything is going to turn out but I plan on starting that part of the project either tomorrow or the next day and will let you know how everything goes.
PS. Yours looks really good now that it's painted and has the plants in it.
NorCalAnthony, Thanks for the link. Watched it and a couple of others as well. I'd seen the Styrofoam wall build by someone else once before. Thought it was too labor intensive. Good luck with the plant holders. Never could figure out how to do it with Styrofoam sheeting. I should have shown the back. Get one of those next time. All I did was pre-drill 4 holes for each pot to poke bundle ties through. Then I sprayed a small amount of foam where the pots were going to sit and let it expand about 10 minutes. Laid the pots on and pushed the bundle ties through from backside into pot and then out the back again. Pulled them about half tight and waited for the foam to dry. After about 24 hours I cinched the bundle ties up as tight as I could and then added the rest of the foam around them. Of course after I dropped the matching pots w/plants into the ones on the wall they 'settled' a bit and I had to fill in with paintable silicone sealer. The front part of the pots are exposed and there are drain holes in both the mounted pots and the planted 'pot mates'.
Sorry I couldn't work on my cage project this weekend and post pics. But, here are a few pics of where I was, driving a tour bus on our annual Gingerbread Trail of homes. Our 1895 courthouse, cars from last century, and homes from the last two centuries. I hope you don't mind posting off-topic just this once. Enjoy!
Attachments


Similar threads
- Replies
- 31
- Views
- 5K
- Replies
- 10
- Views
- 3K