Arpretty
Avid Member
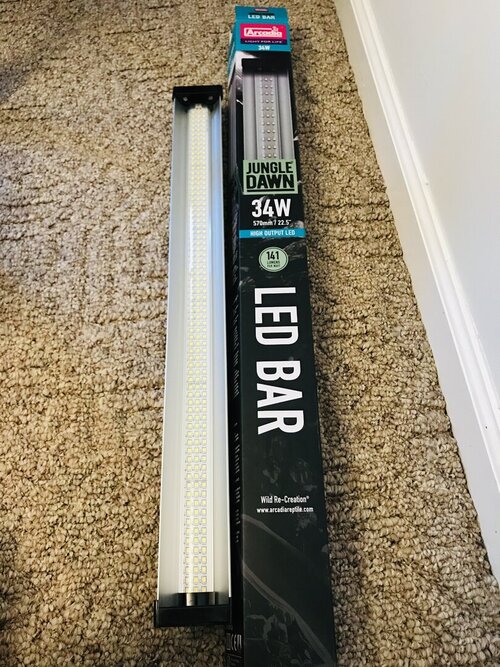
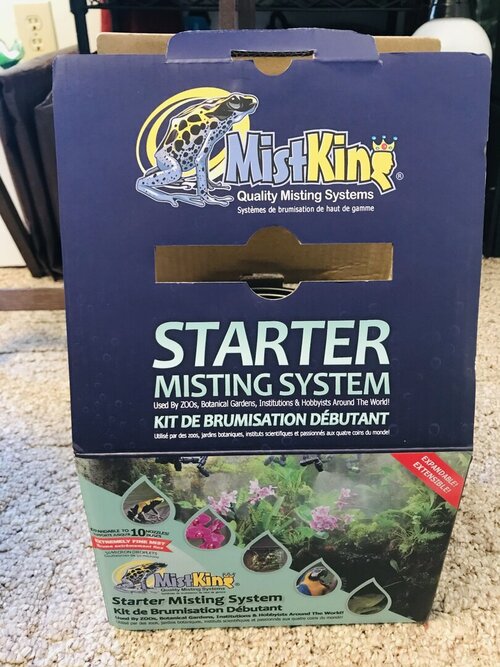
Rejuvenating my account on here lately as I’m sure you can tell ") starting from the ground up for a whole different experience. Many thanks to my lovely Spyro for introducing me to this incredible world. My new little man is set to arrive between March/April. Some starter pics attached.
starting from the ground up for a whole different experience. Many thanks to my lovely Spyro for introducing me to this incredible world. My new little man is set to arrive between March/April. Some starter pics attached.

Head start on nurturing some babies - there are plenty more where these came from!

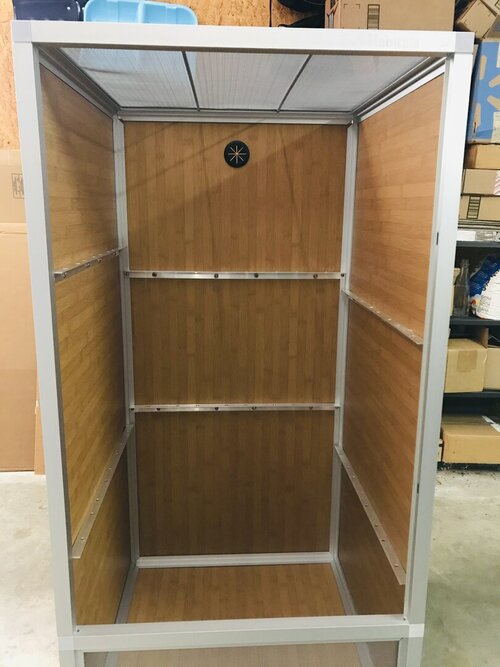
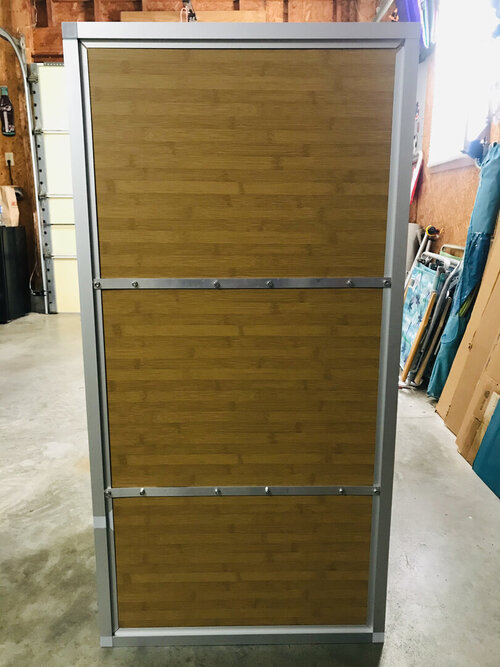
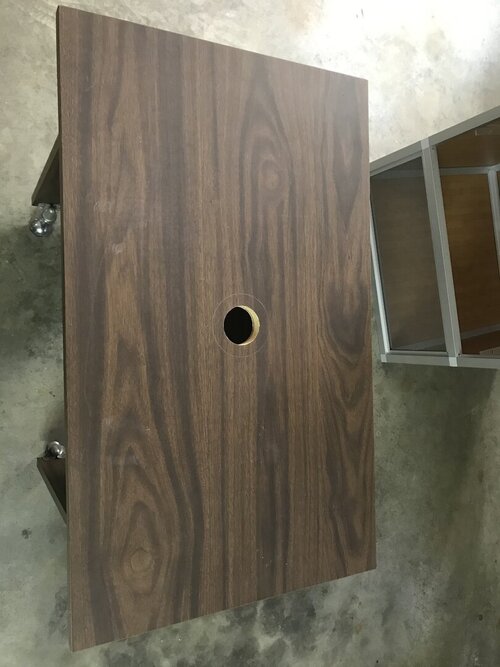
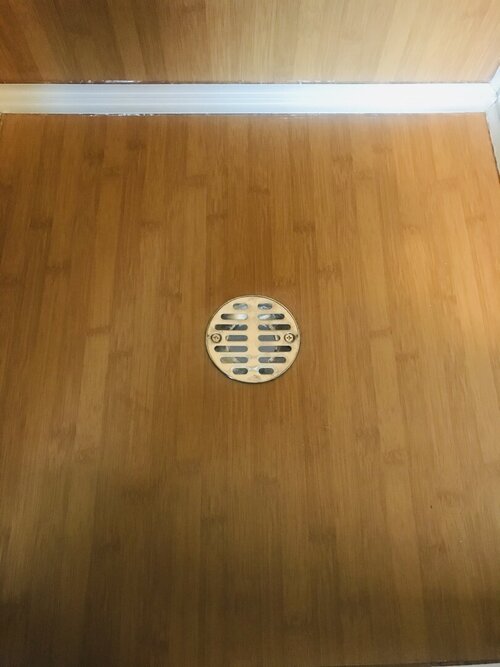
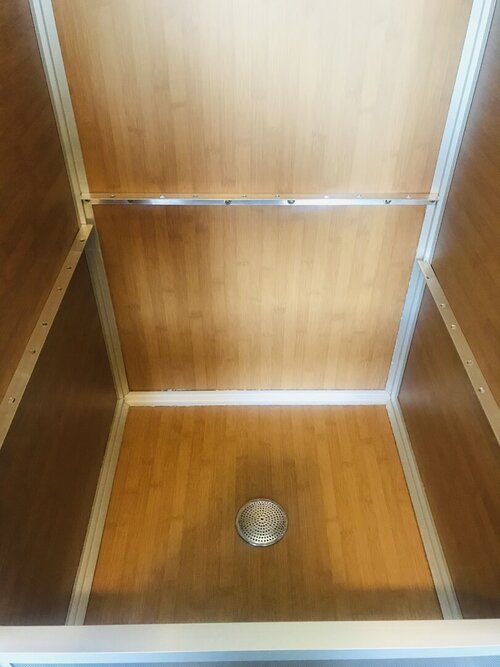
Built up most of the new enclosure; currently making my own ledges out of aluminum. Will be staggering them on each side for varied use of space throughout. MAJOR thank you to @Klyde O'Scope for the thoughts and inspiration, I took your insight to heart also shout out to my daddio for teaching me how to work with metal.
starting from the ground up for a whole different experience. Many thanks to my lovely Spyro for introducing me to this incredible world. My new little man is set to arrive between March/April. Some starter pics attached.
Head start on nurturing some babies - there are plenty more where these came from!
Built up most of the new enclosure; currently making my own ledges out of aluminum. Will be staggering them on each side for varied use of space throughout. MAJOR thank you to @Klyde O'Scope for the thoughts and inspiration, I took your insight to heart
also shout out to my daddio for teaching me how to work with metal.")
")

 I hope to post some progress pics as I move along.
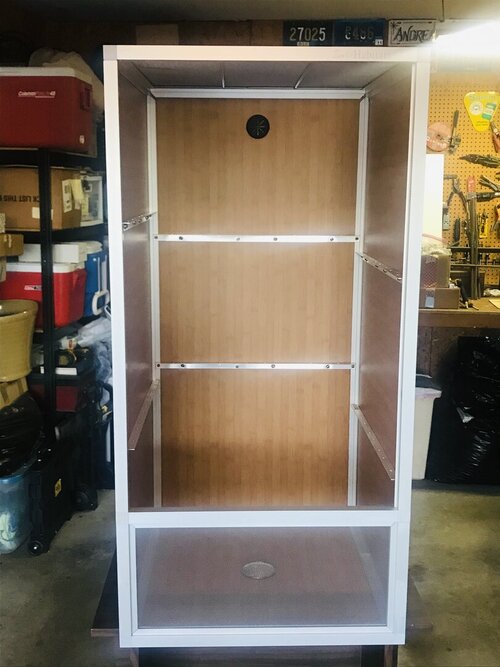

 Staggering is a great idea! Even though I have ledges (came with enclosure) I wanted more versatility, and I didn't care for the way they recommended, so I built a couple of these: