summoner12
Avid Member


I recently purchased a dual 24" T8 light fixture from DIYCages.com. The fixture is great. You can turn off either side lamp with two selector switches or you can turn both lamps off at once with a switch on the power cord. This fixture is a standard fixture, meaning, it won't dim the lamps. I am using this fixture with my EcoZone Vivarium controller and need the lamps to be dimmable. Luckily this only requires a special ballast to be purchased and installed.
So here is my DIY DIYCages.com dimmable ballast swap...")
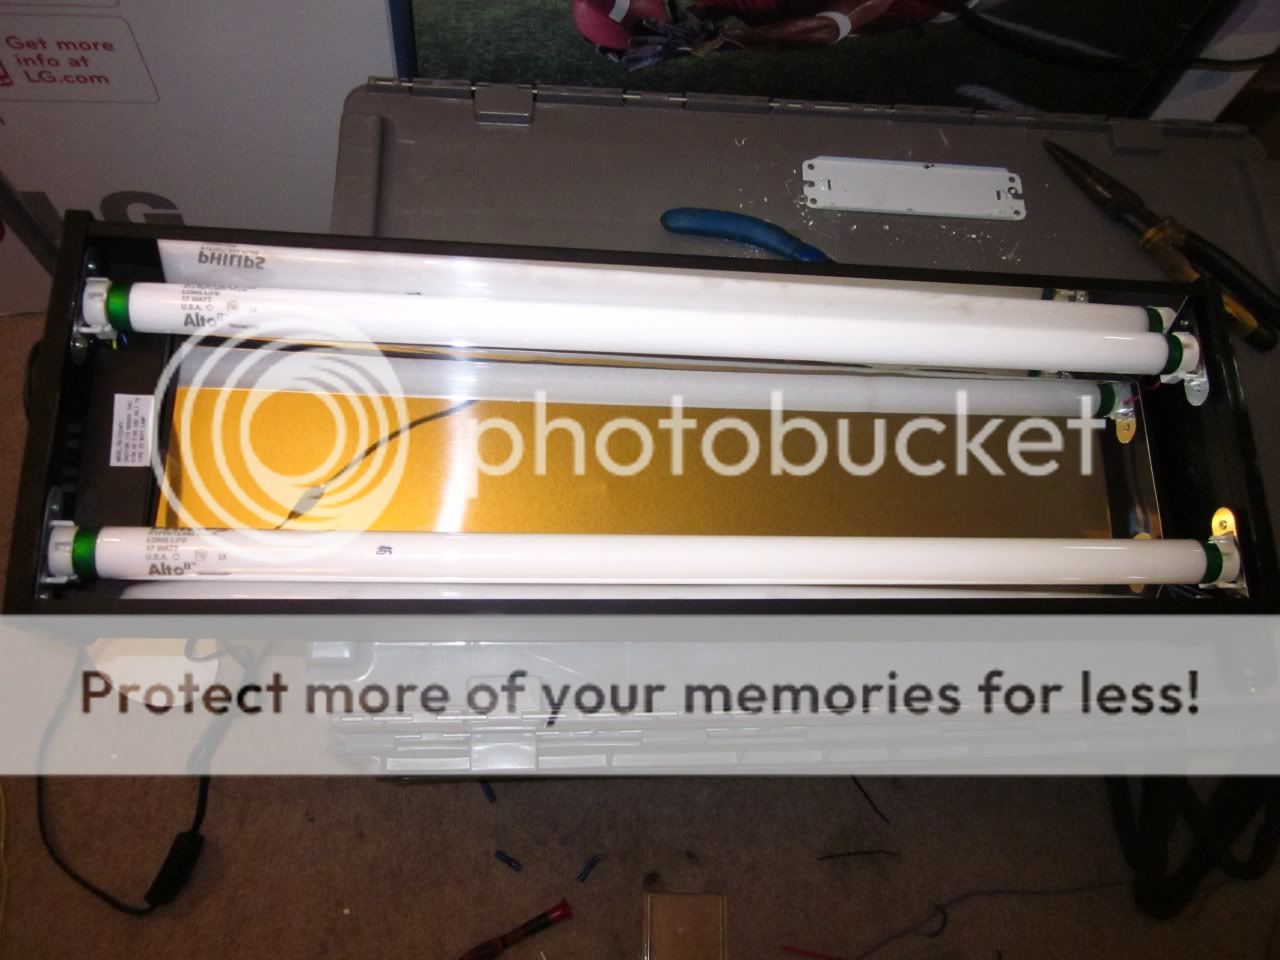
Stat with the fixture laying on a table. Remove the reflector. Just pull one corner out from the lip of the hood and slide you finger along the reflector.

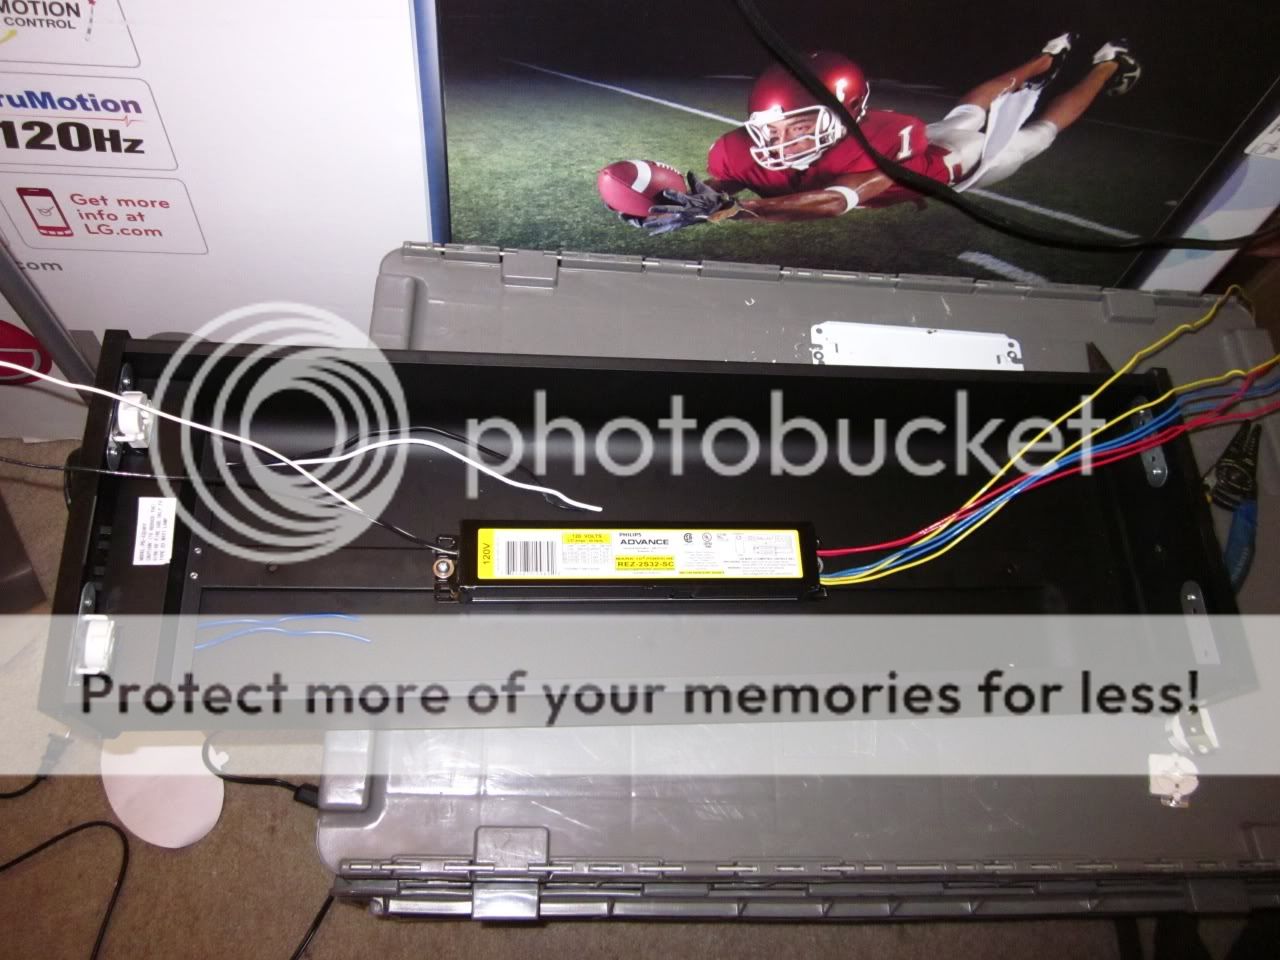
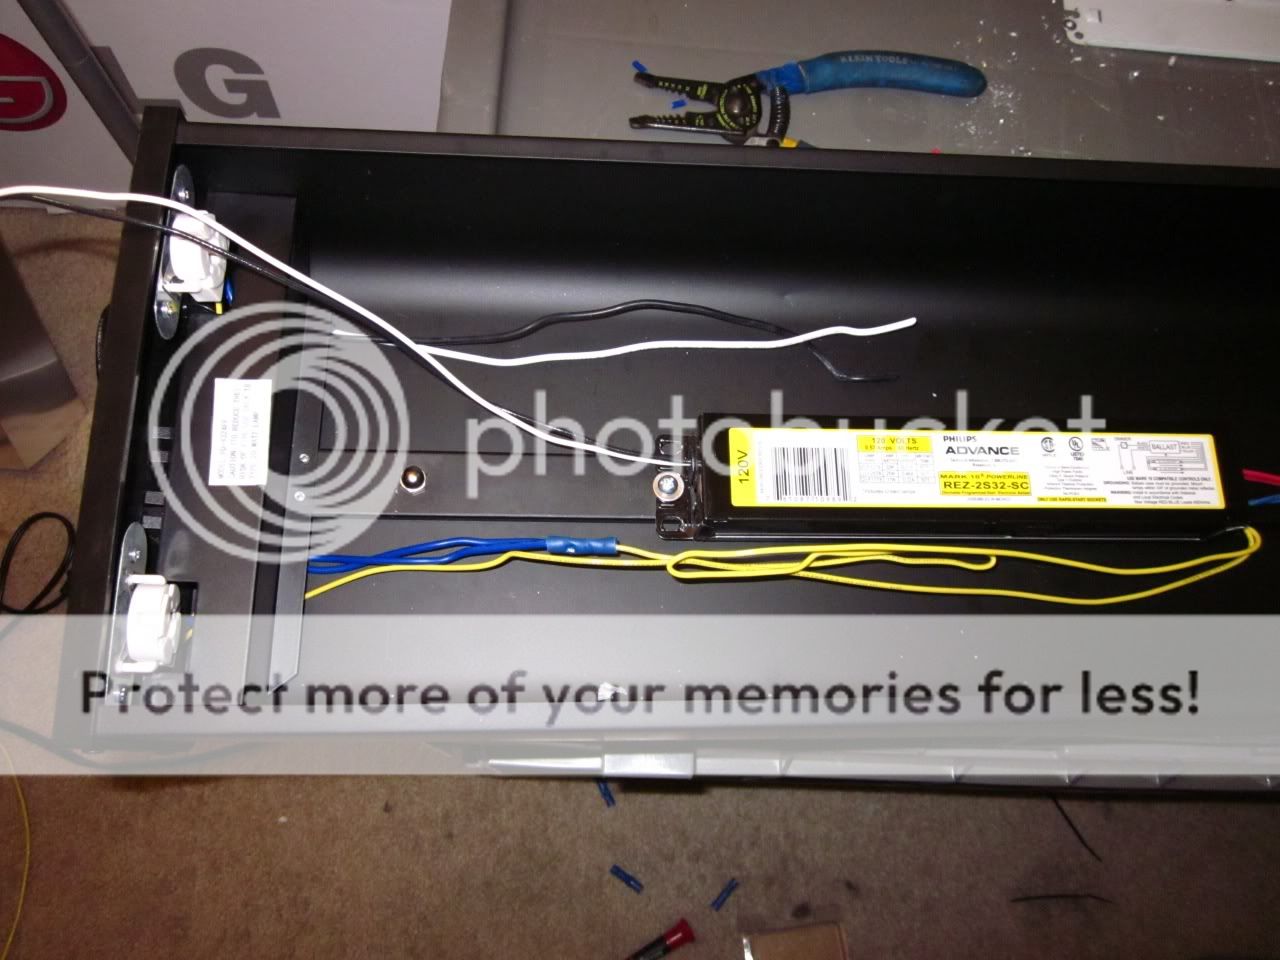
The fixture comes with an electronic ballast, which is pretty nice considering most hoods come with magnetic, which can't power T8 lamps well.
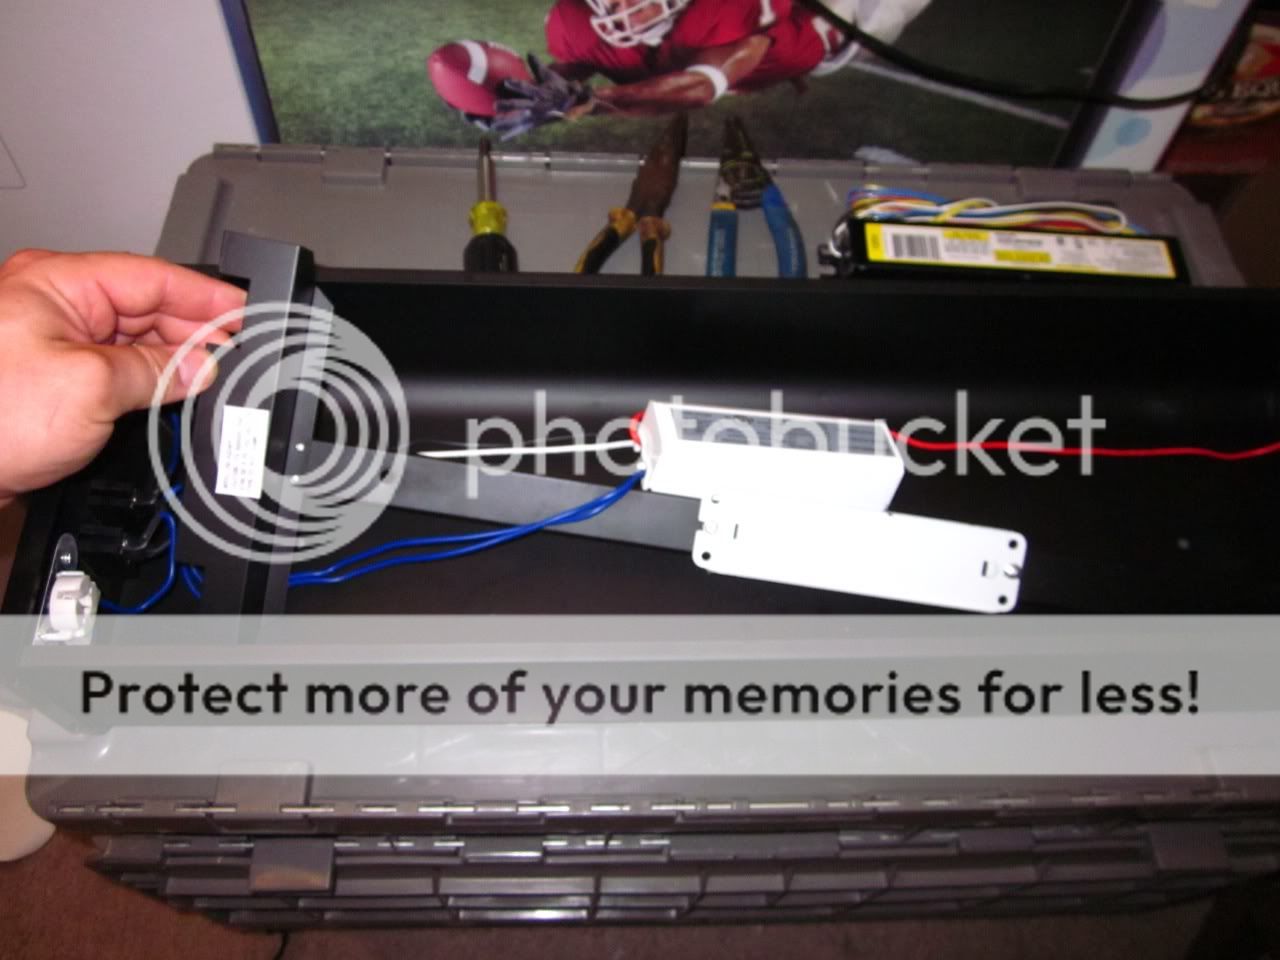
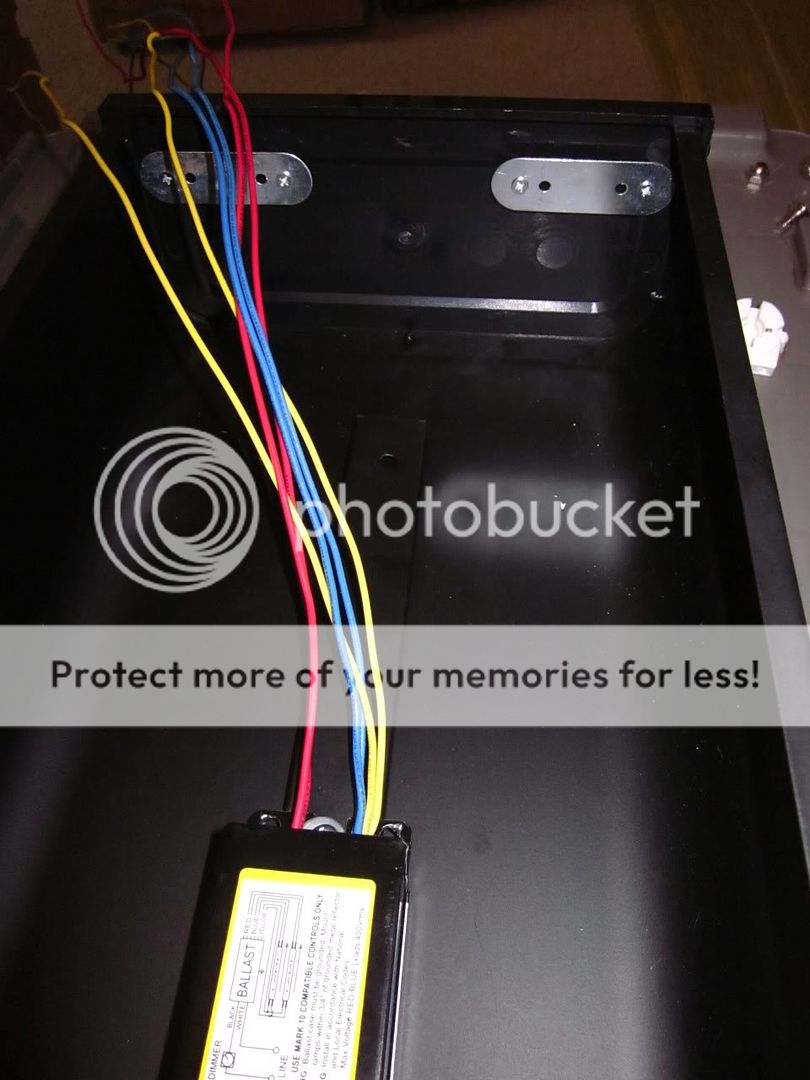
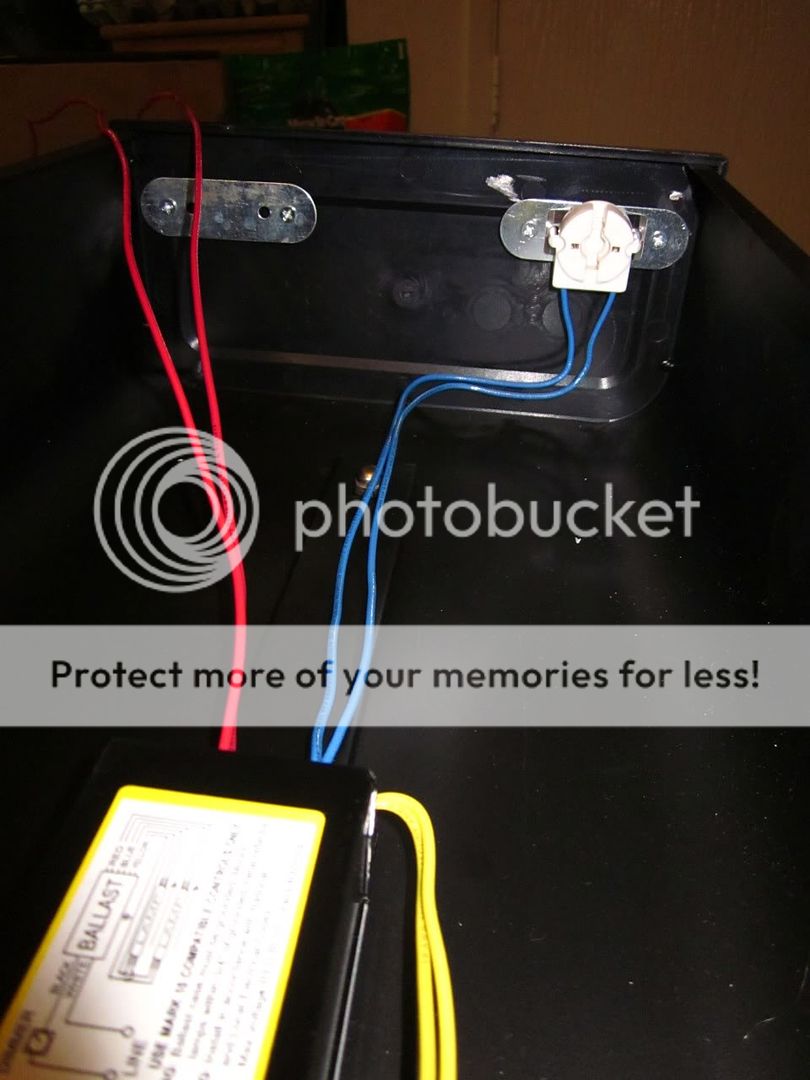
You can see the wiring is pretty simple....
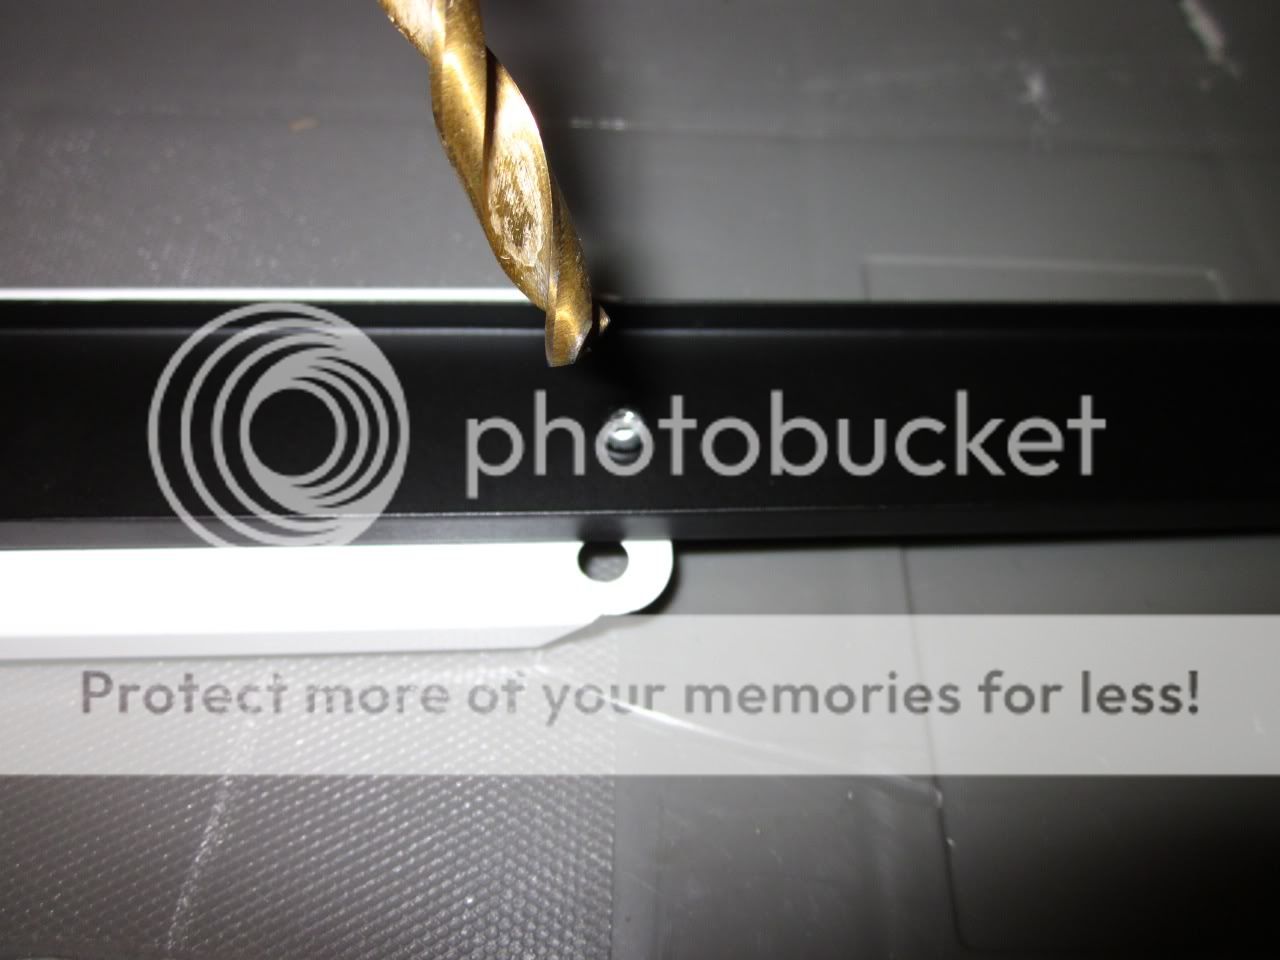
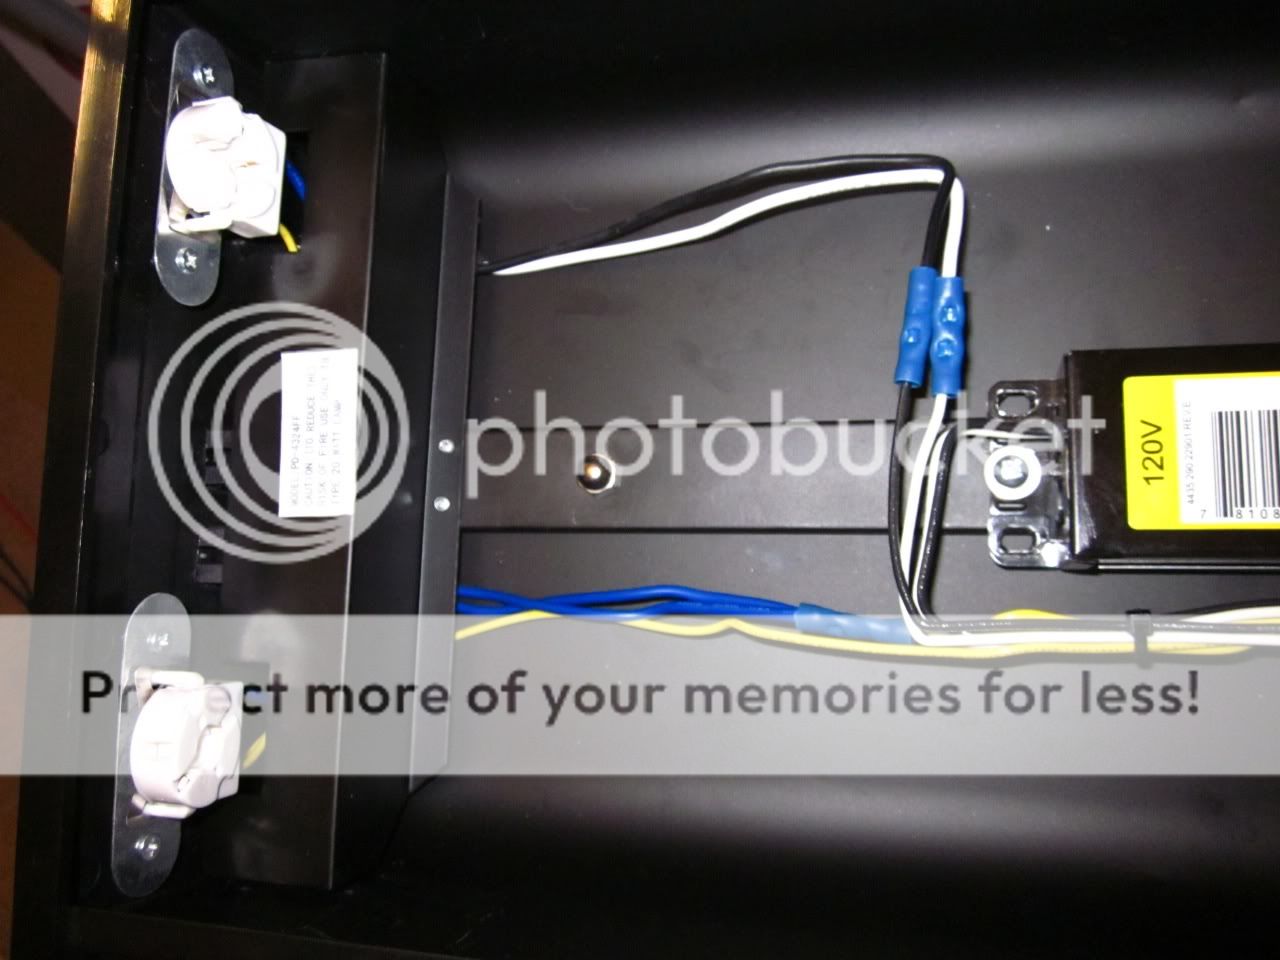
Next we need to remove the metal cover and the bracket that holds the ballast. This is held in place by two screws that you can see from the top of the hood. Hold the nut with a pliers and use a philips screw driver to turn the bolt. You have to angle the bracket out a bit to get it out.
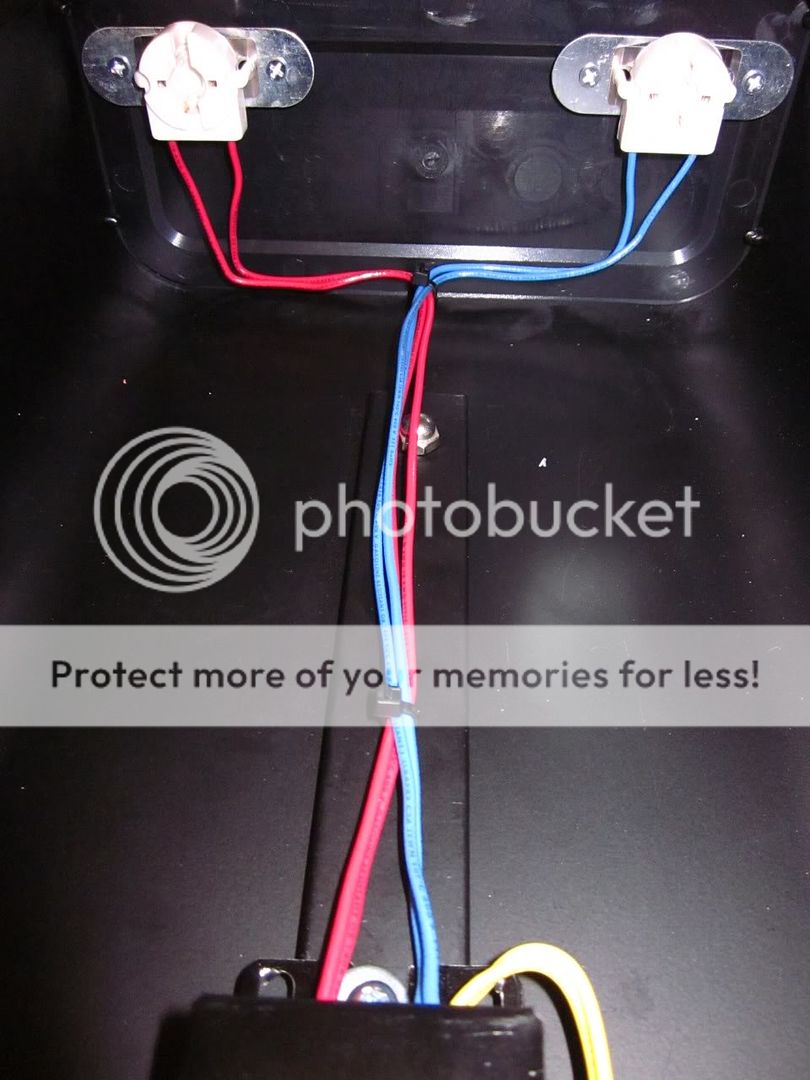
Now you can see the wiring for the switches that control each lamp.
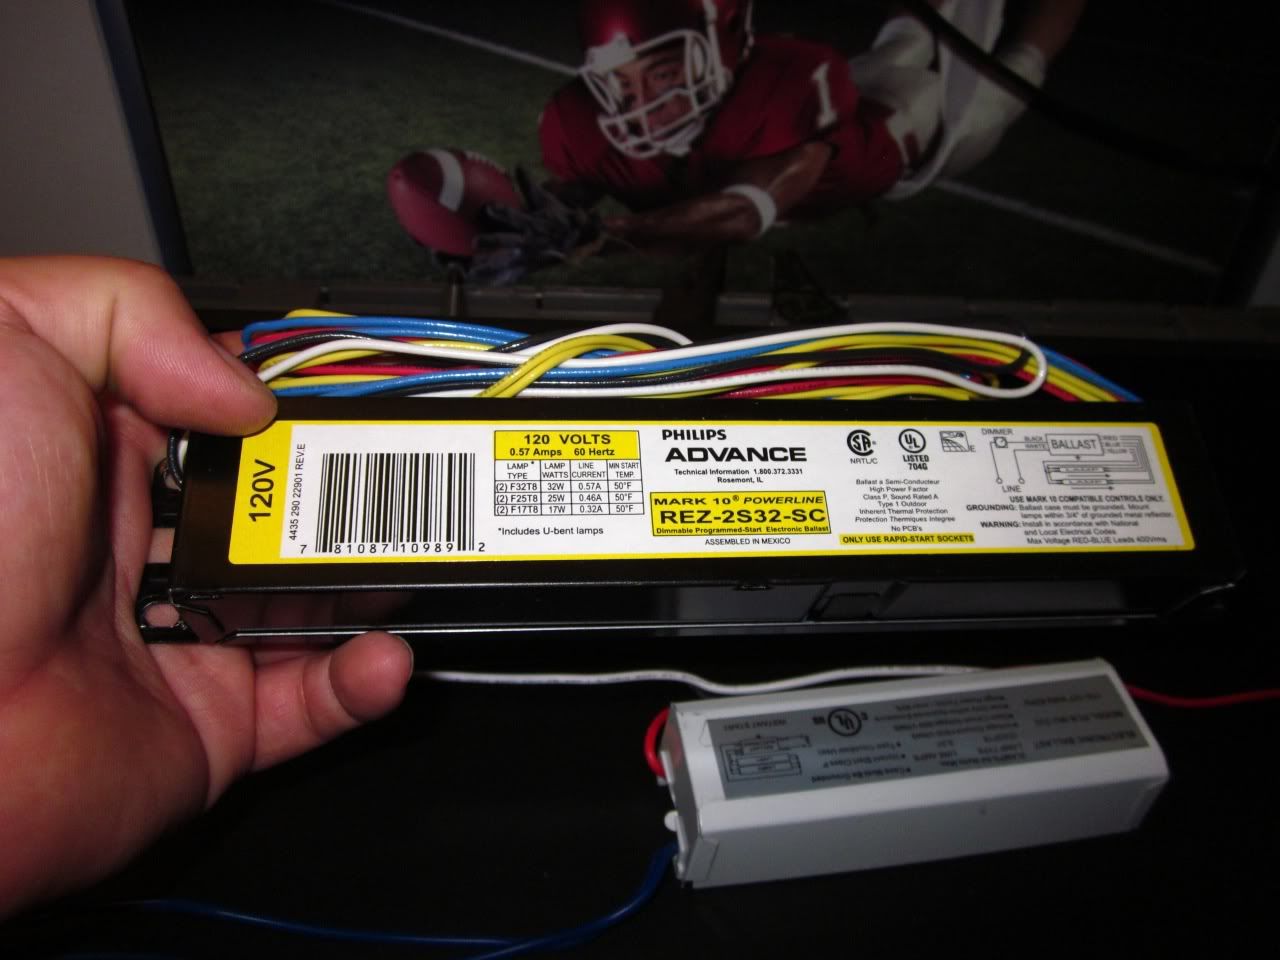
This is the ballast I am using. It is a line dimming ballast. There are two types out there. You want the type that does not require a separate control signal via 0-10v.
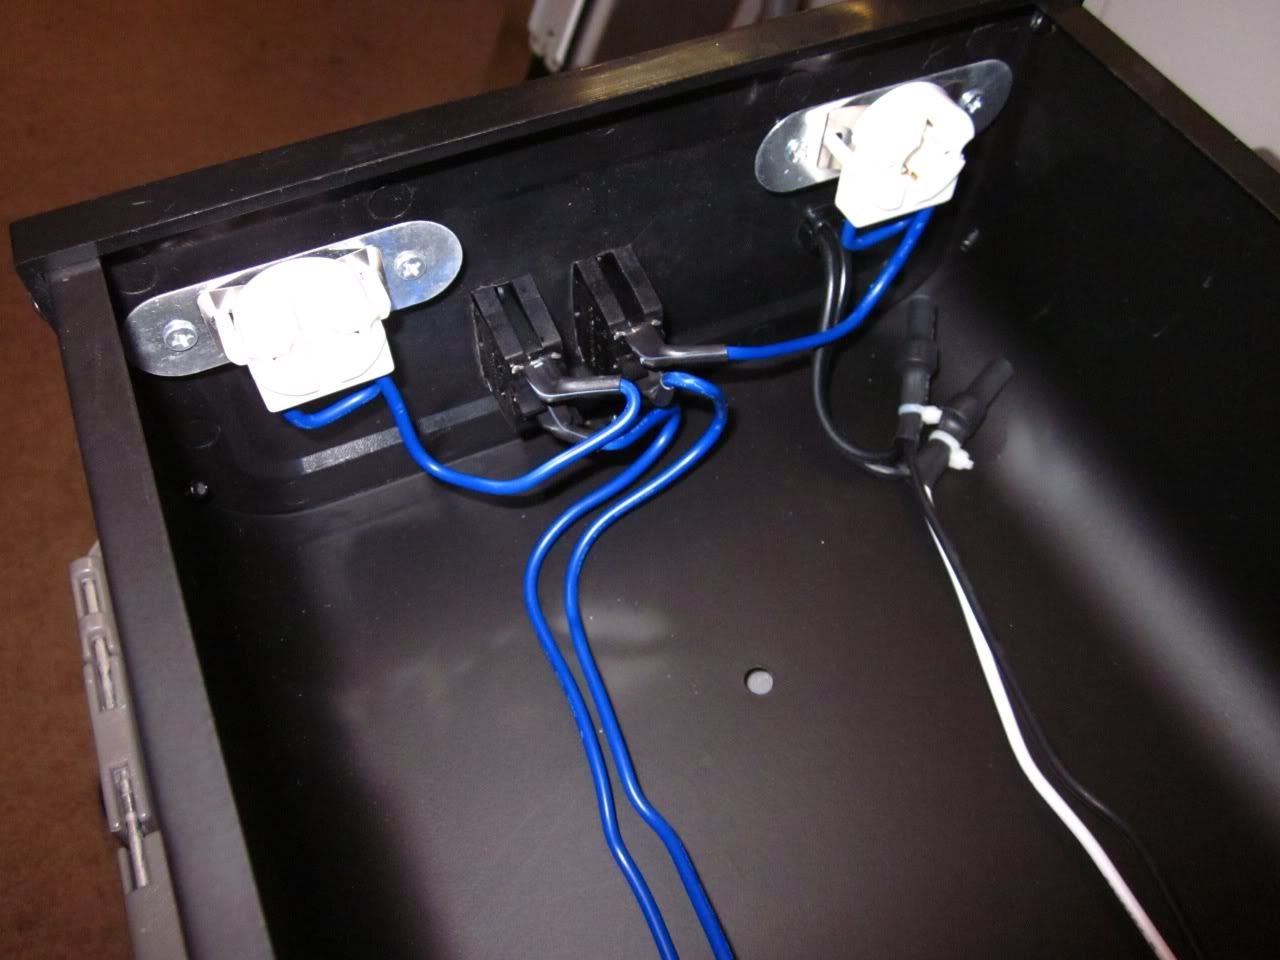
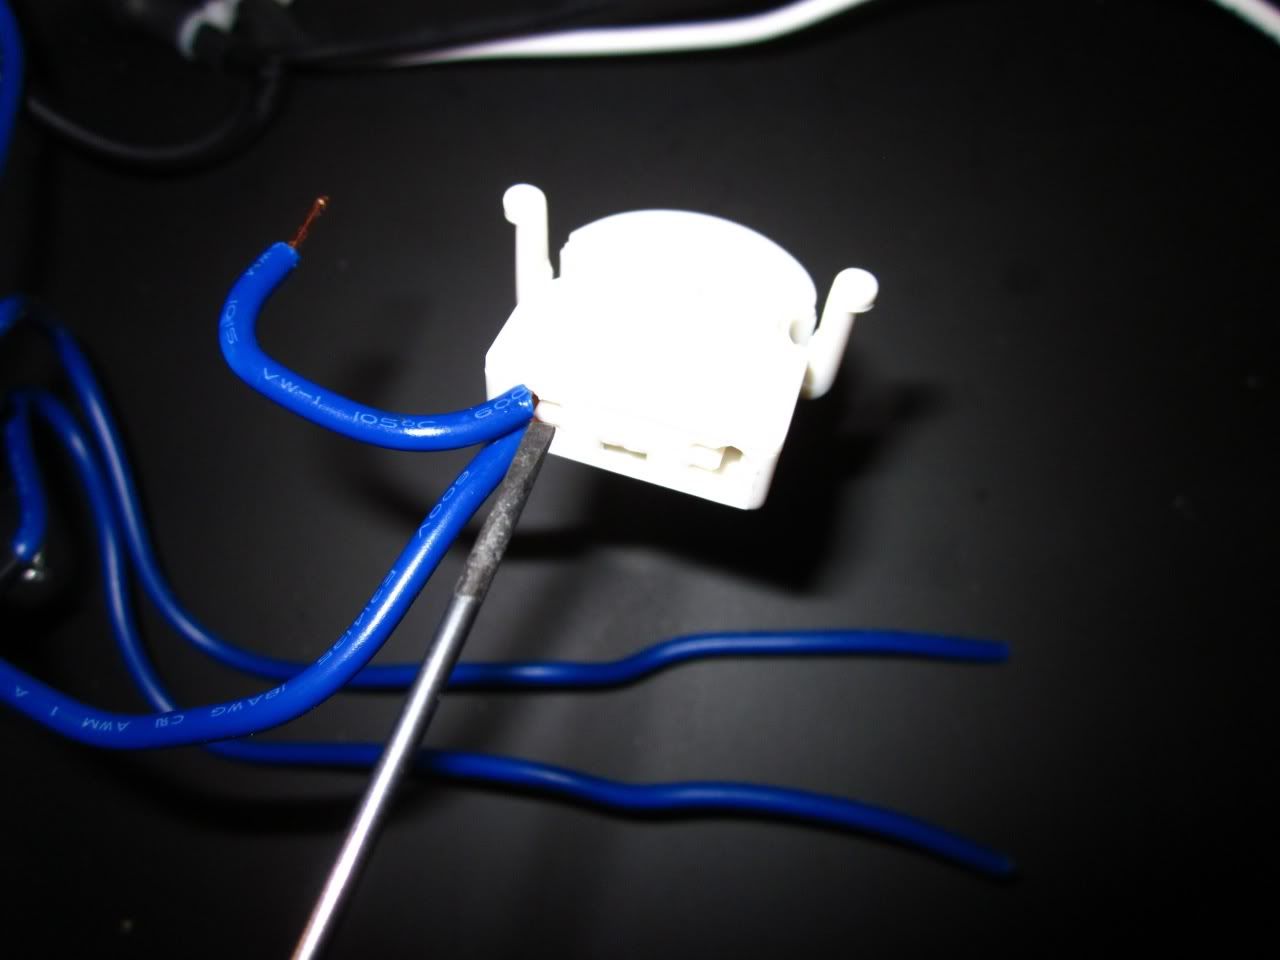
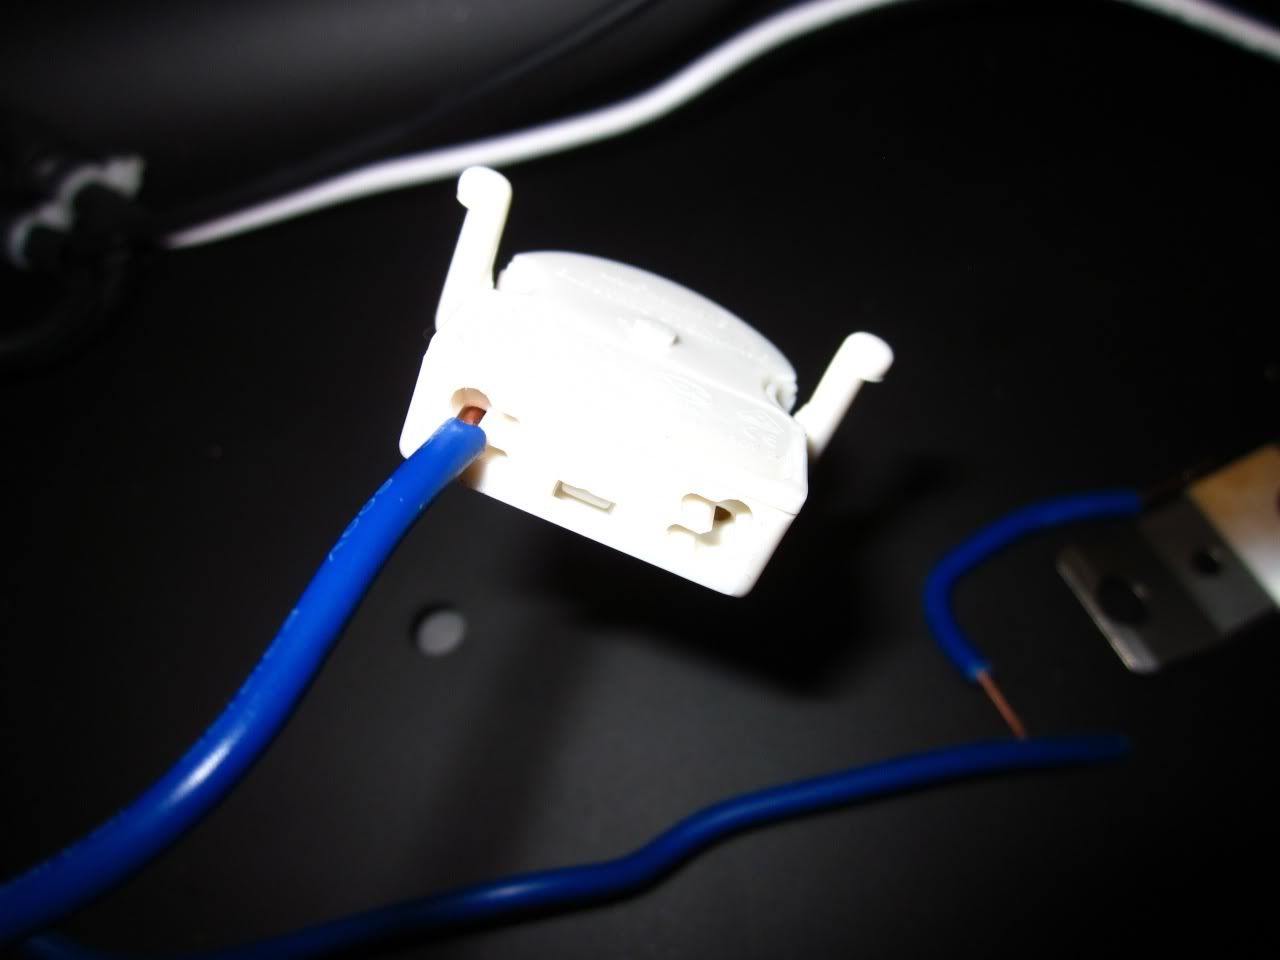
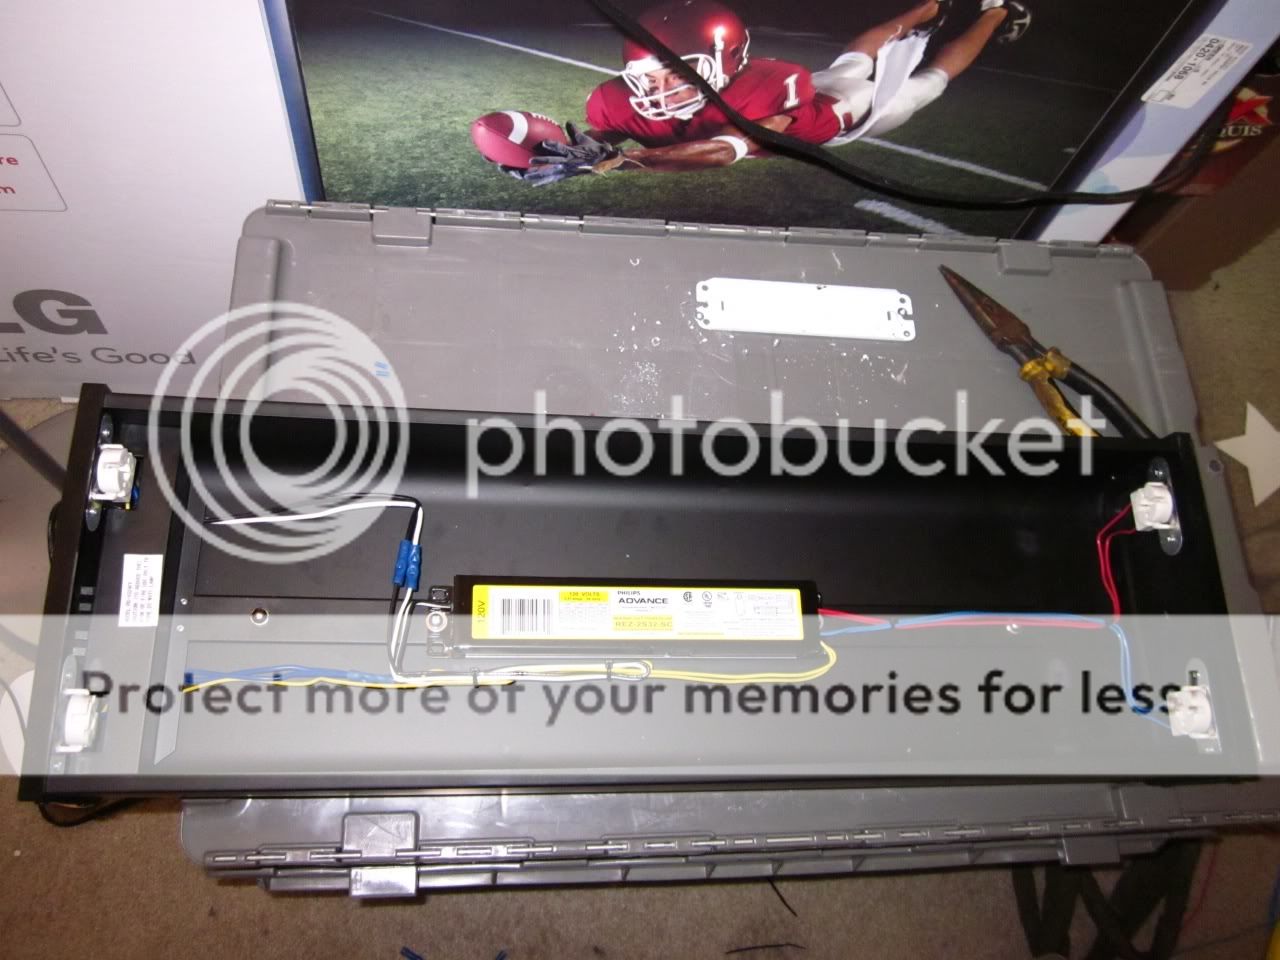
So the cool thing about the parts used in this fixture, they are reusable. The lamp holders can have the wires removed and new ones installed. You need a small screw driver that can fit into the little slot and you press the screw driver in while pulling the wire gently. You need to be gentle but firm at the same time. DON"T BREAK THEM.
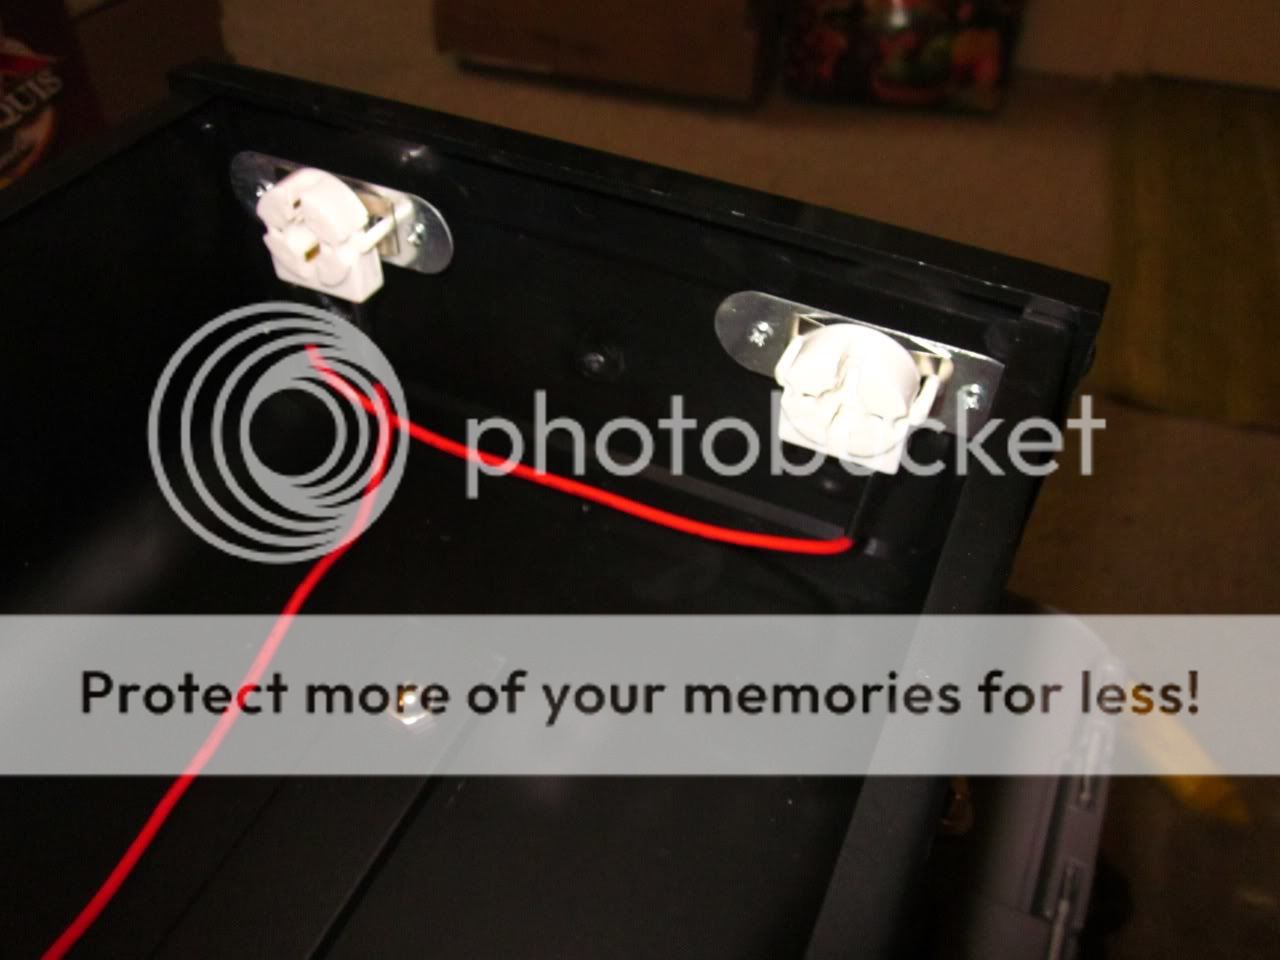
Next thing to do is remove all of the wires from the lamp holders. You can remove the lamp holders by squeezing the white plastic tabs in on the holder. You can, but don't have to remove the screws that hold the metal bracket in place if you like, but bending the tabs is faster.
So here is my DIY DIYCages.com dimmable ballast swap...
Stat with the fixture laying on a table. Remove the reflector. Just pull one corner out from the lip of the hood and slide you finger along the reflector.
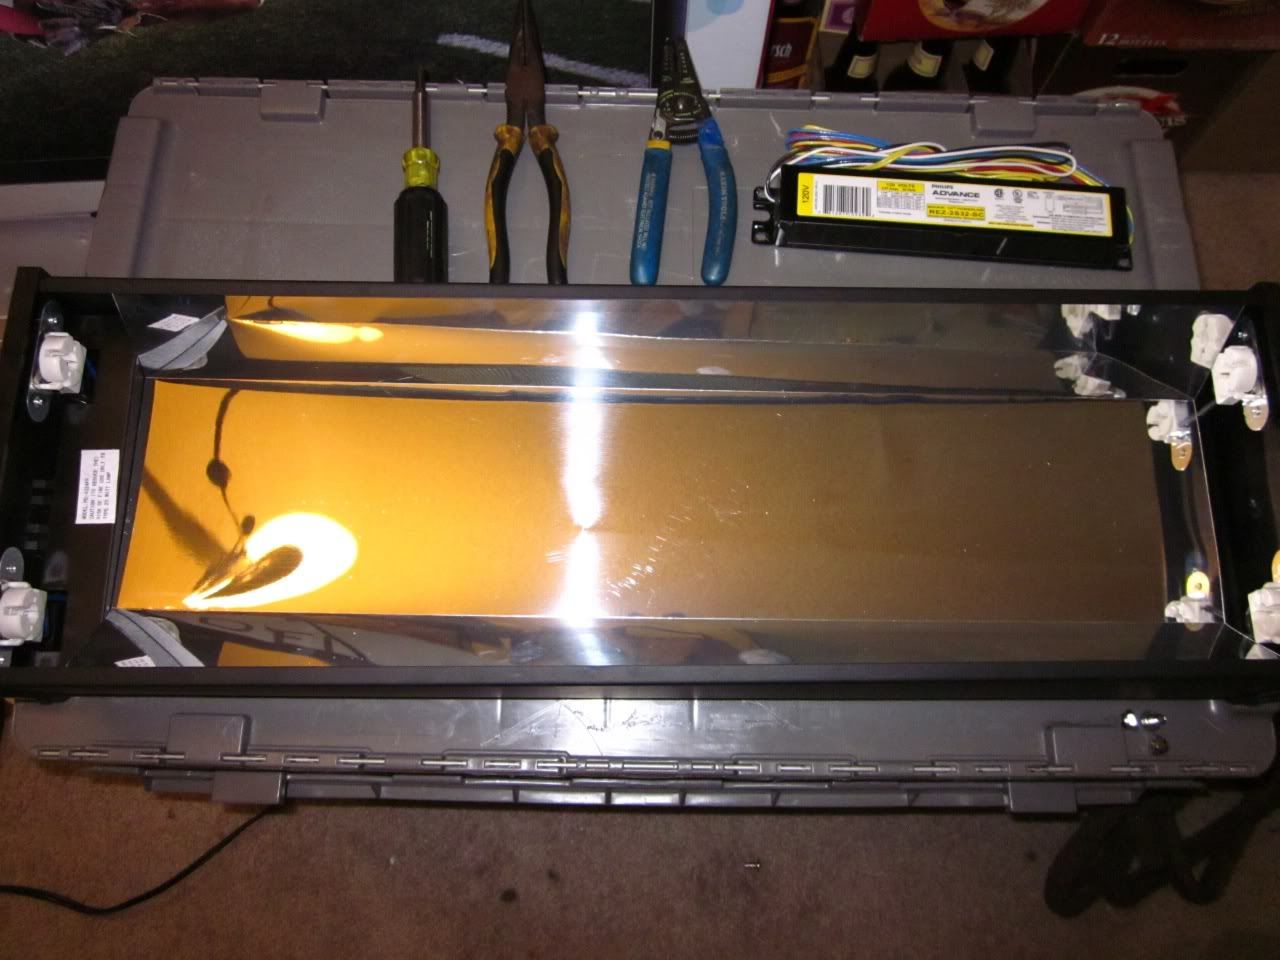
The fixture comes with an electronic ballast, which is pretty nice considering most hoods come with magnetic, which can't power T8 lamps well.
You can see the wiring is pretty simple....
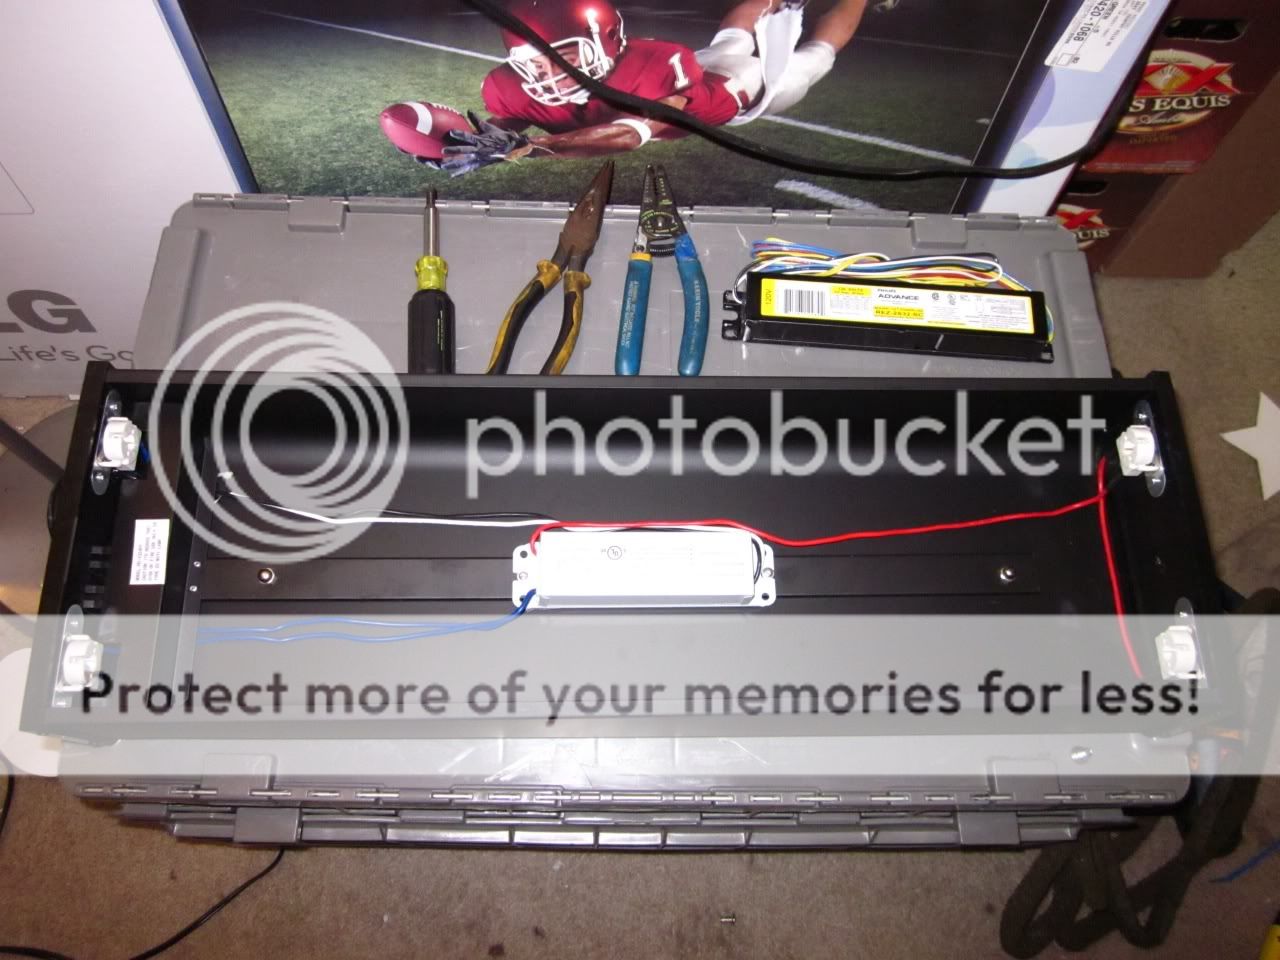
Next we need to remove the metal cover and the bracket that holds the ballast. This is held in place by two screws that you can see from the top of the hood. Hold the nut with a pliers and use a philips screw driver to turn the bolt. You have to angle the bracket out a bit to get it out.
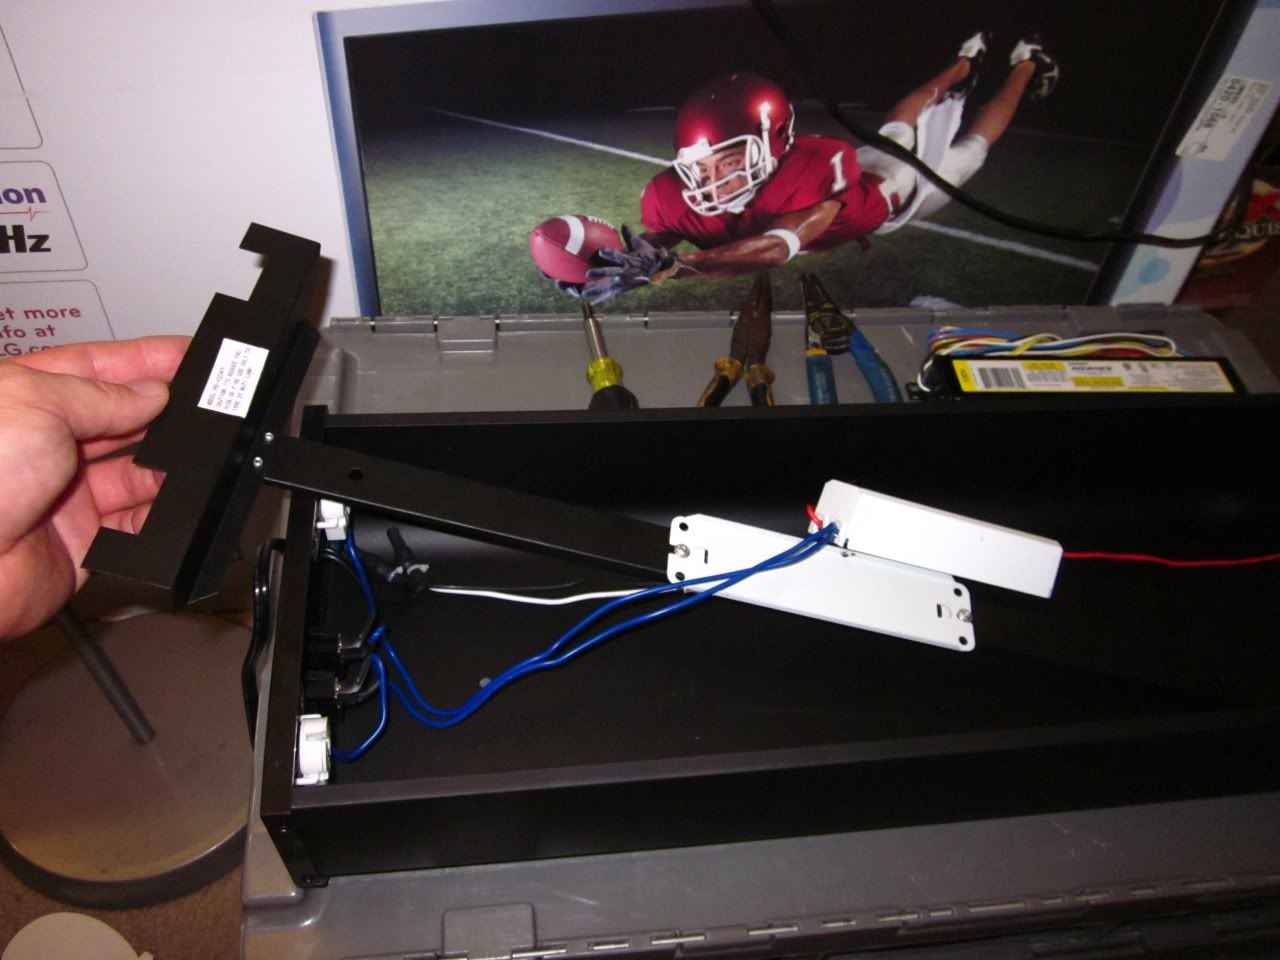
Now you can see the wiring for the switches that control each lamp.
This is the ballast I am using. It is a line dimming ballast. There are two types out there. You want the type that does not require a separate control signal via 0-10v.
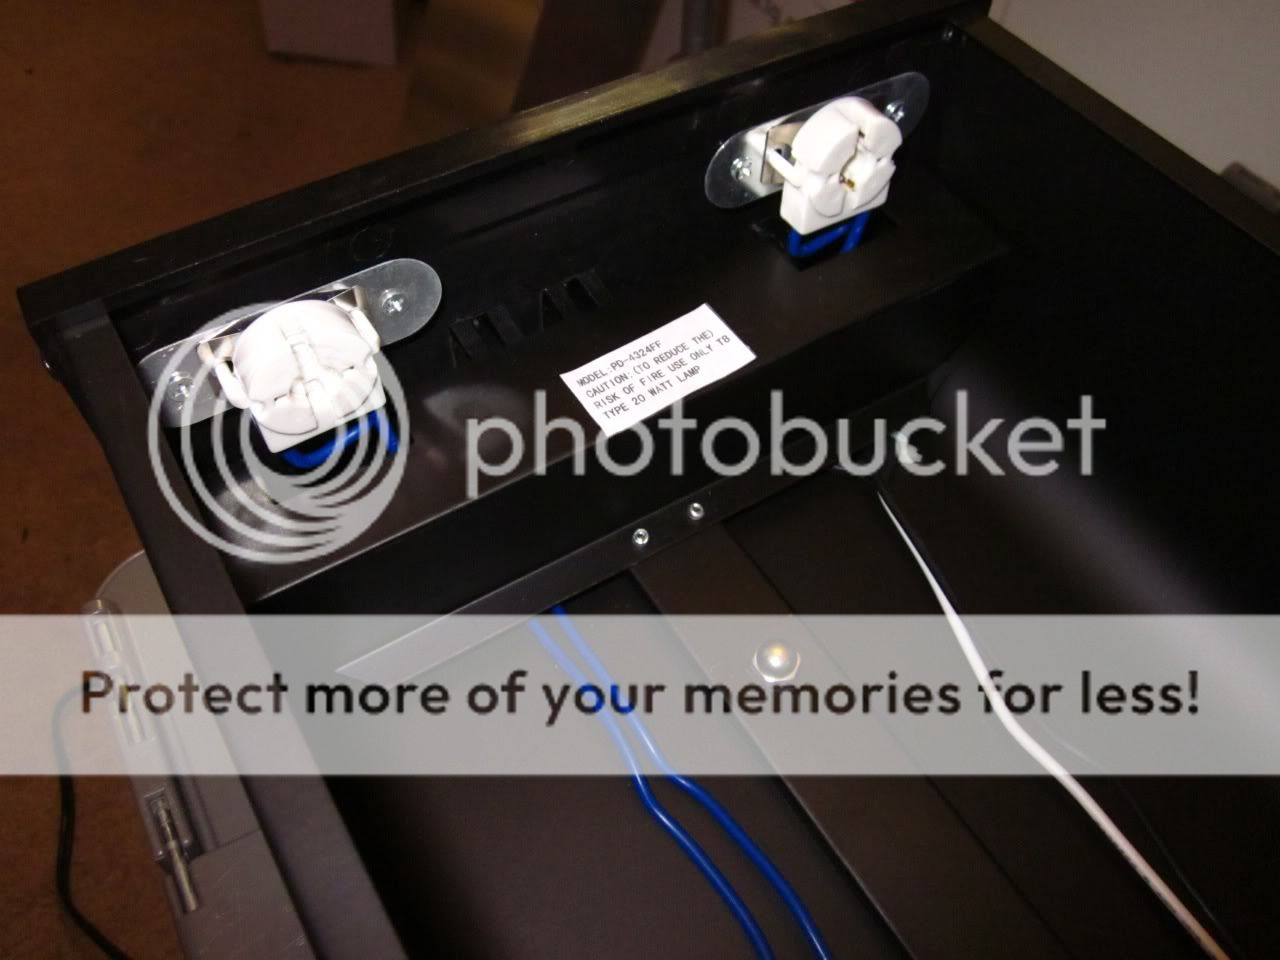
So the cool thing about the parts used in this fixture, they are reusable. The lamp holders can have the wires removed and new ones installed. You need a small screw driver that can fit into the little slot and you press the screw driver in while pulling the wire gently. You need to be gentle but firm at the same time. DON"T BREAK THEM
. Next thing to do is remove all of the wires from the lamp holders. You can remove the lamp holders by squeezing the white plastic tabs in on the holder. You can, but don't have to remove the screws that hold the metal bracket in place if you like, but bending the tabs is faster.


 )
) No seriously, lol.