Navigation
Install the app
How to install the app on iOS
Follow along with the video below to see how to install our site as a web app on your home screen.
Note: This feature may not be available in some browsers.
More options
You are using an out of date browser. It may not display this or other websites correctly.
You should upgrade or use an alternative browser.
You should upgrade or use an alternative browser.
***The Official Enclosure Picture Thread***
- Thread starter cantgetagoodsn
- Start date
Zeusasaurus
New Member
I don't know how that happened lol I'm just here for the pretty lizards hahahupside down?
ratfink
New Member
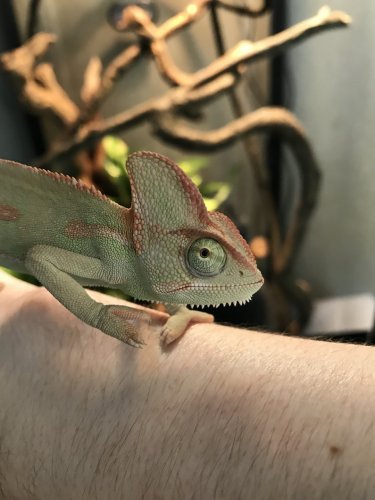
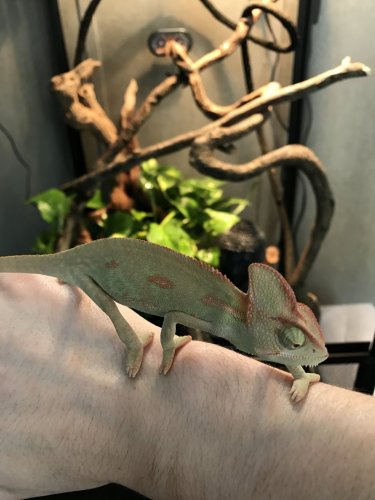
Just finished setting up this enclosure today. It's a 24x24x48 repti-breeze. I'm housing my 3 month old veiled chameleon in it (which, before anyone says anything, he has taken well to cup feeding and I had a small enclosure as a back up for in case there was an issue).
Attachments
Direwolf
Established Member
Jdfreedkin
New Member
Where did you get the rack that you use to hold the plants up?my turn


Darko.Dares
Member
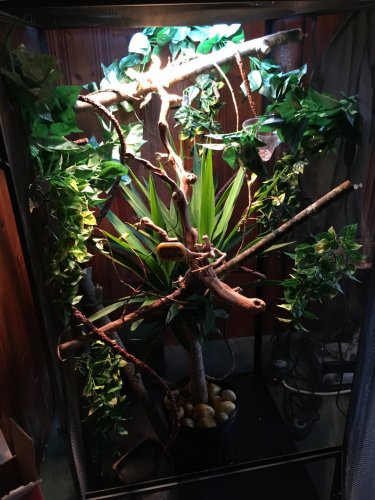
My self build was compelted this week and Tarzan has moved in!


chasecbeard
New Member
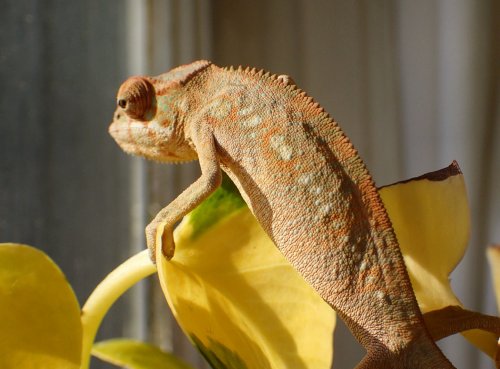
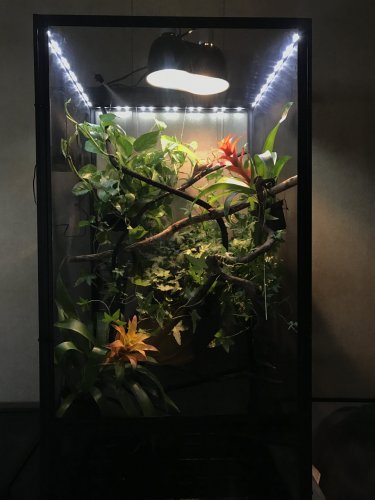
This is Pastel's new cage. I'm new to owning a chameleon and mine is just over 6 months. I got him from a specialty reptile shop in Nashville. I never knew I could love the little cricket muncher as much as I do lol.
The cage is a XL Reptibreeze LED Deluxe and I love it. All the plants are real and safe for chams. I had him in a regular Large Reptibreeze before this and I have to say the deluxe is great. The LEDs aren't to die for but I mainly bought it for the glass door. I love it.
(The photos of pastel were takin in front of his old enclosure)
Attachments
InvisibleShad0w
Member
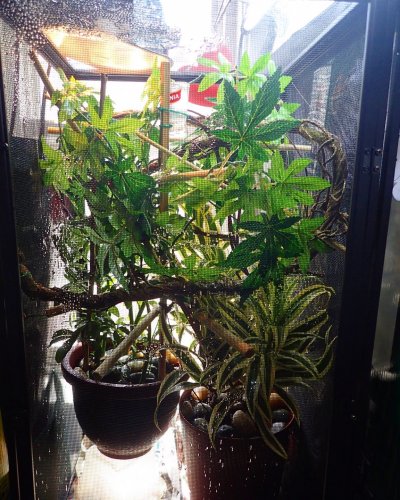
This is my Setup for Lilli my 7 month old furcifer lateralis .
The dimension of the cage are 63 inch x 40 inch x 24 inch


The dimension of the cage are 63 inch x 40 inch x 24 inch


InvisibleShad0w
Member
I actually build it all by my selfe^Nice, did you build or buy that?
")
InvisibleShad0w
Member
Well takes some time but its defenetly fun and im so happy with the resultImpressive!
InvisibleShad0w
Member
3 month + shipping XDWhen will mine be ready?
Nah jk 1 enclosure per year is enough for my nerves

Action Jackson
Chameleon Enthusiast


Some new branches installed. This enclosure is 3 1/2' x 3 1/2' x 7'
Alexander1
Avid Member

AMdoubleER
Avid Member
To add some different insight to the thread, I've put together some pretty cool set ups in my opinion using all artificial plants and vines. Both of my guys seem to be growning up just fine! I haven't upgraded to live plants yet, but some day I will!
18"x18"x36" 36"x18"x36"
18"x18"x36"


 36"x18"x36"


Marc10edora
Avid Member
It's been years since I posted on here and I MISS IT! Can't wait to get back into raising chameleons again. Anyways, wanted to share some of my cages. All of the ideas were developed on info and ideas from this site. This is a great SITE!
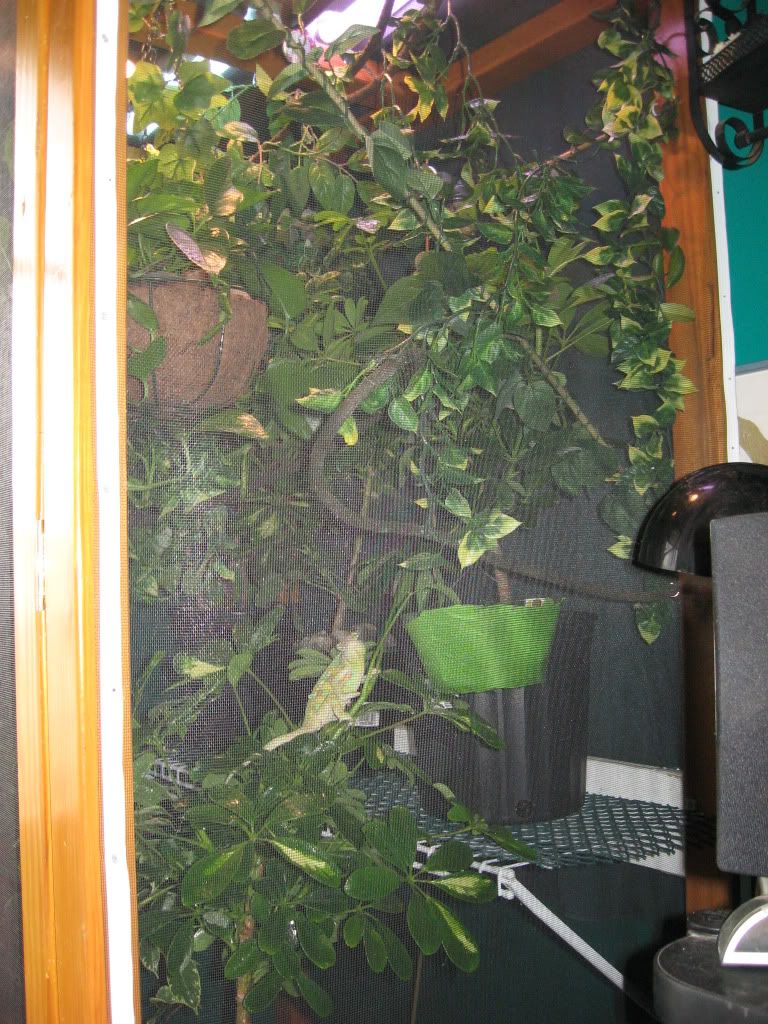
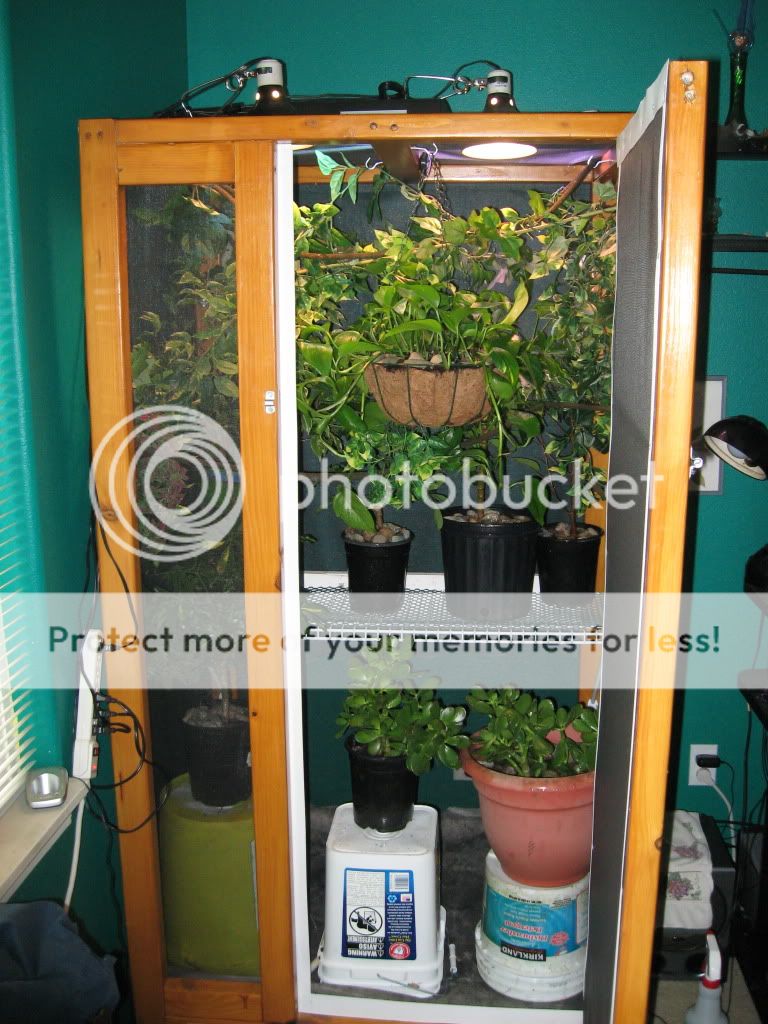
BABY ENCLOSURE:
This is my makeshift baby enclosure. It worked really well and costs me around $20.
- Mesh Garbage Can
- Window Screen
- Bungee Cords
- UVB Light
- Heat Lamp
- Potted Plant (I forgot the name of the plant because it's been so long...lol)
.JPG")
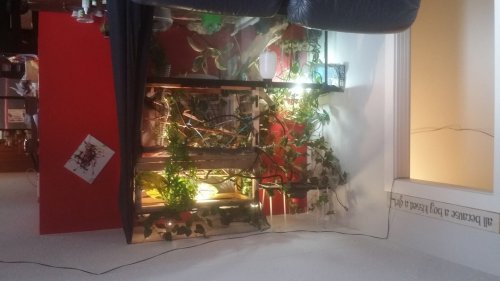
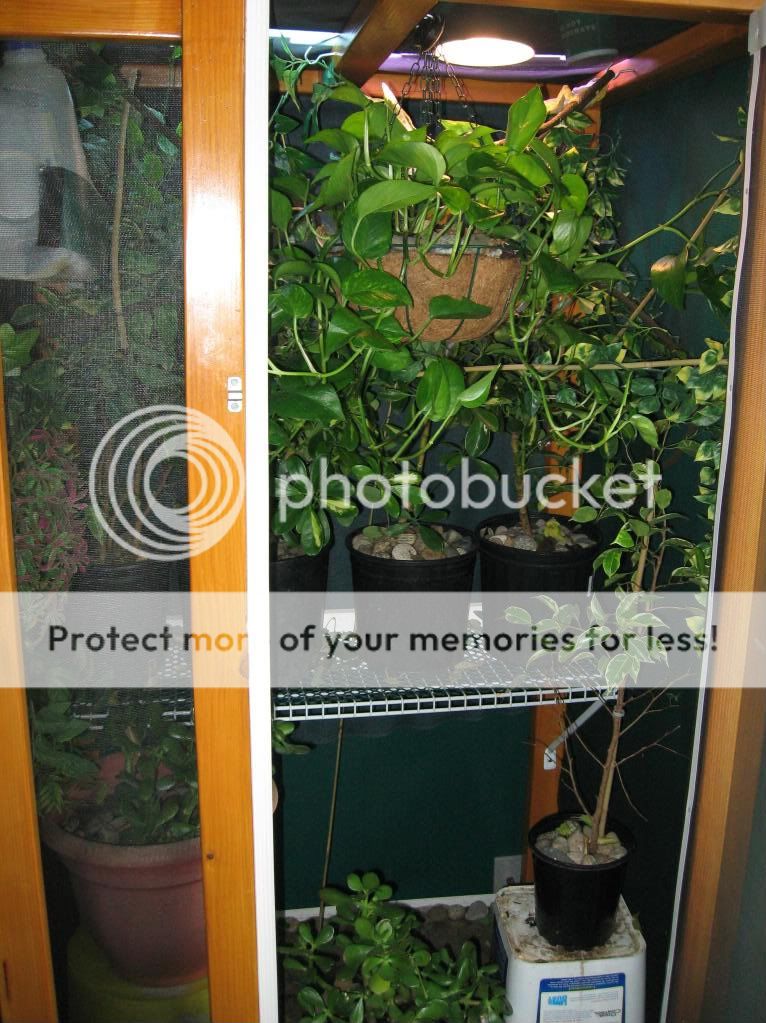
ADULT ENCLOSURE:
This is my custom built diy adult enclosure. Made of wood and window screen. Later on (not pictured) I mounted it on top of an old sink with caster wheels. I used that as my drainage into a gasoline tank.
- Wood
- Window Screen
- Weather Proof Acrylic Paint
- UVB Lights
- Foam Cut Rock Wall
- Plenty of Live Plants
- 2 heat lamps of different temps
I created the top part with a hinge so I could have easy access to the lights. There is also a cross-sectional beam where I can hang heavy plants.

The rock wall was cut and carved out of foam. It was then brushed on with quick drying cement. Followed by two different color house paints. Finally sealed with a clear acrylic sealer sprayed on with a water bottle. I used a dry brush technique to bring out the details in the cracks. Paint the darkest color on first (fully covering the wall). Then dry brush the lighter color. This means you barely get some dry paint on the brush and start painting the surface of the rocks. Don't fully cover all the details or you will lose them.
OUTSIDE SUMMER CAGE:
In the summer, my cham lived outside (I live in California). This was a cheap and easy outside cage. I even made the mesh big enough for bugs to fly in at their own risk.
- PVC Pipe
- Fence Mesh (Be careful to pick one where you cham can't fit through. Should be strong enough to keep cats and dogs out. Try not to use chicken wire because it might cut your cham up. I used plastic chicken wire. Zip tie them to the PVC pipe
- Misting System was rigged up to a bucket that led to my garage.
- Plenty of live plants so my cham can hide from birds.

BABY ENCLOSURE:
This is my makeshift baby enclosure. It worked really well and costs me around $20.
- Mesh Garbage Can
- Window Screen
- Bungee Cords
- UVB Light
- Heat Lamp
- Potted Plant (I forgot the name of the plant because it's been so long...lol)
ADULT ENCLOSURE:
This is my custom built diy adult enclosure. Made of wood and window screen. Later on (not pictured) I mounted it on top of an old sink with caster wheels. I used that as my drainage into a gasoline tank.
- Wood
- Window Screen
- Weather Proof Acrylic Paint
- UVB Lights
- Foam Cut Rock Wall
- Plenty of Live Plants
- 2 heat lamps of different temps

I created the top part with a hinge so I could have easy access to the lights. There is also a cross-sectional beam where I can hang heavy plants.

The rock wall was cut and carved out of foam. It was then brushed on with quick drying cement. Followed by two different color house paints. Finally sealed with a clear acrylic sealer sprayed on with a water bottle. I used a dry brush technique to bring out the details in the cracks. Paint the darkest color on first (fully covering the wall). Then dry brush the lighter color. This means you barely get some dry paint on the brush and start painting the surface of the rocks. Don't fully cover all the details or you will lose them.

OUTSIDE SUMMER CAGE:
In the summer, my cham lived outside (I live in California). This was a cheap and easy outside cage. I even made the mesh big enough for bugs to fly in at their own risk.
- PVC Pipe
- Fence Mesh (Be careful to pick one where you cham can't fit through. Should be strong enough to keep cats and dogs out. Try not to use chicken wire because it might cut your cham up. I used plastic chicken wire. Zip tie them to the PVC pipe
- Misting System was rigged up to a bucket that led to my garage.
- Plenty of live plants so my cham can hide from birds.


