Navigation
Install the app
How to install the app on iOS
Follow along with the video below to see how to install our site as a web app on your home screen.
Note: This feature may not be available in some browsers.
More options
You are using an out of date browser. It may not display this or other websites correctly.
You should upgrade or use an alternative browser.
You should upgrade or use an alternative browser.
Official Enclosure Picture Thread #2 - post your pics!
- Thread starter ferretinmyshoes
- Start date
Craig94089
New Member
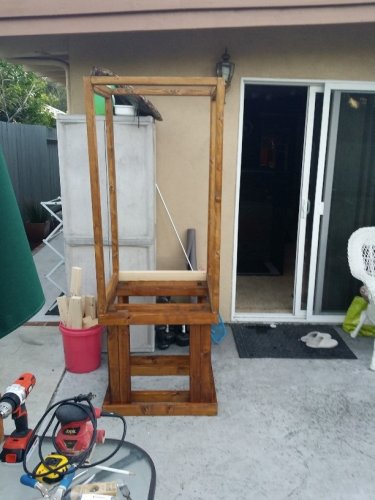
Decided to try my hand at wood working again. My skills with the power saw and measurements is not the best, so I was stoked to see how this project is progressing. I'm about 3/4 of the way through, with some sanding still to go, but I couldn't resist putting on a coat of stain to see what it was going to look like. 
I've built a stand and the top is a free standing frame to wrap my Reptibreeze cage. I'm hoping to finish it up in the next few weekends and start on my outside setup which will be similar.
I've built a stand and the top is a free standing frame to wrap my Reptibreeze cage. I'm hoping to finish it up in the next few weekends and start on my outside setup which will be similar.
Attachments
TreyLcham
Member
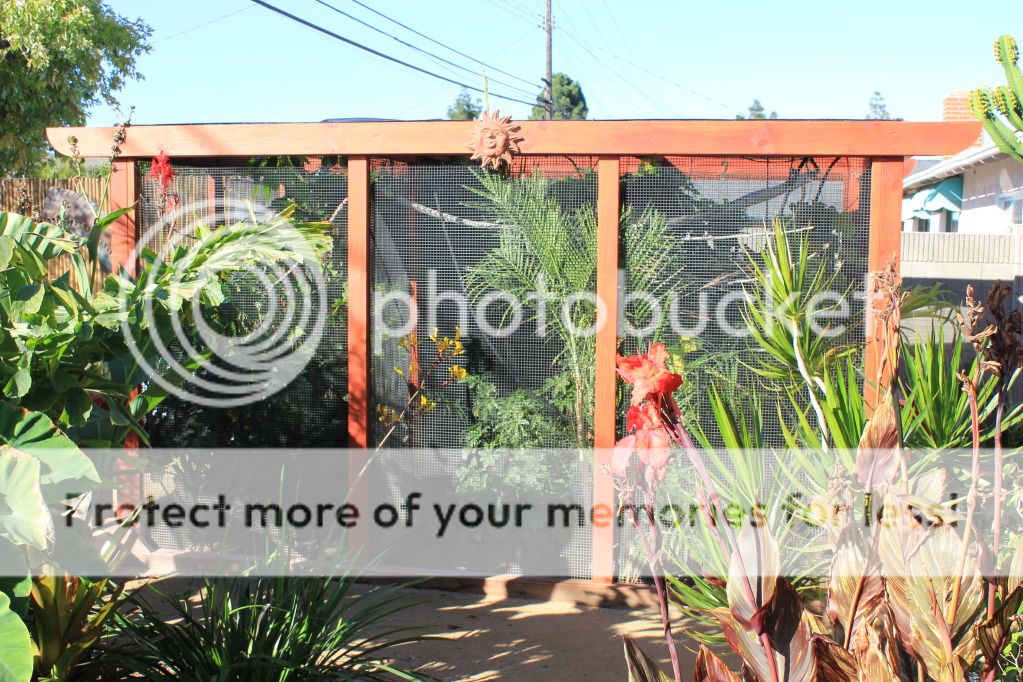
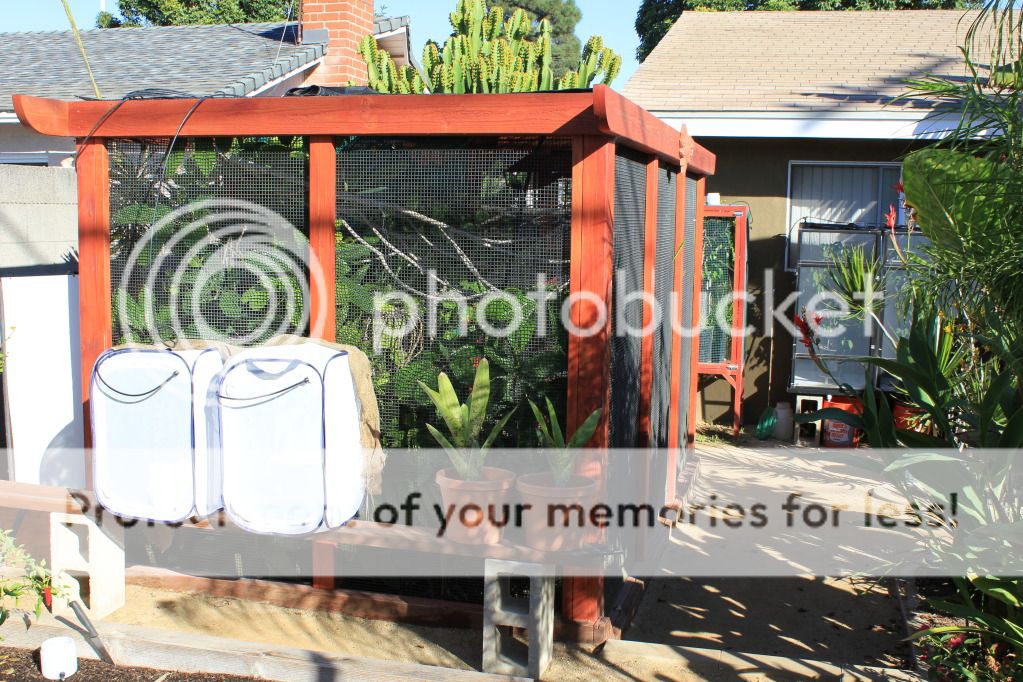
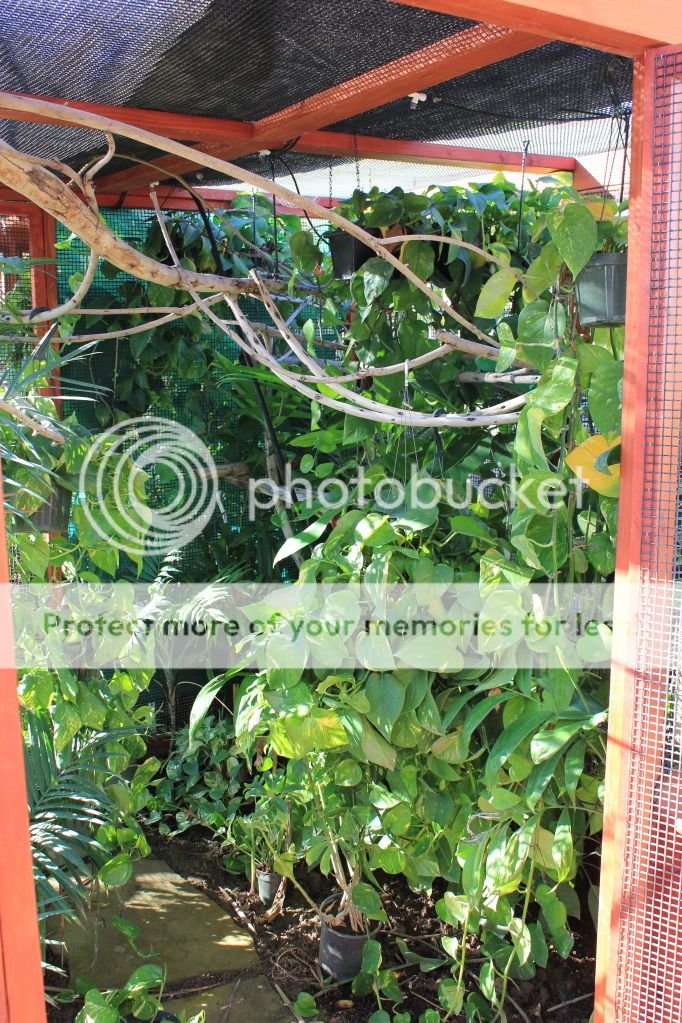
Some pictures of the GOC.


is that an RO system XD That is a great idea so that it can hook strait to the hose water!
Here's my setup, I just finished the base cabinet, and will be installing the hood in the next few days. Right now my panther is shedding.
Does everything look ok? Should I add, or change anything?
Does everything look ok? Should I add, or change anything?
Attachments

garrettt331
New Member
![IMG_2904[1].jpg](https://www.chameleonforums.com/data/attachments/81/81965-9a66f2352fdc0a7e311629661c233cd0.jpg?hash=mmbyNS_cCn "IMG_2904[1].jpg")
![IMG_2906[1].jpg](https://www.chameleonforums.com/data/attachments/81/81966-b60daade4f3c816be651b7948f2bdb46.jpg?hash=tg2q3k88gW "IMG_2906[1].jpg")
![IMG_2908[1].jpg](https://www.chameleonforums.com/data/attachments/81/81967-3a1bca9b101b6cebafe5985797d27f38.jpg?hash=OhvKmxAbbO "IMG_2908[1].jpg")
Within the cabinet is a waste bucket for the excess water and a heated water reservoir for the Mist King.
JasonE
New Member
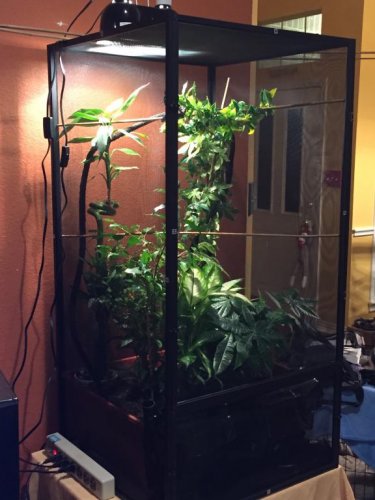
I just finished building this. Its 36.5 x 25.5 x 48". I used a large concrete mixing tub as my base with a bulkhead installed. Mistking installed. I used the shrink wrap you get for insulating windows on the sides and back to keep the humidity up and the heat in. It should look a lot better in a few months when the plants fill in.


mvad
Established Member
Just finished my new enclosure need more fake plants, and cant wait for my live ones to grow somemore any other suggestions?
You need horizontal climbing branches that vary in distance from the basking bulb. One vine will not do it.

pmdaggett79
Member
New setup work in progress
I just finished with most of it.Still have to add the monsoon tomorrow and get a light fixture. Let me know what you think or have any suggestions feel free to comment.
I just finished with most of it.Still have to add the monsoon tomorrow and get a light fixture. Let me know what you think or have any suggestions feel free to comment.
Attachments


Adman
New Member
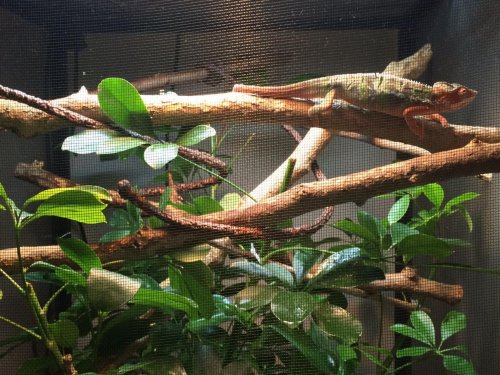
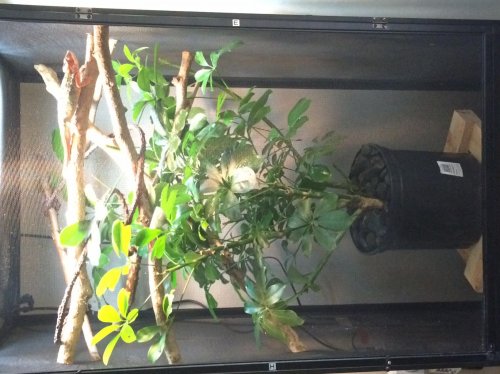
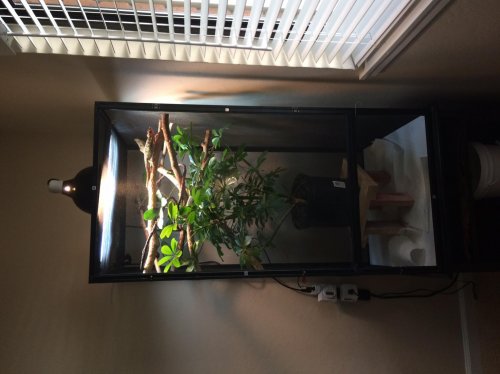
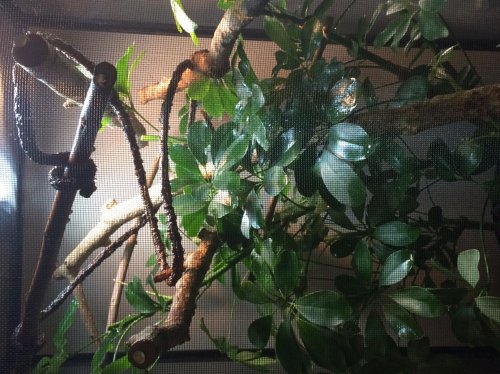
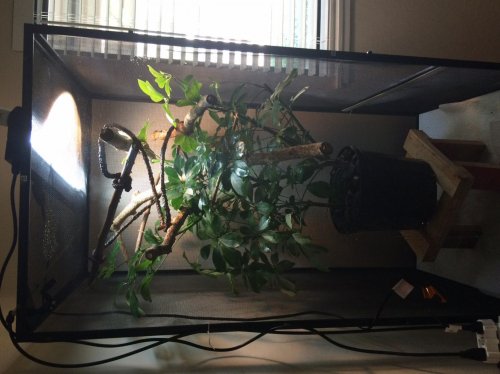
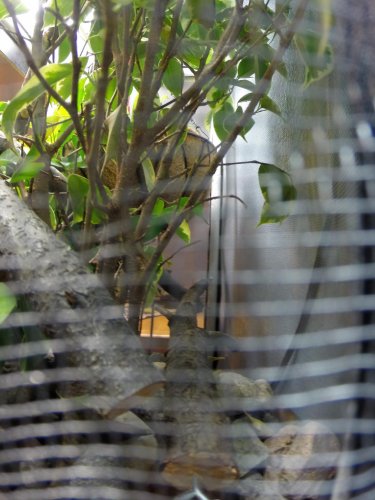
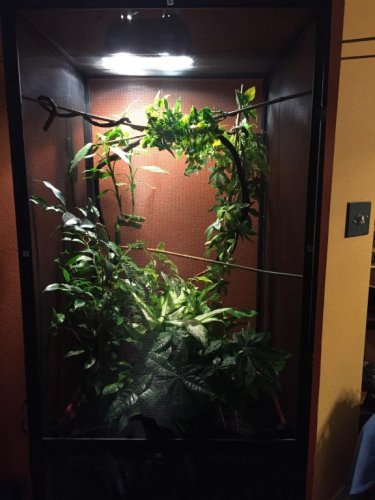
Reptibreeze Medium for my 3 month old male veiled. It's got 2 live Scheffleras, 5m of doubled up Komodo 10mm jungle vine, 2 large branches attached to the sides with wire, and 4.5m of Zoo Med's 25W Repti Heat Cable running throughout the enclosure. To help maintain the humidity I've loosely wrapped a shower curtain around the outside of the enclosure. For lighting he has an Exo Terra hood which houses a 25W and a 13w Exo Terra UVB 100 bulbs.
Attachments
![20150322_132720[1].jpg](/data/attachments/83/83654-35f79f443d0415ab48648c5962a1a163.jpg?hash=NfefRD0EFa)
![20150322_132736[1].jpg](/data/attachments/83/83655-b8b856abdeaf365975883d03bec086ac.jpg?hash=uLhWq96vNl)
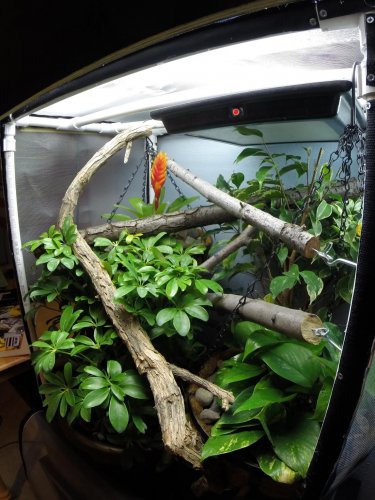
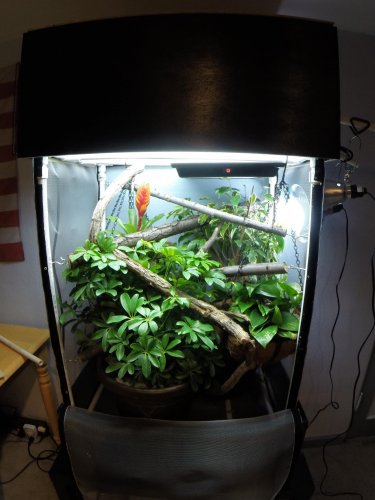
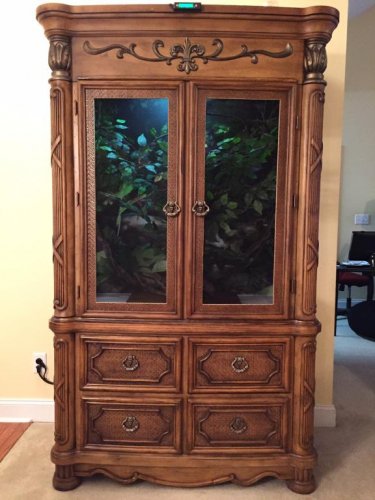
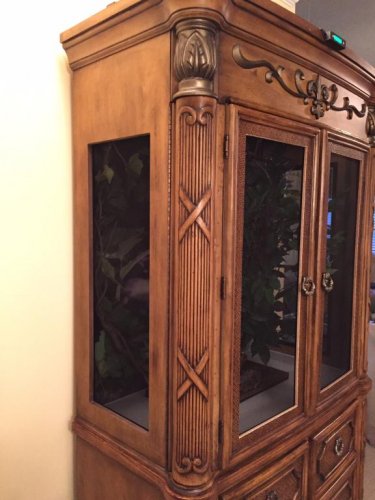
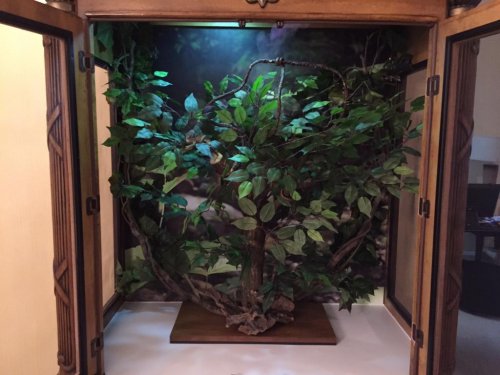
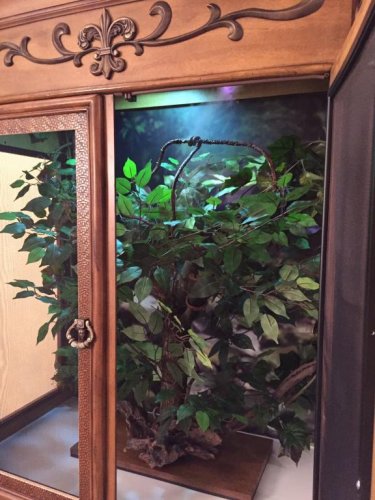
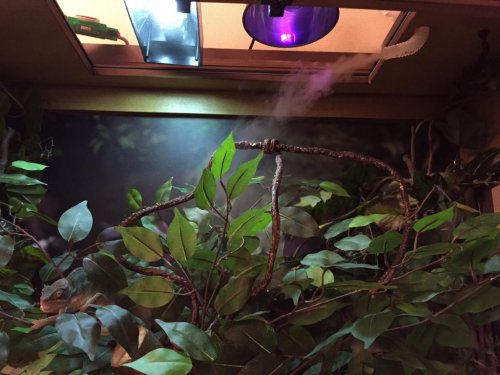
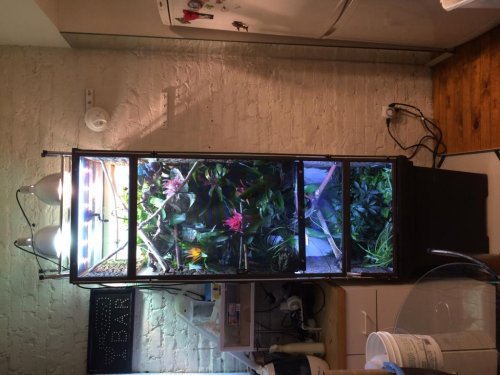
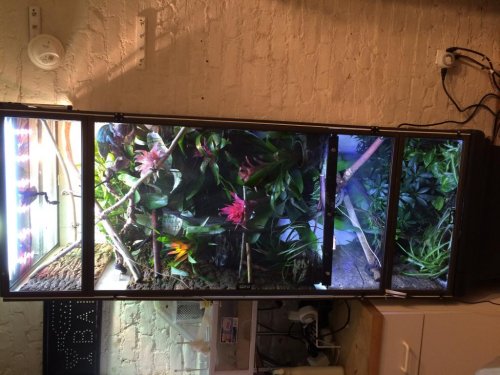
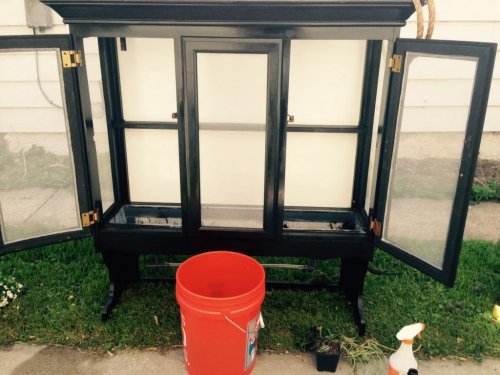
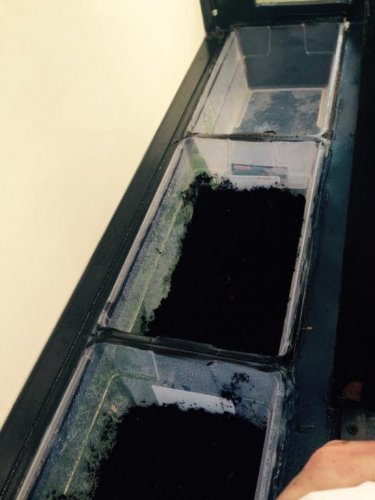
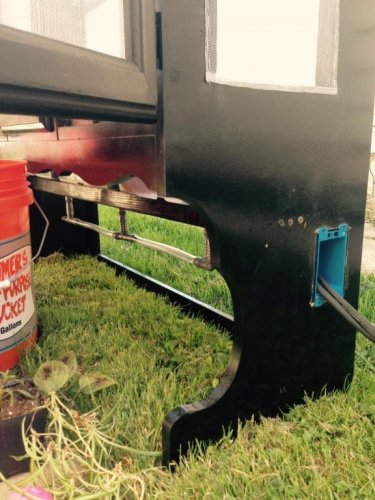
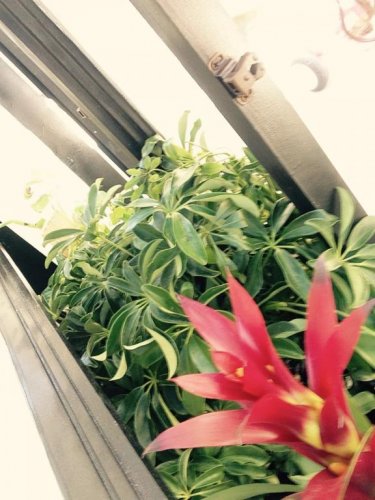
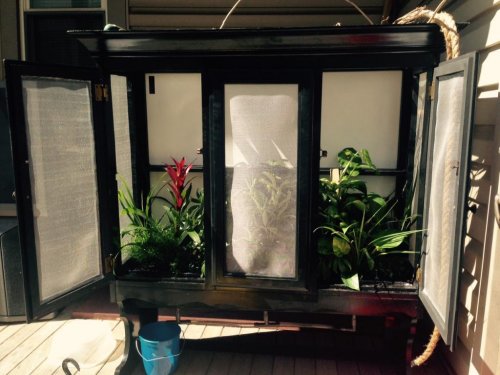
Here is some pics of my little bud's new home...I have been working on it for about two months. I would love some feedback to hopefully justify the hours and money spent!....I started with an solid wood heavy entertainment center my sister donated in my basement when she got a flat screen.....didn't want to see it go to waste so I decided to convert it to new home for "Boyd"...I cut out the sides, doors and top and made custom screens to fit....then I outfitted it with a mistking premium system and converted one of the drawers to a acrylic lined water tank and hid the pump and stuff behind the drawers. I also added a digital hygrotherm and a fogger to keep the humidity automatically controlled. The rest of the systems are hidden on top....the unit had the perfect recess at the top. I am a bit ocd and I wanted a clean automatic system. Inside is vinyl with a floor graphic lamination for easy clean up....the inside back is picture of a jungle printed on polystyrene with a floor guard lam as well. I custom made a tree from an apple tree I cut down with fake leaves and vines....once again maintenance free. All misting and lights are timed and fully auto....let me know what you think!.....thanks!
Attachments
JoCarp
Established Member
Here is some pics of my little bud's new home...I have been working on it for about two months. I would love some feedback to hopefully justify the hours and money spent!....I started with an solid wood heavy entertainment center my sister donated in my basement when she got a flat screen.....didn't want to see it go to waste so I decided to convert it to new home for "Boyd"...I cut out the sides, doors and top and made custom screens to fit....then I outfitted it with a mistking premium system and converted one of the drawers to a acrylic lined water tank and hid the pump and stuff behind the drawers. I also added a digital hygrotherm and a fogger to keep the humidity automatically controlled. The rest of the systems are hidden on top....the unit had the perfect recess at the top. I am a bit ocd and I wanted a clean automatic system. Inside is vinyl with a floor graphic lamination for easy clean up....the inside back is picture of a jungle printed on polystyrene with a floor guard lam as well. I custom made a tree from an apple tree I cut down with fake leaves and vines....once again maintenance free. All misting and lights are timed and fully auto....let me know what you think!.....thanks!
I am new to chams so I cannot speak to function, but this setup looks AMAZING!!!! I purchased an armoire last night to do the same thing after seeing your post a while back so I would really like to know how it's going for you with the humidity and everything. Mine has wrought iron gates for the doors that I will screen. I'm really interested in how your humidity levels are and what wattage bulbs you are using as mine looks to be about the same size (4'w, 7'h, 2' deep). Thanks for sharing, this idea is what got me the "go-ahead" and got my wife on board! (well that and actually taking her to a herp show and getting her to see/hold some chameleons)
ChameleonUES
Member
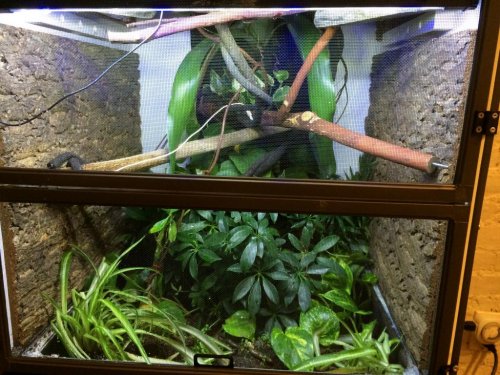
New Custom Cage
Im a new member here, but I've been keeping chameleons for quite some time.
This is a custom hybrid breeder cage from Dragon Strand. I contacted Bill Strand (Great guy!)
and he helped me get what I had in mind.
It is 5ft tall, 23.75 in wide, and 23 in deep.
It is sitting on a 24x24 in planter that is 20 in tall.
the floor of the enclosure is planted with:
Schefflera
Pothos
Parlor Palm
Spider plant
babytears
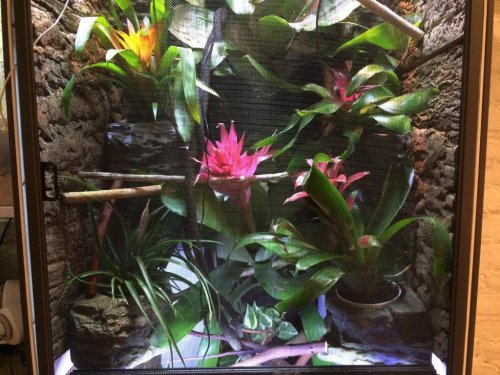
On the inside back, I glued a flora felt living wall planter, with a reservoir from amazon.com. It has a total of 8 pockets. I did not want to experiment with 'nice' plants so I just planted 6 various types of pothos and 2 large bromeliads.
Also, 6 magnaturals small planters, with small bromeliads.
For the vines, i used 2 large and 2 small eco terra vines, in which i twisted them together. Also used 8 kammerflage chameleons (chameleonsonly.com) branches. GREAT quality!
The top section also has 4 grapwood bird branches, that a 'screwed' on the dragon strand hybrid shelves.
There are zoo med cork backgrounds siliconed to the sides. for decoration and increase humidity.
Im using a mist-king, currently there is only one single nozzle, but ill be adding a quad unit, to ensure that the whole cage get 'wet'. The mist-king water reservoir is a 44 gallon, brute container, to ensure that the cage can sustain itself for a long period of time. As I do travel a lot.
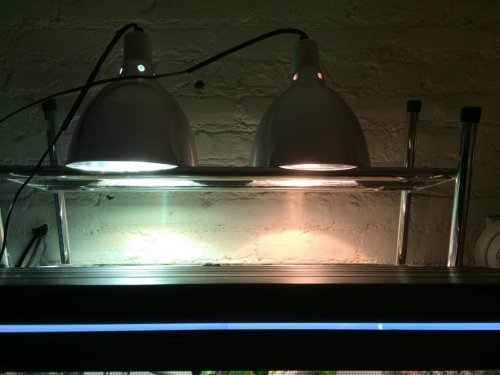
Lighting: I purchased Arcadia bulbs and domes from lightyourreptiles.com
Todd, is the most helpful and informative person to speak to in regards t lighting, and his products (Arcadia) are truly amazing.
100W mercury vapor bulb
75W halogen bulb
12% uvb.
and the uvb fixture is the zoomed UVB/LED fixture.
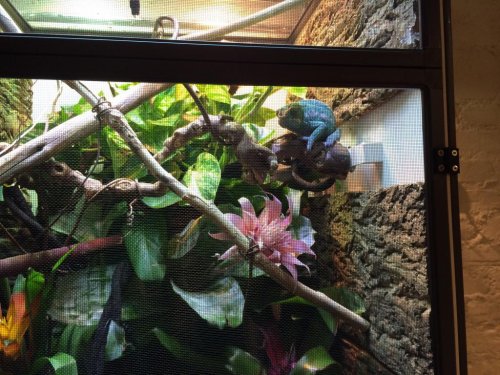
My chameleon, is an adult male nosy be panther.
P.S.
I used the arcadia uvb on my chameleons previous cage, and honestly noticed a difference within hours after installing the bulb.
Im a new member here, but I've been keeping chameleons for quite some time.
This is a custom hybrid breeder cage from Dragon Strand. I contacted Bill Strand (Great guy!)
and he helped me get what I had in mind.
It is 5ft tall, 23.75 in wide, and 23 in deep.
It is sitting on a 24x24 in planter that is 20 in tall.
the floor of the enclosure is planted with:
Schefflera
Pothos
Parlor Palm
Spider plant
babytears
On the inside back, I glued a flora felt living wall planter, with a reservoir from amazon.com. It has a total of 8 pockets. I did not want to experiment with 'nice' plants so I just planted 6 various types of pothos and 2 large bromeliads.
Also, 6 magnaturals small planters, with small bromeliads.
For the vines, i used 2 large and 2 small eco terra vines, in which i twisted them together. Also used 8 kammerflage chameleons (chameleonsonly.com) branches. GREAT quality!
The top section also has 4 grapwood bird branches, that a 'screwed' on the dragon strand hybrid shelves.
There are zoo med cork backgrounds siliconed to the sides. for decoration and increase humidity.
Im using a mist-king, currently there is only one single nozzle, but ill be adding a quad unit, to ensure that the whole cage get 'wet'. The mist-king water reservoir is a 44 gallon, brute container, to ensure that the cage can sustain itself for a long period of time. As I do travel a lot.
Lighting: I purchased Arcadia bulbs and domes from lightyourreptiles.com
Todd, is the most helpful and informative person to speak to in regards t lighting, and his products (Arcadia) are truly amazing.
100W mercury vapor bulb
75W halogen bulb
12% uvb.
and the uvb fixture is the zoomed UVB/LED fixture.
My chameleon, is an adult male nosy be panther.
P.S.
I used the arcadia uvb on my chameleons previous cage, and honestly noticed a difference within hours after installing the bulb.
Attachments
ChameleonUES
Member

MarieMc44
Member
Casa De Spike
His cage is coming along... Here are some pix of our progress...
Custom cage with drainage system and lighting system:
His cage is coming along... Here are some pix of our progress...
Custom cage with drainage system and lighting system:
Attachments
Similar threads
- Replies
- 10
- Views
- 3K
- Replies
- 218
- Views
- 63K
- Replies
- 12
- Views
- 3K
- Replies
- 2
- Views
- 1K