FrankTheTank
Established Member
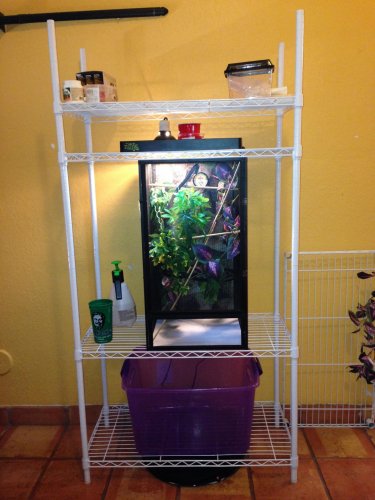
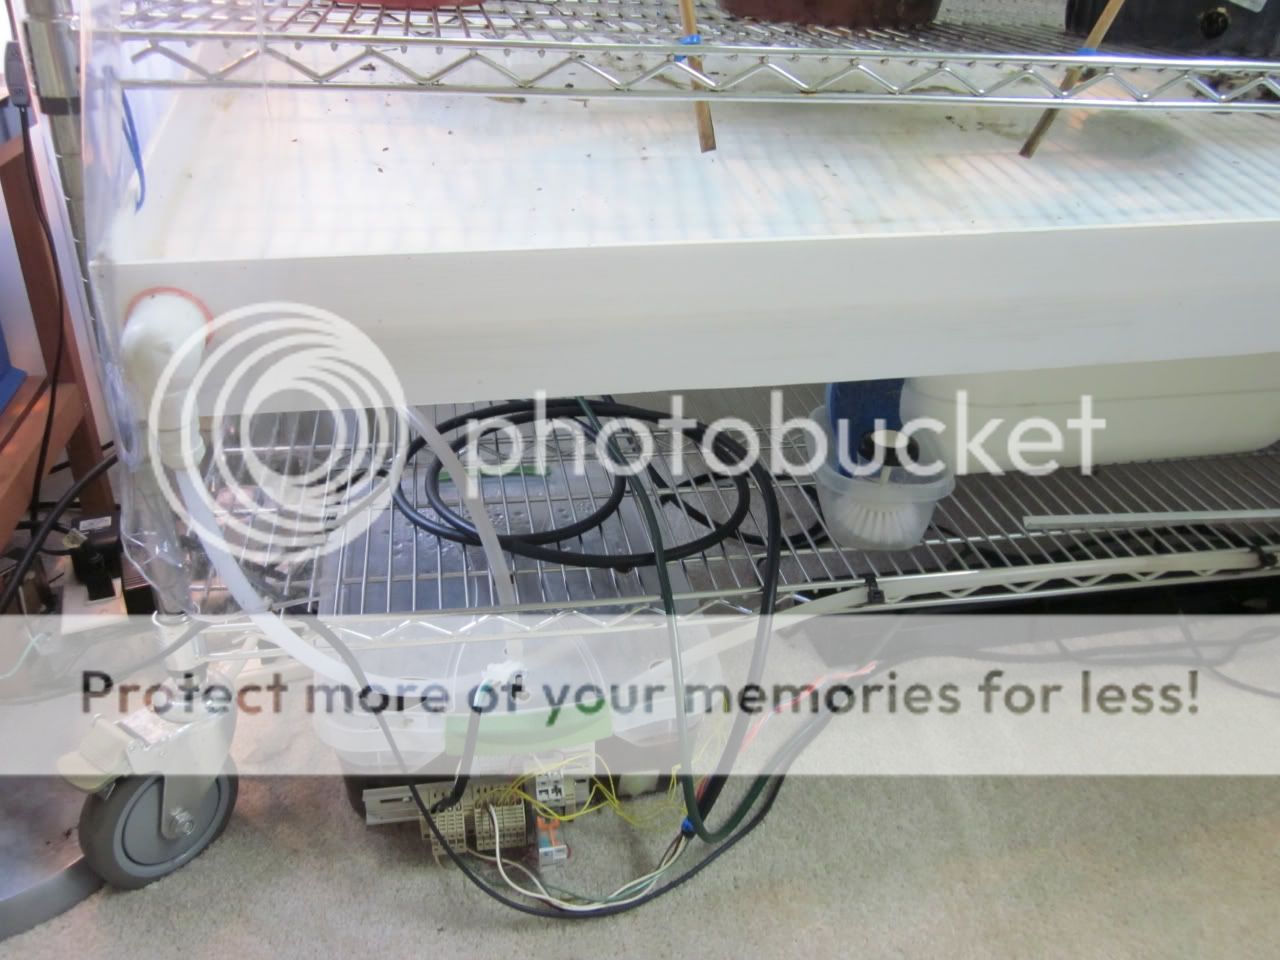
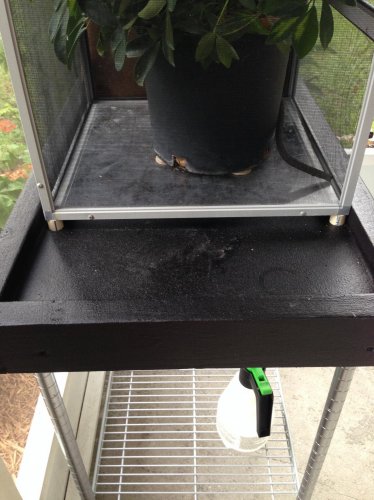
This is my drainage system that I designed myself. I used shower liner and a wooden frame.
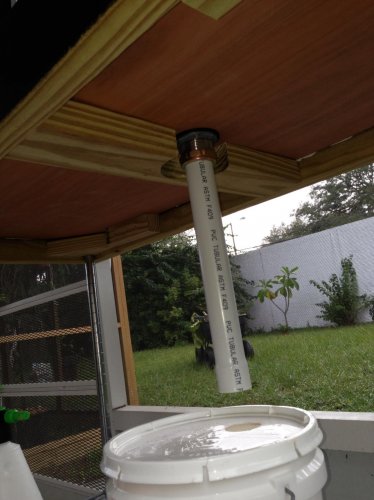
The drain goes into a bucket underneath the enclosure
Follow along with the video below to see how to install our site as a web app on your home screen.
Note: This feature may not be available in some browsers.
This is my drainage system that I designed myself. I used shower liner and a wooden frame.
Thank you so much for the idea, I did the same set up as the first picture and it works great! Easy and very cost affective...Here are some examples:
do you guys ship to the US? if yes, please send me instructions on payment method and shipping cost, please.we make them for our enclosures Kath.
http://chameleonworldmuji.co.uk/starter-kits/
do you guys ship to the US? if yes, please send me instructions on payment method and shipping cost, please.


Where did you get these, or what did you make them out of?Free range drains.. also work with cages...

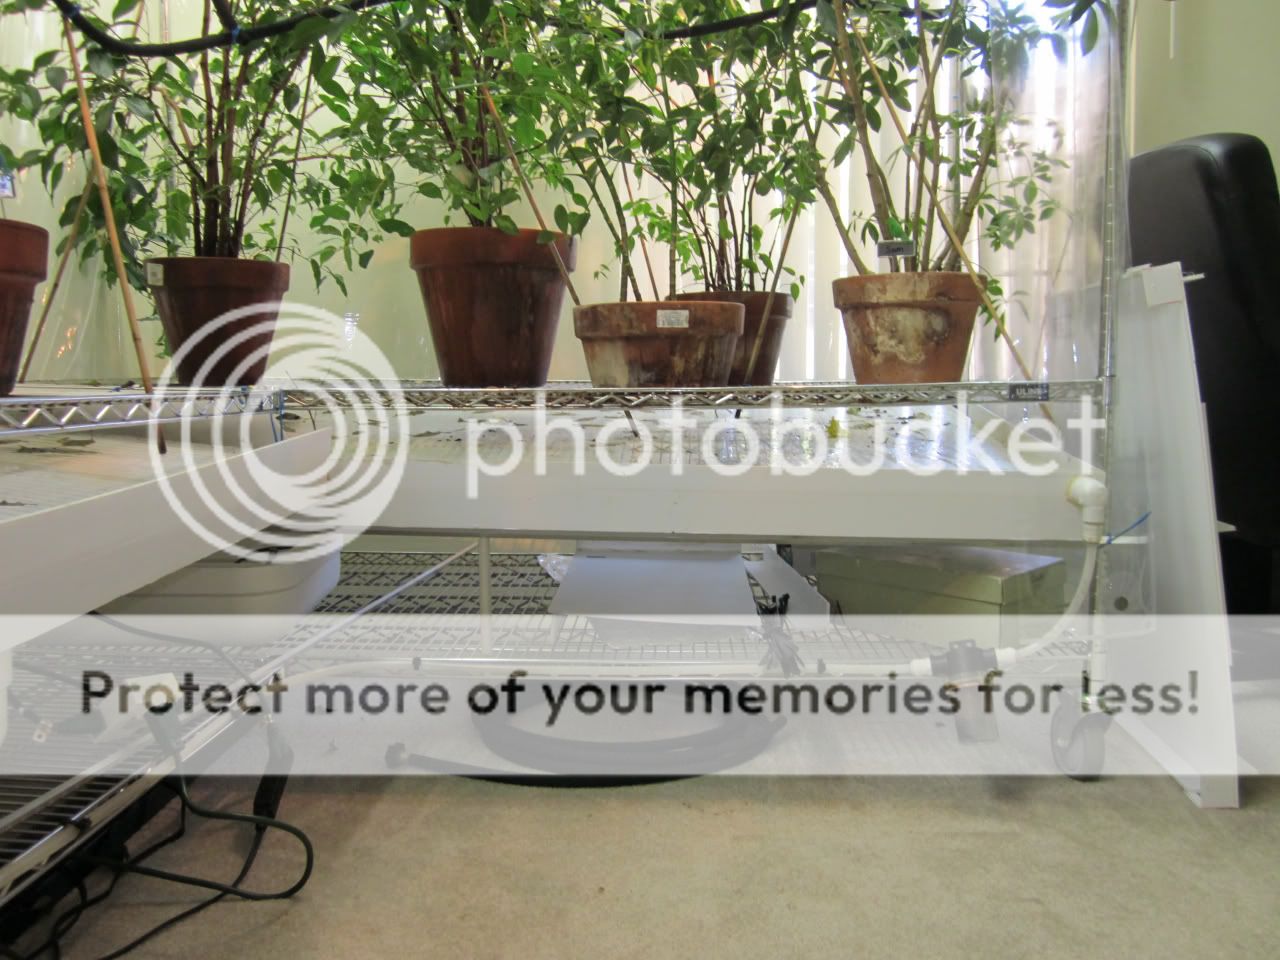
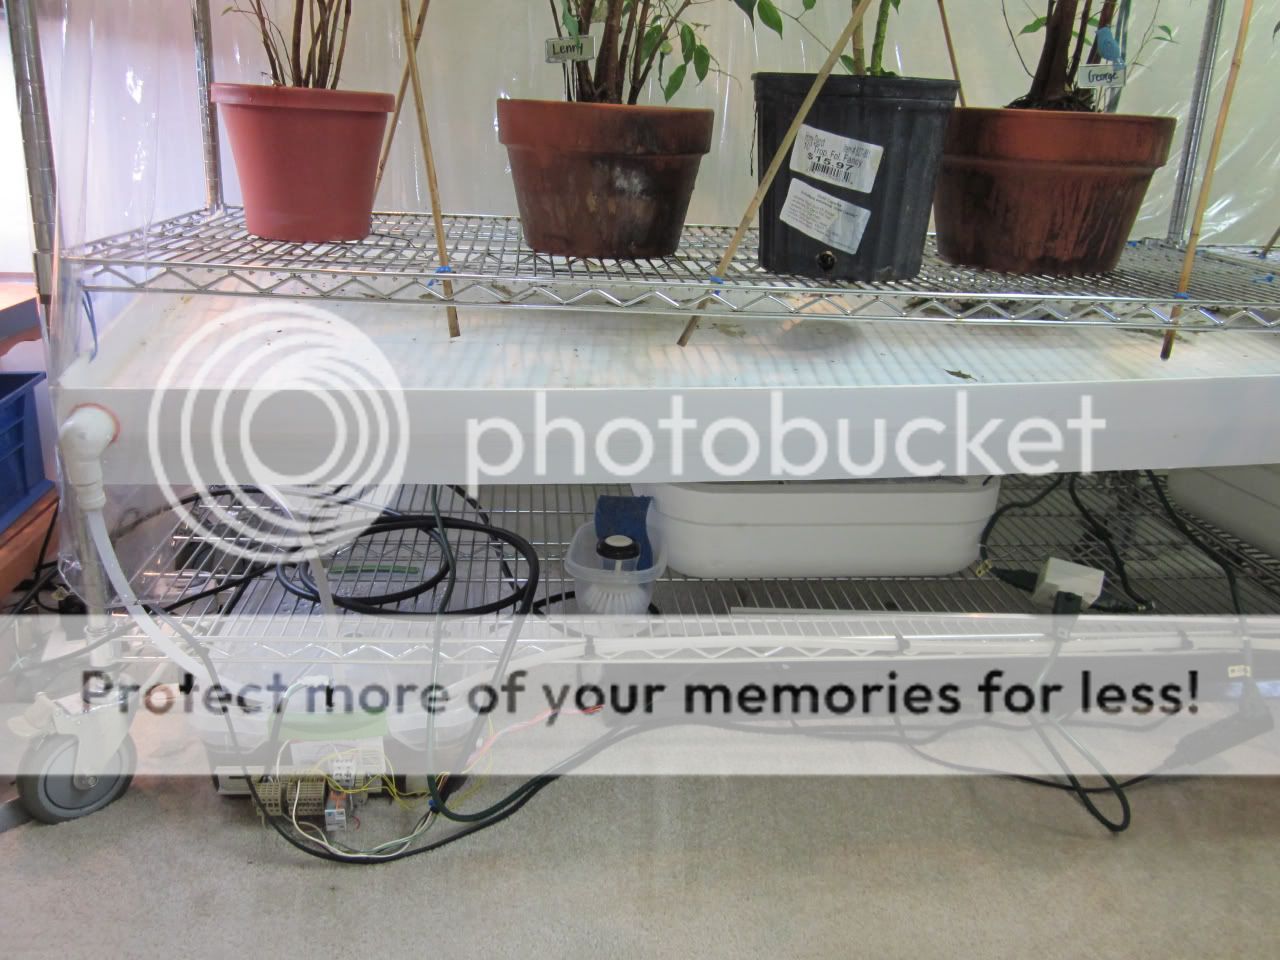
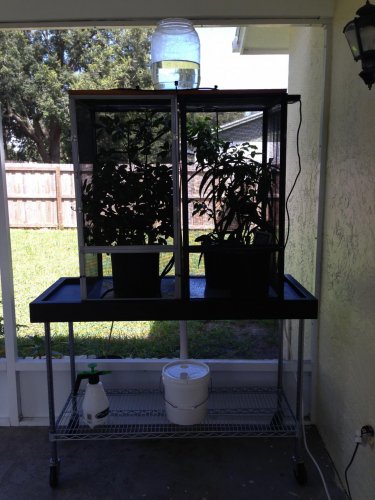
Automated drainage:


Where did you get these, or what did you make them out of?
Not sure if anyone else saw these but when i did i knew i can make this work for my four cages. they need a little modifacation but they will do the job I need and look decent too! they were only 39.99 and will post pics when its done.


 Chance Leon is "super" happy now!
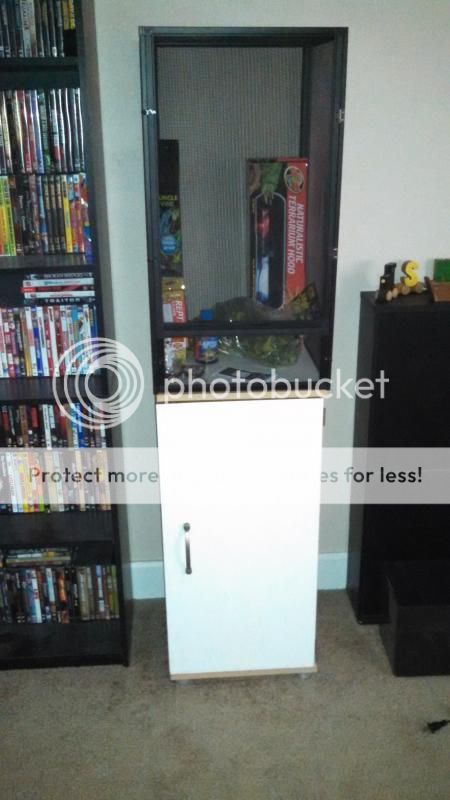
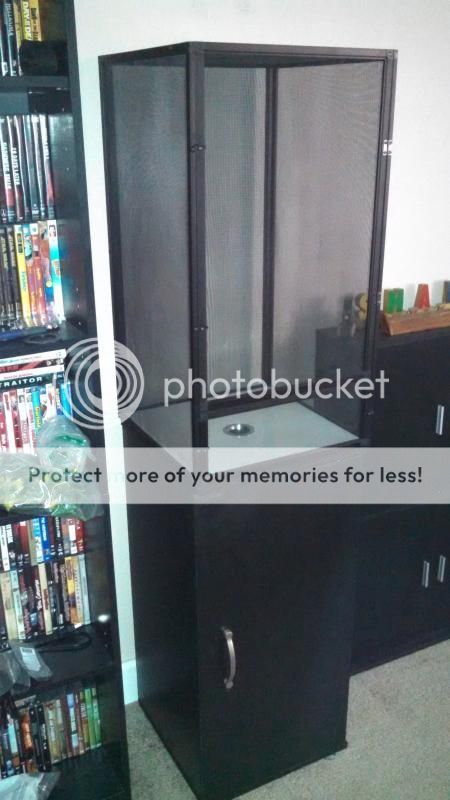

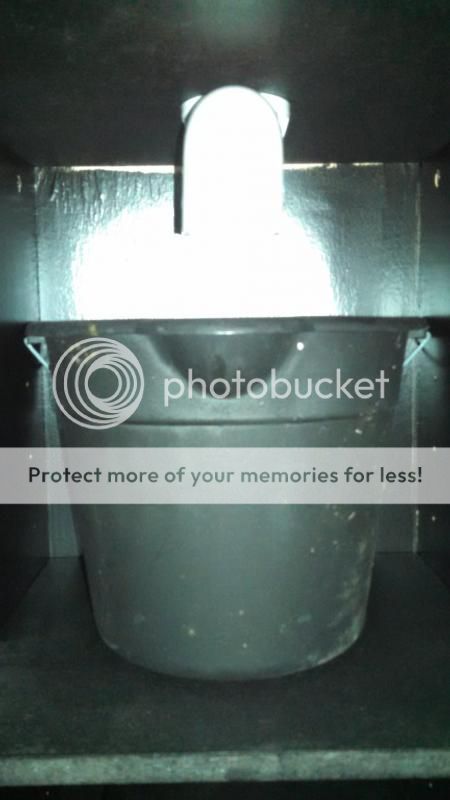
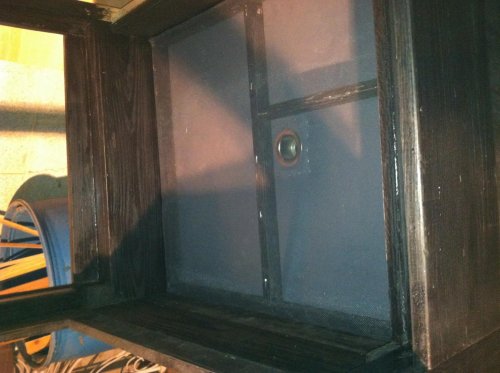
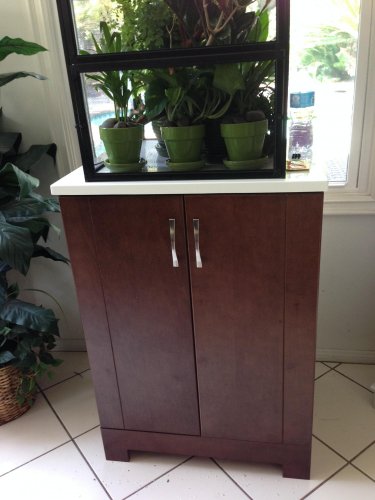
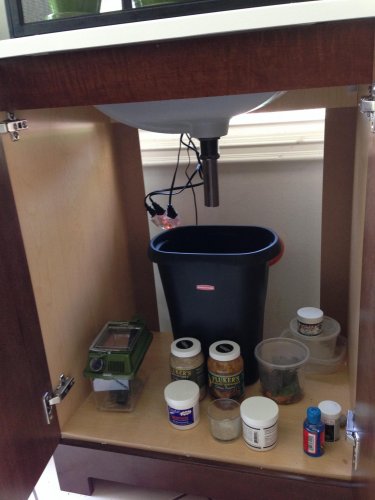
Getting the enclosure set up for a chameleon coming from a forum member in a few weeks and thought I would share some pictures of my drainage. I found this cabinet on craigslist and it matched the dimensions of my Reptibreeze perfect so I bought it. It was in pretty rough shape, the corners were bowed out from moisture, It looked like it had been thrown together from scraps laying around someones house. I wanted to make it look nice so I spent the day sanding and squaring the corners up all the way around and prepping it for paint. I found a 2" bath tub drain and drilled a hole through the center of the Reptibreeze bottom and through the top of the cabinet and put the drain through to drain into a small bucket. There is a slight dip in the center of the cage so the water should have no problems making it to the drain without going out onto the carpet. The lip however will cause some water to stay behind. nothing that some paper towels can't handle while cleaning. So far I am pretty happy with it. I have turned it into a nice simple and fairly inexpensive one piece enclosure.