chambabysitter1
New Member
So, I showed Chameleo outside enjoying the sun, while Kayleigh and I slaved away on his new cage.
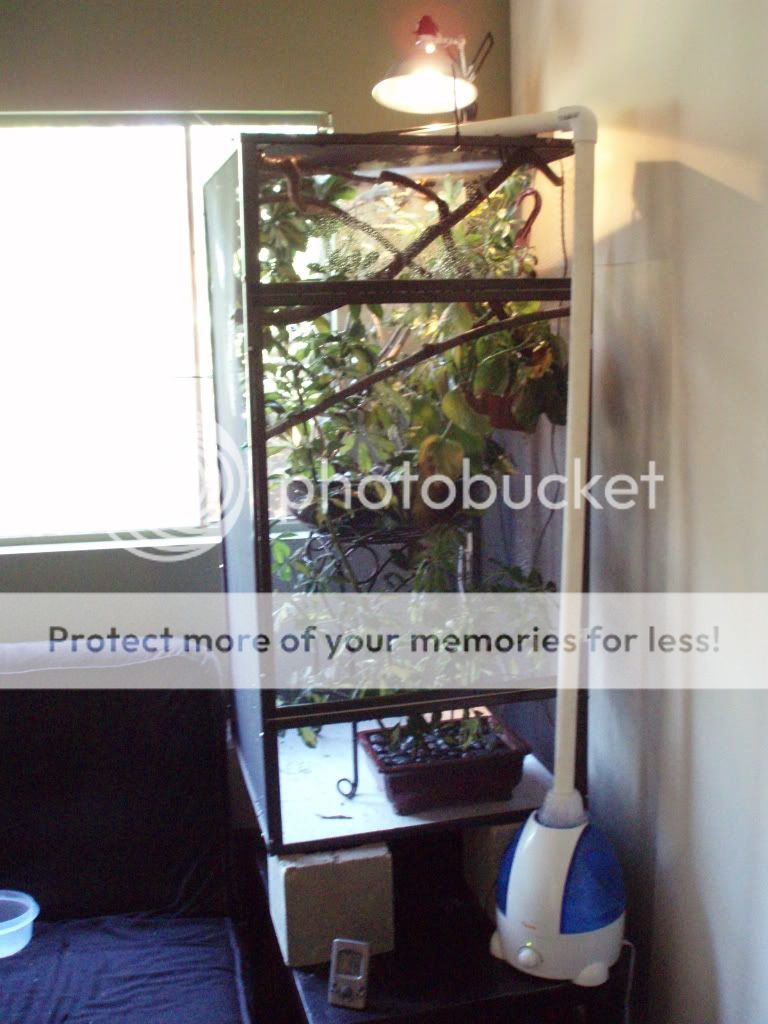
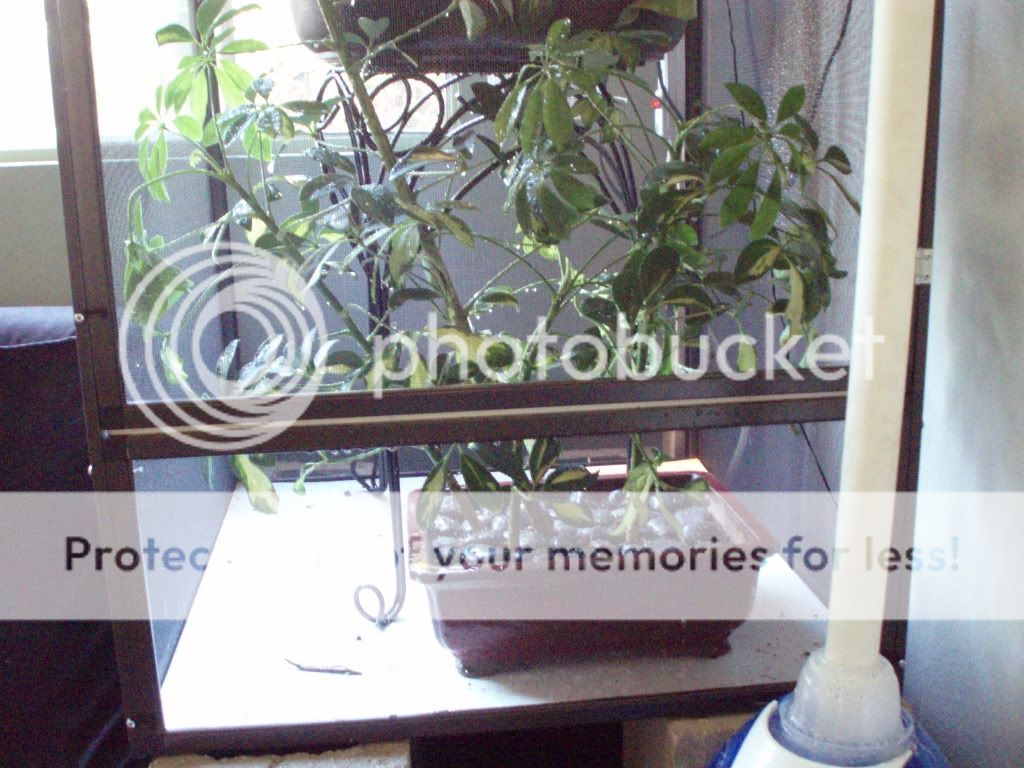
This was the mockup/halfass setup to visualize it.

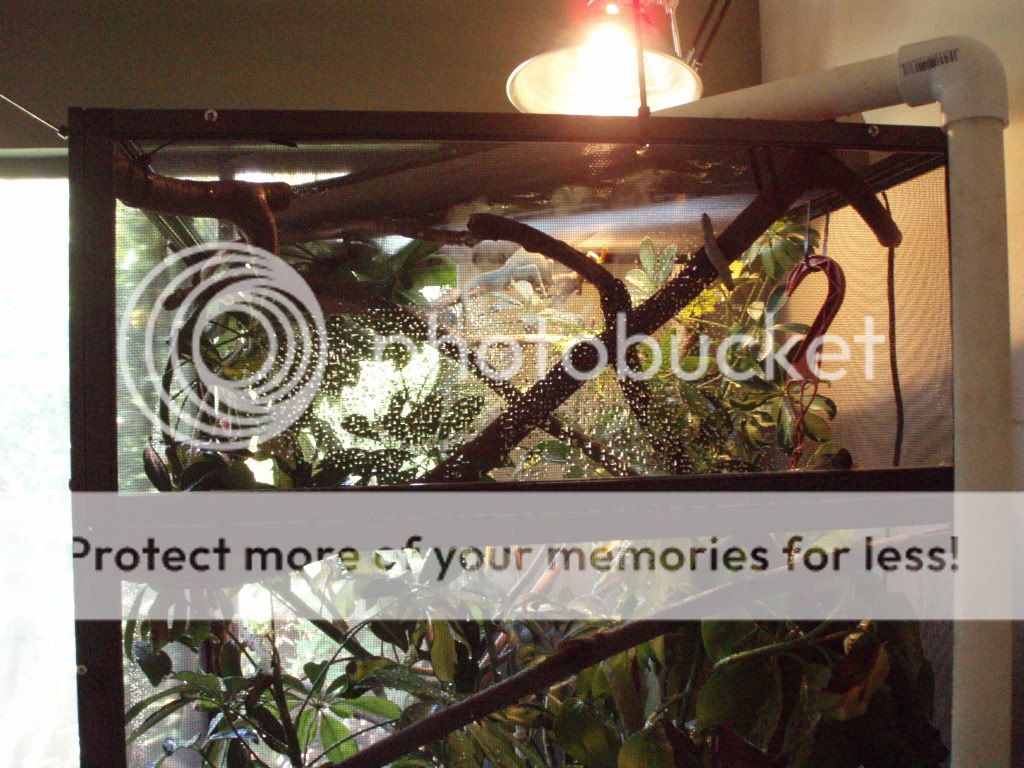
Here is the finished product.
Cool mist humidifier, gladware dish, with some pipe jimmied and hot glued to wrap around the top. Holes in the pipe distribute the mist evenly on top.
Drainage solution. Some chatters might remember me buying a rabbit pan. It was a bust for the most part, oh well. Some big ugly bricks with a tub worked just as well.
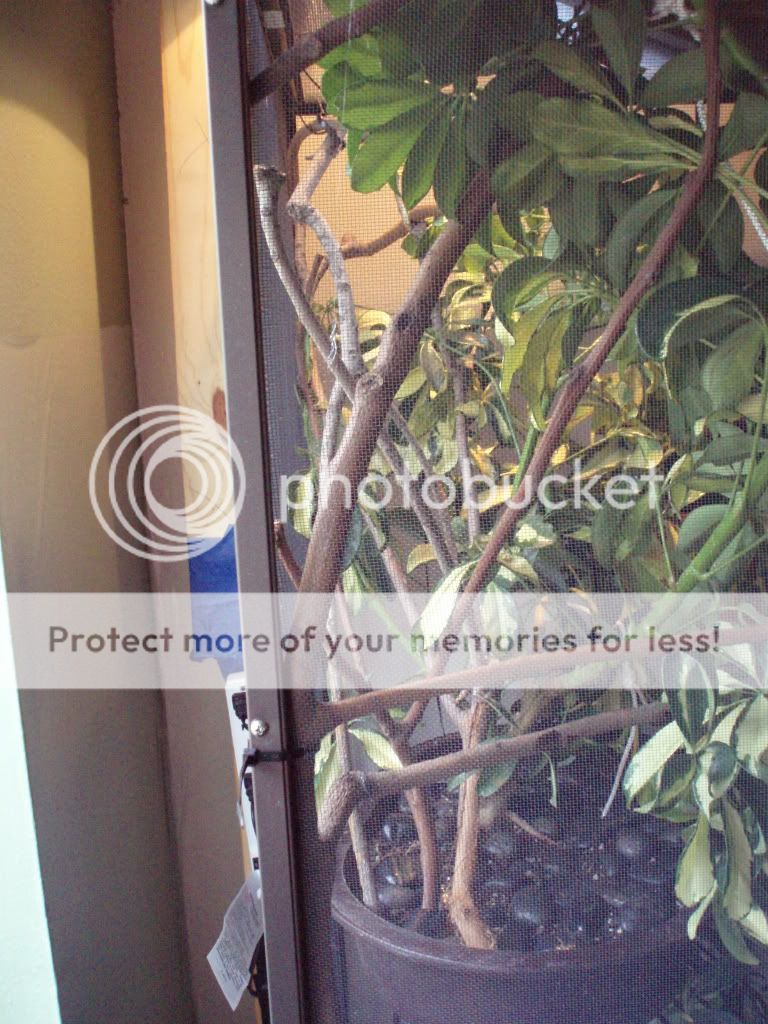
Some of my bonsai pots. Bonsai pots came reccomended to me by Elisa, and I LOVE them. The drainage is excellent, as long as you pack it really really tight. They have nifty feet to prevent feeders from dying under, and they look awesome. Should be an easy to clean bottom for the most part.
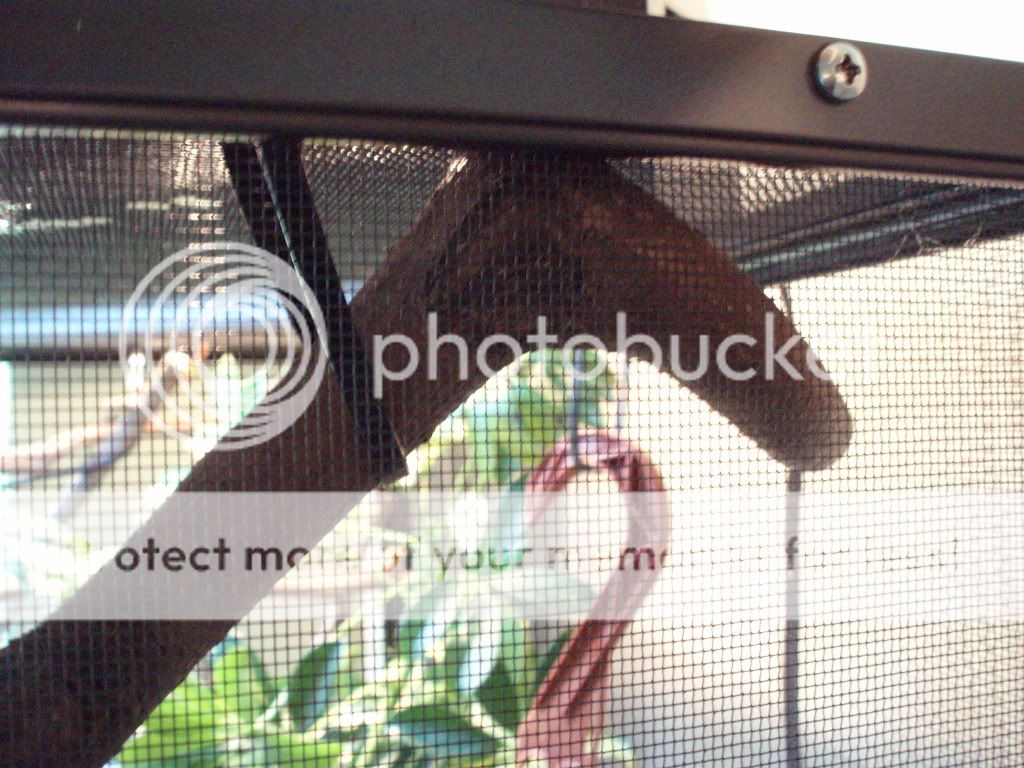
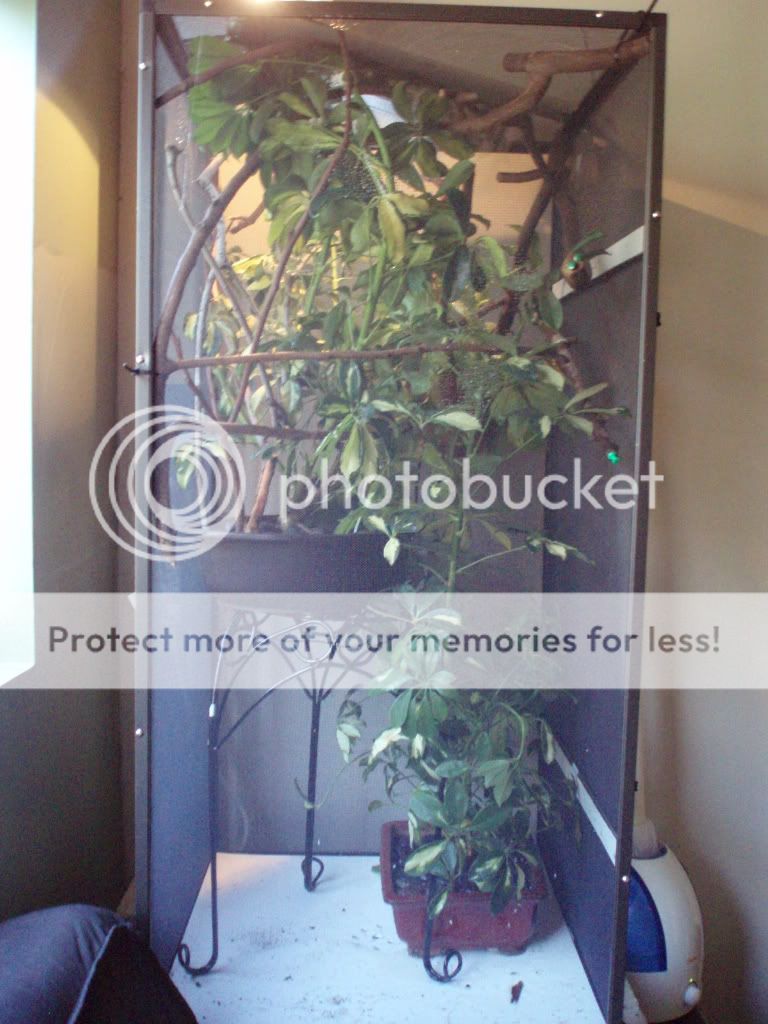
The top. A gaggle of branches. I put so many to keep him from walking on the ceiling like he loves to do so much. It was fine before, but now little fatty is getting too big for it, gotta watch those nails too.
There is an 18" Reptisun tube behind the pipe and a basking light in the back. Temps are wacky, I might just switch to a halogena bulb as recommended.
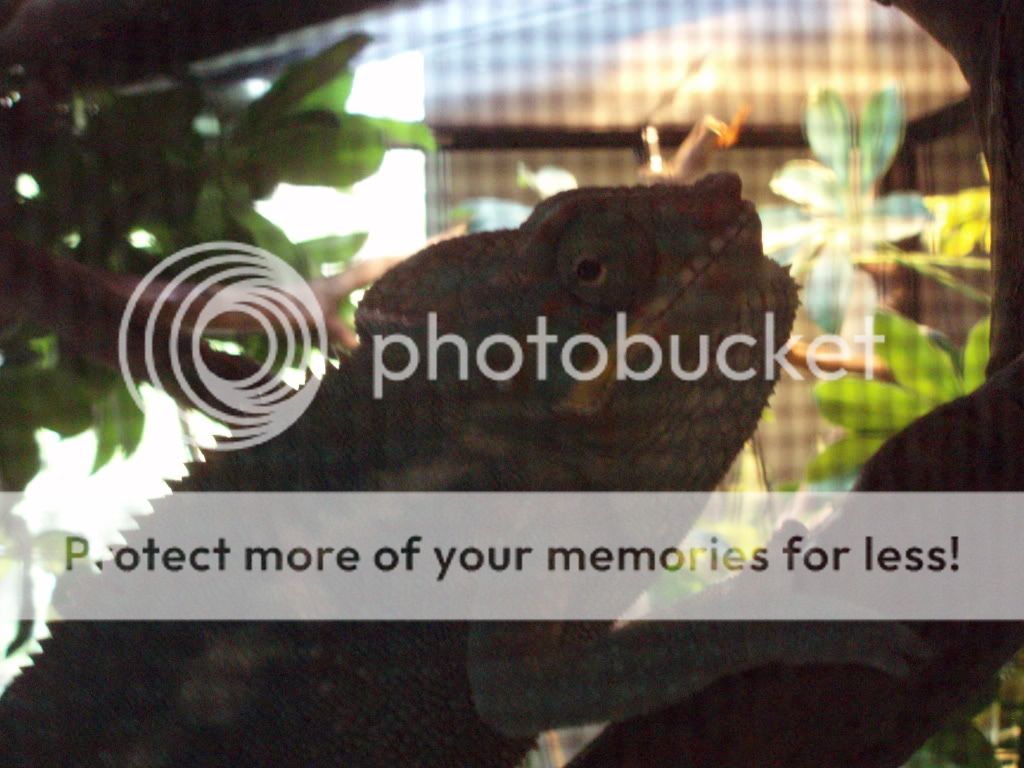
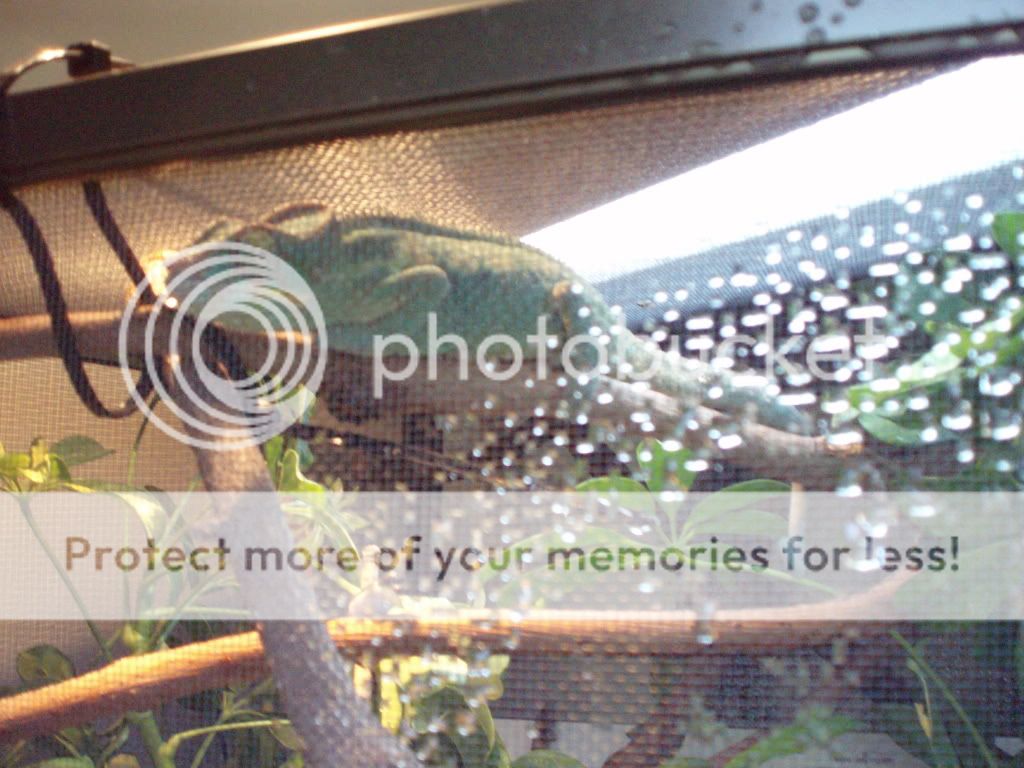
When I first put him in, he held this position for about 10 mins. Deciding if he wanted to climb the ceiling and rostral rub, or just check out his new awesome house.
He hasn't rubbed or gone upside down after that, so I think he's happy.
Example of branch being so close to cieling that he decides to just walk like a normal chameleon.
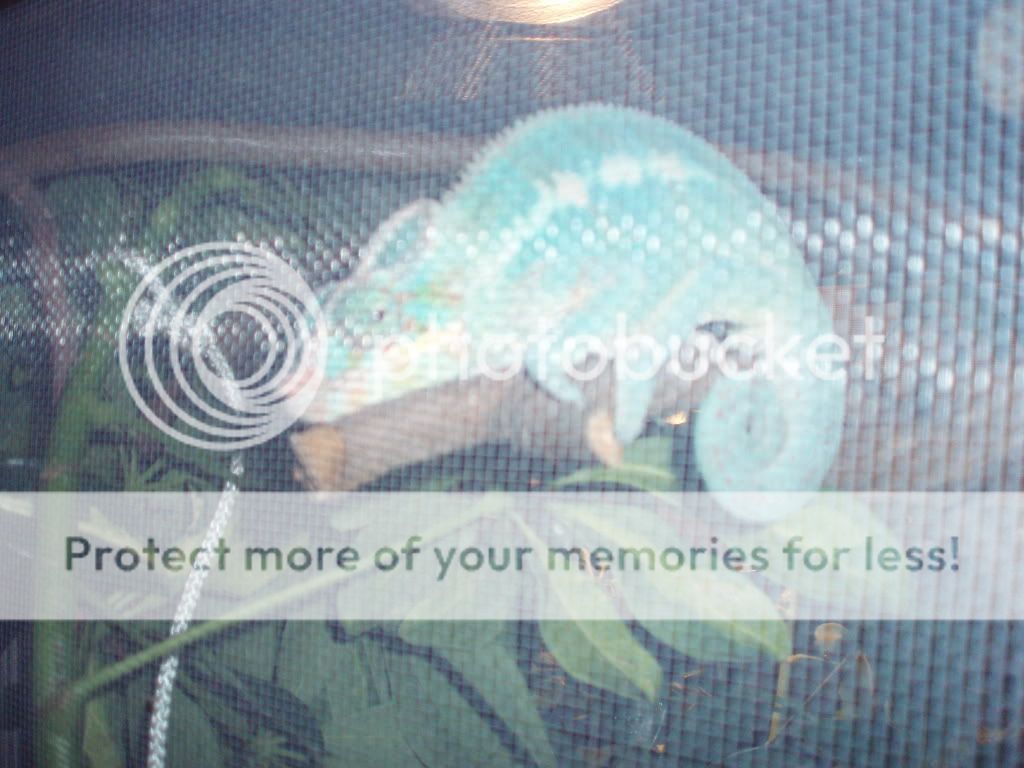
The end to a very long day for him (and us).
So that is it, completely done. I am gladly taking critiques on the setup.
The only thing that is missing is a proper dripper. I want to get one with a better valve and a hose so I can lead the drops where I want.
This was the mockup/halfass setup to visualize it.
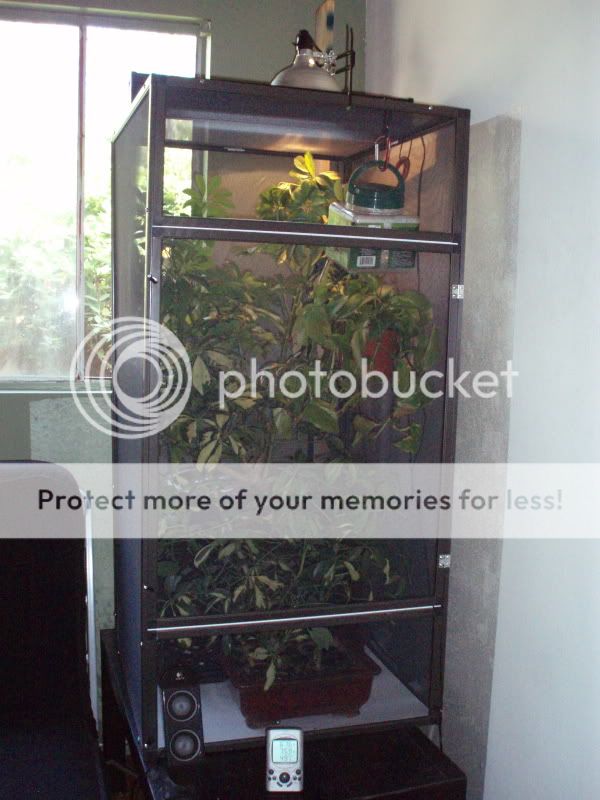
Here is the finished product.
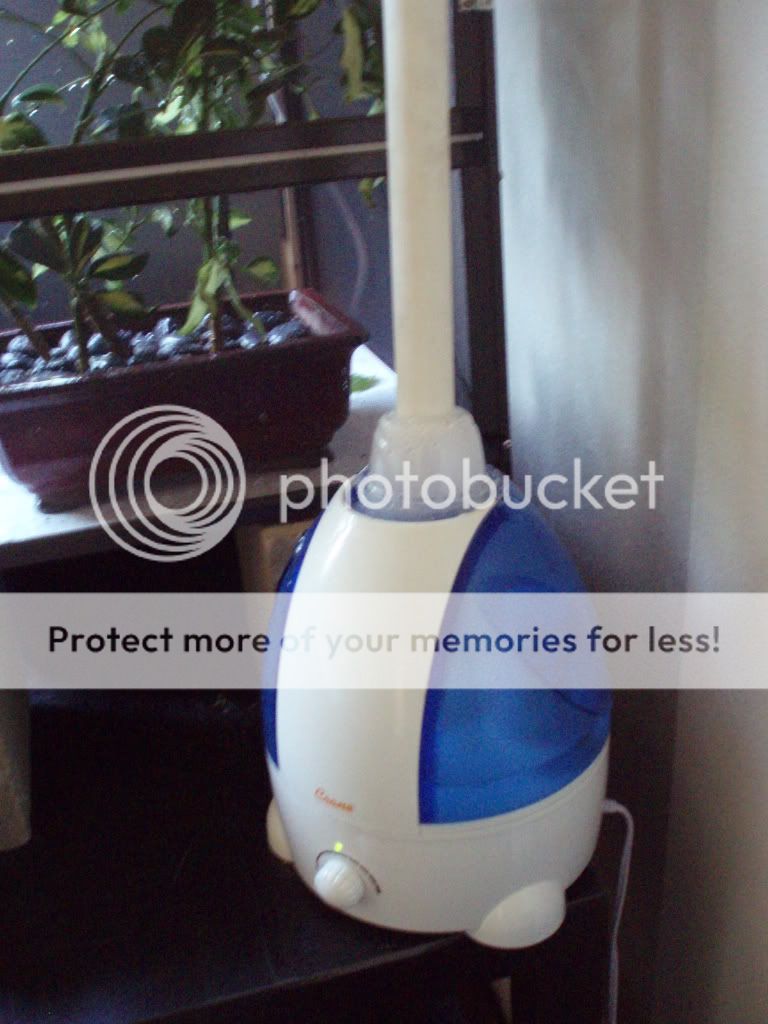
Cool mist humidifier, gladware dish, with some pipe jimmied and hot glued to wrap around the top. Holes in the pipe distribute the mist evenly on top.
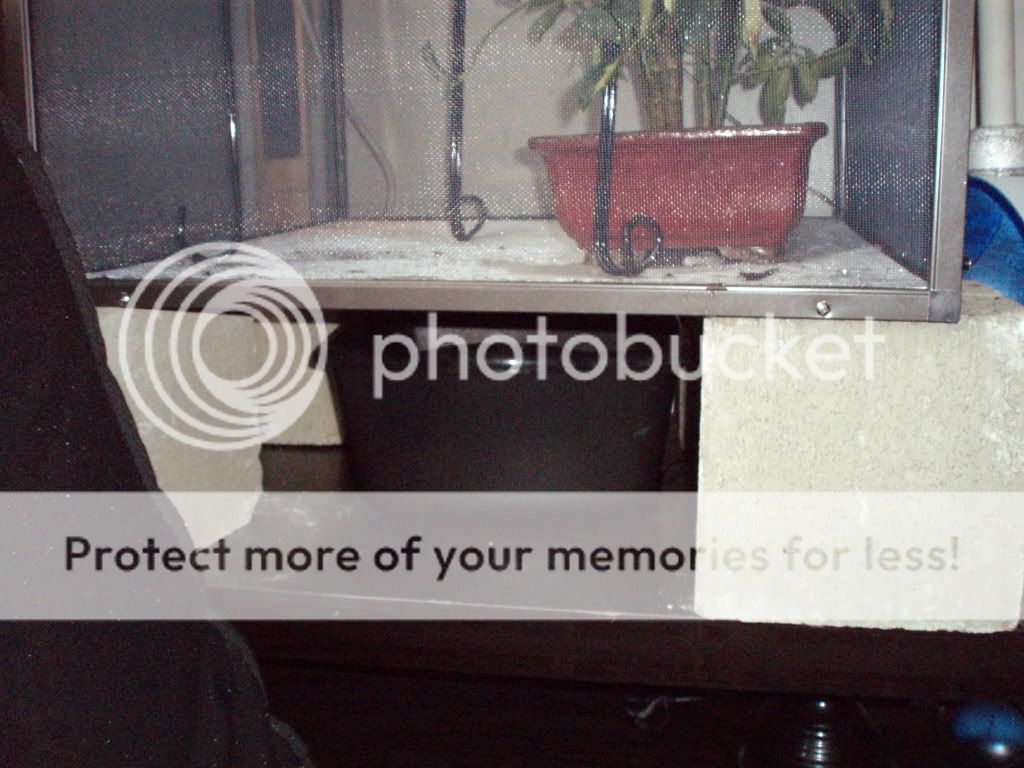
Drainage solution. Some chatters might remember me buying a rabbit pan. It was a bust for the most part, oh well. Some big ugly bricks with a tub worked just as well.
Some of my bonsai pots. Bonsai pots came reccomended to me by Elisa, and I LOVE them. The drainage is excellent, as long as you pack it really really tight. They have nifty feet to prevent feeders from dying under, and they look awesome. Should be an easy to clean bottom for the most part.
The top. A gaggle of branches. I put so many to keep him from walking on the ceiling like he loves to do so much. It was fine before, but now little fatty is getting too big for it, gotta watch those nails too.
There is an 18" Reptisun tube behind the pipe and a basking light in the back. Temps are wacky, I might just switch to a halogena bulb as recommended.

When I first put him in, he held this position for about 10 mins. Deciding if he wanted to climb the ceiling and rostral rub, or just check out his new awesome house.
He hasn't rubbed or gone upside down after that, so I think he's happy.
Example of branch being so close to cieling that he decides to just walk like a normal chameleon.
The end to a very long day for him (and us).
So that is it, completely done. I am gladly taking critiques on the setup.
The only thing that is missing is a proper dripper. I want to get one with a better valve and a hose so I can lead the drops where I want.