Petri's Journal Page

eat2muchrice

Avid Member
Petri's Journal Page (Veil Chameleon)

I'm starting a online journal page for Petri, our male veil chameleon.

full


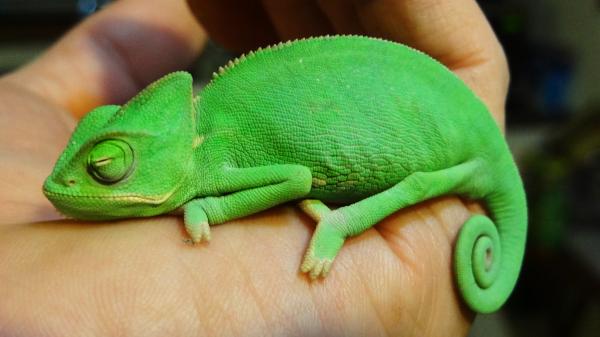
This is Petri our first chameleon who was purchased at Petco during their reptile roundup sale 10/11/2014 for $30. This is my wife’s first reptile, she’s been wanting one of them for a few years and now was a perfect time for us to pick one up. Upon inspection Petri looked like a healthy young veil between 2-3 months old. At first we believed that Petri was a female but later discovered tiny spurs on the back feet making him a male.

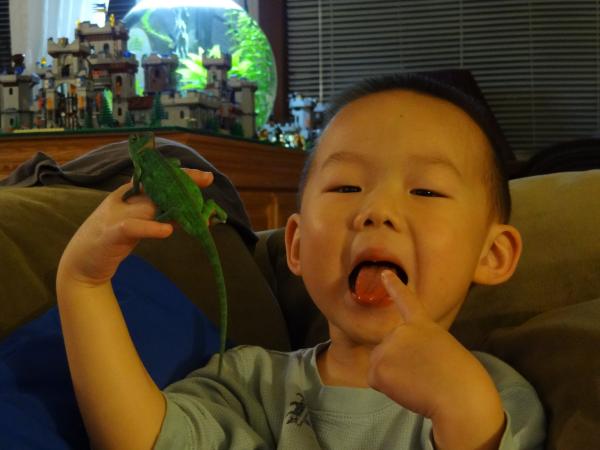
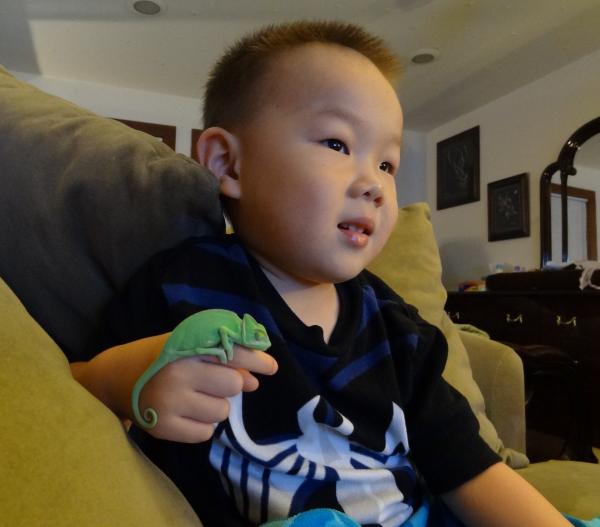
Petri is now my son's new best friend, they like to spend time watching T.V and sun bathing outside.

full


full


Here is little Petri sleeping on my hand, poor little guy must of not got much sleep in the pet store.

full
 
Last edited by a moderator:
Our cage is one of those hybrids 36’x18’x18’ half screen and glass, it was highly recommended by the owner of East Bay Vivarium in Berkley, CA. It is a beautiful cage that lets us view our chameleon through the front glass while the sides and top are screens allowing for airflow. We really didn’t have that much setup at the time, just a large umbrella tree, IR heat lamp, UVB basking lamp and dripper. I use a digital thermostat to monitor her two basking areas at 80 and 85 degrees F.

full
 
Last edited by a moderator:
We quickly learned that our new cage was not perfect and needed work. The first problem was gaining access to our chameleon and for cleaning. The bottom right half screen slid up, but that was impossible to reach our chameleon. The top screen slides off, but then we had to remove all the lamps and dripper and get a stepping stool to reach over. It became really annoying so after a few days of thinking about a fix I installed a screen door on the left side.

I really sucked as screening frames, on my second attempt and with advice from a window company I was able to make it all work. I welded a metal tab onto the back handle screw that twist locks the door when closed and used weather stripping tape to make sure no gaps between the frames where bugs can get out. The right top and bottom have corner stop plates that the door snaps into place. It all worked out very nice and I'm very pleased with the outcome.

full


The second major problem was drainage, all the extra water build up from the dripper and misting the cage would start filling, and we would constantly have to use a towel to soak it all up to clean. So I used a diamond drill bit to make a hole where I could attach a drain plug and hose.

full


full
 
Last edited by a moderator:
I'll be starting to build one of those cricket cups very soon since it looks awesome! It's nice for you son to have a little lizard friend :)
 
The background I decided to use the Zoo Med’s natural cork backgrounds, they came in 18’x24’ panels so I need two to fill the back. My first order the panels did not match, not only did the texture differ, one panel was twice as thick and the other was so thin that it was warped. Holding onto them, I order two more and kept the best matching set. It took 2 days to flatten out the curves, laid them out on some chairs armrests, weighed down the center with gravel and let them baked in the sun.

full


I cut one board and used a few blocks of double stick tape to secure them, I did not want to silicone or glue them down just in cause I want to remove it. I have some brown cauking that I will fill gap between the two pannels, but I'll have to do that on my next project day.

full
 
Last edited by a moderator:
Here comes the fun, chopping down braches. During this time I believe I developed a nameless mental medical illness and the only cure was to find the perfect branches. Everywhere I went I was eyeing trees and bushes, even while I was driving, out with the family and shopping online.

Luckily I have some overgrown oak trees in my backyard that needed trimming. It was time to bust out the chain saws and go lumberjacking. Only one problem, after 30 minutes of trying to get my chainsaw started I gave up and grabbed another, 30 more minutes yanking on the starter cable, checking gas, oil and sparks I tossed that one aside and grabbed my third chainsaw to repeat the process all over again. All failed, but in my determination to get cutting I grabbed my machete with my dying right arm and climb my roof. I’m up there with a dead arm, standing on the tips of my toes hacking away at oak tree limbs. I hope my chameleon appreciates the things I do for him. I ended up chopping down 1/4 of the tree but only kept a few branches as my trophies.

full


After a few days of starring at the branches and letting them dry out in the sun a bit I measured out some cardboard the same size of the cage to get an idea how I’d work the cuts.

full
 
Last edited by a moderator:
So we were out at Home Depot looking for some hanging vines to start creating a place for Petri to free range and came across a panel of Scottish/Irish moss. My wife really liked the looks and it just so happens to be in an 18’x18’ tray, that’s a perfect fit right into the cage and for $16 bucks I couldn’t pass that up. The moss is very thick and dense so unless Petri decides to climb down and start chewing on it I’m not worried about indigestion. It’s low growing, low-med light, high moisture and good drainage, to me sounds perfect for what we want.

full


full


full
 
Last edited by a moderator:
Finally it was time to start putting everything together, I added the moss, branches and used one strip of Lee’s fake vines wrapped around the secondary branch. Petri was not very happy with the setup, it was kind of barren looking, he was even angry the next day so it was time to go out searching for some more greenage.

full


full
 
Last edited by a moderator:
So the next day we went out searching for some nice looking fake vines, we stopped at 4 of our local pet stores and none of them had what I was looking for, but we did buy a small Exo Terra Vine. We decided to make one last attempt and drove over to a craft store “Michael’s” and the place turned out to be the holy grail of fake vines. They had a huge selection taking up two full isles will all kinds of 6ft bendable vines. The great thing is that they had some with mixed leaves, not just the same pattern. So my wife ended up buying two strips and a flower. I wrapped one of the vines around the Exo Terra and draped it around the main branch, the other is used as a hanger for the back wall that droops towards the front bottom.

full


Holly Jungle! Never in my life had I ever thought that I’d needed to trim fake plants and I only ended up using 1 and a half of what we bought. Had to use some hot glue to make sure the leaves are tightly secured and placed the flower to the back wall for a splash of color. Here is what it looks like after a slight pruning.

full


Left Side

full


Right Side

full


Look very closely and you can find Petri in chilling in this picture. He is LOVING his new setup, everytime we look in it takes us a few minutes to find him, but he loves it so thats cool.

full
 
Last edited by a moderator:
Next project was to redo the top, I don’t like the idea of having the lights and dripper system lying on top screen itself and since my top slides off I wanted something that can be remove everything all at once. I sent out the wife to go shopping for a cheap cooking rack that I could lay on top to hold everything. She came home with this for $7 bucks and it works perfectly.

full


We are using a 1200 lums 5000kv LED bulb as the main lighting, it makes the enclosure nice and bright helping the ground moss to grow. It is placed in a 12’ inch dome that creates a wide area of heat warming the whole upper 10’ portion of the cage to around 80 degrees. The dome was plain metal so I wanted to give it a quick paintjob to match everything else.

full
 
Last edited by a moderator:
My first dripper was kind of crude with one dip valve hot glued into a plastic juice container. I found a jelly bean jug with 6 sides, drip valves are only $1 each so if one was good then 6 must be better.

Yummy

full


Very simple to make, the hardest part was eating all the jelly beans. I ended up with 5 drippers, but still gives a nice random dipping effect.

full


Here is the top with the painted dome, new dripper, cooking grill and UVB light.

full
 
Last edited by a moderator:
Finally all caught up with Petri’s journal, only thing left to show for now is his poop. Gotta love a good poop picture.

full
 
Last edited by a moderator:
So this is Petri one month after we got him, he is growing so fast and is getting fat :p
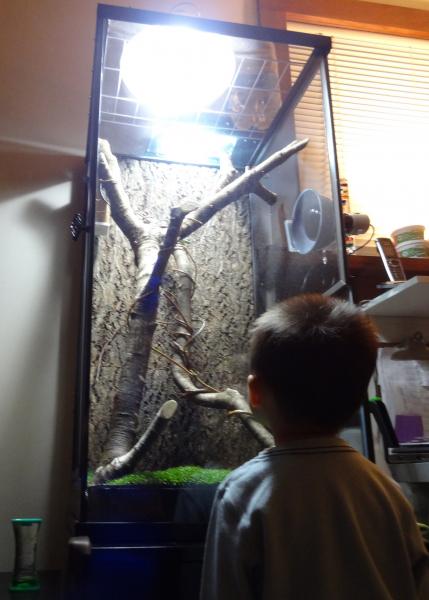
. My son is showing how he Petri eats with his tongue, silly boy :rolleyes:.

full


In the background you can see our lego castles and the 12 gallon bowl fishtank :D

Pertri also had a strange black spot that appeared on his head, In conclusion everyone thinks it was a scab, here is a link to the thread.
https://www.chameleonforums.com/what-tiny-black-dot-136589/
 
Last edited by a moderator:
Any updates?

How is the moss holding up? I would love to do this on my next setup.

How does it hold up to all the poop that falls on it? Haha
 
Any updates?

How is the moss holding up? I would love to do this on my next setup.

How does it hold up to all the poop that falls on it? Haha

Oh my, I killed my moss. I found that it had spider mites (thanks home depot) and I tried to kill them with organic dishwashing soap. FAILD, haha oh well. Went back and they did not sell full trays of moss anymore so we order fake pet turf grass. I'll update soon.
 
Back
Top Bottom