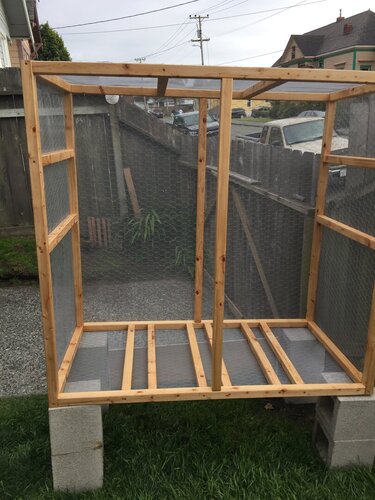
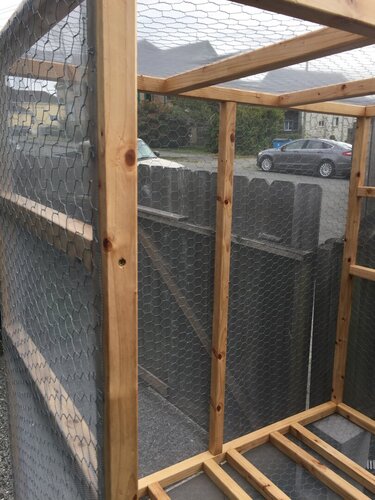
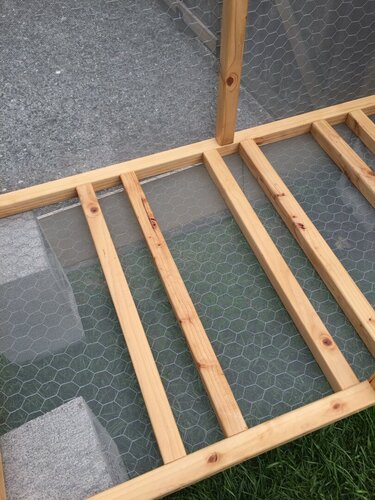
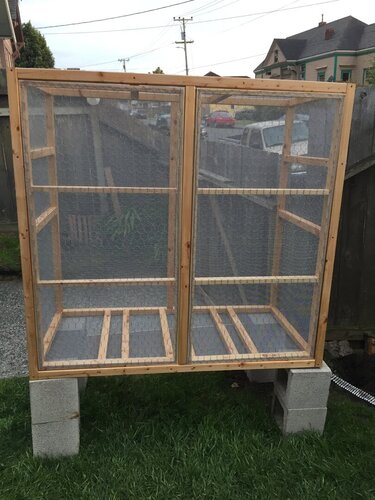
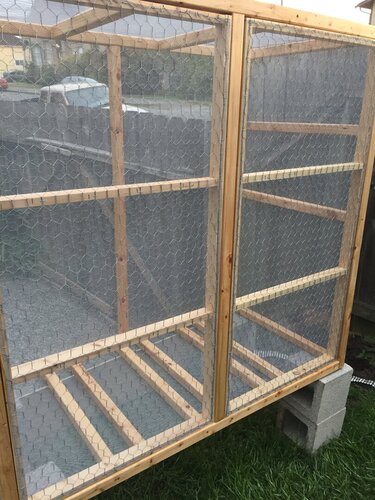
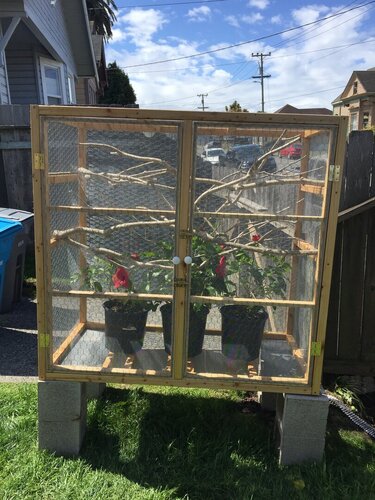
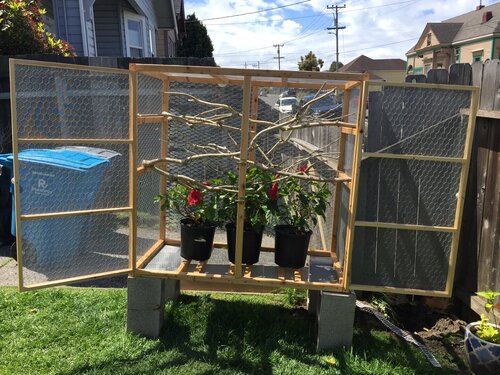
My Outdoor Enclosure Build

Geez, you're not only good—you're fast. It would've taken me an entire weekend to get that far.

I generally try to pre-finish as much as possible before assembling (prevents grabbing those sticky parts). :)

Yes, I have to check again... one thing said 6 hours and one said 24... I don't know what was for what though lol. But we have clouds tomorrow and a storm coming in for the weekend. So I have to get it completely done by tomorrow night. No porch or real garage to store it in. :(

One time was probably for sanding; the other for drying. Both are subject to variables of heat & humidity. To be "lizard-safe", I'd extend the final drying time until there's no more off-gassing of fumes.

Carport, pop-up, or even a tarp will do to protect it from premature weather. With water-based urethane, you just don't want the rain washing the stuff away before it's cured (can also cause cloudy-milky appearance, but that'll go away with proper curing).
 
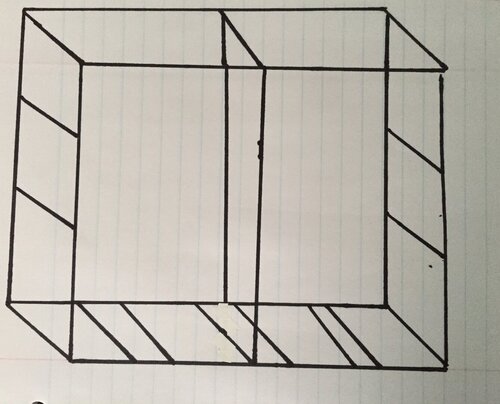
My Missus has a slightly different version hanging on the wall of her lady-lair...
1591353344954.png
 
So when are you coming to build mine? ?
I am never doing one of these again lol. I could not even imagine the effort that goes into doing one for indoor use. This outdoor enclosure has totally put me through my paces...

It was kind of the comedy of errors yesterday. I went to start screening and I messed up and bought an 84 inch roll of screen when I thought it was 84 feet. Then the guy at the hardware store cut my chicken wire for me because he said it would be easier for me to have them in 4 x5 foot sections. I told him I needed a few extra inches then 4 feet and he said he would, then he cut them all at 4 feet exactly which messed up how I could attach them. So I had to do the panels a bit differently then I wanted. I went to go buy more rolls of screen. And 4 of the 6 I bought had holes in them when I unrolled them. Took those back. Then bought more staples while I was there. The guy gave me the wrong size even though I showed him the box with staples in it that I was using. So I had to go back again to exchange those.
Literally started at 8 am doing my coat of poly on the bottom of the cage and the back of doors. Let those dry to the touch. Then at 1 attempted to start screening. Only to finally finish at 8:30pm.
 
Awwwww thank you so much everyone! I am really thrilled with it. I got my vertical supports in for the middle of the cage. I just went and got the stuff for the doors, screening, poly urathane and all the hardware. I got a little saw thing that is automatic. It has a name.. Like a jig saw maybe :hilarious: I am going to go put doors together now. Then poly urethane it. The hardware store guy had me buy the best one they had because it will hold up in the weather here. So we will see. I have to get the screen and stuff on tomorrow because we have a storm coming in supposedly on Saturday. So I am trying to get everything done and put in by tomorrow night.

Hopefully the weather will be better after the storm so Beman can try it out. :) It is very rarely this sunny here even now it is only 61 degrees outside.

It is funny because as a female I tend to underestimate what I am capable of doing when it comes to these kinds of things. I really am enjoying this project and so far everything I pictured in my head is translating into something real.

The cheapest component of the cage was the wood only $75. I have not added up exactly but I have about 200 into the cage but I did need to buy nipper things to cut the chicken wire I got. So there were extras I had to spend that some would not. Then I got the Hibiscus for $50.
That's a good feeling when you can bring things you have visioned in your mind to reality. Don't need no stinkin directions!??
 
I AM DONE!!!!!!!! YAYYYYYYYYY
I freaking love it! I sure hope Beman does :hilarious:


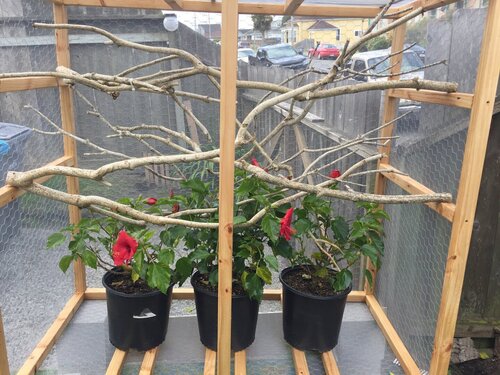
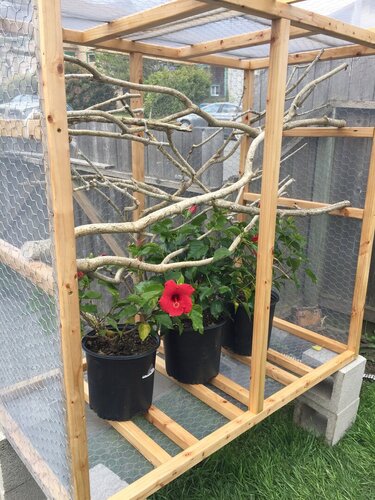
So here are pics with branches added and the Hibiscus in there places. The hibiscus have already grown a few inches since I got them so I do not think it will take long for them to start filling out the enclosure.

The only thing I need to do is get rock to cover the dirt in the pots. I will do that closer to being able to take Beman out once it gases off completely in the next week or so. Edit: And add my mist/drip system that hooks up to the faucet.

IMG_14.JPG IMG_15.JPG

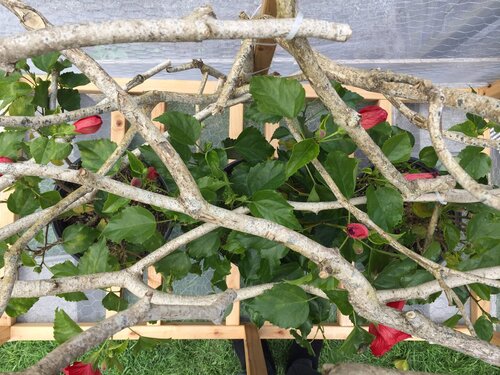
AND THIS IS LOOKING DOWN FROM THE TOP INSIDE

IMG_18.JPG


Hardware added... door knobs, hinges, and slide locks.


IMG_19.JPG IMG_20.JPG
 
Last edited:
Oh I lied I am still going to add a mist/drip system to it as well that hooks directly up to my faucet outside. Not today though. :hilarious:
 
What a remarkable resemblance

A designer as well as a builder?

This is the first time I have actually taken one of my ideas and built something this large. I am very visual so if I have something to follow I can put anything together. My mom laughs because my idea of the perfect job is putting Ikea furniture together. I love doing that type of stuff.
 
It looks really nice.:) You should be proud.

I don't know what kind of rocks you're considering for "mulch". I got bags of river pebbles at a dollar store—the natural ones. I hear they're also available in larger quantities at Home Despot. I bought a bag of black ones cuz I thought they looked cool, but turned out they were painted with some kind of stinky waxy substance. Passed. After the Missus saw how my plants (for the beardie lair) looked, she's started putting pebbles on all her house plants! (They help keep moisture in. ;))

I've seen & heard of hibiscus, but don't know anything about them—we don't have 'em up here. Do they drop their leaves when kept outside all year? Wow, I was just looking them up. Does their pollen suggest anything? :rolleyes: (HINT: rhymes with "coronavirus")

1591471644259.png
 
Back
Top Bottom