ispeedonthe405
Established Member
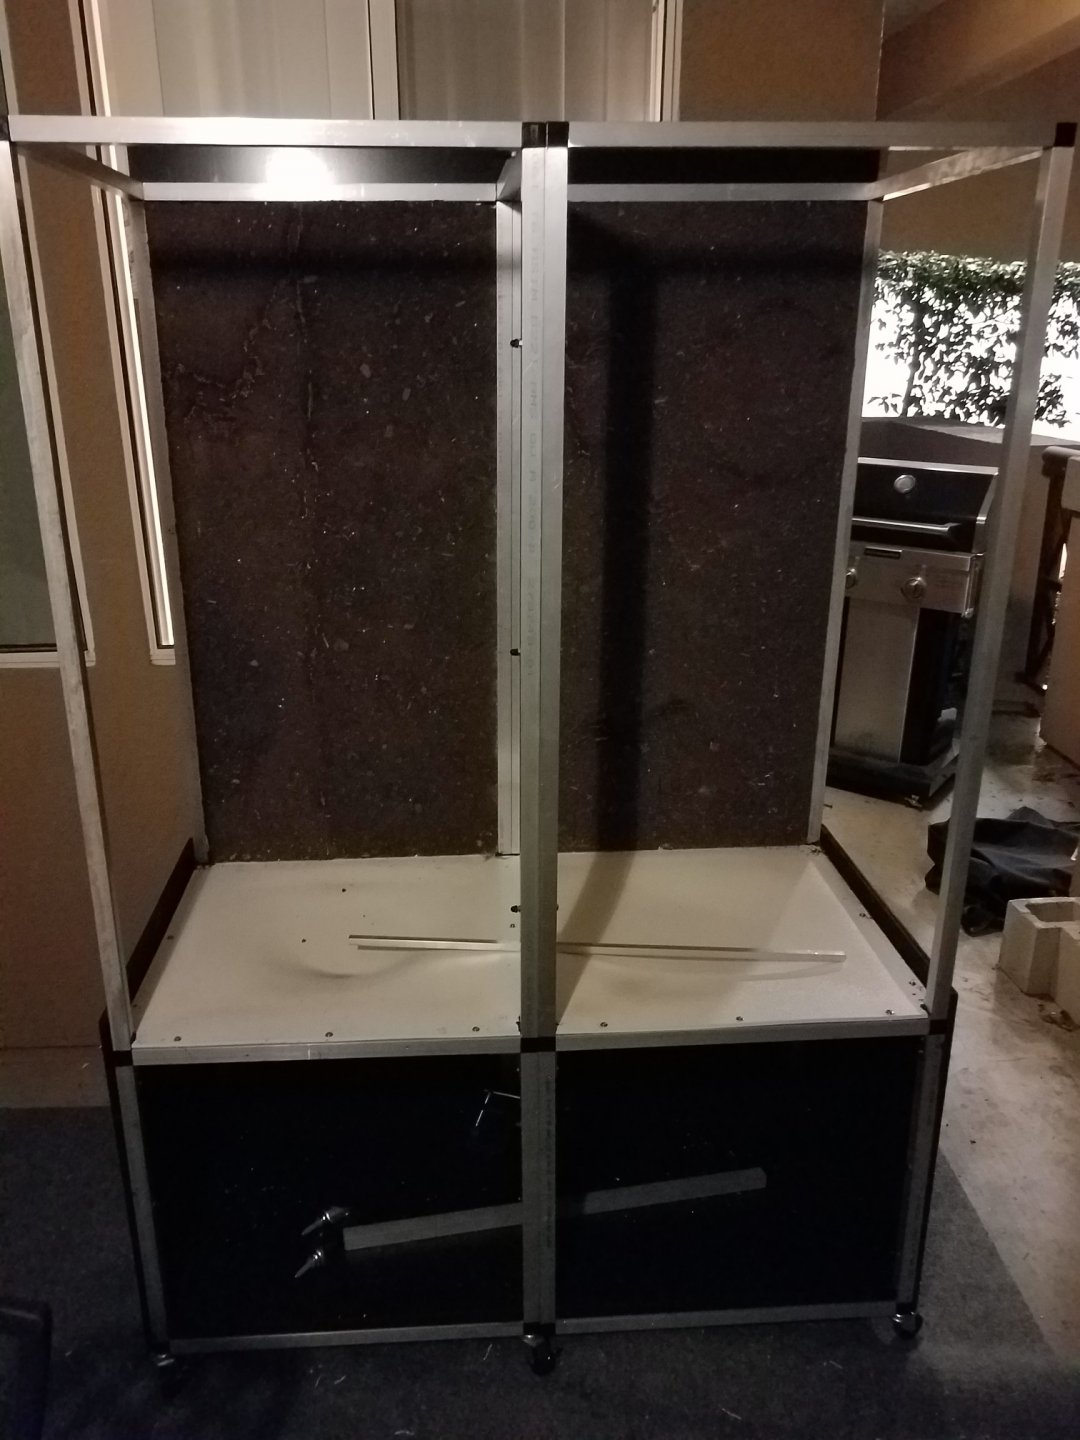
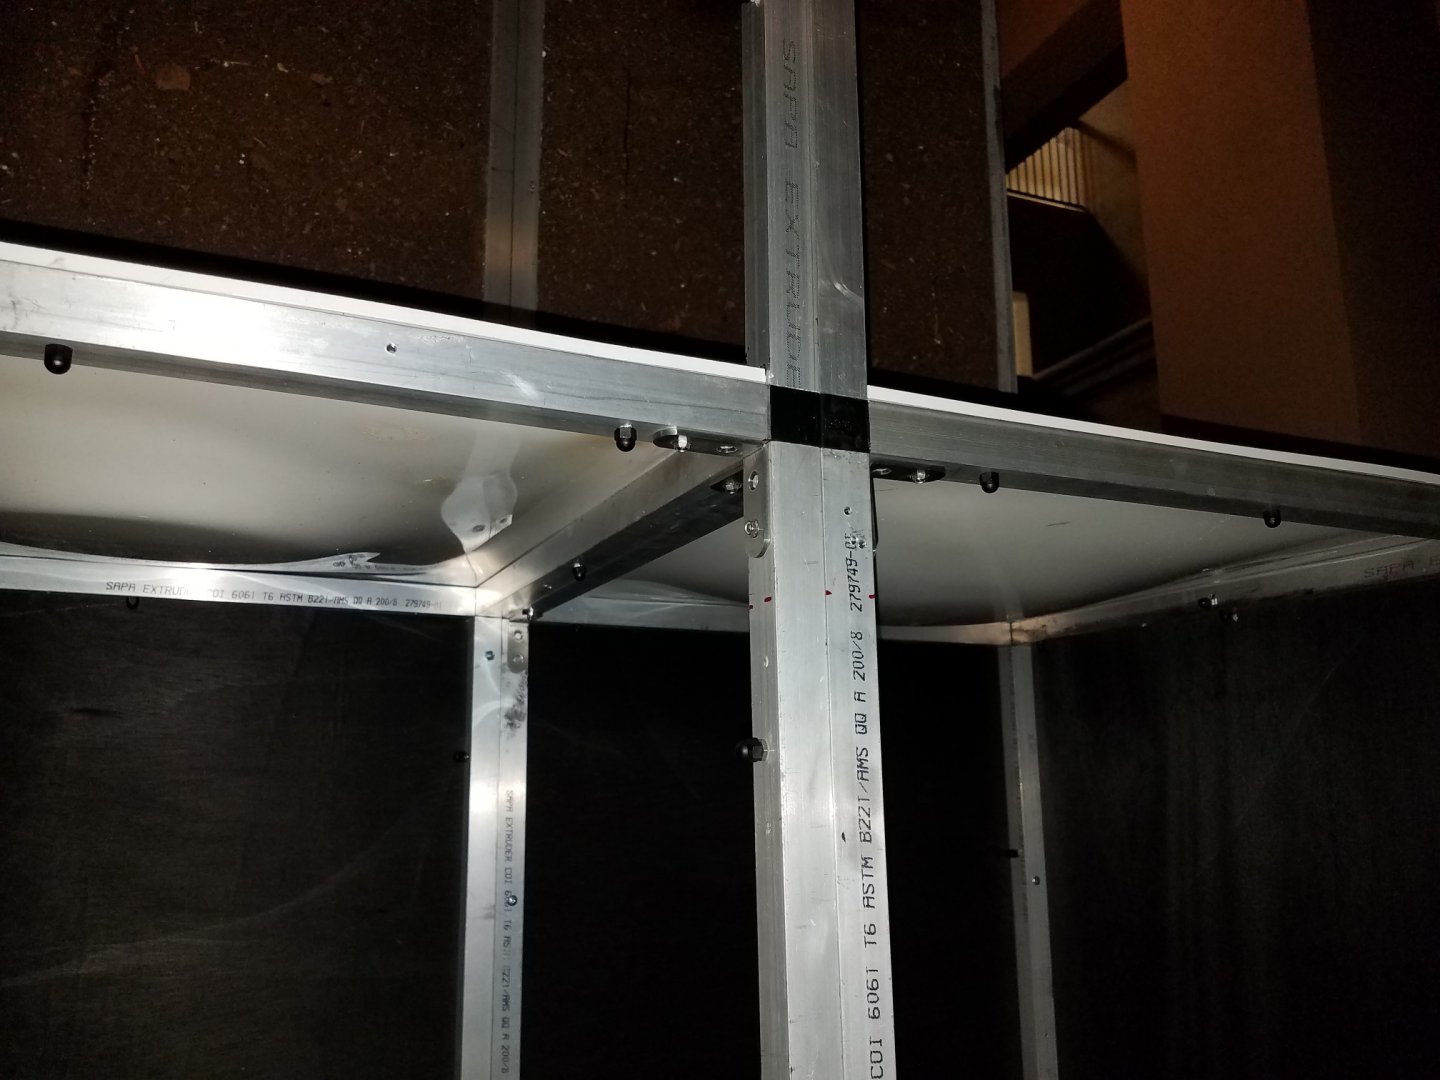
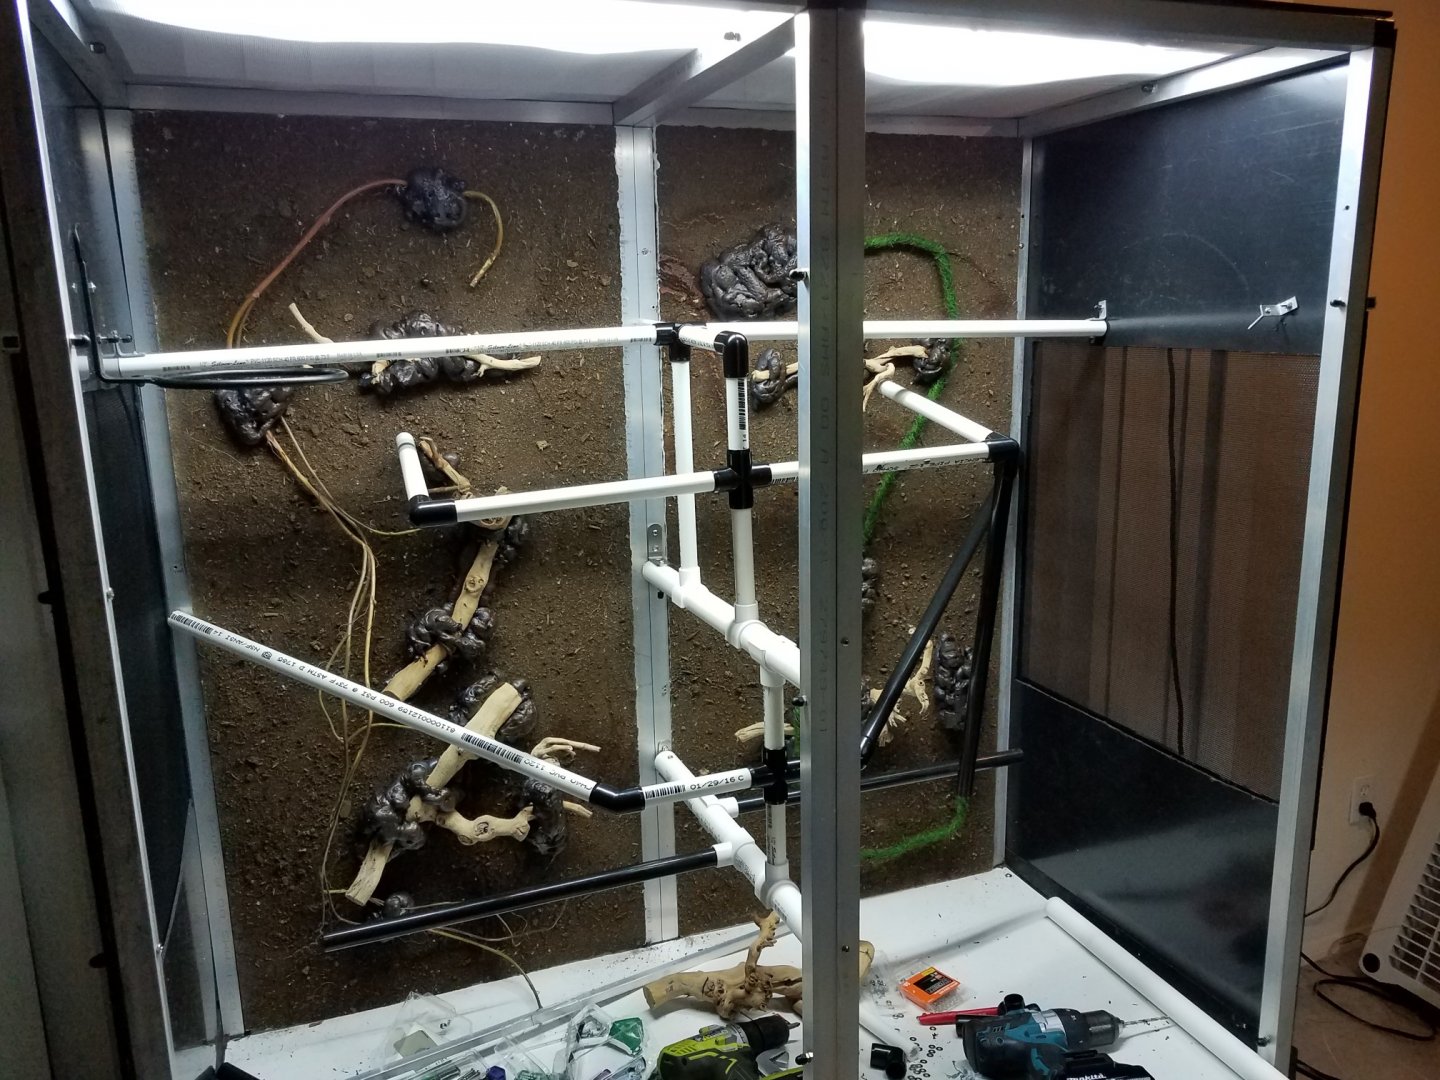
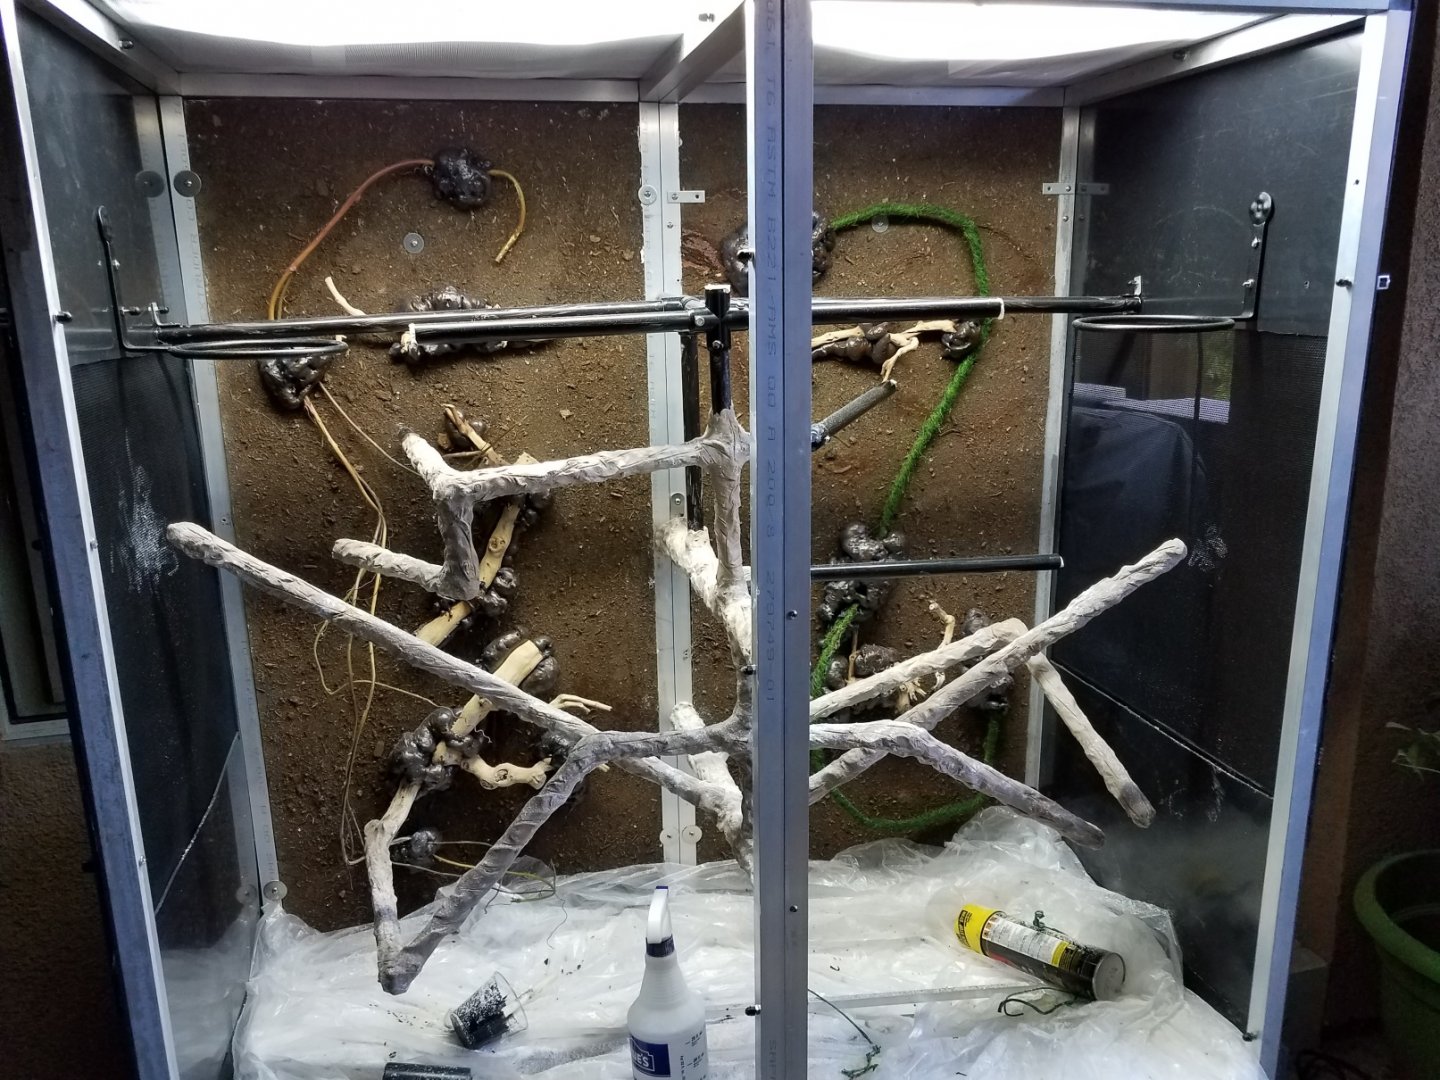
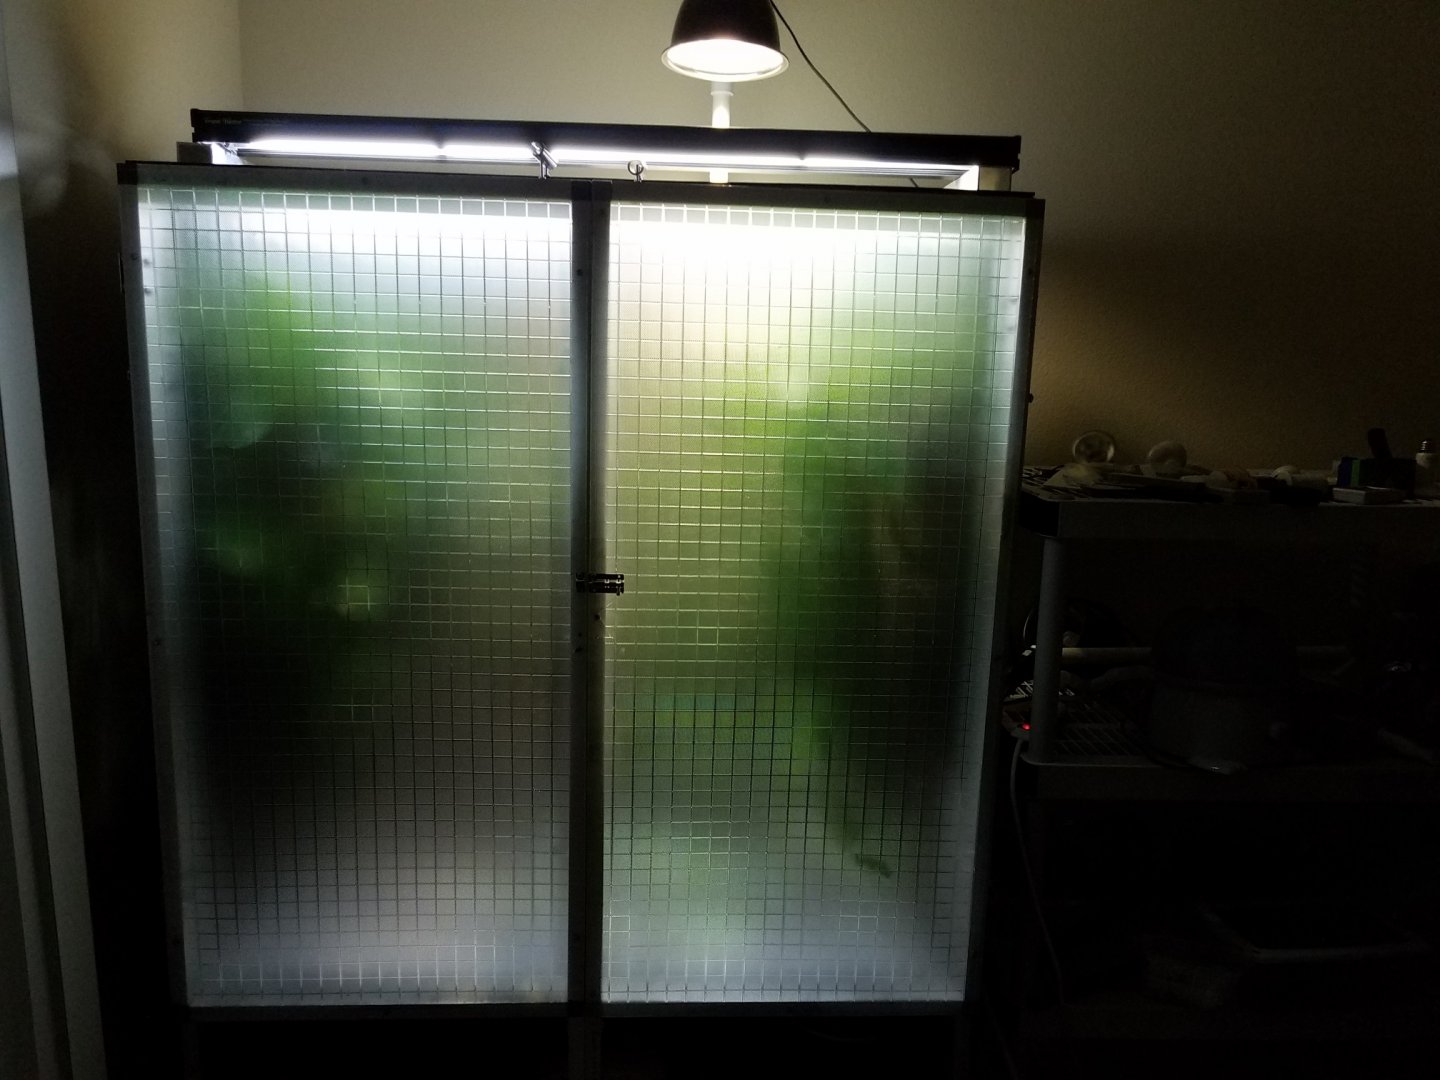
72"/182 cm H x 48"/122 cm W x 24"/61 cm D. It's made primarily of aluminum square tube, and held together with brazing, bolting, bracing, and nylon insert connectors. Six casters are fitted to the bottom.
The lower shelf is a slab of nice .70" birch ply with a rubber mat over it. The lower sides and back are also birch ply but thinner. It makes a sturdy platform, even when the casters aren't locked. For the upper, exterior walls I have 1/8" sheets of textured black ABS. You can kind of see the rear panels sticking up over the edge; they need to be trimmed.
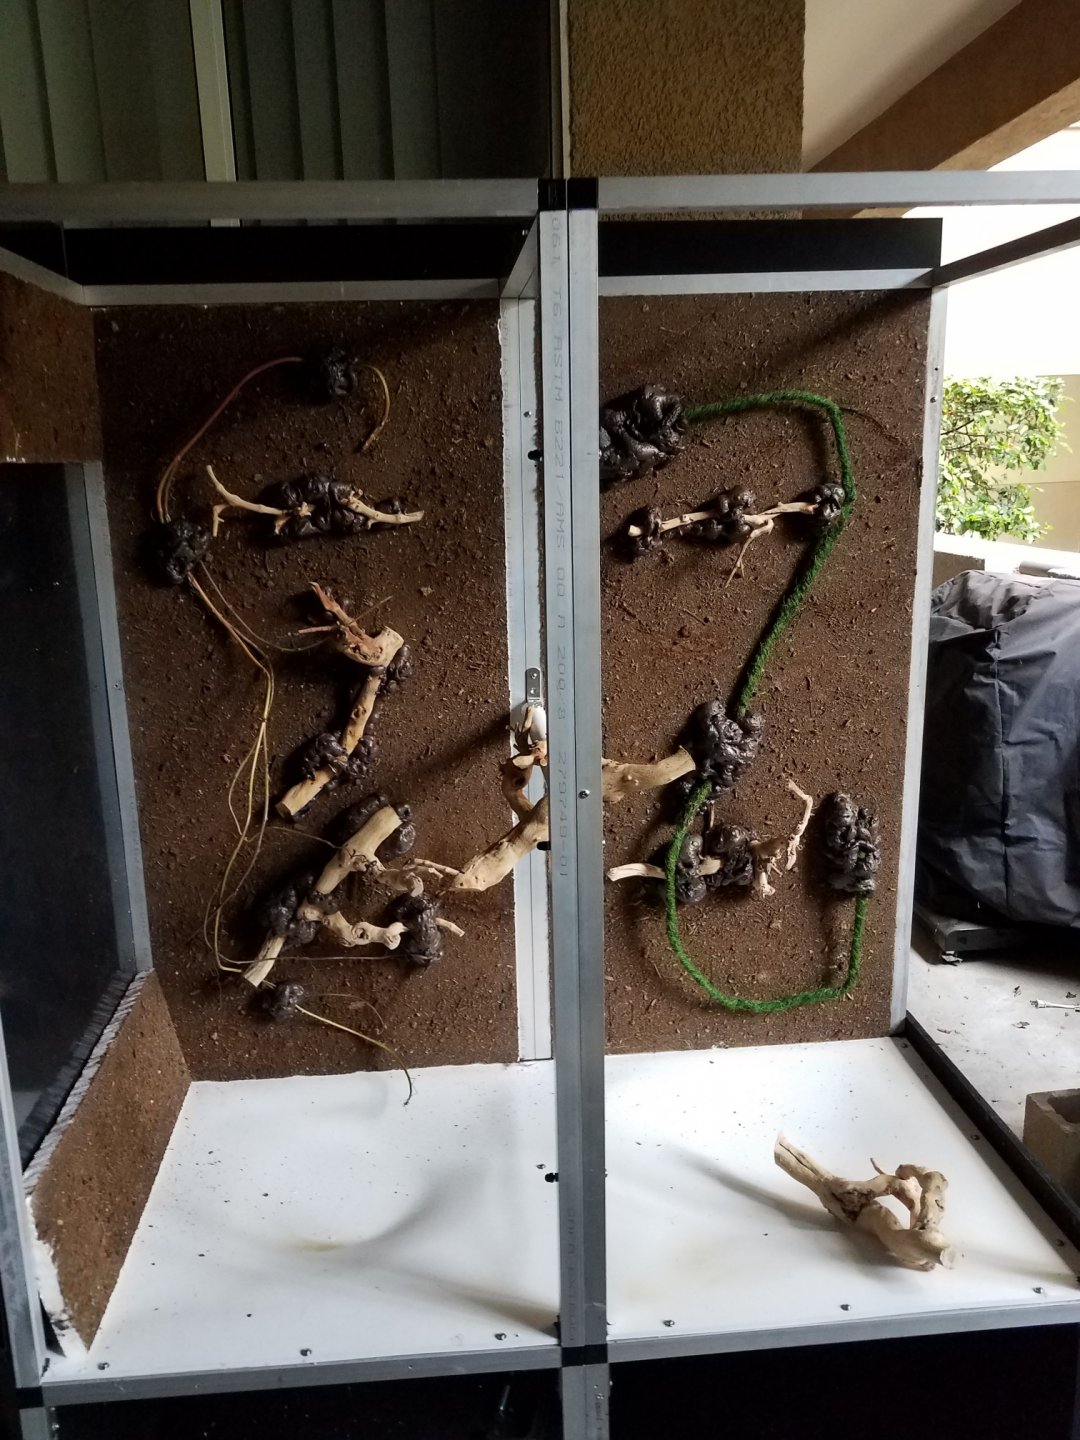
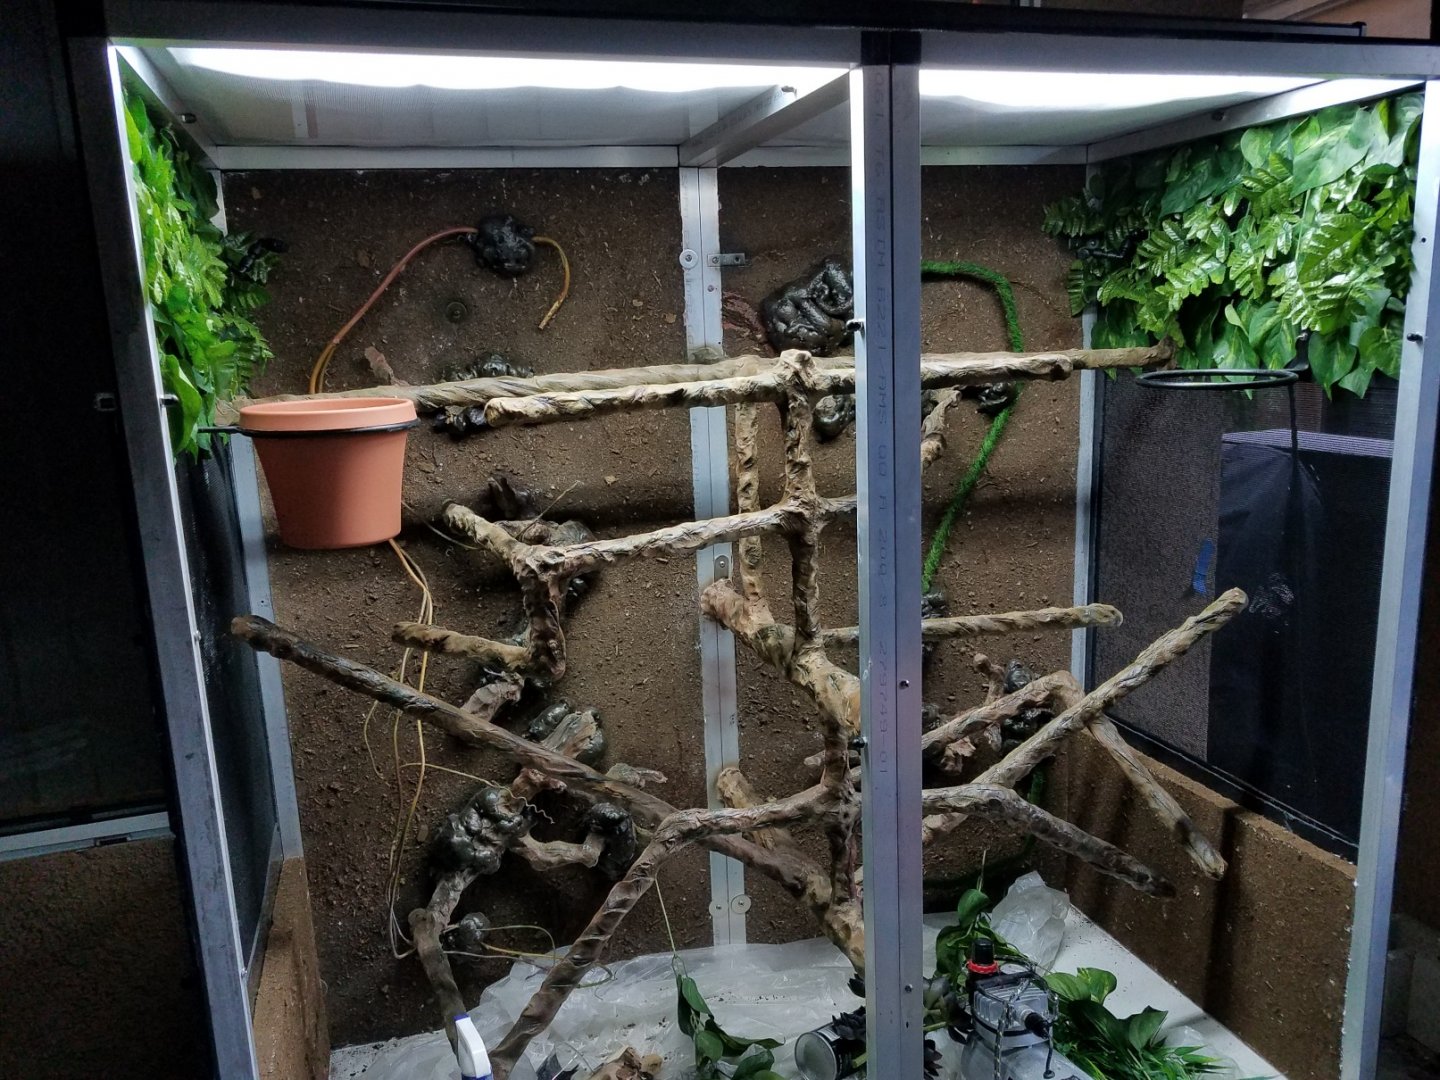
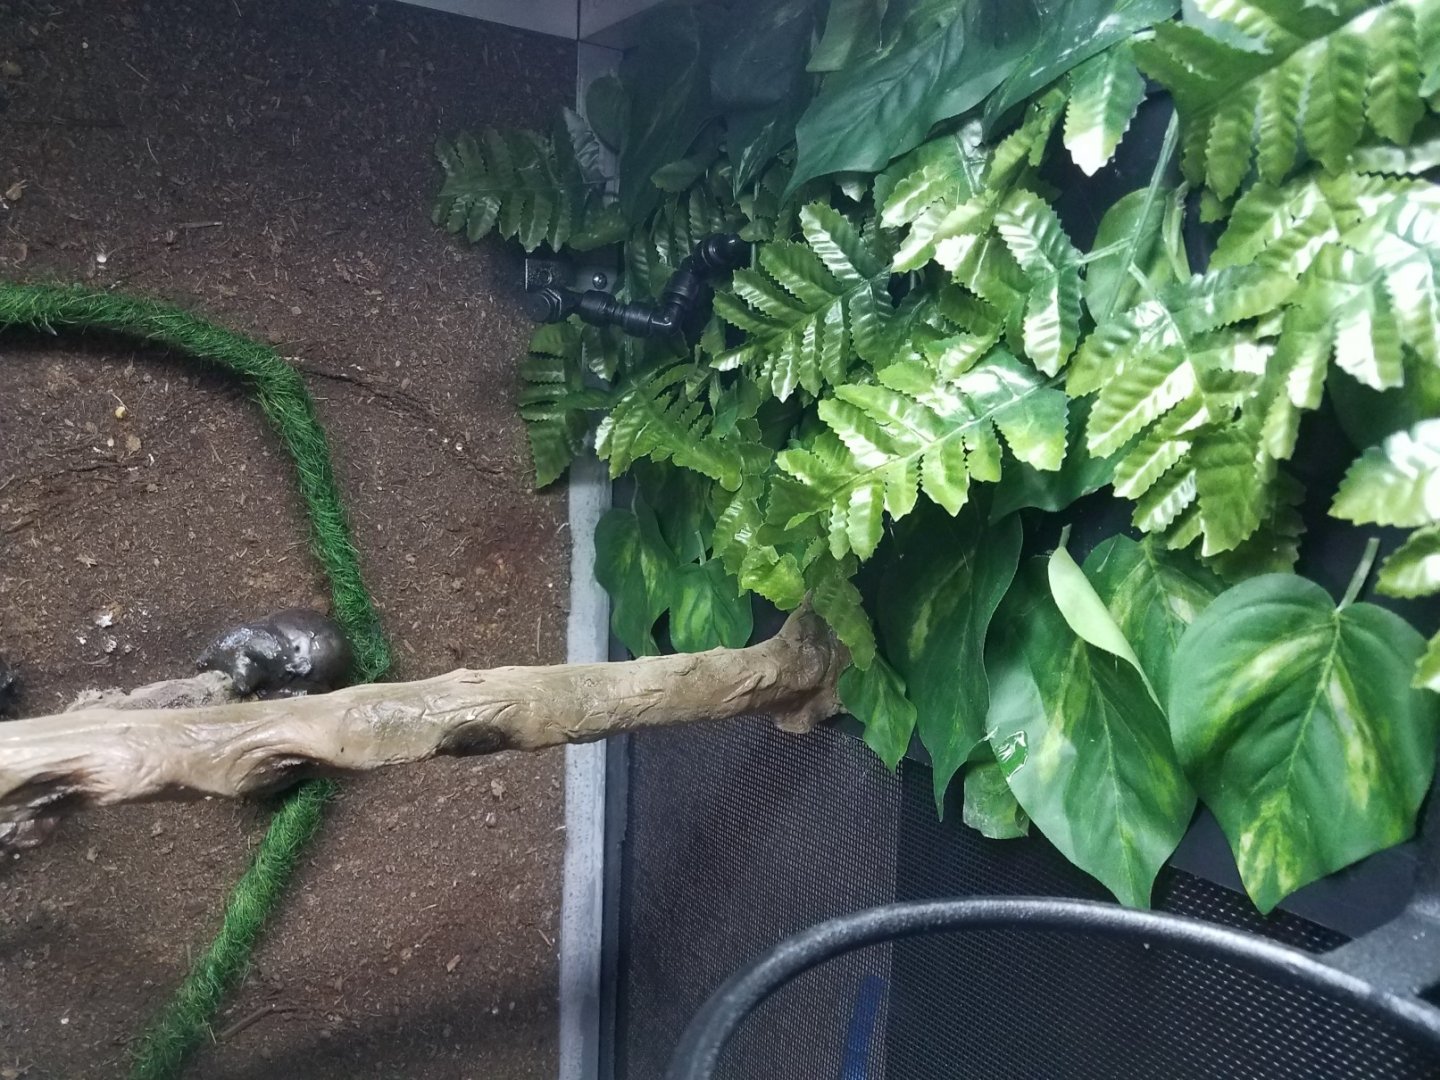
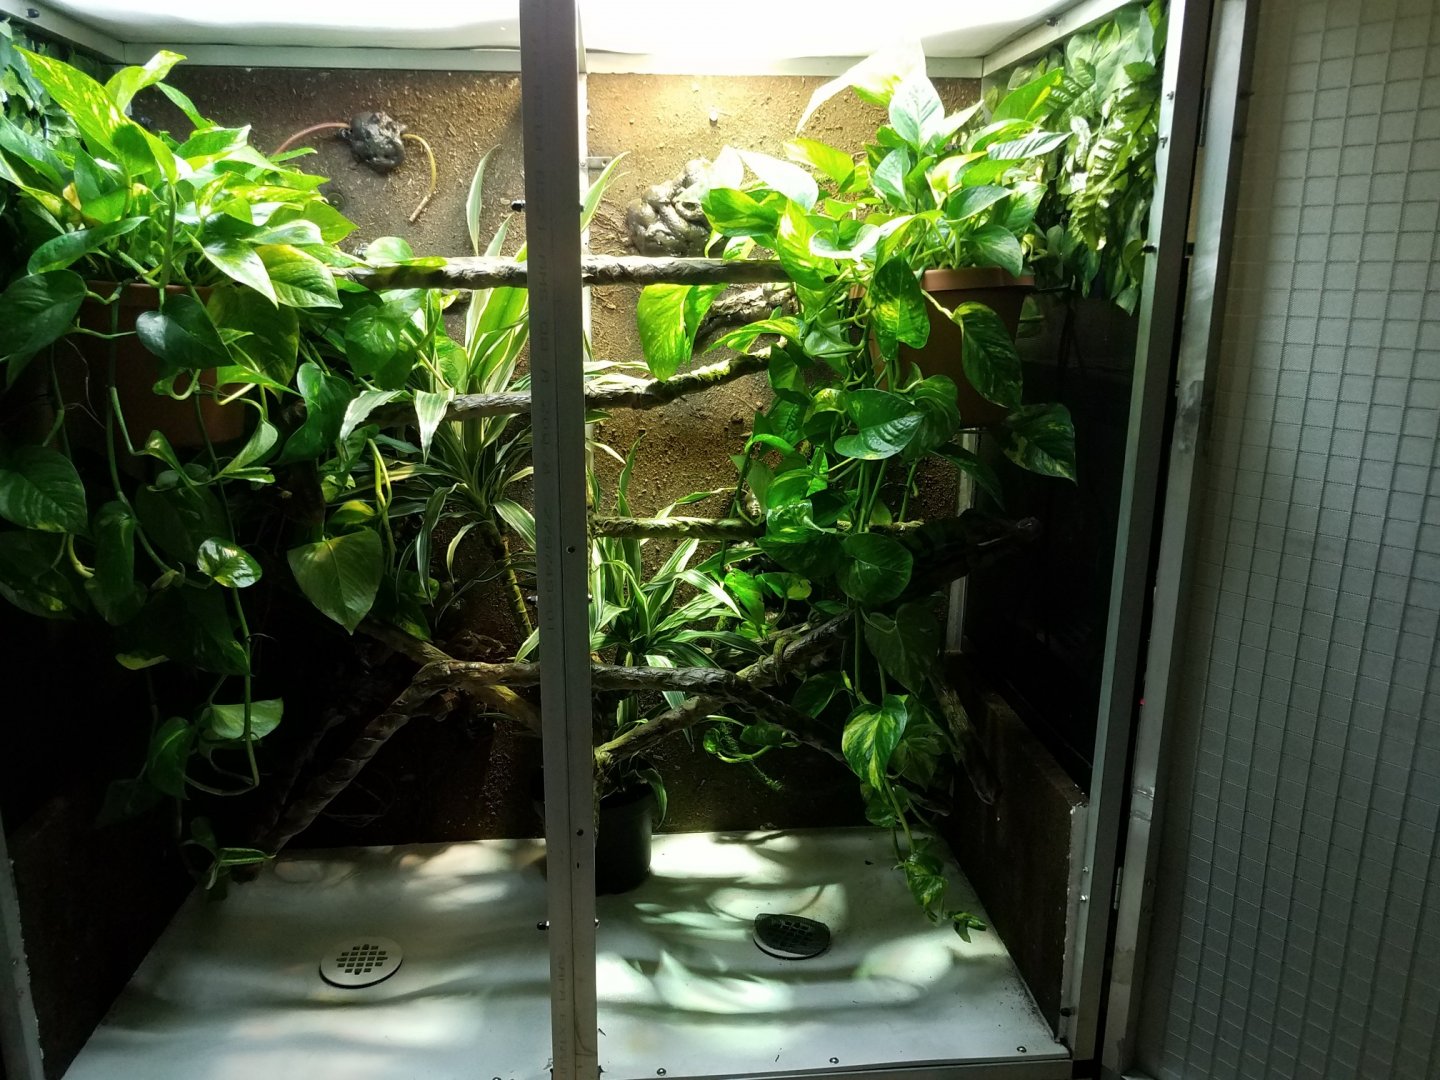
The rear interior walls are EPS foam board covered with peat moss. People often use silicone for that but I prefer non-toxic wood glue. I'll be adding more to those walls when I get to that point.
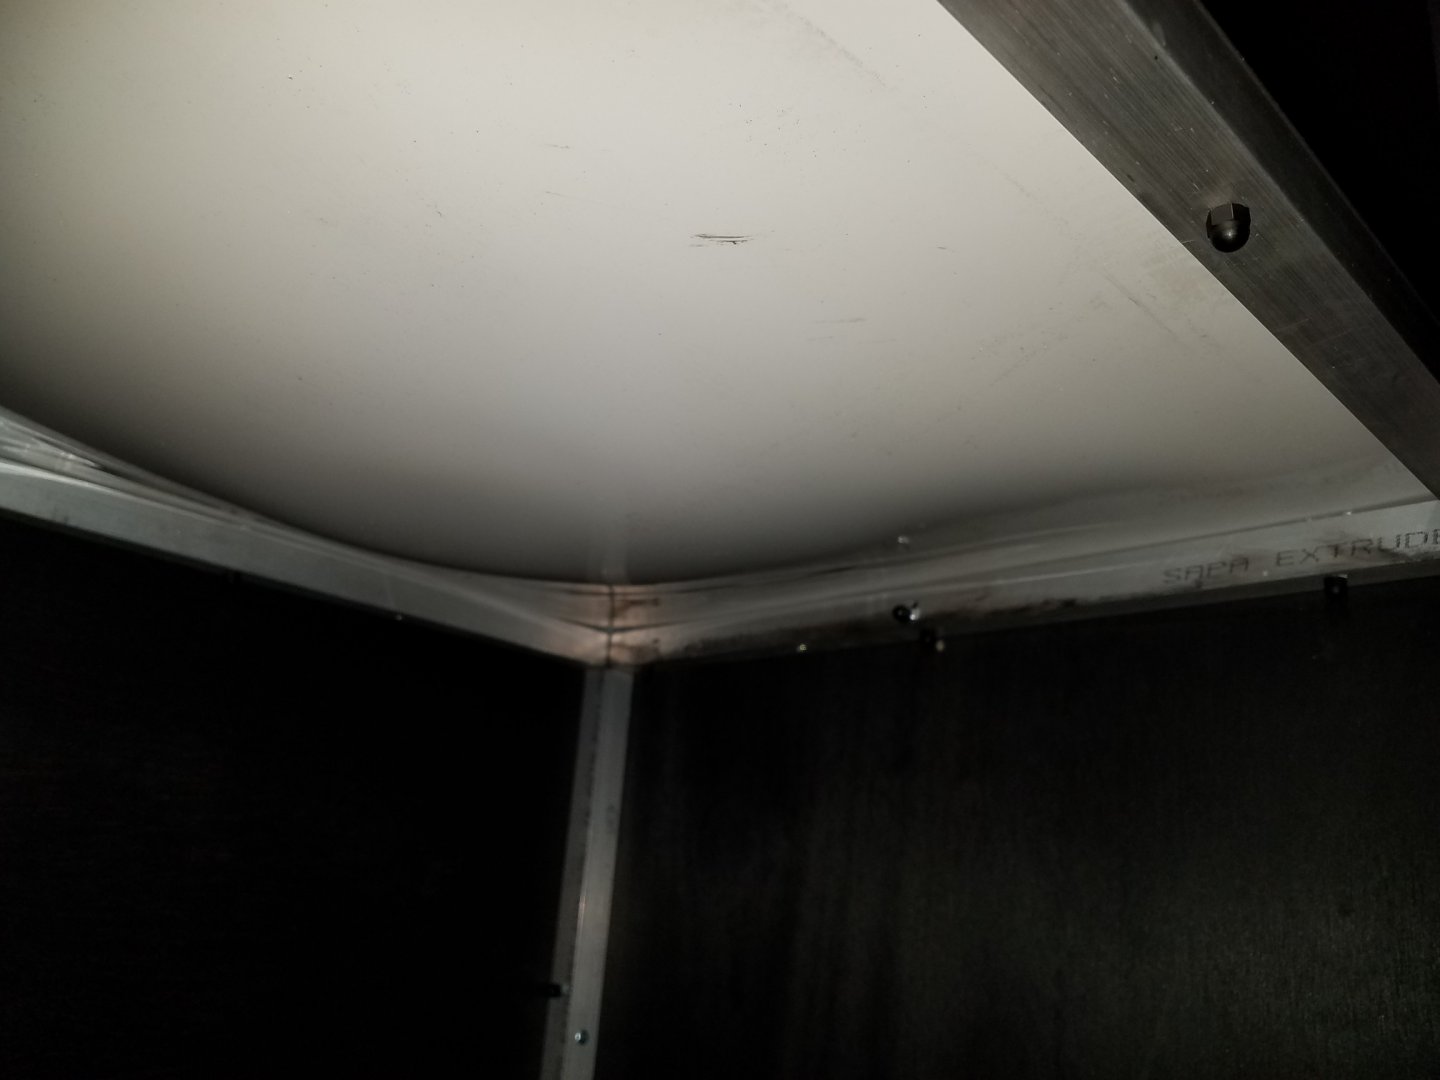
The cage floor is a 1/4"/6mm sheet of ABS, which was bolted down and graded like a sink using a torch and some weight. A drain on each side and plumbing to a common bucket will be added.
The lower shelf is a slab of nice .70" birch ply with a rubber mat over it. The lower sides and back are also birch ply but thinner. It makes a sturdy platform, even when the casters aren't locked. For the upper, exterior walls I have 1/8" sheets of textured black ABS. You can kind of see the rear panels sticking up over the edge; they need to be trimmed.
The rear interior walls are EPS foam board covered with peat moss. People often use silicone for that but I prefer non-toxic wood glue. I'll be adding more to those walls when I get to that point.
The cage floor is a 1/4"/6mm sheet of ABS, which was bolted down and graded like a sink using a torch and some weight. A drain on each side and plumbing to a common bucket will be added.


")

")
