I'm happy to post it for you guys.

If it wasn't for this forum, this wouldn't be possible. I've learned so much here, so it's important to me to give back in a sense. Hopefully this will inspire other people for their builds. Plus I like showing off my chameleon stuff to people who share the love for these little guys
")
-------------------
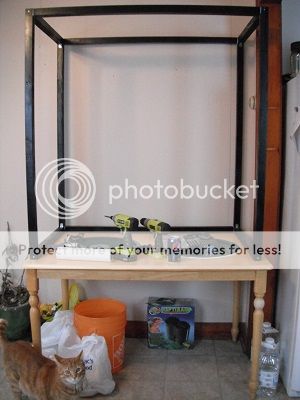
So today I continued the rock wall project. Working with foam like this is new to me, and everything I've done so far has been a mixture of steps taken from various you tube videos. Some of which did not work, but I'll get to that in a bit.
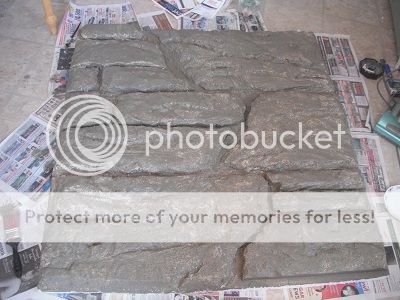
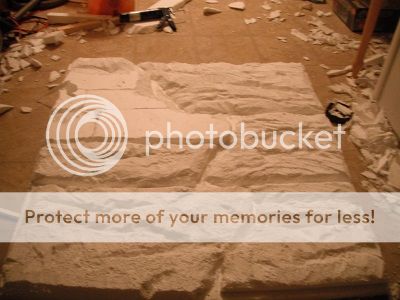
First and most time consuming task was applying the Quickcrete fast drying cement. The first batch I mixed up was thin like paint. Just enough to coat the foam, and give the second coating something good to stick to. Here's what it looks like after the first coat. It's hard to see, but notice the white styrofoam peaking through in the high spots.
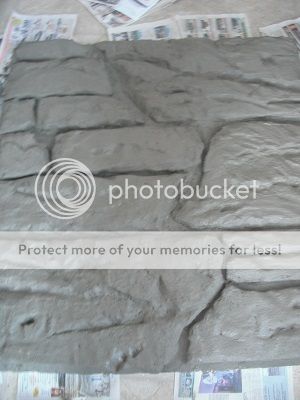
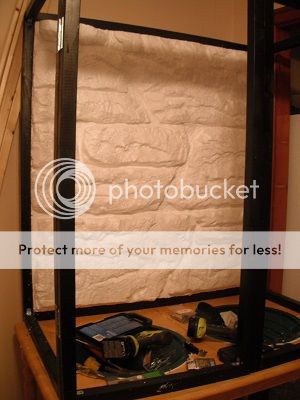
Once that dried, I mixed up a thicker batch of cement. This batch wasn't thick enough to mold into anything like normal cement, it was just thin enough to spread evenly with a paint brush. For this coat, I made sure to get into every nook and cranny, completely covering the foam as evenly as possible. As you can tell in this picture, the surface is far more consistently covered.
I had to be careful as this layer was drying. For the first one, I just put a fan on it, and it didn't take very long at all. But for this one, I needed it to dry as evenly as possible, making sure not to rush the process. If it dried too quickly, it would have cracked and crumbled off. After I finished applying the cement I lightly misted the entire project with water. I misted again about 20 minutes later, and then again 20 minutes after that. After the cement set, I lightly soaked up any excess puddling water with a paper towel. This also helped everything dry evenly.
FINALLY after god knows how many hours, it was dry! Although it looked awesome, it didn't look natural enough, even with the shadowing from the light, the coloration of the rock was not very natural.
As you can see in the photo, I began to paint the bottom corner. Here's where things got tricky.
Cement is porous - not water proof. Styrofoam melts when certain paint is applied. I'm really glad I made a test piece, because I otherwise would not have known that spray paint eats foam.
")
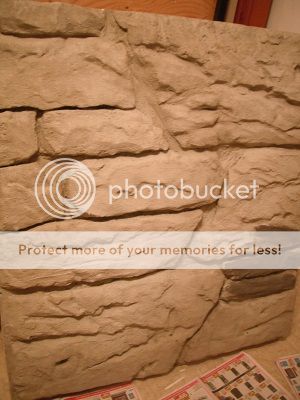
Instead of my first choice (spray bomb) I used everyday acrylic paint, thinning it down with water. I covered everything in a dark grey with very small hints of browns and greens as a base coat. Since the second coat of cement dulled out some of the sharper rock edges, so to re-extenuate those details I went in with a darker/greener version of the base coat and painted in between each rock. I also darkened the shadowed areas on the rock face, and created darker areas that made it look more natural.
It's still not entirely complete, and these photos do not really show the colour variations well, but here's where I left off.
And here's a close up
 (Plus they were 75% off at walmart because they're out of season. $1.50 each I think?)


 wow, its coming out great. Wish I would have seen this before starting mine