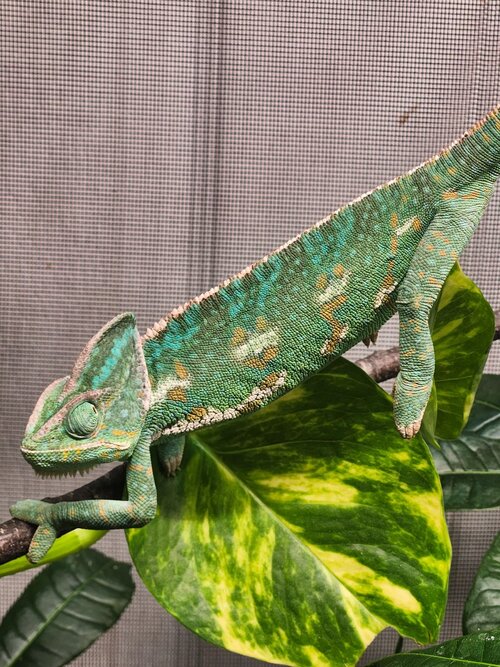
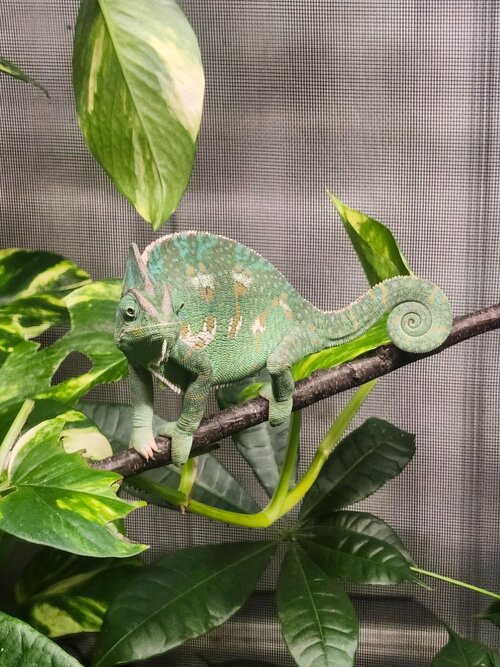
To test to see if the pair are ready to breed, I always used to show the female to the male so they could see each other but not get at each other and watch the reactions. Then, if their reactions indicated readiness, they could be put together. Keep an eye on them though, because sometimes they can decide to attack each other…and will need to be quickly separated.
Reactions to look for…. rocking back and forth, hissing, gaping…all negative reactions, so don’t put them together.
Male takes on bright colours, may flatten body, bobs his head, no hissing, no gaping, tail may coil and uncoil, etc. Male may stroke the female’s body with the spurs on his heels.
Female takes on receptive colouration, body close to the branch and moves slowly away from the male…likely with her tail slightly raised…they can be cautiously put together.
If the mating is successful…
A few hours after mating, the female veiled will take on her gravid, don’t- bother- me colouration…bright spots, splotches…dark background. At this point she will reject the male’s advances and
they should be separated. The gravid colouration can come and go at times though throughout the time she’s gravid.
The female should be ready to lay the eggs about 30 to 40 days after the successful mating….but I recommend getting an egg laying container in her cage once the mating has occurred, so she can get used to it.
Egg laying…when the female is getting close to the time to lay the eggs, she will start to get restless and look for a place to lay the eggs. She may dig several test holes but should settle on one and dig it until she’s happy with it. This may take more than a day or be very quick.
When she’s happy with the hole, she will turn around, butt down in the hole…likely in the evening…and lay her eggs. She may be quick or even sleep in the hole overnight.
When she’s done, she should turn around and bury the eggs, tamp the substrate down and return to the branches, hungry and thirsty…and skinny.
Digging up the eggs…
One thing I’d like to mention…
do not WASH the substrate of the eggs when digging them up.
I would dig down a little at a time to find the eggs, carefully move them to the incubation container without turning them and lay them in rows about an inch apart in all directions in shallow thumbprints I made in the substrate. (See Incubation container for more information before digging them up.) The eggs would be incubated in a dark place with the lid on henincubation container.
Incubation container…Tupperware type container about the size of a shoebox. Fill it about half full with the coarse type of vermiculite, slightly dampened (you should only be able to squeeze a drop of water out of it.)
I’ve done the incubation with no holes in the container…or one or two very small holes in the side of the container. You will have moisture build up on he sides and inside of the lid of the container. It becomes an eco-system. 74F works well as an incubation temperature. (Temperature will affect the number of days it will take to hatch the eggs.)
Incubating…I never used a normal incubator…so I’ll leave it to others to tell you about that. They were incubated in a dark place (on a wooden/screen frame that sat over a human heating pad that the temperature could be adjusted on.)
Hatching…as hatching day approaches, the eggs will likely develop “windows”, sweat, shrink in size and the baby will cut a hole in one end of the egg and push its head out. It may sit like that for a day or two…then it should come out of the egg.
Now you need a baby cage set up system and lots of tiny insects ready for them!
Some sites that might help…
Look how young Bill is here!
http://www.chameleonnews.com/03MarStrand.html
Miss Skittles…
https://www.chameleonforums.com/blogs/veiled-chameleon-laying-101.2488/
Breeding Veiled Chameleons by Michael Monge, Fl Chams, Inc….
http://raisingkittytheveiledchameleon.blogspot.com/2007/12/breeding.html
More…
If I’ve missed anything I hope others will chime in! There’s a lot to cover and it’s easy to get side-tracked!
Good luck!


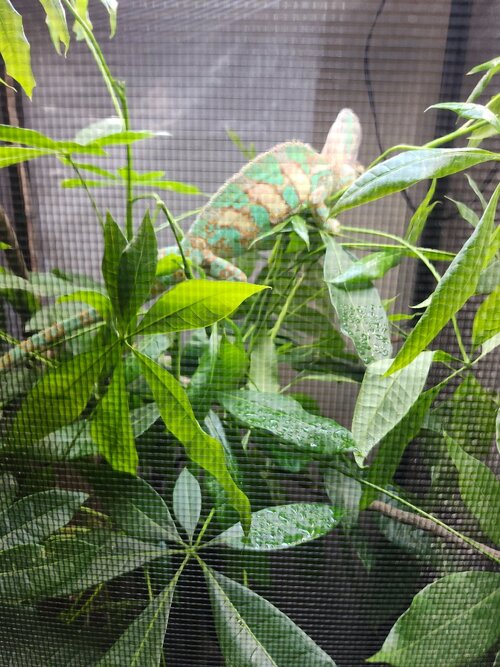


 I’ve never bred any of my animals, so am of limited knowledge. However, unless your male is exceedingly large, or your female extra tiny, size shouldn’t be an issue. The males are by nature larger. Before breeding them though, I do advise getting as much information about joining them, incubating the eggs, raising the babies, etc. The forum archives probably offer a wealth of information. You just need to search for it.