@jcarlsen They make all kinds of useful adapters that you can find at home depot with all the irrigation supplies. It's almost like adult LEGOS if you ever did that as a kid.
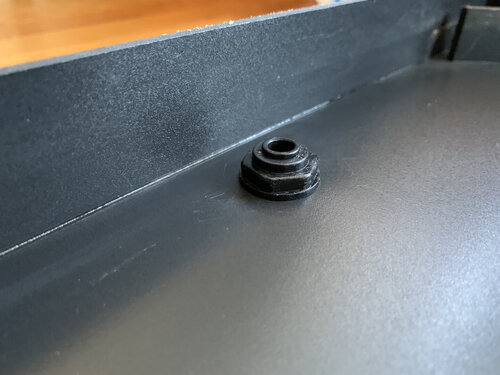
That drain will work! Luckily the threaded part of the bottom is 1/2" inch. Most adapters like the one I used come in 1/2" or 3/4" and then they make reducers (to go from a bigger size to a smaller one). It's just a matter of tinkering with these things in the store and figuring out how it will work best for you.
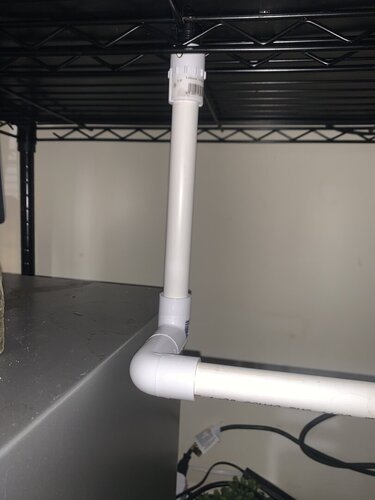
If the table is limiting you get a wire storage rack. You can put drains and fittings between the wire. If you're using what you have to save money you can use bricks or blocks of wood under the drainage tray to raise the cage up for that drain to fit between the bottom of the tray and the table. Just make sure it's level and balanced. Whether you plan to drain off the side of the table or raise the setup, I'll explain what I would do if I were you.
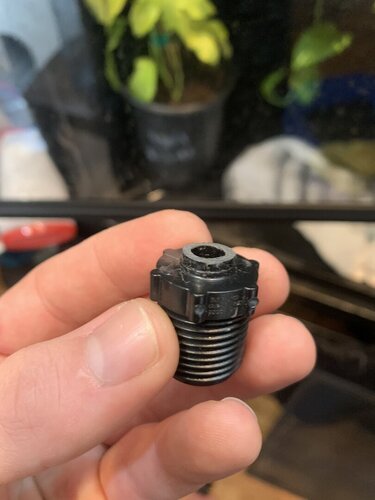
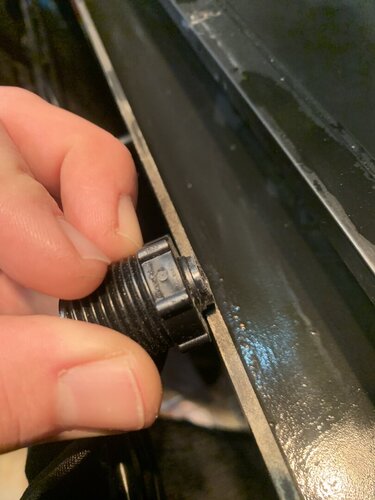
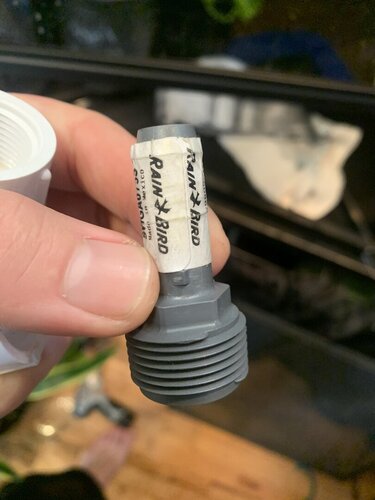
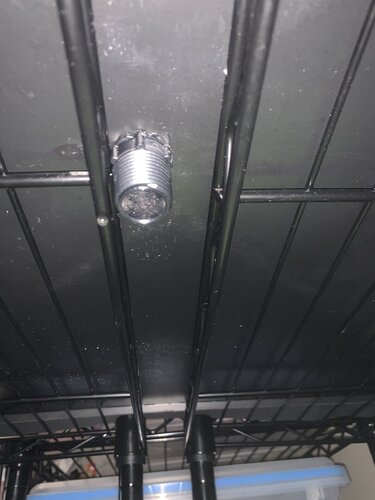
If it were me, I'd use the drain you're getting. Attach a 1/2' threaded pvc coupling to the bottom of the drain.
https://www.homedepot.com/p/DURA-1-2-in-Schedule-40-PVC-Threaded-Coupling-C430-005W/100344953
You can then go one of two directions from here:
(1) Get a 1/2" adapter (like I used) with a hose barb connection (the ribbed end) .
https://www.homedepot.com/p/Everbil...7zi0mSQlw-Pu6DMNgjBoC2oAQAvD_BwE&gclsrc=aw.ds>
Attach that to the threaded coupling. Then you'd use some clear 1/2" tubing attached to the ribbed end to lead the water to your drainage container.
https://www.homedepot.com/p/UDP-1-2...-10-ft-Clear-Vinyl-Tubing-T10006010/304185142
(2) Get flex riser tubing which is similar to flex tubing.
https://www.homedepot.com/p/1-2-in-x-18-in-Flex-Riser-37321/100126627
Connect this to the coupling that's attached to the drain. This product has a few lengths so just pick what will work for you. You can add a couple together using the couplings I mentioned before.
OH and make sure to use some teflon tape on all the threaded pieces to ensure there won't be leaks!
If you have any questions or want to pick my brain some more let me know.
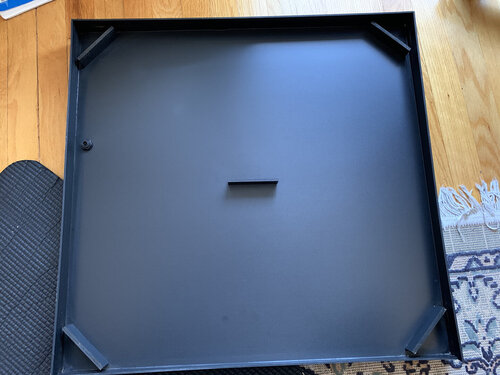


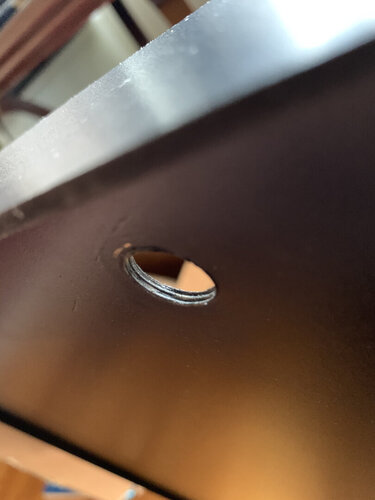
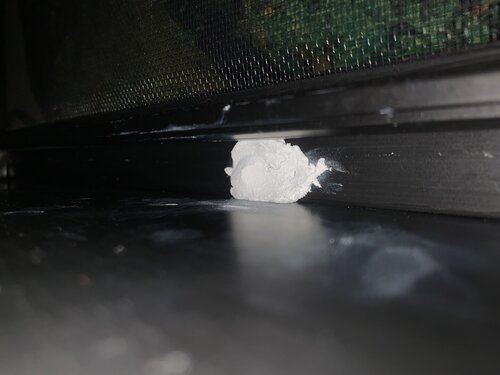
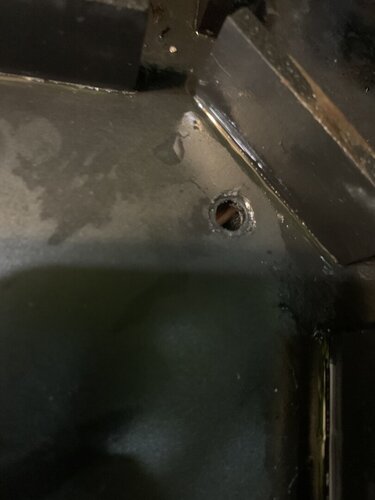
 . I'm thinking I might be able to superglue a threaded pvc fitting under the hole and to be extra safe use some of the aquarium grade silicone around the outside of it. Then I should be able to screw on a fitting or hose from there.