ChamNovice
New Member
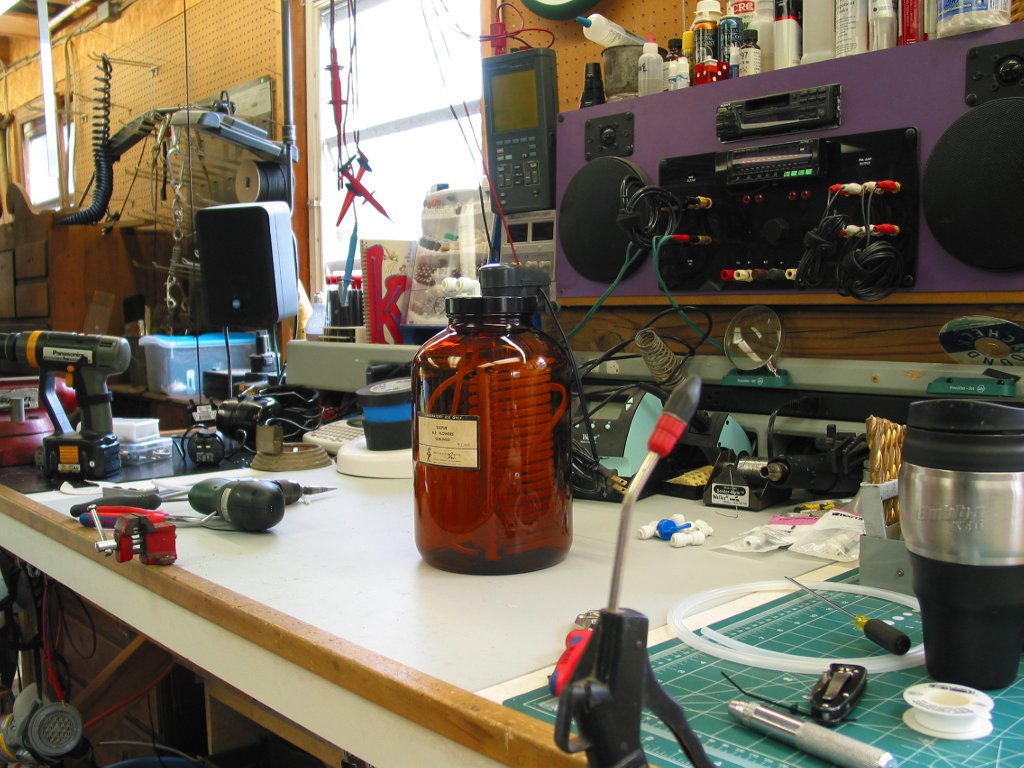
Ok, I wanted warm water, and I didn't want to spend much money. I used some supplies I just had laying around, but I'm betting this could be made fairly cheaply.
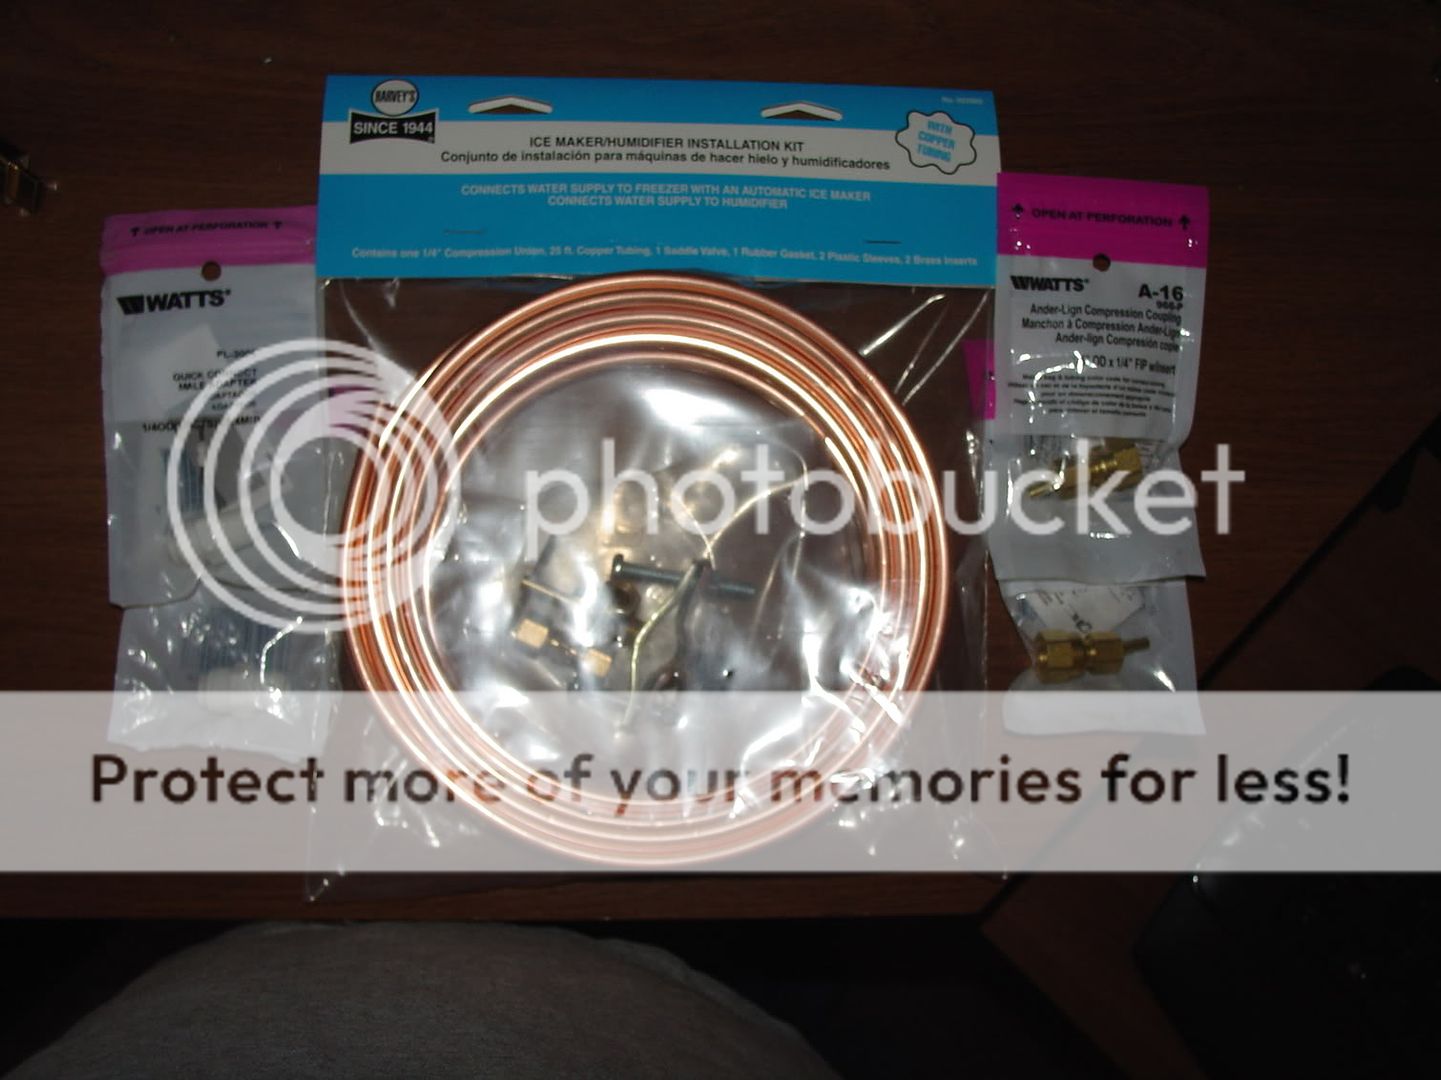
Required Parts:
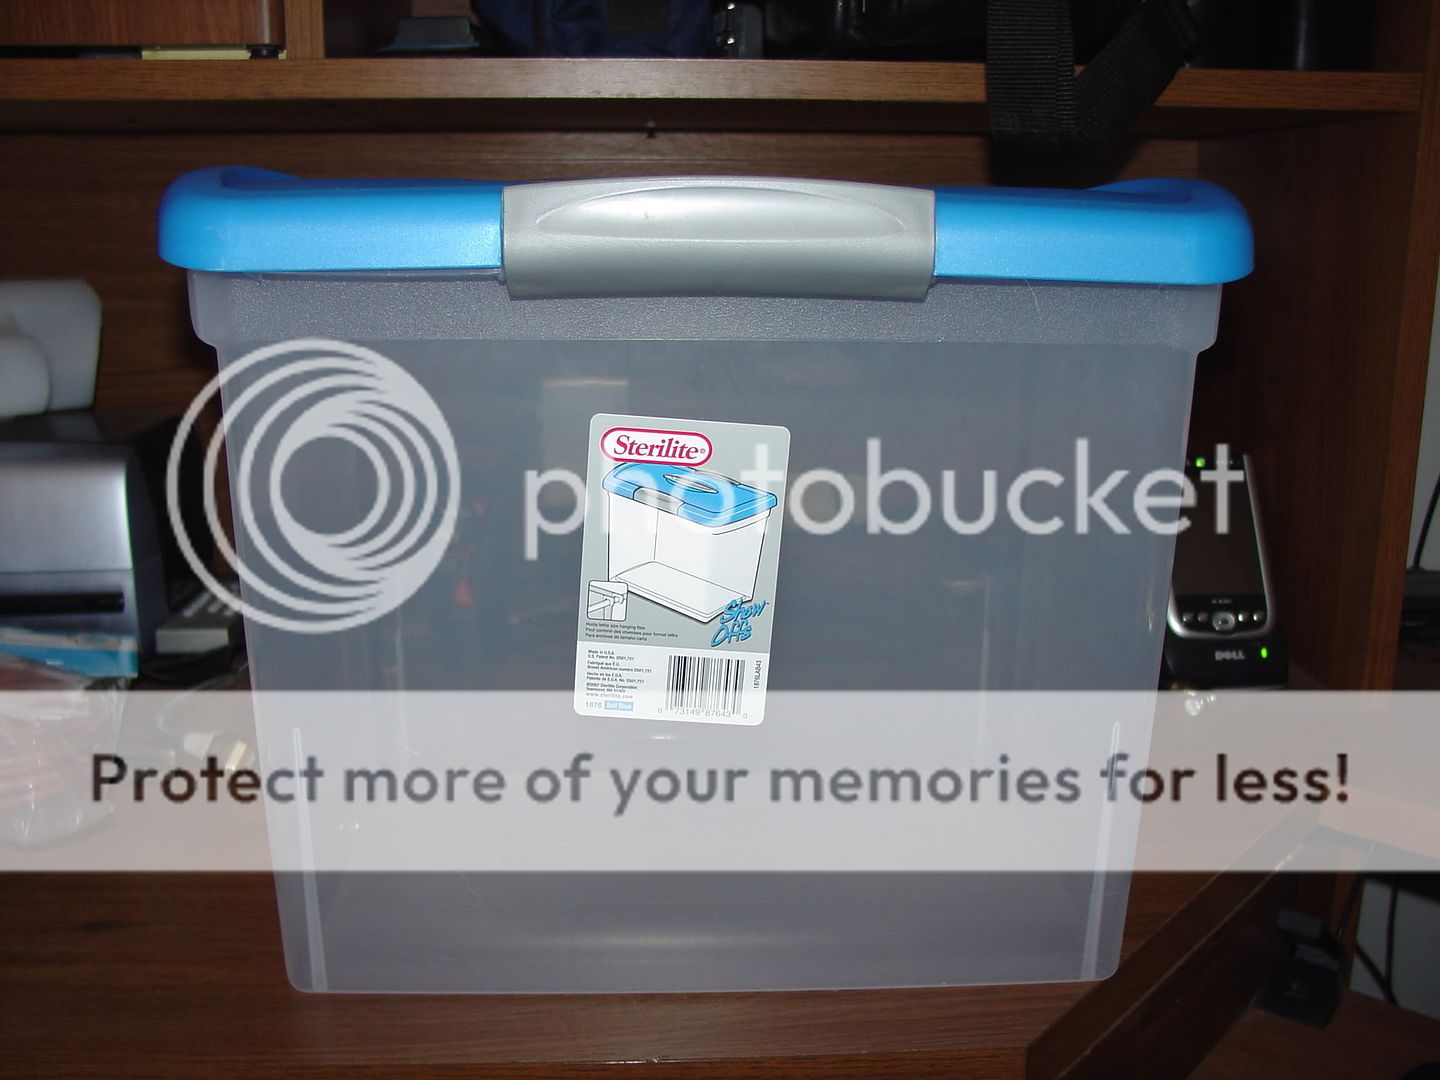
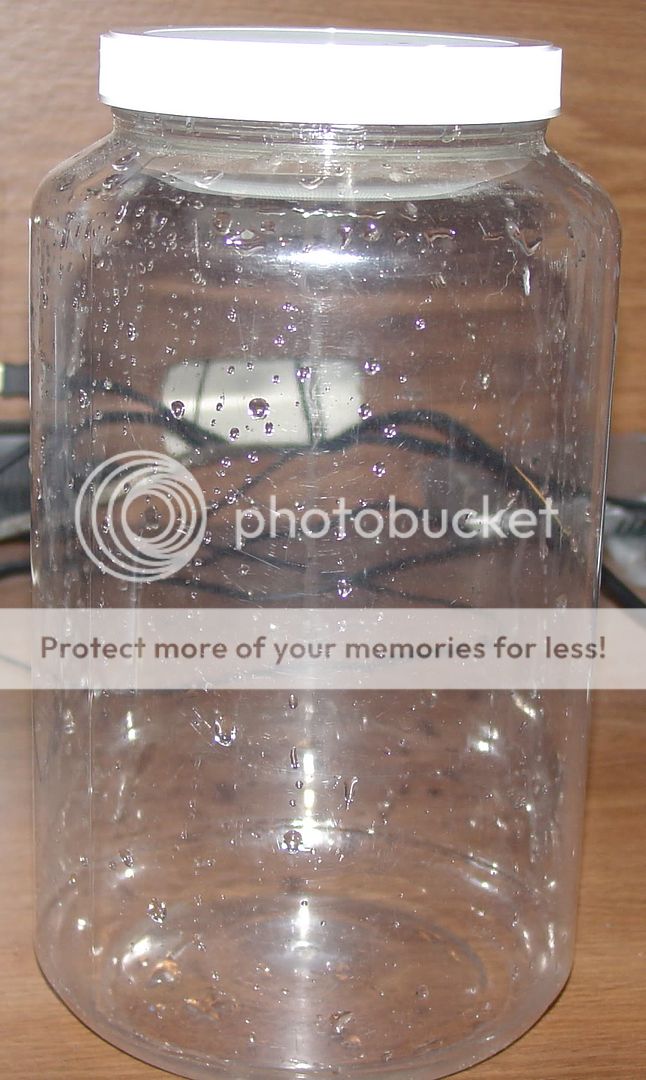
1 - 1g container with lid.
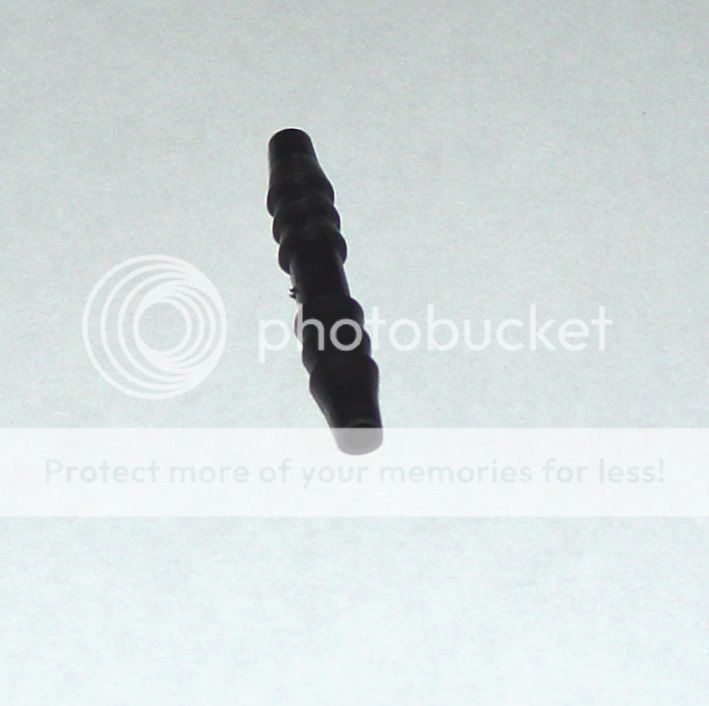
2 - 1/4" couplers
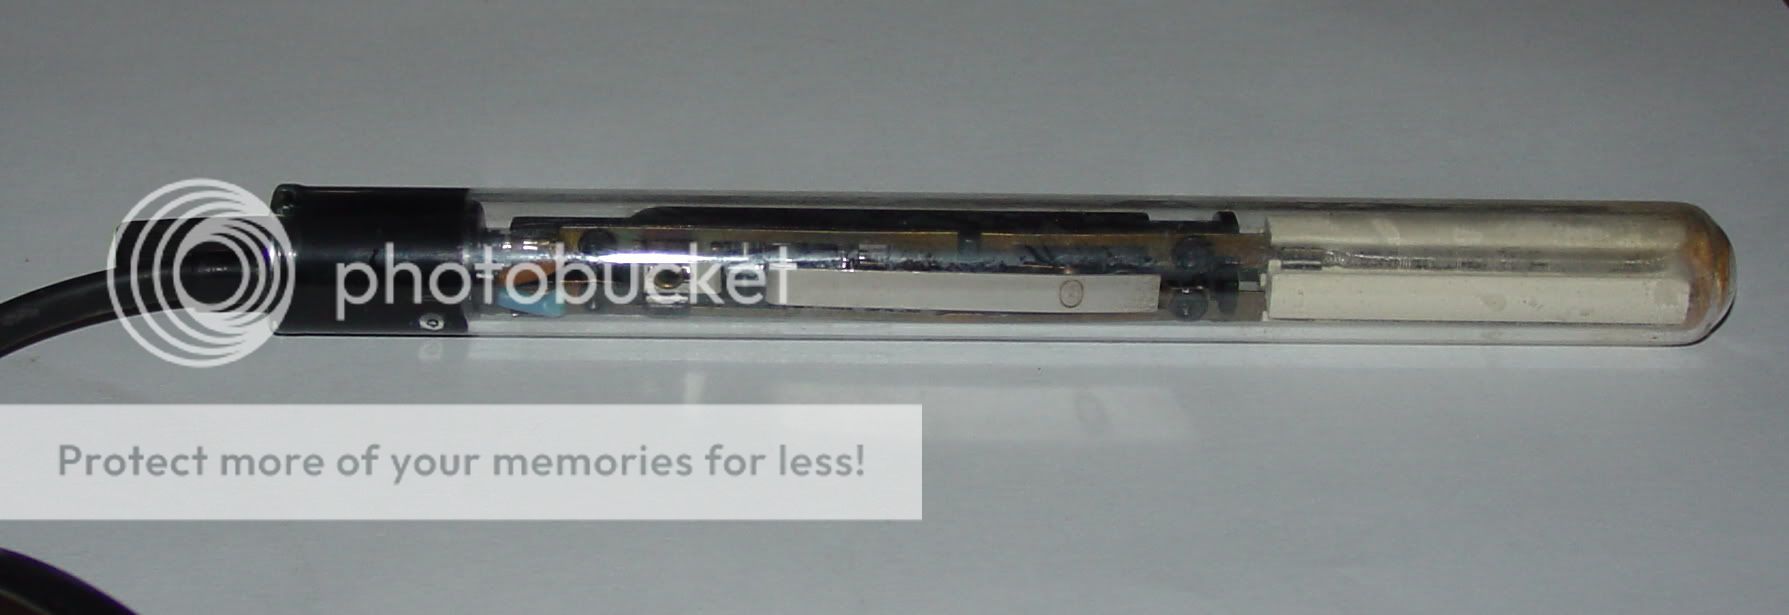
1 - aquarium heater(this one is 25w)
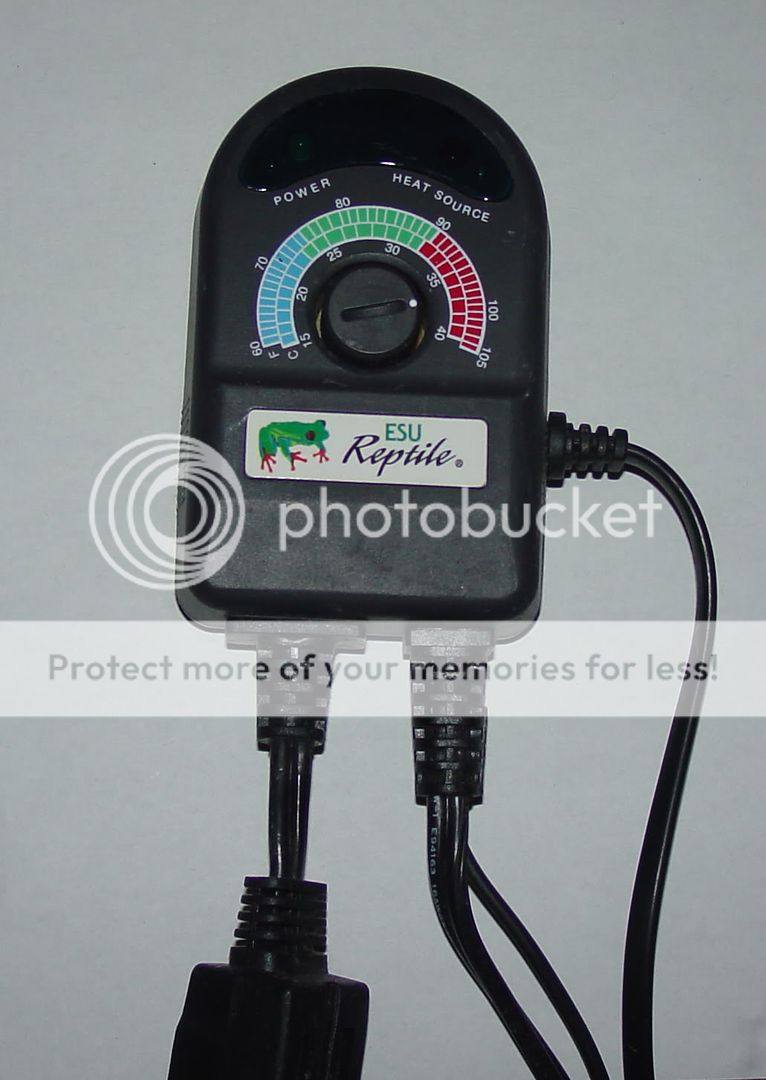
1- Temp Control (not required, I just wanted more control without pulling everything apart to adjust the heater. This one is also modified with a waterproof temp probe.)
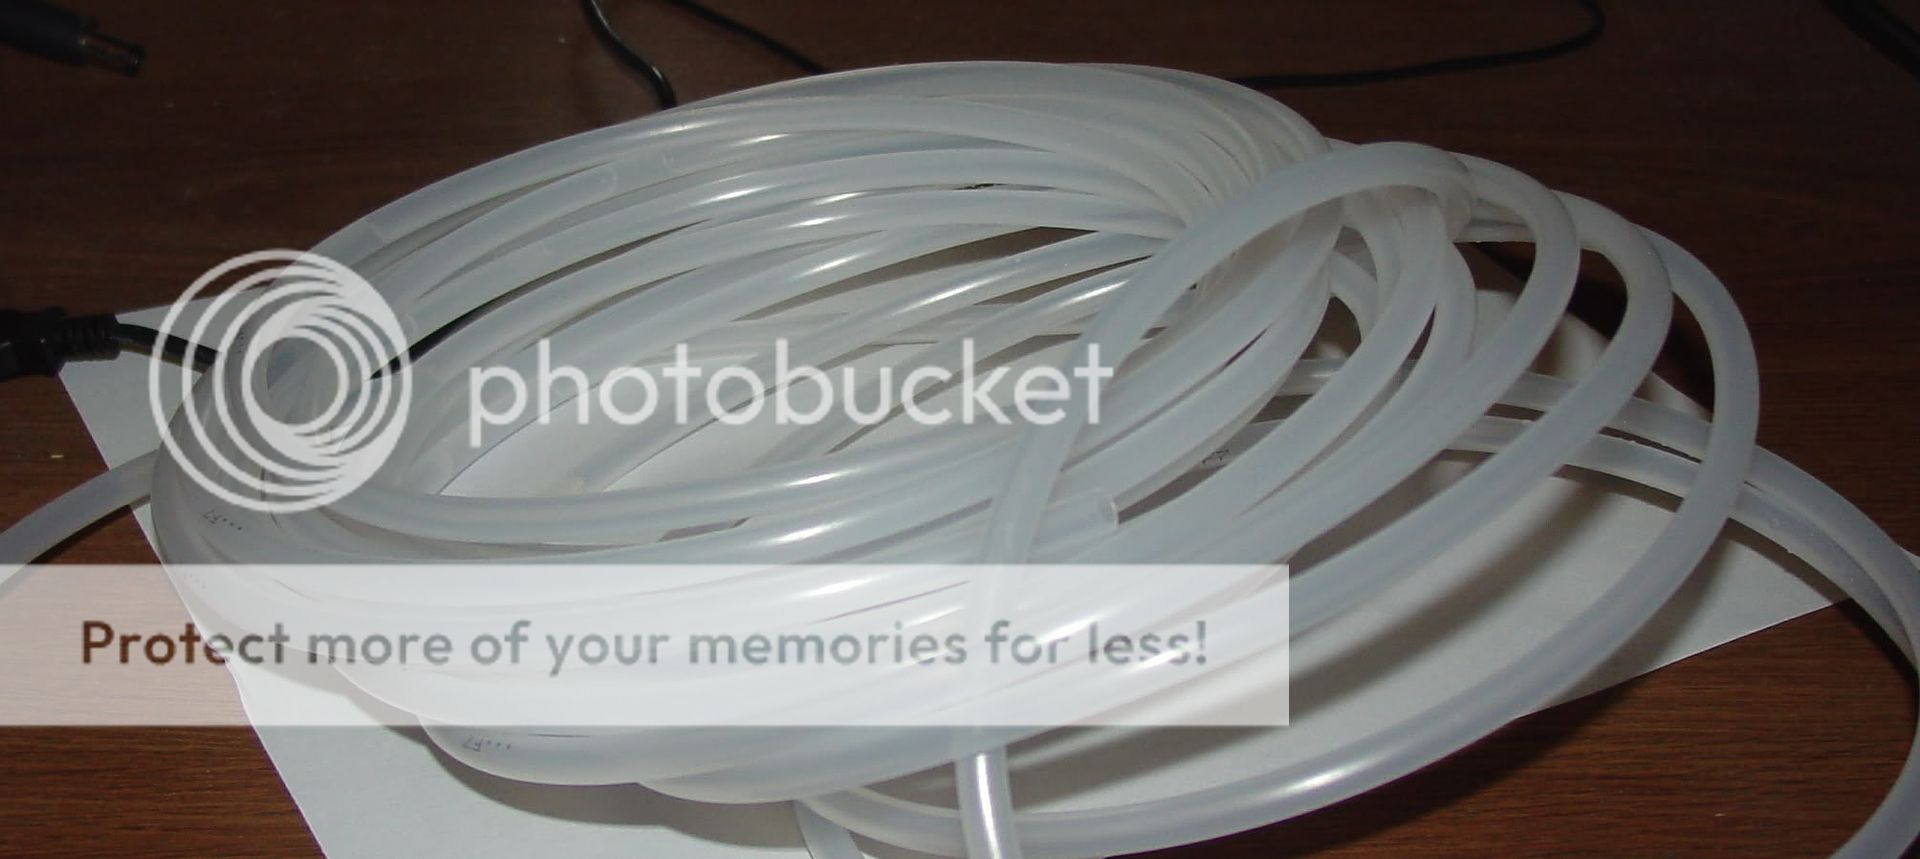
25' - 1/4" Tubing (use more or less to your liking. I had 20' laying around, so that's what I used.)

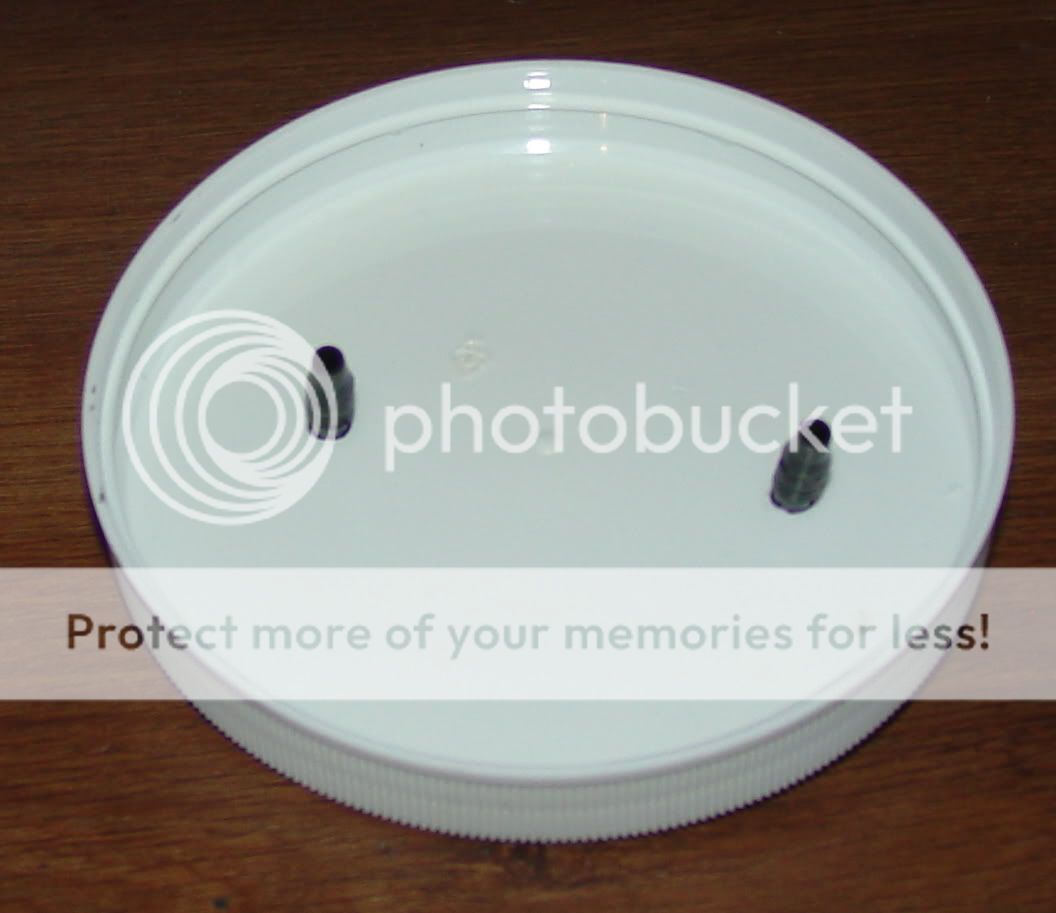
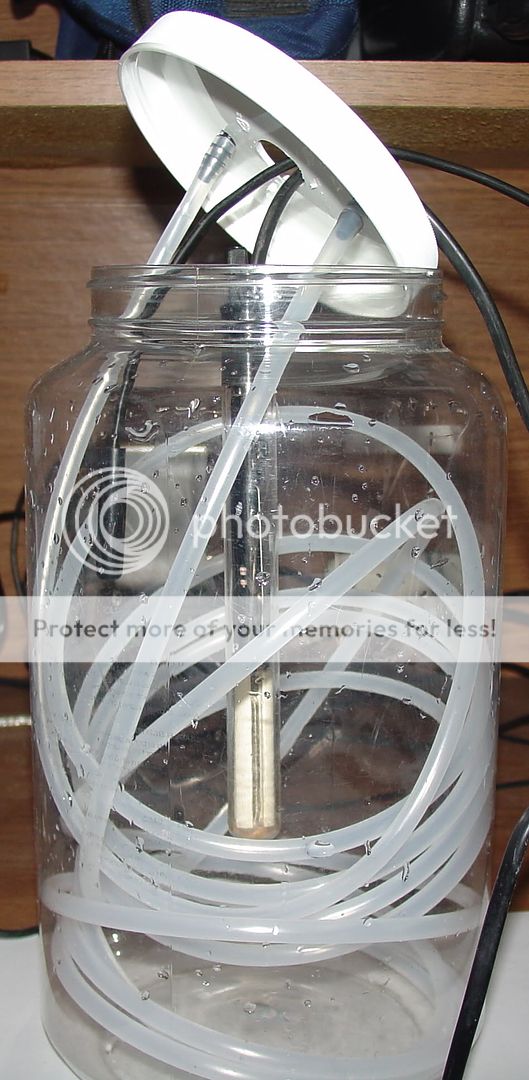
Drill holes in the lid of the container, just big enough to force the 1/4" couplers through and a thrid hole in the center big enough to fit your heater through. Its not in my photo because I skipped this accedentally and had to do it later.
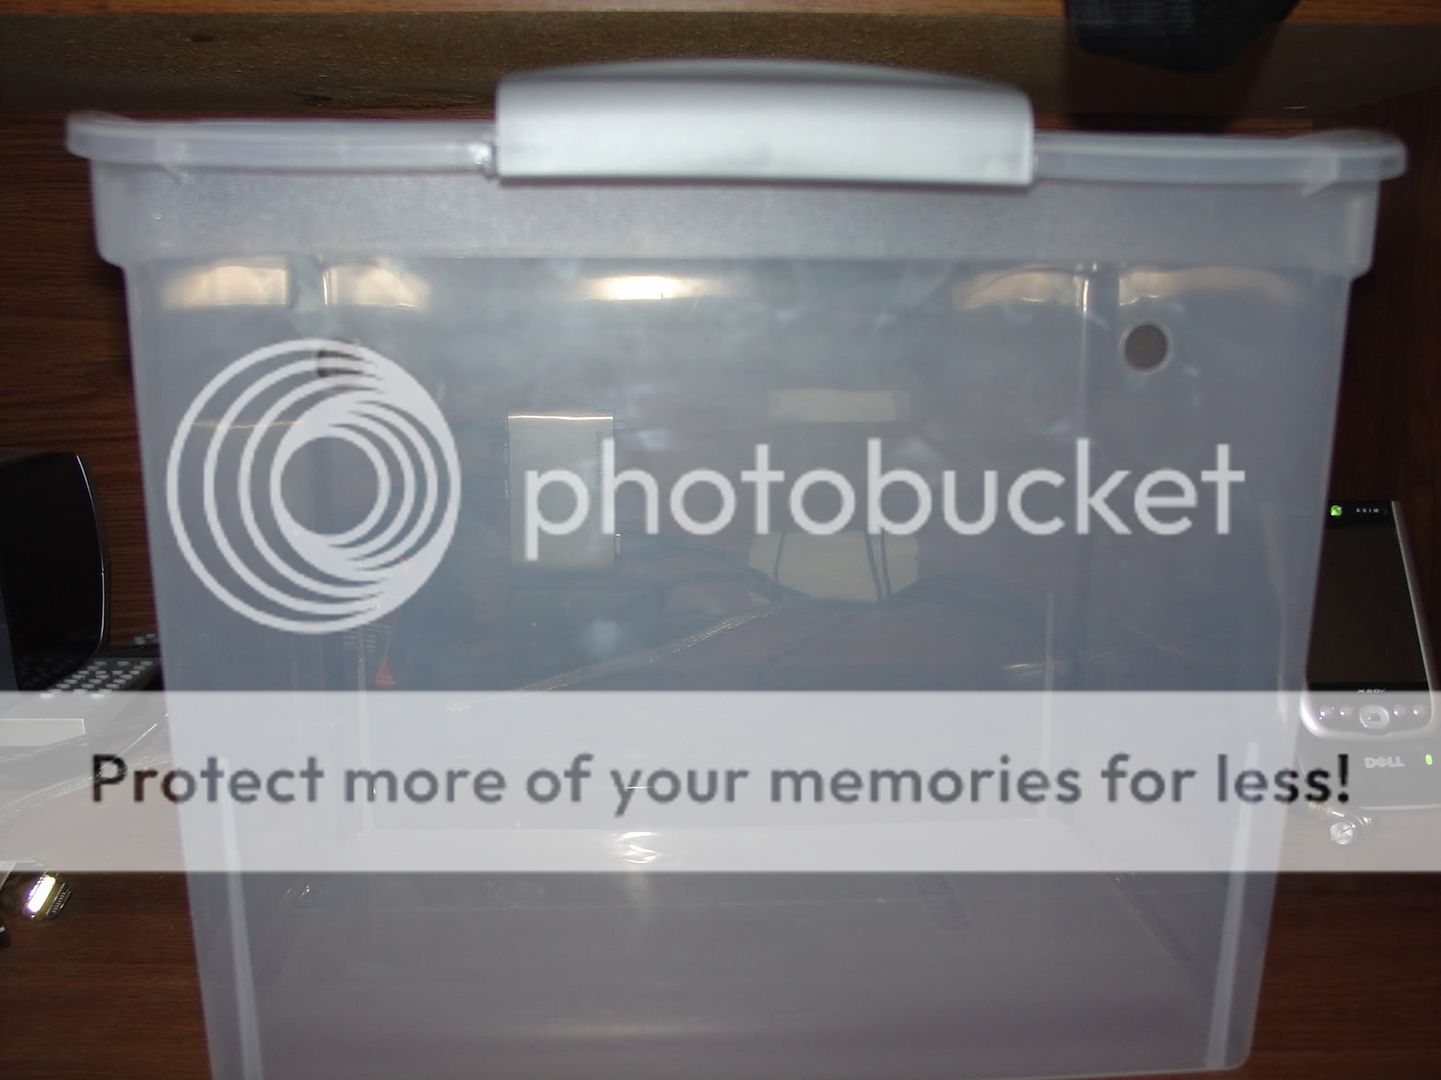
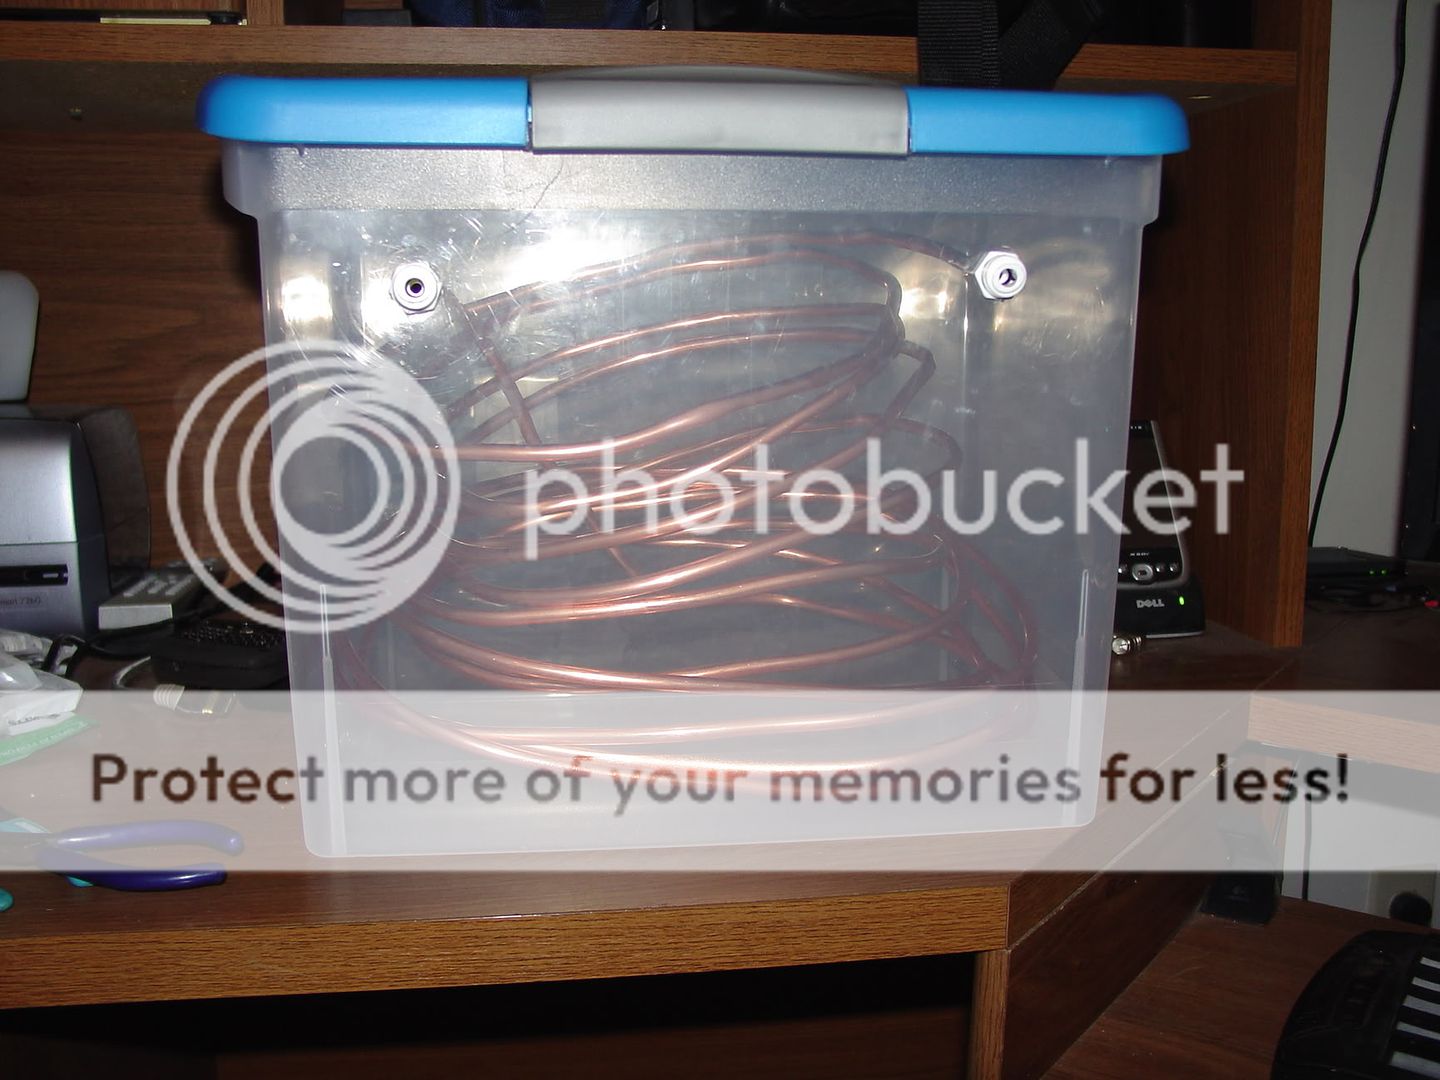
Coil your tubing and put it inside the container, attach both ends to the couplers on the inside of the lid.
Screw on the lid and put your heater through the hole in the center, suspend it about midway so it doesn't touch the coiled tubing. I dont think it would melt it if it touches, but just a precaution I took.
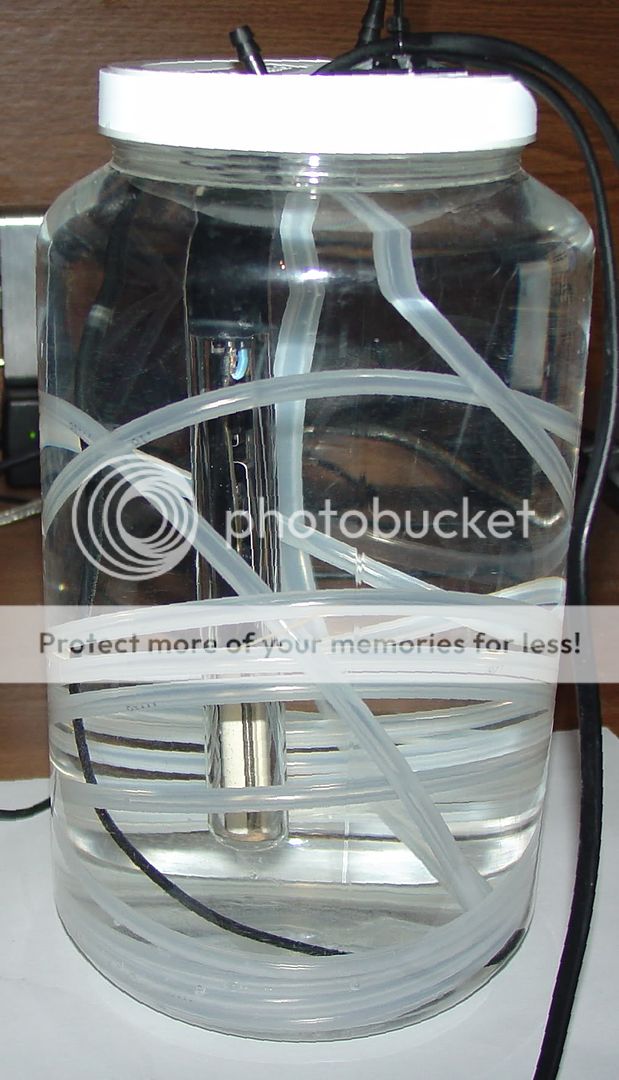
Fill with water, attach 1/4" hose to one coupler on the lid from your pump or hand sprayer(as shown in another DIY thread).
Attach the other coupler to the 1/4" hose going to your misters.
This method should allow you to heat the water well to 100+ if you want.
Yes it will evaporate, so watch it, so your heater doesn't burn itself up. The lid and small hole sizes will help slow down the evaporation.
Concerns about algae and film on the water? Add a little bleach to the water when refilling from evaporation. the bleach never comes in contact with misting water, so no worries about spraying bleach on your plants and chameleon.
Any questions/comments feel free to post or PM me.
Required Parts:
1 - 1g container with lid.
2 - 1/4" couplers
1 - aquarium heater(this one is 25w)
1- Temp Control (not required, I just wanted more control without pulling everything apart to adjust the heater. This one is also modified with a waterproof temp probe.)
25' - 1/4" Tubing (use more or less to your liking. I had 20' laying around, so that's what I used.)
Drill holes in the lid of the container, just big enough to force the 1/4" couplers through and a thrid hole in the center big enough to fit your heater through. Its not in my photo because I skipped this accedentally and had to do it later.
Coil your tubing and put it inside the container, attach both ends to the couplers on the inside of the lid.
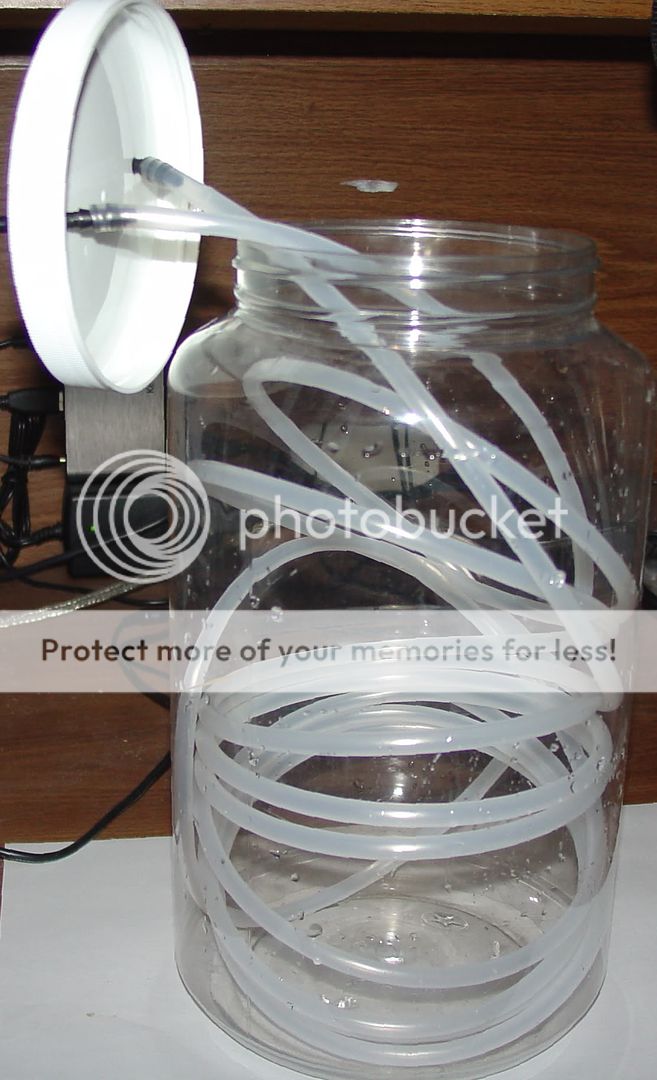
Screw on the lid and put your heater through the hole in the center, suspend it about midway so it doesn't touch the coiled tubing. I dont think it would melt it if it touches, but just a precaution I took.
Fill with water, attach 1/4" hose to one coupler on the lid from your pump or hand sprayer(as shown in another DIY thread).
Attach the other coupler to the 1/4" hose going to your misters.
This method should allow you to heat the water well to 100+ if you want.
Yes it will evaporate, so watch it, so your heater doesn't burn itself up. The lid and small hole sizes will help slow down the evaporation.
Concerns about algae and film on the water? Add a little bleach to the water when refilling from evaporation. the bleach never comes in contact with misting water, so no worries about spraying bleach on your plants and chameleon.
Any questions/comments feel free to post or PM me.