Sunnysenorita
Member
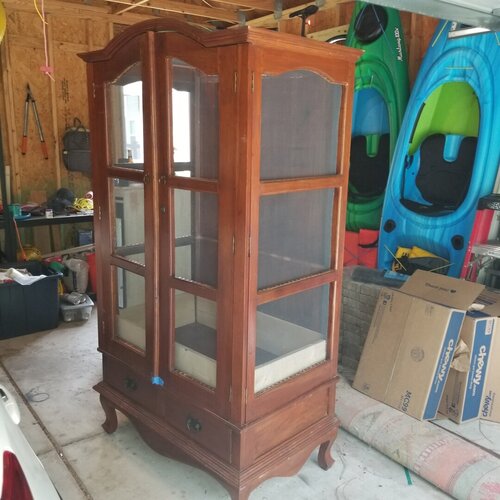
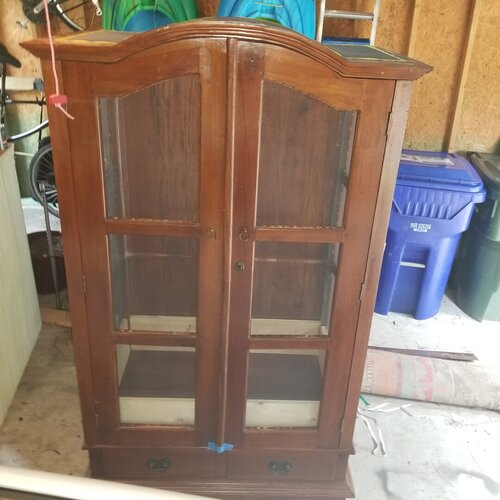
I picked up this fantastic piece of furniture yesterday and have started deconstructing it to a degree with plans to make it a bioactive chameleon Taj Mahal! I plan to seal all larger gaps with flex seal tape, then coat the entire inside with several coats of liquid flex seal. I'm going to add 8" walls at the bottom sides and front, then line the bottom with...something...pond liner, or the like, to hold the substrate and plants. I'm going to foam the back and layer silicone and ground bark/substrate on top. I plan to have built in planters within the background for small plants. I'm excited but nervous bc I've never done anything like this before. Please, if you have experience with something similar, share your wisdom. Am I on the right track? I do have a few specific questions:
What is the best substrate to use for adhering to the foam background?
Is a drain below always neccessary for bioactive? If so, what is the easiest way to do it with the piece of furniture shown here?
What would you suggest for lining the substrate box with?
Does sealing gaps with flex seal tape then coating with liquid flex seal sound reasonable? Is there a better way to do it? I've already gotten a ton of info from folks on here, but it's so hard to keep track of it all. Let me know what you all think.

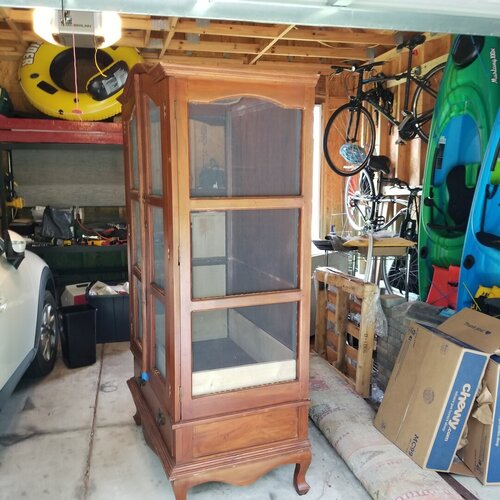
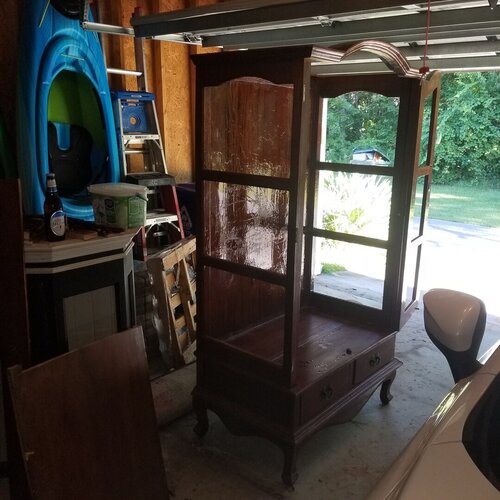
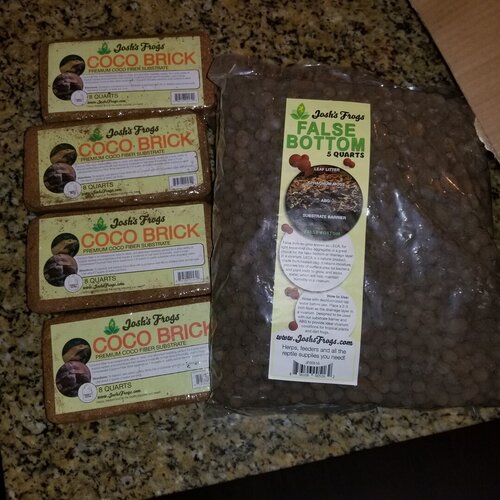
 so far I removed the shelf and the spindles (it's a surprisingly well made piece of furniture so it took some elbow grease) i lightly sanded then wiped down the entire inside. The back panel is solid wood but is a little thin and the gaps between it and the frame were too big to fill with liquid flex seal. So I used flex seal tape in those areas. I then coated the whole inside with clear flex seal liquid. Next we attached the screen. I used aluminum screen because I liked how it looked better than vinyl but in hindsight I probably should have used something more durable. I was trying to come up with a better way to attach the screen other than staples, but that's what we ended up doing. It works and looks good enough. I used some window weather seal I had laying around to make a better seal around the doors, to avoid moisture leaking out and insects escaping. I got some boards to build up the sides and front to essentially make a box inside for the substrate. Tomorrow I'll coat all those boards front and back with black liquid flex seal, then attach them to the inside. I'm getting closer to expanding foam time which makes me nervous. I've used that stuff before and holy crap it's a mess. I have to work quickly to get this done though because my isopods and springtails arrived from Josh's frogs today, way earlier than I expected! I also got some coco fiber for the background and leca balls for my drainage layer. I see why everyone loves that site, they have everything! I'm happy with how it's going so far, stay tuned for more (as if anyone is following this ?)