extrajordinary
Established Member
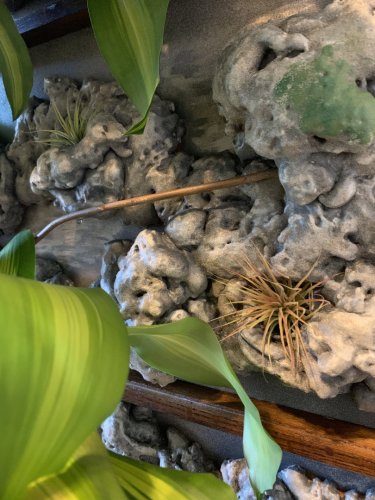
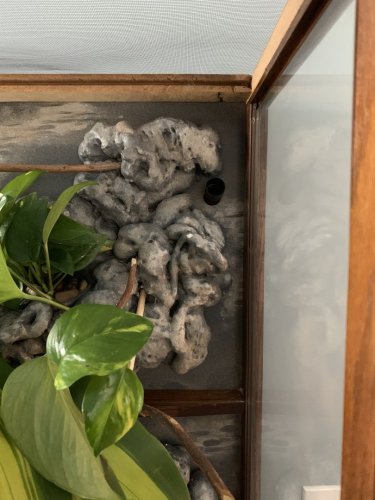
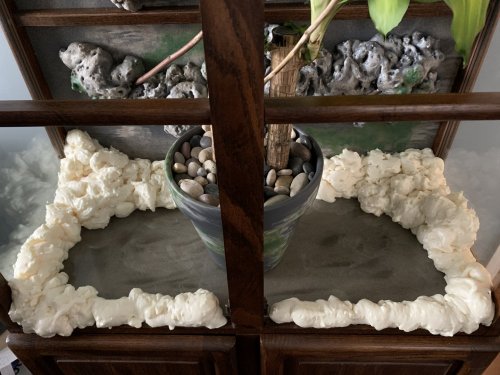
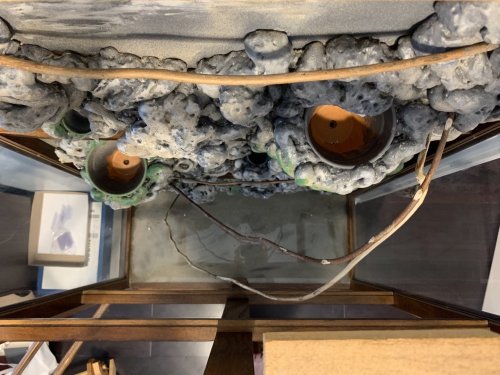
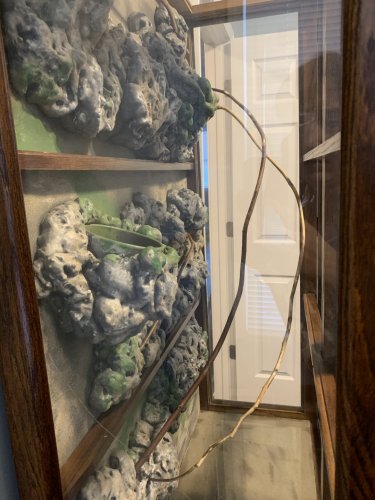
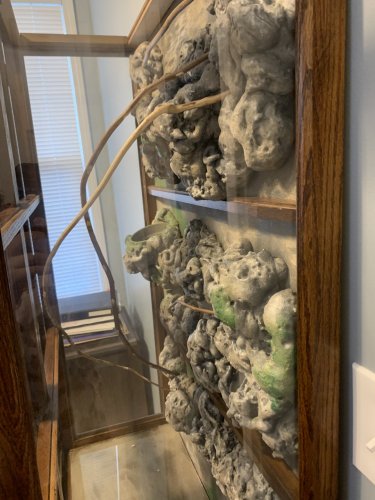
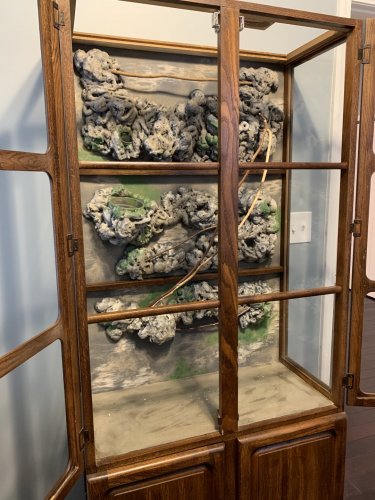
It's called Great Stuff, it's expanding foam. I only used 2.5 cans of it, but I've seen some people on here use much more than that to create really awesome faux rock walls! It's lightweight, but solid and it sticks well to the plywood.Nice!! I was following your thread because I too am interested in building a custom habitat. When you mentioned building the wall my mind started running boy! Lol and this is exactly what I imagined!! But I have never built a wall with cliffs like this, what is that opaque substance you used to create the ledges?? Holding the pots in place.
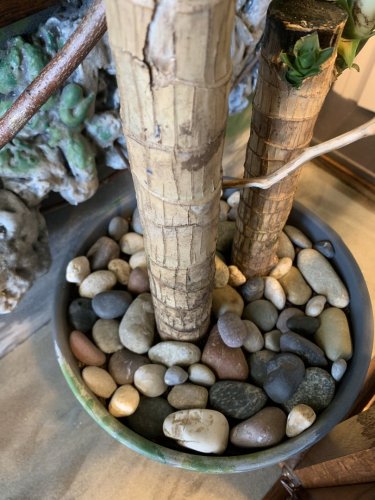
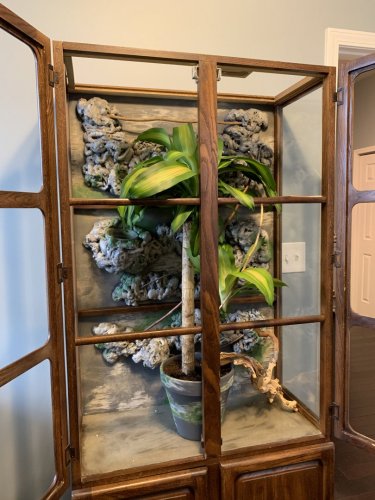
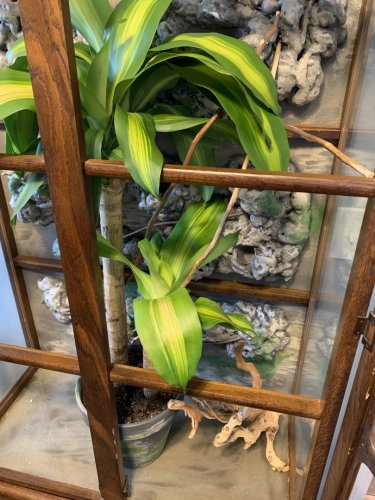
 The enclosure measures 30 inches long by 13 inches wide so none of the traditional trays will work. I've been toying with the idea of building or incorporating some sort of ramp to drain the water but I can't work it out. Would it be sufficient enough to put in a drain and set the potted plants near it to push the area around the drain down enough for it to actually drain? Right now water pools around the potted ficus I have, so I think it might work...
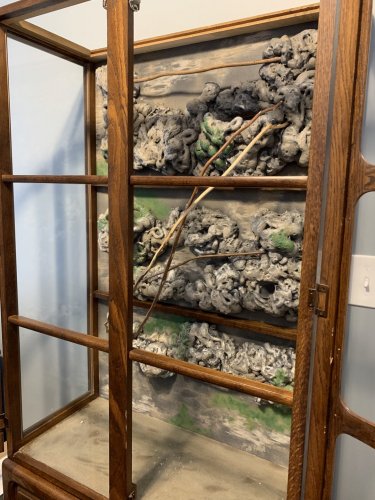


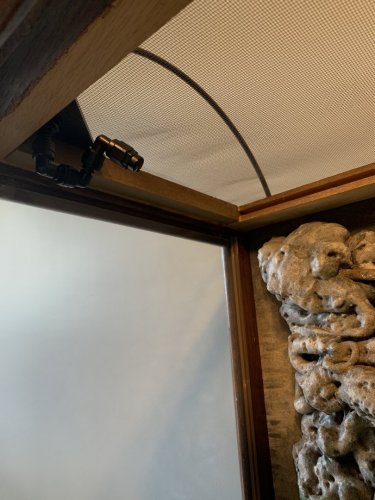
 Wish I’d jumped on the MistKing bandwagon sooner.