ABbuggin
New Member


I now have a digital devise that measures temperature in two areas, along with a humidity probe. 
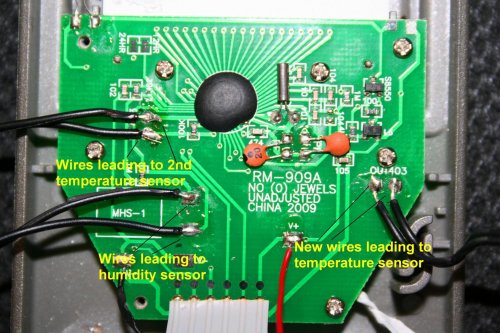
Here you can see the items labeled for re-positioning. The goal was to solder longer wires to the wireless temperature sensor and humidity sensor. The temperature sensor with the wire (on right) was VERY long, I de-soldered it so that it could be shortened (used the excess wire on the other two sensors).
Here you can see the items labeled for re-positioning. The goal was to solder longer wires to the wireless temperature sensor and humidity sensor. The temperature sensor with the wire (on right) was VERY long, I de-soldered it so that it could be shortened (used the excess wire on the other two sensors).


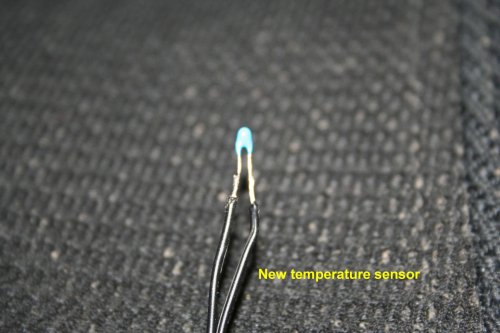


 The humidity sensor (from walmart) looked just like the one pictured, and the temp, was a different color, but otherwise the same. All you have to do is take the unit apart and touch the things that look like temp probes. When the temperature display goes up, you've found it.
 ") I like the idea of a $6.50 digital temp/humidity unit with external probes.
I like the idea of a $6.50 digital temp/humidity unit with external probes.