New island free range for melleri

MSAquatics

New Member
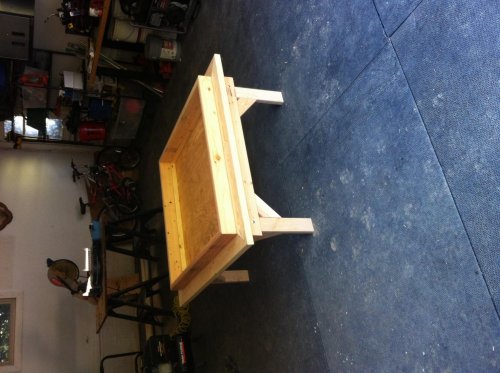
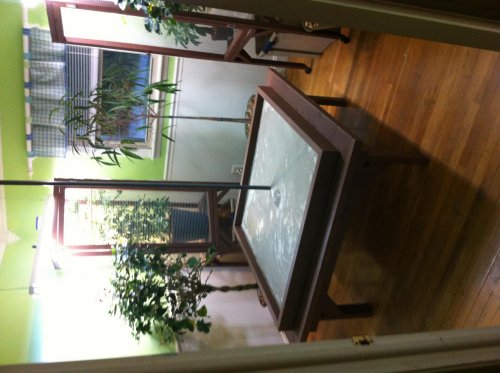
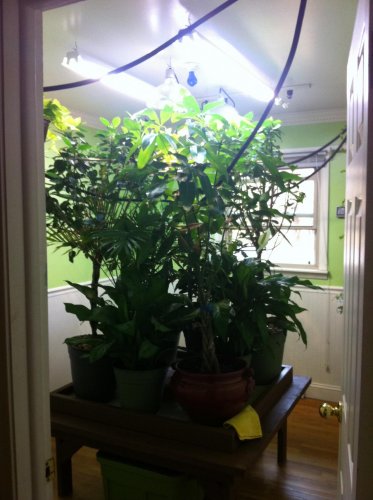
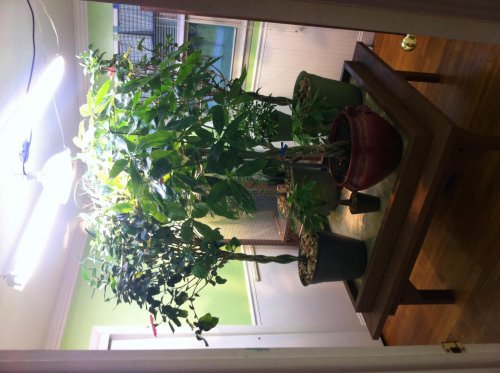
Hello, thought I'd post some pics of my island free range I built for my melleri. I'm a plumber, so I got the idea while installing a drain for a concrete shower base. I basically built a 4' square table, 2' high, with a 6" recessed area in rate middle to install a sloped concrete pad with a weeping drain. I didn't want my plant pots to lean towards the drain, so I used a 2% grade sloping towards the center.
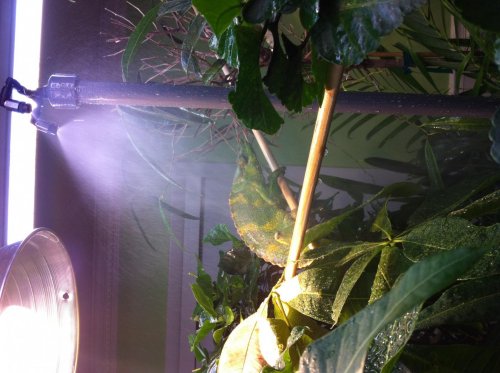
The first pic shows the unstained wood base. In the second, I've stained the table with UV deck stain, and installed the drain between two separate layers of concrete, with a shower liner in between them. I also installed a 3/4" schedule 80 PVC pipe through the liner with a bulkhead fitting near the center to run my misting system pipe through.
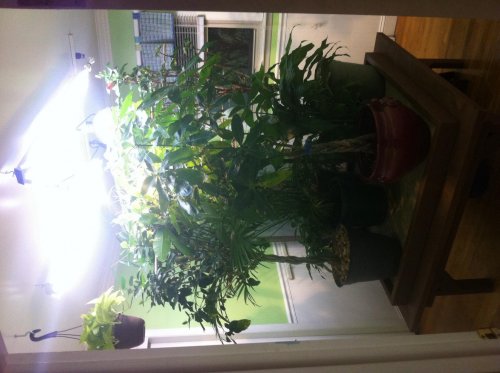
The third pic shows the first few plants being added. I'll post a new pic with the melleri and finished plant arrangement tonight. image.jpg
 
Ha! Yeah it's out of one of my baby veiled's cage, it was just there for a moment. You'll see in the next image
 
That's pretty neat! I like how you have your misting nozzles anchored. I usually end up having to add a canopy or some sort, but I like your idea better!

Do you have one of these set up for each Meller's? And if so, how many do you currently have? Just out of curiosity :)
 
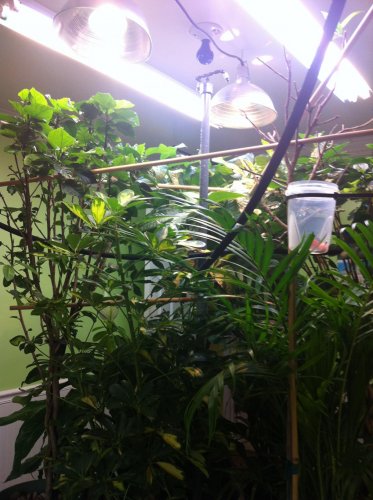
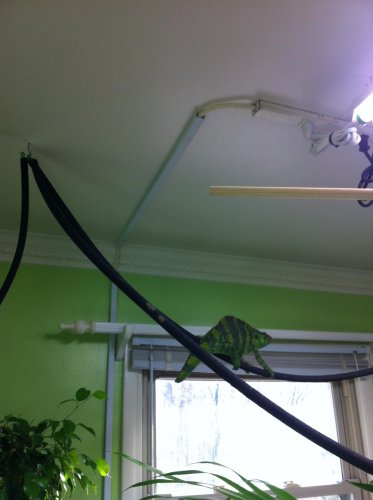
I only have one setup currently. Its about 4' square, and room its in is 10'x10' with an 8' ceiling. I have two melleri in it now, and I think it could support 4 melleri maximum, provided they all would get along. If I had a larger room, I would build a few of the tables and link them together with vines. The melleri like to get up on the soaker hose vines in the top corners of the room. They don't seem to like seeing each other sometimes, so I'm hanging pothos and other plants in the middle of the room between the corners to block their vision.
046.jpg
052.jpg
 
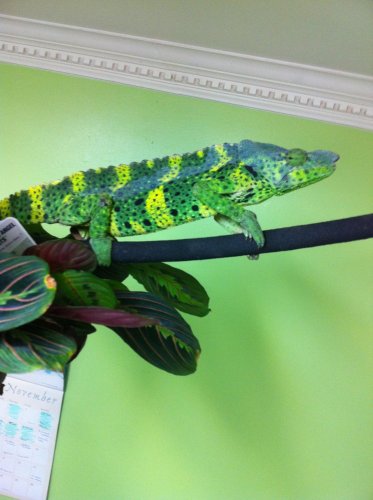
Also, check out the way my other melleri looks today. lol Do you think this is the start of a shed? It all the sudden has a white head & streak down its side laterally. I just fed it some calcium dusted crickets a few days ago, and I worried it could be a sign of too much calcium in its diet.
003.jpg
 
Ok neat, that's a nice-sized room. Definitely good for a pair. And I definitely like some of your ideas, which I may steal for mine ;)

Yea, that looks like a shed. Mine get milky like that too when they're getting ready to shed. It seems like they haven't stopped shedding in the last couple months, between growing or re-gaining weight! So I see that milky overlay quite often.
 
My goal was to keep the lights out of reach, and not connected at all to the free range, so the chams couldn't touch, or climb onto the lights.

Leland
 
Smart. I'd never figured out how to suspend the nozzles without relying on a canopy (which then means everyone is closer to the lights if they climb up ontop of it). So this is way smarter.
 
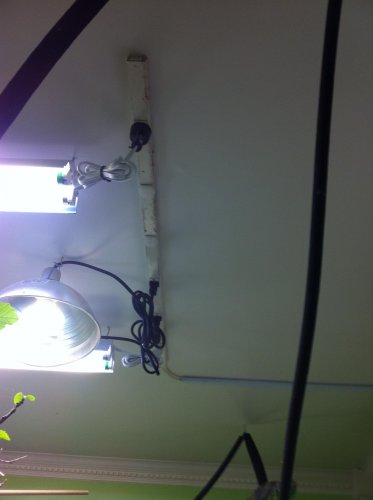
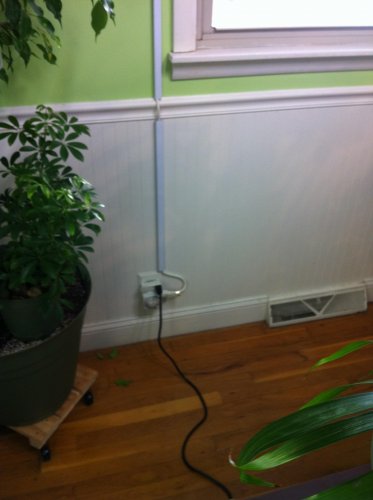
Thank you for the compliments. Here's some pics of how I ran the power cord for the lights. I used a strip outlet found at Lowes in the electrical section, that is made to be mounted along the tops of desks or workbenches horizontally. They work great because they are metal, the outlets are spaced out, and they have two mounting brackets that screw into the wall, and they just snap in and out of the brackets. There's also a built in circuit breaker in the end of the strip.
I used a cord hider strip found in the same isle at lowes, that has an adhesive backing to hide the cord, so the chams can't climb on it. Its paintable, I havent decided if I need to paint it yet or not.
Ignore the angry cham in the second pic, he's not happy with his antibiotics, or being forced to open his mouth every morning.
001.jpg

002.jpg

003.jpg
 
Back
Top Bottom