New Dragon Strand Hybrid Large Atrium for my Beman <3

Beman

Social Media Manager
Staff member
So this is the new design Bill Strand has put out. There are a few options if you would rather have the side panels be done in screen. With or without drip pan etc.

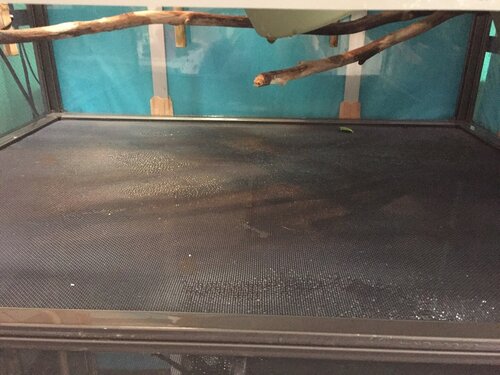
I got the Hybrid with drip Pan. For my needs I wanted solid back and sides. Exact dimensions of the cage are 46.75″ x 23″ x 48″ https://dragonstrand.com/

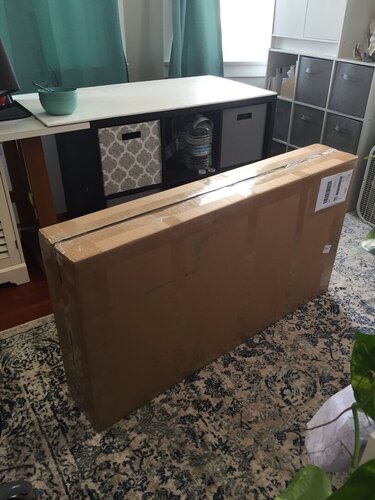
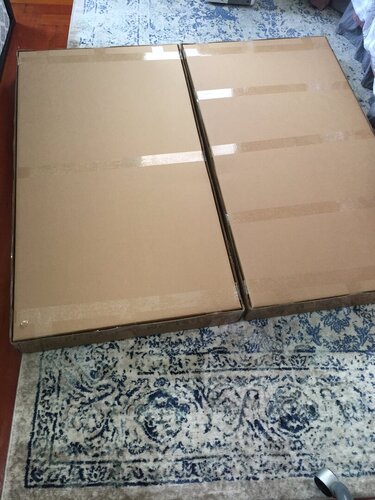
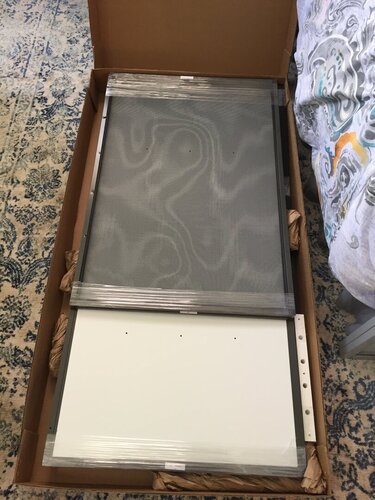
Soooooo boxed beautifully as always. Fed ex could not damage this box if it tried. Packaged inside just perfectly. Highly recommend bowls for organizing all your pieces and keep the baggy with the bowl. Do not over screw anything!!!!!

IMG_4936.JPG IMG_4937.JPG IMG_4939.JPG


Drip Pan is Massive!!!!!!!

61421320392__73D5C8B5-8959-4239-9D19-C3095AE9FB88.JPG


I have not added the doors or the middle panel or service panel... I also have a drop in screen that sits on top of the tray. That is out currently. Once I have branches added, pots placed, and plants dropped in I will add these pieces. I just did not want to risk tearing through the screen of these pieces.


IMG_4940.JPG
 
This should be great! Done yet???
LOL I have to go to the hardware store to get a few things for my gravity drains and pvc stuff for the fogging curtain I want to do on them both. I need to get the gravity drain installed, dried, and tested before I do too much to the cage. I am going to pull the cage down today though and install the bracing branches for the ledges and the mistking nozzles and tubing on top. Trying not to rush since I have to wait until next week for the t5 fixtures to get here. lol.
 
It was a 3 hour excursion to 3 different stores today to get stuff for the fogger "curtain" I am going to make and the gravity drain. Spent the last 2 hours working on the gravity drain, attaching my heat light bracket with fixture, and installing my mistking nozzles and lines.

I have learned a lot since the first cage and I am really wanting it to all look clean and done right. Not wanting the rattling mistking line this time around either.


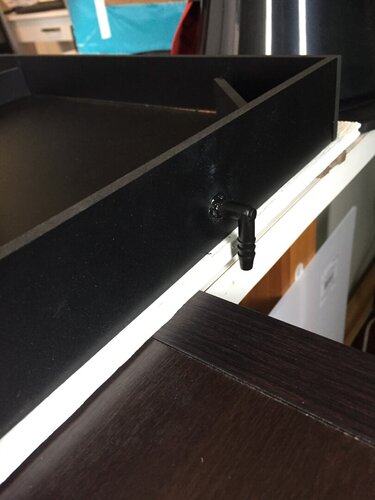
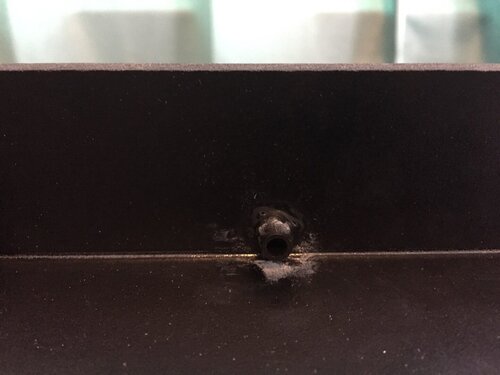
So here is the gravity drain. Which by the way was the most stressful thing I have done. I was sure I was going to drill into the wrong place in the pan and end up with a disaster.

IMG_4945.jpg IMG_4946.jpg

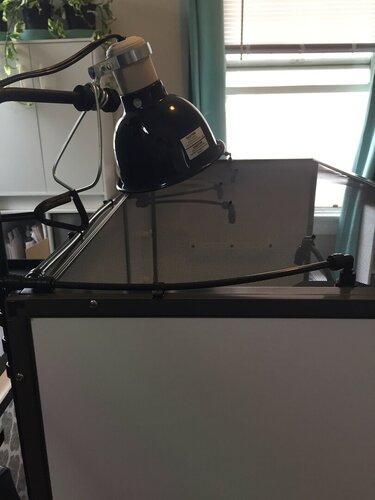
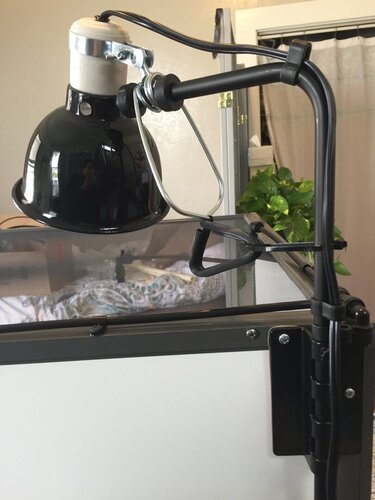
Here is how I have set up my heat lamp. Able to angle it and lift off the screen. Bought this Exo Terra Lamp Holder to attach to the cage with screws.


IMG_4943.JPG IMG_4944.JPG


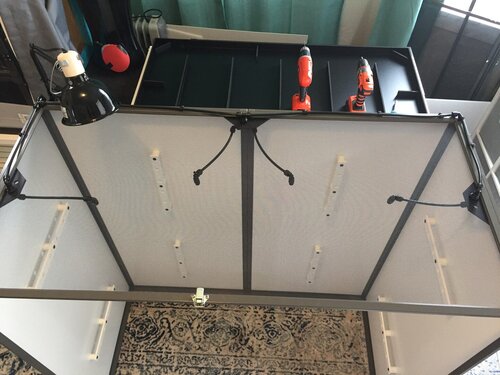
And here is what it looks like from above. I am doing my misting nozzles very differently from the way we normally do them. Talked to someone at mistking about how I wanted it and they gave me the fix for it. I have taken apart the nozzle and run a 7 inch space of mistking tube between the two L's of the nozzle. Then use a tiny zip tie to hook the nozzle portion that is extended attaching it to the top screen.

This gives me the ability to not spray my top panel or lights and not waste water spraying the walls. This will give me a full 360 degree spraying down toward the plants. I have tested this on Beman's current enclosure the last few weeks and it works perfectly.

IMG_4942.jpg
 
I like what I’m seeing. Great job! Didn’t know there was an option to not mist the lights or top panel.(y)
Thank you! Yeah it has been something that has always bugged me so I wrote mistking asking if they had a long solid segment I could use on the nozzle and they wrote back and sent a picture for how to do it with the tube. I really love it and it has worked well the last few weeks while I was testing it. All lines for the nozzles are clear of where the lighting will sit so it does not heat the tube or the heads.
 
LOL I have to go to the hardware store to get a few things for my gravity drains and pvc stuff for the fogging curtain I want to do on them both. I need to get the gravity drain installed, dried, and tested before I do too much to the cage. I am going to pull the cage down today though and install the bracing branches for the ledges and the mistking nozzles and tubing on top. Trying not to rush since I have to wait until next week for the t5 fixtures to get here. lol.
WHATS A FOG WALL????
 
Question: does the bottom screen get gross? I'm imagining poop smooshed into it.
Not at all. I use wet paper towels to spot clean when he goes. And I pull any leaves that he tears off from eating them when they fall. This is what his current one looks like. But you can pull the screen out easily to clean should you need to and I do this about every month or so. Currently wet vaccing this pan every other day. Will install the gravity drain on this one as well.

Here is a pic Jillian of the enclosure he is in now. I will be doing a total rework on the cage when I move him to the Large Atrium. The only thing about the easy drip pan is you can not put plants on the screen.

IMG_4948.jpg
 
WHATS A FOG WALL????
I have seen a few people to it... You take PVC pipe and drill a line of holes in a line into the side that faces the screen spaced where you want them. Then use a pvc cap on the end. I am using a few pieces from the hardware store to adapt the other side to my fogger. I will have it eventually hooked up to a T piece when both cages are complete but I have a L for a temp piece when I have to break apart the cage he is in now.

You lay the piece on top of the cage holes pointing down. So it creates a Fog wall or curtain equally shooting out fog across the entire length of the cage.

I have to do a few test runs when I get the cage done before I move Beman over to test temps, misting, fogging, and my gradients.
I will do one during the day with the fogger on and film it so you can see the effect.
Ooooh, okay. I have seen that one time before. By one of the forum members. Such a neat idea
 
Back
Top Bottom