New Cage

Oliver

New Member
Ok, so i am finally to the point of completing my cage. Here is what i have so far:
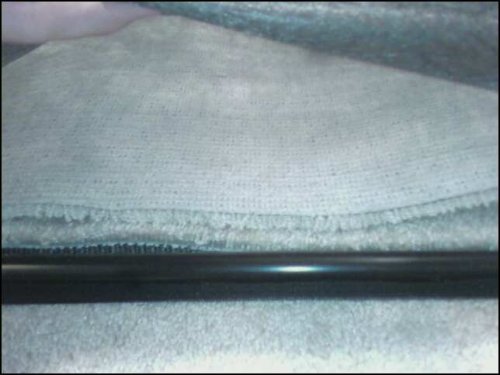
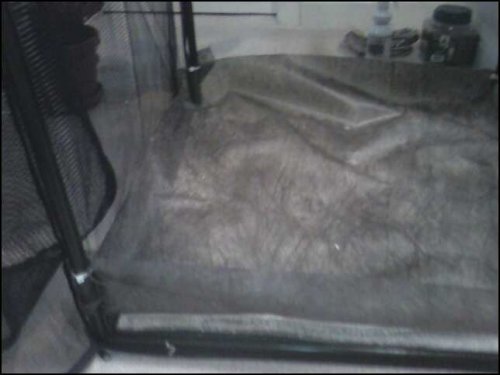
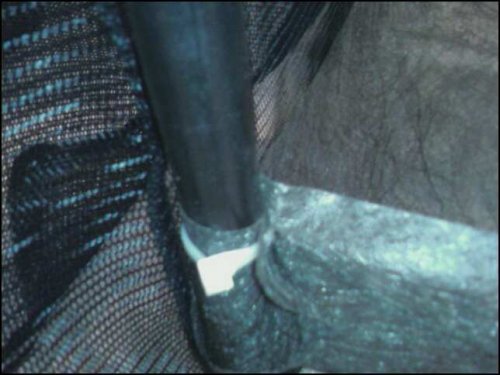
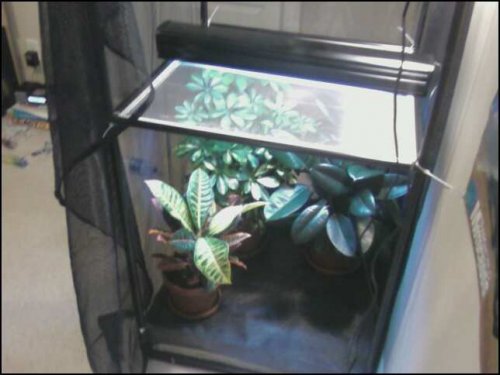
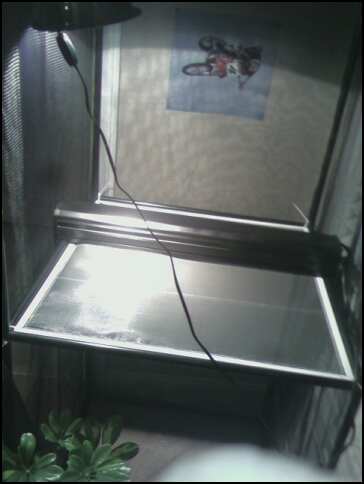
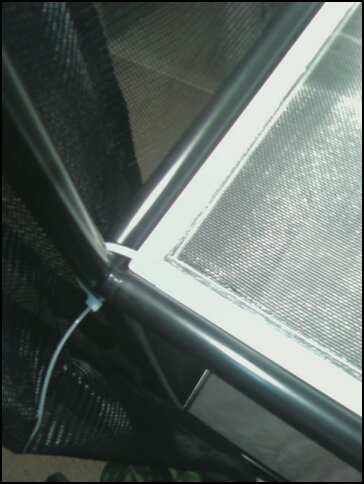
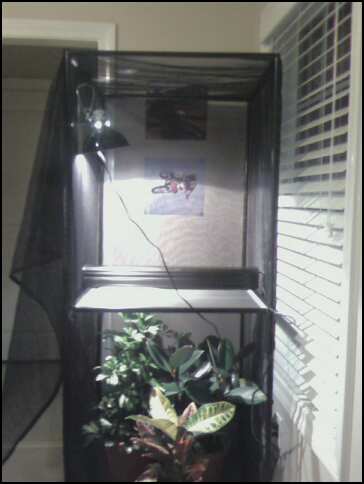
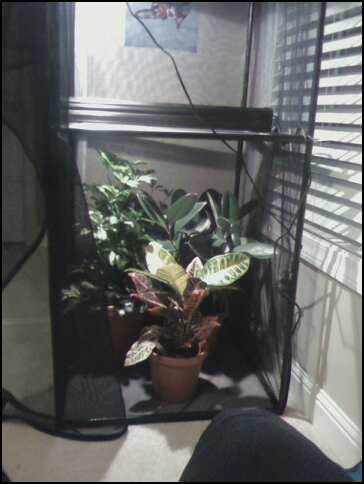
I have a 260 gallon flexarium. However, since the cage will be for a baby Veiled,i have cut the cage size in half by building my own window screen. It is a custom window screen set i got from Home Depot. I built it into the proper dimension and now the cham can only access the bottom half of the cage. this way when he gets bigger i can just remove the window screen and he can use the full cage.

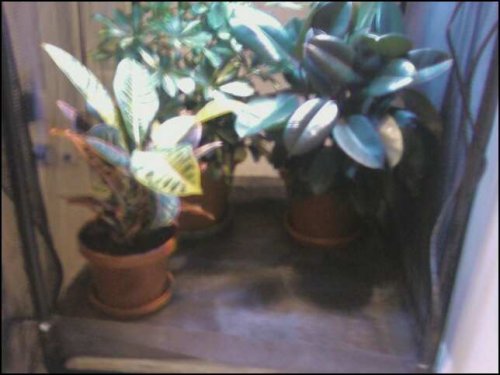
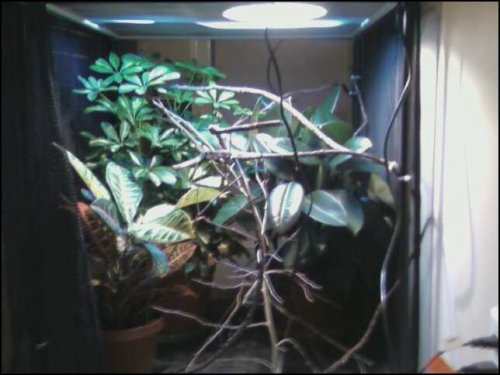
I currently have 3 live plants in the cage, a Ficus, an umbrella tree, and a croton.
I have a reptiglo 5.0 bulb and a 75 watt heat bulb.
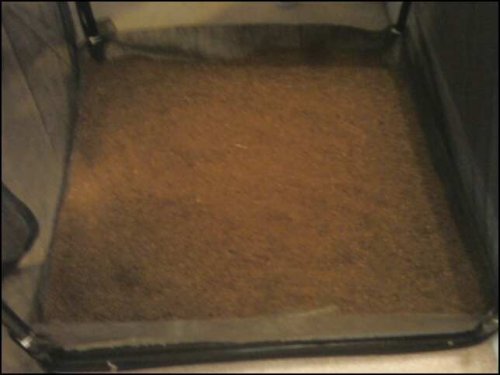
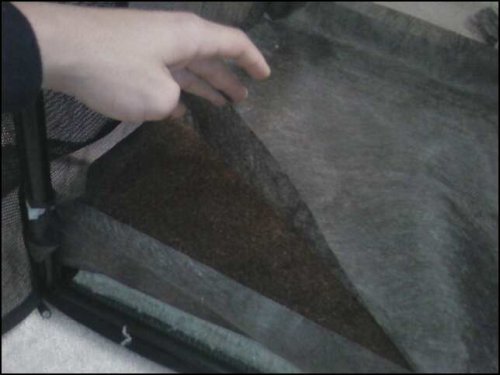
On the bottom, i have put an Ecoearth substrate down and put a layer of weed tarp over it so the cham can not ingest the substrate. The eco earth will aid in absorbing excess water and keep the overall humidity high.
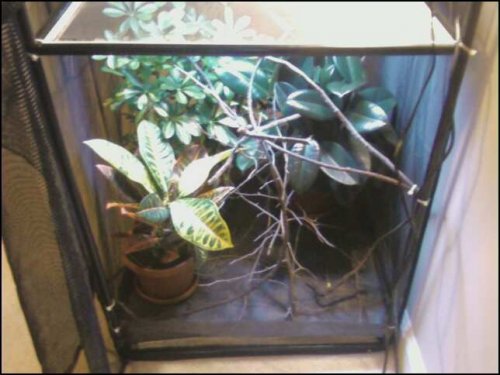
I still have to add vines and let the cage sit for a week or so to make sure that the plants are alright and then i will order my cham from Mike at FLchams!

Let me know if there is anything else i need to do!
thank you very much!
 

Attachments

  • 331469090_1134676891_0.jpg
    331469090_1134676891_0.jpg
    15.7 KB · Views: 160
  • 331469320_1134677766_0.jpg
    331469320_1134677766_0.jpg
    19 KB · Views: 138
  • 331469697_1134679199_0.jpg
    331469697_1134679199_0.jpg
    18.8 KB · Views: 170
  • 331470400_1134681803_0.jpg
    331470400_1134681803_0.jpg
    20.5 KB · Views: 195
You need branches and vine for your cage. Have you purchased your supplements yet? You will also need a way to mist and a drip cup.
 
Yes, i have Reptivite with D3, and i gut load my crickets with a special food that contains calcium and other essential vitamins that the chams need. I have some artificial vines that i will be puttin up later this week and i am also about to put some branches in.
I also have a Little Dripper, and a misting bottle already.
I think i am going to get a calcium supplement as well.
 
I like how you sectioned that off. I'll have to try that for my cham in a couple of months. Thanks for the idea.
 
No problem, it is actually really simple, i got the kit from home depot in the door and window section for 13 dollars. and then the roll of screen was 7 dollars. So in all that is twenty bucks vs. having to spend another 100 bucks on a new cage when the cham outgrows a little cage.
 
No problem, it is actually really simple, i got the kit from home depot in the door and window section for 13 dollars. and then the roll of screen was 7 dollars. So in all that is twenty bucks vs. having to spend another 100 bucks on a new cage when the cham outgrows a little cage.

I am surpised more people have not done it, while looking at pre-made cages they always offered 2-3 sizes, i would just order the medium to large cage and section it off, no diffferent then what you do with a puppy crate for crate training. You don't buy a bigger crate you just move/remove the divider...

Hmm i wonder if the divider i don't use would work in a cage if/when i ever get a chameleon lol..Ohh good thought :)
 
Last edited:
Nice cage! Great idea to only use part now and then take out the divider later when your cham needs a bigger area. Jann
 
I was surprised as well, i was told on here several times that my cage was far too big for a young Chameleon and that i would need a new one. This seemed like a much more simple and a cheaper solution.

Anyways though, i finally setup the rest of my cage today and i will post step by step pictures on what i did. Please comment on the negatives and what i should do better
The pictures are listed in order from start to finish.
1. I cut two pieces of carpet, with the same dimensions as the cage.They are layed onto the bottom of the cage. This is to aid in absorbing any excess liquid.
2. I laid a layer of weed tarp on top of the carpet.
3. I zip tied the corners to the PVC frame to give the weed tarp a bowl shape.This is so that it will hold the substrate without it going everywhere.
4. I pour in a bag of Eco Earth. The Eco earth will aid in keeping the overall humidity of the cage up as well as absorbing excess water.
5. I put another layer of weed tarp on top of the substrate so that the Chameleon can not ingest it.
6. I place my Ficus, Croton, and Umbrella tree into the inclosure.
7. Another shot of the cage from above.
8. I have placed some reall branches and vines into the cage as well as some fake vines. I zip tied everything to the side of the cage to make sure that it is sturdy. The CHameleon now has a lot of sticks to climb on as well as the choice of getting higher or lower from the basking sopt.
9. The cage is finished, i have my UVB, heat lamp, plants, vines, branches, drip system, mister, organic soil...just one thing missing!!! My baby Veiled!
 

Attachments

  • 1.jpg
    1.jpg
    26.3 KB · Views: 160
  • 2.jpg
    2.jpg
    21.5 KB · Views: 175
  • 3.jpg
    3.jpg
    29.9 KB · Views: 183
  • 4.jpg
    4.jpg
    20.2 KB · Views: 142
  • 5.jpg
    5.jpg
    22.3 KB · Views: 137
Here are the rest of the pictures
 

Attachments

  • 6.jpg
    6.jpg
    26.7 KB · Views: 186
  • 7.jpg
    7.jpg
    27.5 KB · Views: 133
  • 8.jpg
    8.jpg
    33.4 KB · Views: 149
  • 9.jpg
    9.jpg
    30.5 KB · Views: 154
No problem, it is actually really simple, i got the kit from home depot in the door and window section for 13 dollars. and then the roll of screen was 7 dollars. So in all that is twenty bucks vs. having to spend another 100 bucks on a new cage when the cham outgrows a little cage.

Brilliant!!!!
Love the idea!
 
Back
Top Bottom