New cage floor

Smitty

New Member
Well, after keeping my cham for the last month or so I have come to realize that I need a MUCH better way to drain my cage... I wasn't really using anything and it was creating a big giant mess.

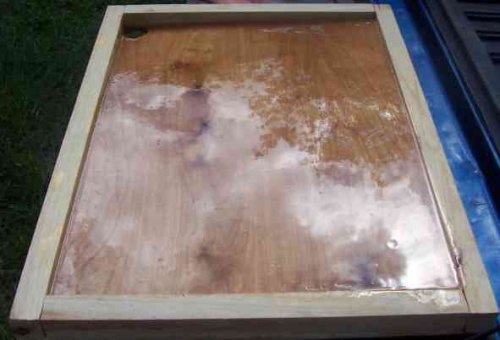
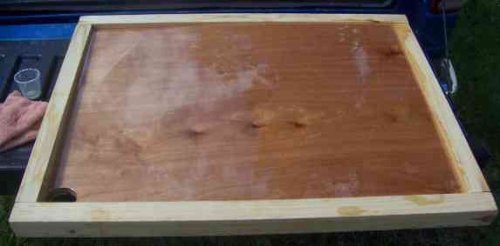
So, after seeing what some others have done, I "borrowed" a couple ideas and came up with the following:

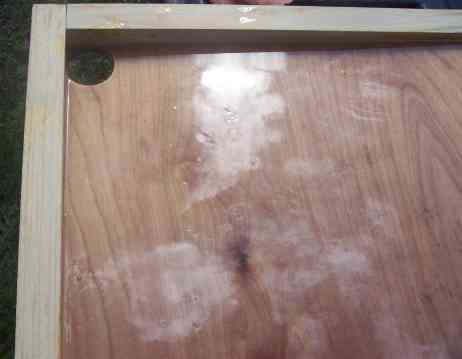
I tried polyurethane first, but it failed badly... second try is epoxy!

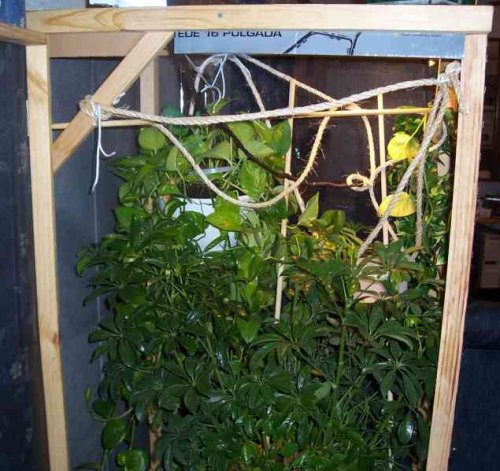
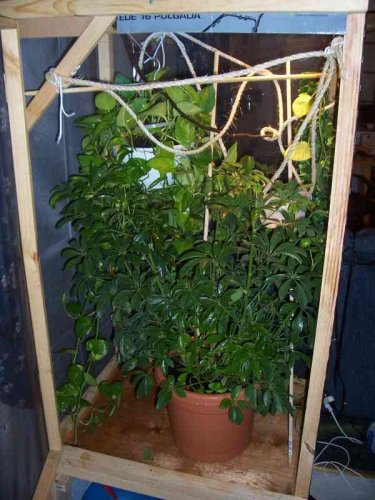
I also through in pictures of the re-built cage.

Now... if I can just figure out how to take good photos of my cham... they all turn out too blurry because I have to get too close, even when I have my camera on the "flower" option for close pictures.
 

Attachments

  • wholefloor.jpg
    wholefloor.jpg
    18.9 KB · Views: 235
  • wholefloor2.jpg
    wholefloor2.jpg
    15.3 KB · Views: 175
  • holefloor.jpg
    holefloor.jpg
    14.3 KB · Views: 178
  • cage1.jpg
    cage1.jpg
    45.8 KB · Views: 198
  • cage2.jpg
    cage2.jpg
    49.6 KB · Views: 190
I envy all you guys who have tools, and can cut stuff, and put it together and make whatever you want.

If the price was right I'd seriously be interested in buying something custom to use for drainage. Why is it so hard to find a simple tray to go under the cage?!

I think I might try a washing machine flood tray. They seem to be the right size. I'd love to see more poeples drainage setups. I'm currently still plastic wrapping the bottom of the cage like a diaper every few days.
 
Let me tell you a secret. It really isn't that hard to make stuff. I would always think I couldn't do something until I tried and found that it really isn't that bad. Is it the quality of those who do it for a living? Heck no, but it works for me!

All you REALLY need is a hand saw (what, 5.00?) and you can do what I did for less than 30.00 (and 20.00 of that is the epoxy itself!). Ok, so I do happen to own a skill saw and a belt sander, but those are the only tools I used, and I only needed the sander because I did a poor job of cutting with the skill saw!

You never know what you are capable of until you just try. I happen to have the will to try and the ego to not worry about the results.
 
I need to redo the bottom of my cage too. After building mine, I noticed that I had pools of water building up in some spots and away from the drain. I think I'll make it slant like yours. How did you mount the bottom peice so that it slants like that? Also how long did the epoxy take to dry?
 
I think I'll make it slant like yours. How did you mount the bottom peice so that it slants like that? Also how long did the epoxy take to dry?

What I did was buy a piece of 1/4" plywood 2'x4' for the bottom for strength, plus an 1/8" finished board for the top. I then added the 2x2 boards around the top of that. Once I had the 2x2's attached to the plywood I measured from the INSIDE of the 2x2's side to side and top to bottom (once on each end for a total of 4 measurements) because the plywood wasn't square and I didn't take time to square it up myself.

So, I transferred those measurments to the finished wood, cut it, then sanded it until I could put it into the middle. I happened to get lucky in my sanding where it didn't fit perfect, so I didn't have to put a small piece of wood under 1 end to keep it up, but I was going to do that.

So, I have 1 end propped up and the other end touching the floor. I then used wood glue along the edges to hold it in place and let that dry over night. Then I cut out the hole and mixed up the epoxy.

The epoxy took about 2-3 hours to harden to the touch but the instruction say it takes a full 72 hours to cure. I didn't wait the full 24 hours, but I did let it sit for another 24 hours. After that it was hard as a rock to me.

So, this wasn't a quick thing to build. I wasn't in a hurry and didn't want to mess it up. Most of the time was just waiting for things to dry, but it took me all-in-all about 4 days (I messed up my 1st coat of epoxy and had to do another coat... I don't think that would be needed if you don't mess up).

And that is what I did!
 
Back
Top Bottom