DeltaYaz
Member
New member here...this is my second reptile build in as many months. My older son requested a ball python for his birthday back in January. The store where we bought the snake had a collection of panther and Jackson's chameleons - my younger son decided he wanted one for his birthday, which was about 6 weeks out. Fast forward to the present, his birthday approaching in two weeks, time to get this build going. I've put a down payment on a panther from a reputable breeder I found on this forum. I also placed orders for all the equipment ahead of time so I can get the enclosure built, running, and stable prior to bringing the animal to his new home.
Here's a look...
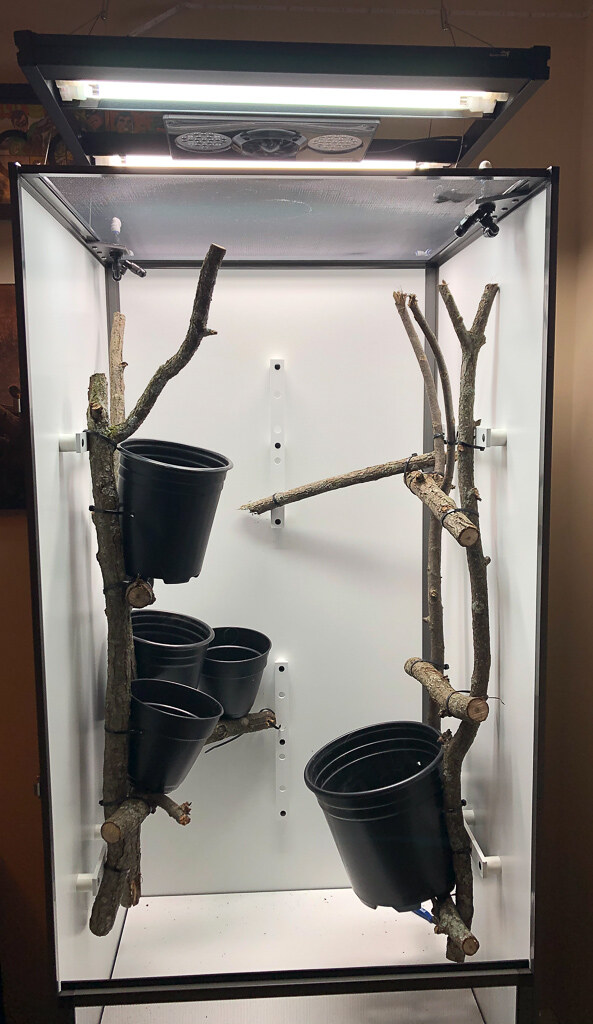
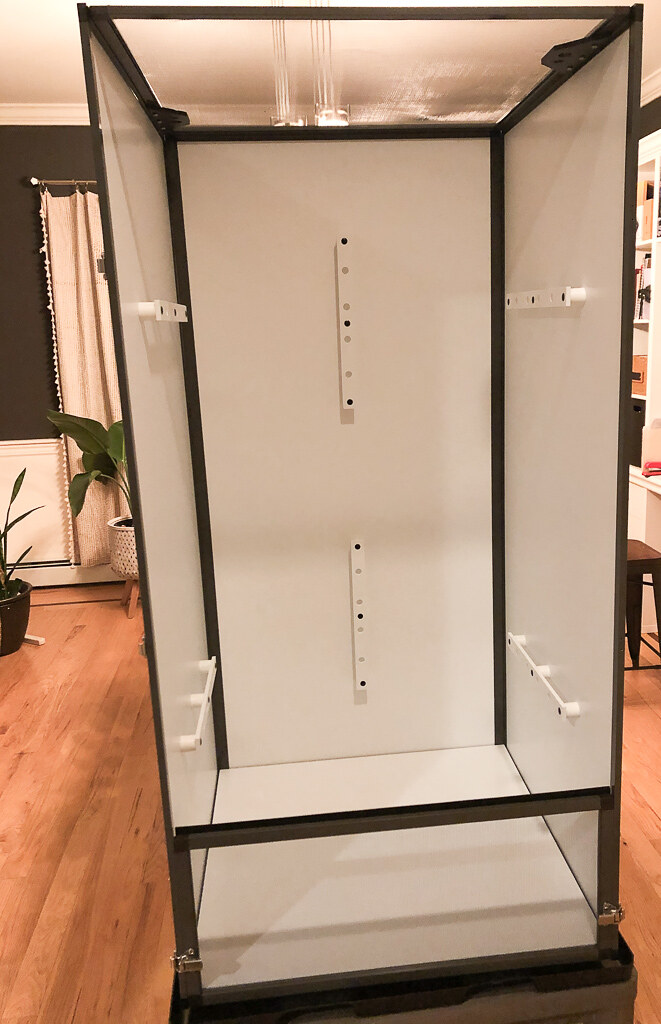
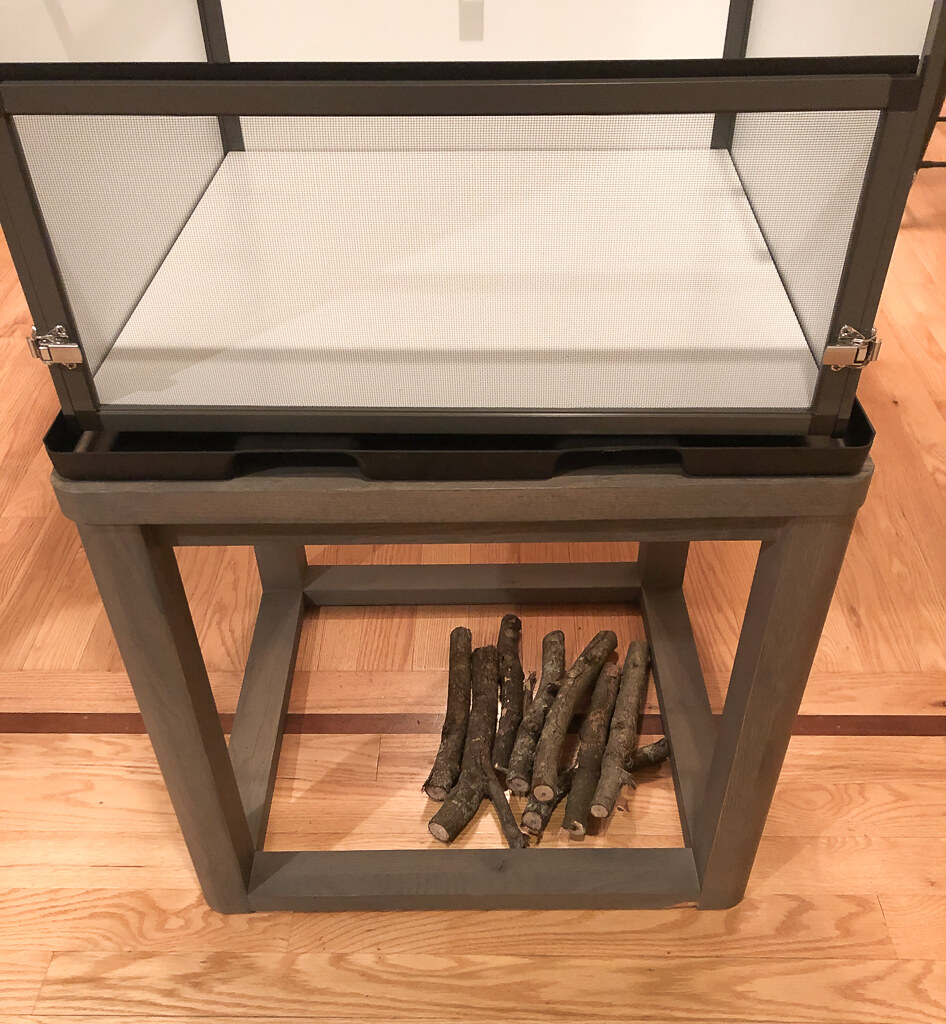
Cage
Dragon Strand Tall Hybrid Enclosure (24x24x48)
Lighting
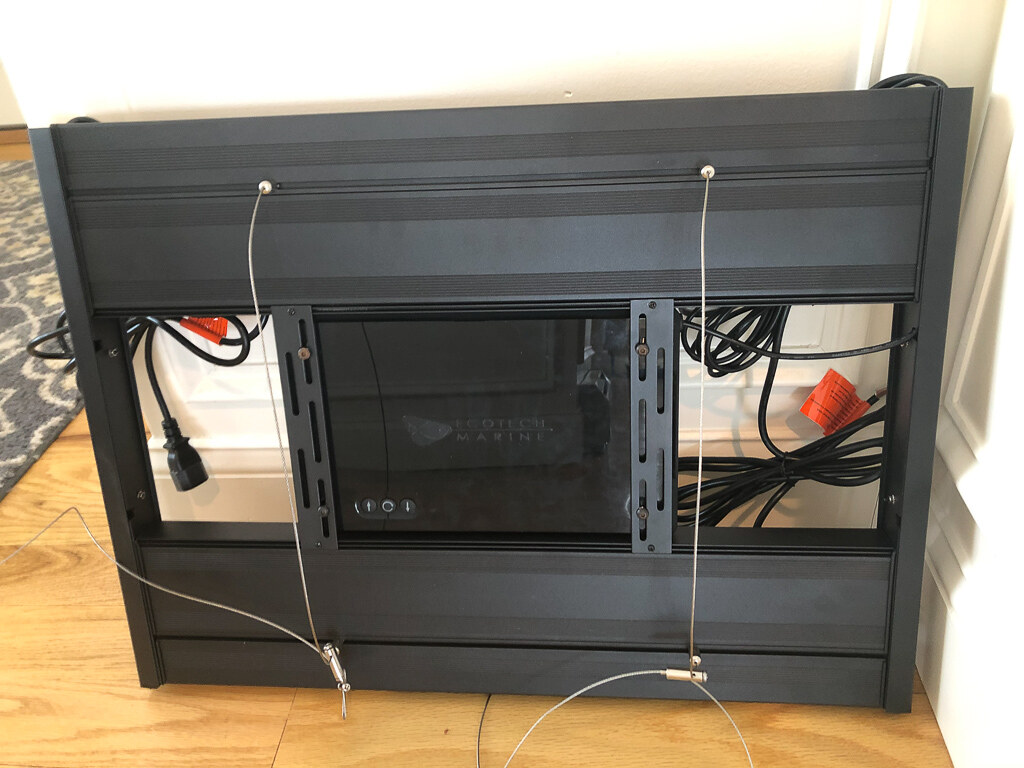
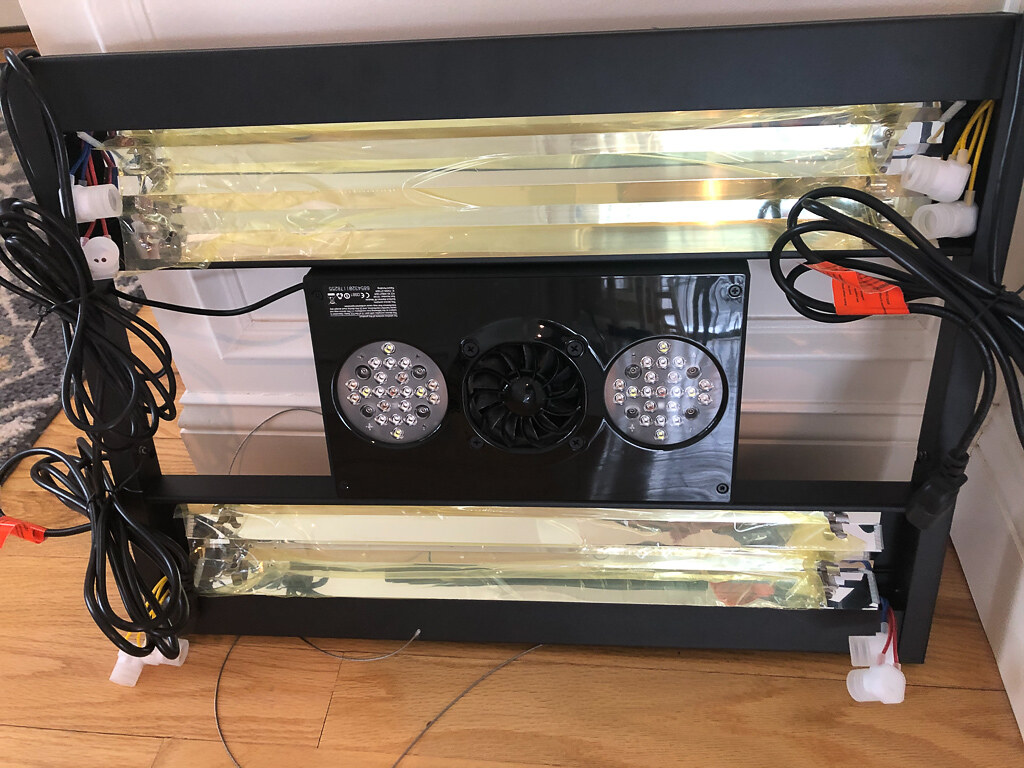
AquaticLife 24" Quad T5 Fixture
EcoTech Radion XR30 Pro LED
Arcadia 12% T5 Bulb
Daylight 6500K T5 Bulbs (if needed with or instead of XR30)
Heat Lamp
Hydration
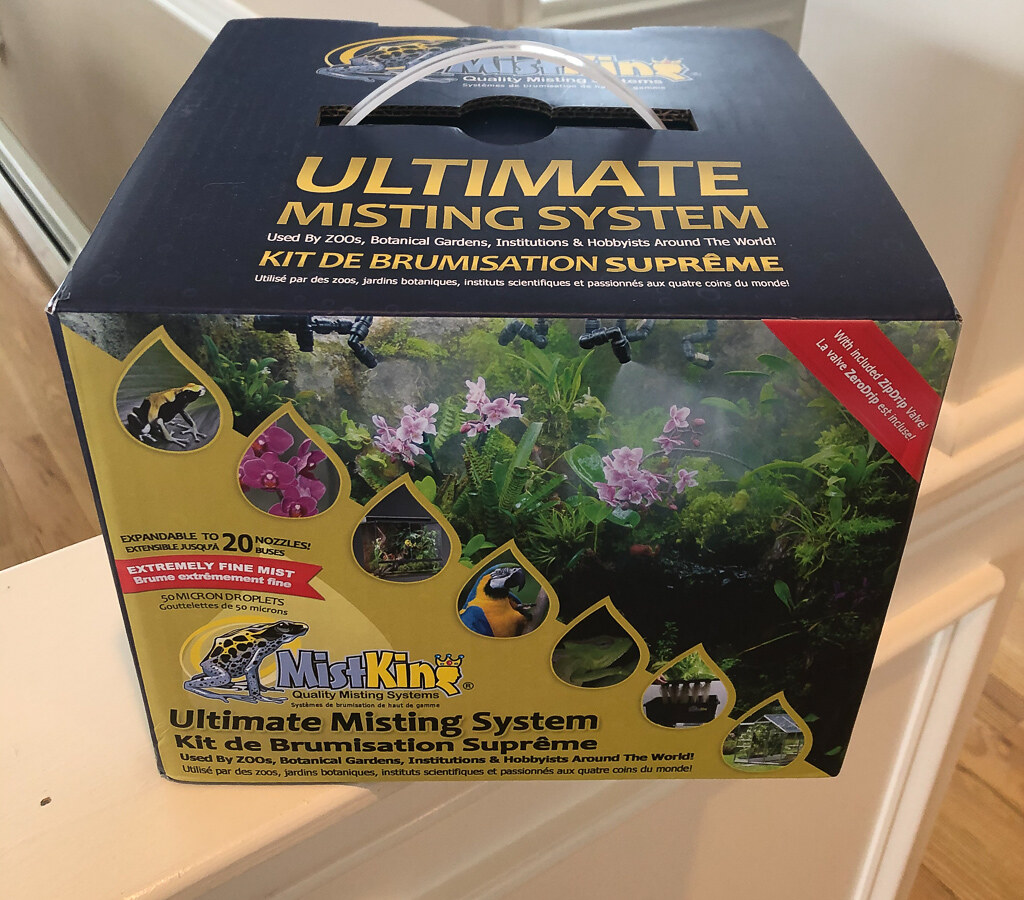
MistKing Ultimate
PetsPioneer Humidifier
Other Electronics
Solarmeter 6.5R
Herpstat 2 Spyderweb
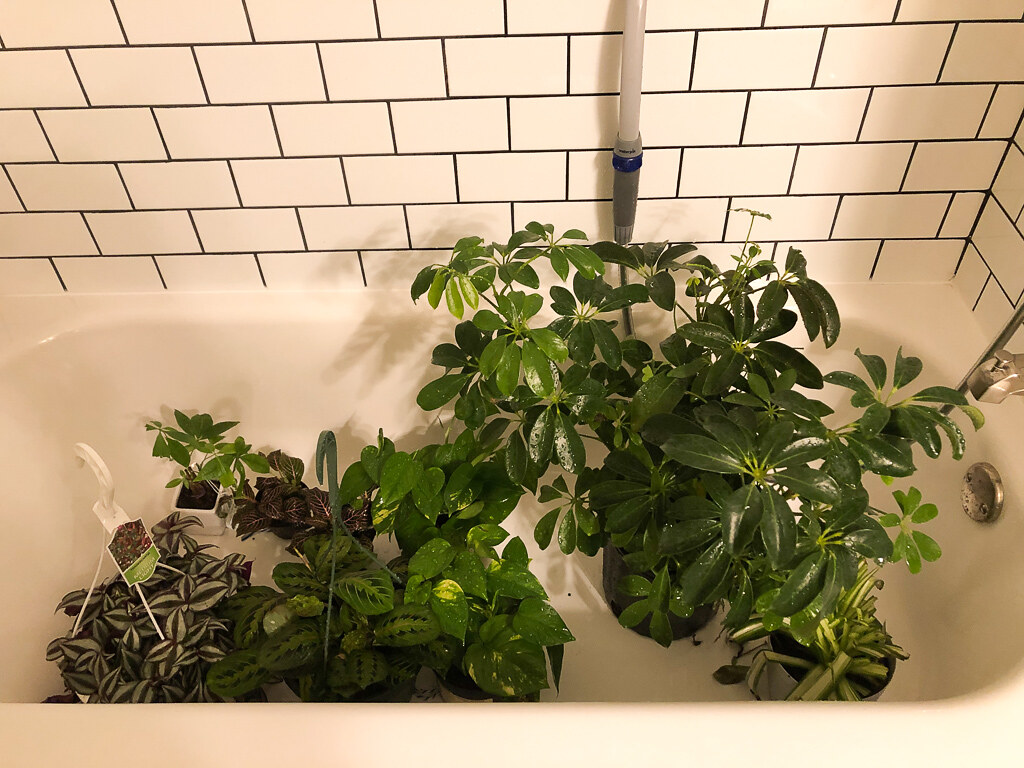
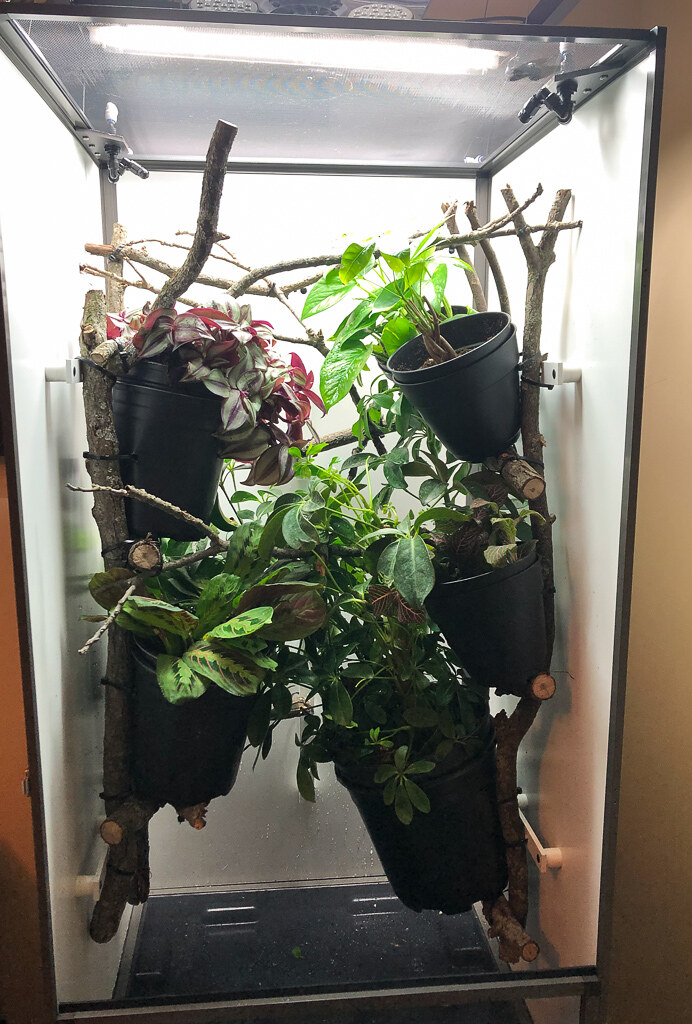
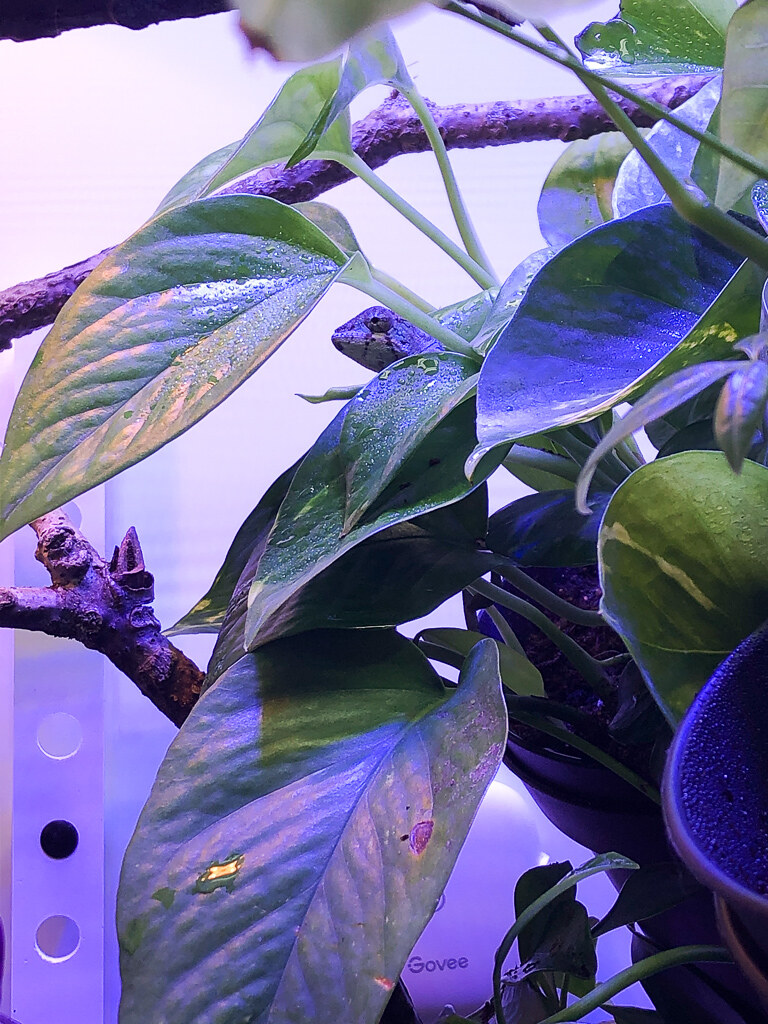
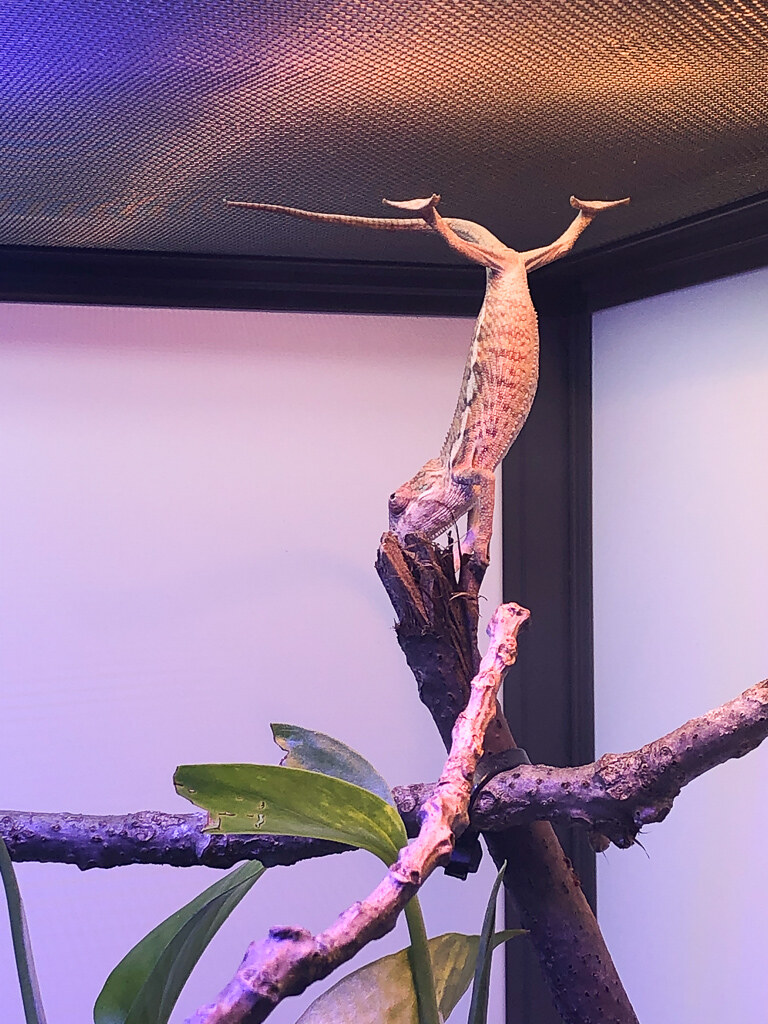
Some pictures of the progress so far. Next steps are to get the plants, finish up the branch work, and hook up all the electronics and hydration equipment.

Here's a look...
Cage
Dragon Strand Tall Hybrid Enclosure (24x24x48)
Lighting
AquaticLife 24" Quad T5 Fixture
EcoTech Radion XR30 Pro LED
Arcadia 12% T5 Bulb
Daylight 6500K T5 Bulbs (if needed with or instead of XR30)
Heat Lamp
Hydration
MistKing Ultimate
PetsPioneer Humidifier
Other Electronics
Solarmeter 6.5R
Herpstat 2 Spyderweb
Some pictures of the progress so far. Next steps are to get the plants, finish up the branch work, and hook up all the electronics and hydration equipment.

")