Dank's DIY autoDripper

Dankmeleon

New Member
see down below for my entire first post I was having problems editing it a few minutes ago so I reposted, and hopefully now I can delete this before I cloud your mind up !
 
Last edited:
sorry guys i tried to edit my first post but it won't let me so i gathered some sources for the parts and explained it a lil better as well as added pics

parts:

-a few feet of 1/4 inch microtubing
http://www.dripdepot.com/1043.html?gad=CNm9j4ADEgjTVgslXg0CiBiDwOz9AyCFlqYp

-two adjustable dripper heads, or if you know how many gph you need pick those up, i used adjustable because i'm using a fan driven pump that needs to be adjusted to get the pressure right, very easy stuff http://www.dripdepot.com/1104.html?gad=CNm9j4ADEgjTVgslXg0CiBiDwOz9AyCFlqYp


-10 feet 1/2 inch tubing
http://www.plantitearth.com/store/product.asp?pid=382&catid=3
can be purchased in smaller quantities and for a better price if you search around, the rubber kind is the best

-2 1/4 inch barb connector
http://www.thegreathardwarestore.com/ProductDetails.asp?ProductCode=616359&click=2744

- bucket for water can be as much or as little as you care to hang on the wall or shelf if you have room, keeping in mind you have to refill it

-small submersible pump, you can play around a lot of diff pumps will work...but i'm using a eco132...it was 15 bucks
microtubing connects, plug into the microtubing and then have a spike for sticking into the larger tubing and being water tight(located in microsprinkler section...just ask the guy where the hole punches are, it will be right by those) http://images.google.com/imgres?img...&hl=en&safe=off&rlz=1T4ADBF_enUS254US254&sa=N halfway down the page 10 bucks! what a deal

-1/2 inch tee-fitting
http://www.simplyhydroponics.com/fittings.htm pictured on top of page

-stud wall hook/crochet http://www.farnsworthelectronics.com/part images/antenn56.gif


1.find the stud in your wall. drill into it and put in a hook that can hold a good amount of weight. (or use shelf if available)

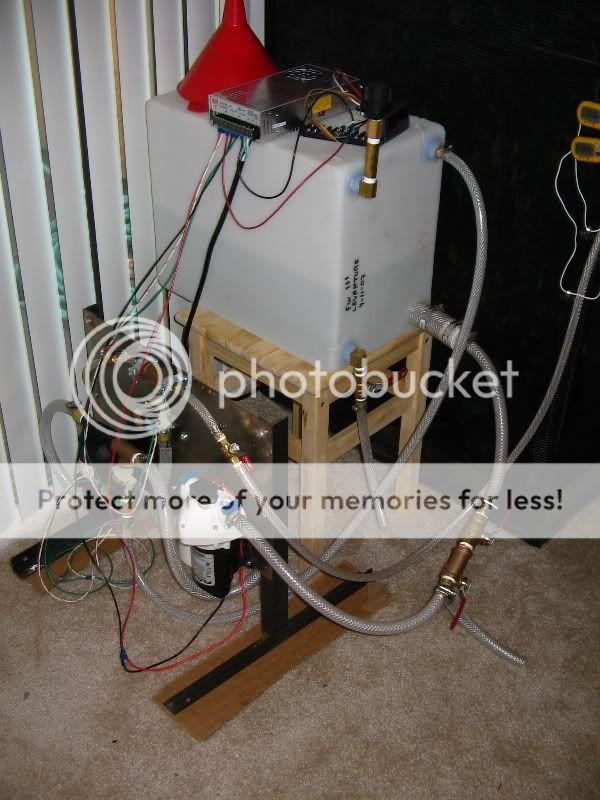
find a bucket, i use mr. clean buckets because they have flat backs that sit firmly against the wall.


2 inside the bucket you will place your submersible pump.

from your pump you will run your half inch tubing to the front connection of your 1/2 Tee fitting, if you were connecting it to the letter T, you'd be connected it from the bottom or base of the letter T

from the two tops (left and right) of the Tee fitting, you will take a 1-2 foot piece of 1/2 inch tubing and form a circle so that one side leaves the left top of your T, and connects back around to the right side of your T to form a closed loop shaped like a lollipop {bucket} -t-u-b-e- 0

using a hole punch or a thumb tack, poke a small hole to the left of the center top of your closed loop 1/2 inch tubing , and then again on the right of the center of your half inch loop to give access for your 1/4 inch barb connectors(top)

make sure not to make these holes too big, you want them to be as small as possible with allowing the microtubing connects to stick

you may have to very slightly use a razor blade to get them to fit if you don't have the proper hole punch, but once again not too big, if you mess up its only a one or two foot piece of tubing to replace so no worries

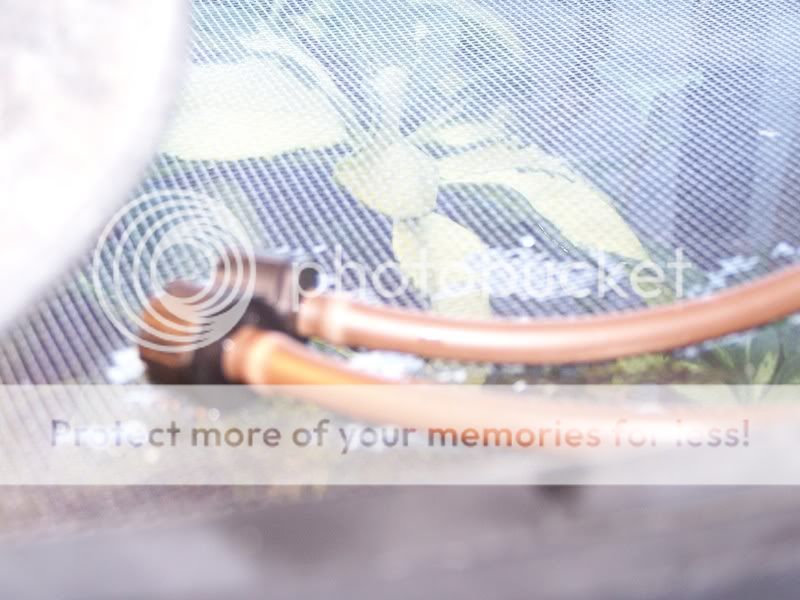
connect your micro connects, and then run your microtubing from these connects

you will now have your pump going to your 5 feet or so of half inch tubing that comes to your tee connection, from the t connection to the left and right, you have a closed loop circle of half inch tubing that looks like the top of a lollipop, you poked your holes in it and inserted your 1/4 barbed connects, now you also ran your 1/4 inch microtubing (about a foot and a half for each line)

its time to plug your drippers right into your microtubing, turn your pump on and adjust so that your drips come out, but not too fast, i like mine to go at a rate of one drop per second per line, or less...but not too much less cuz i don't want to burn the pump out with back pressure.


best way to do it is experiment. you have to figure out how long your water supply lasts and how long it takes to dry up


if you have any questions pm me

from there you set your timer to intervals that suit your cham, or you can leave it on, given all the water collect, mine hits some leaves and makes quite a wet floor, so i drilled some holes and added a screen covered
tupperware bowl.

since your bucket is right next to your cage, you can throw an airstone in there as well, which will bubble and create a little extra humidity and keep your water fresh

here are some pics


101_0330.jpg

101_0335.jpg

101_0333.jpg

101_0334.jpg


101_0342.jpg


101_0338.jpg
tee connect and closed loop

101_0339.jpg


http://www.antonline.com/p_R307C-GP_341608.htm you may even try to install a barbed tee instead of a barbed connector and running two lines off one hole, i just thought about that after i built this one.
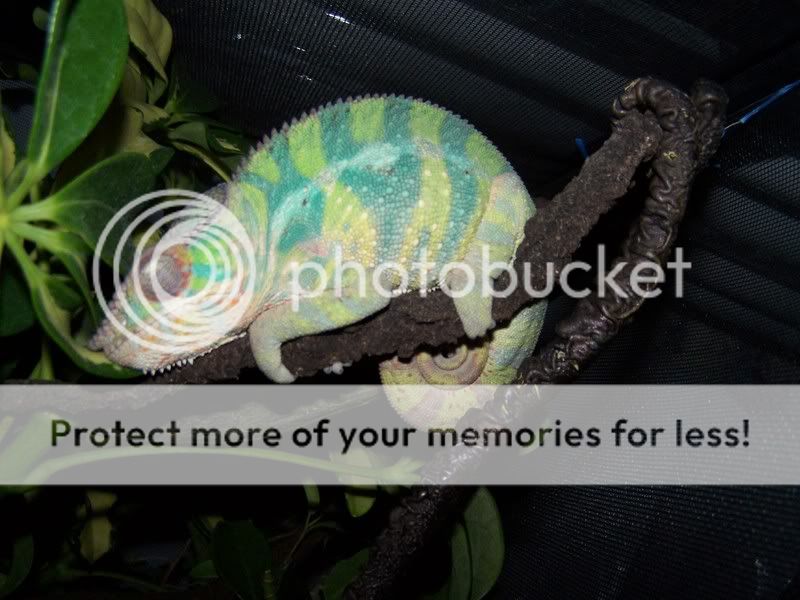
 
Last edited:
this is a goodidea. i just use a tub that holds about 24 oz in it and
it lasts about half the day then i just fill it up.

have you thought of a cheep automister.
you can try using an small fluval pump.
they are not that much and they put out a lot of power.
do you think that if you have it on a timer and hook all the tubes and
the right nossle up to it it will work?
something you might want to try out.
nice work tho.
 
I covered it up with some hydroton, its a brand new plant thanks though :)

the mister version will not work because the pumps can't handle the back pressure put on them by the water not moving (being held up by misters)


you could however build a verion with a manifold and 8 or so misters that would work just fine and if your cage is big enough you'd be money, but why not spend the extra 50 bucks and get the aquatec pump from herpmist?
 
Last edited:
101_0345.jpg


its def fair to say my work didn't go unappreciated :)

sleep well young jedi, for when you master this cage, you will move onto the next challenge
 
This is truly a good system. Ive been using a design similar to this for some time now and its worked out great. Only difference is i have my nozzles hanging right down into the cages and the chams will drink str8 from the dripper like a water fountain. If they don't drink from there the drops will fall through the leaves.
 
i would drill hole in the frame of my cage to put them inside butttttt i take this cage down and need it to be a quick disassembly, doing that every time would be rediculous, even if i got a separate cage for outdoor basking, taking it down to clean it would still be enough , with pressure on the screen and what not and the final factor, is setting the lightweight drippers right on top gives the exact same effect, you get a naturally water collection of drips by having it go through the screen , and when its time to take them down you just toss them behind the cage instead of having to reach in which would be a huge hassle for me, i'm not very smart so i'm sure my system will progress with time, but i am going out of town for a few days so am working diligently on automating my setup before i do so that all my dog sitter will have to do is refill water and feed crickets :D


its harder than you think for someone to take care of a cham properly without good knowledge so you gotta take as much of the work out of it as you can for them
 
Very nice. I install inground sprinklers and work with this stuff for plants on like decks. Its real easy to hide and work with. I am going to work on a few ideas starting spring using irrigation supplies. Why not they are free for me. Just remember not to use clear tubing for it will collect algea. Again very nice.
 
its harder than you think for someone to take care of a cham properly without good knowledge so you gotta take as much of the work out of it as you can for them


I hear ya... My cham sitter couldn't figure out how to refill my misting system......


How hard could it be (this was the system at the time.)
IMG_6083RS.jpg
 
Thanks for sharing. It's always nice to see how other people do it.

I have a drip system that runs from the tap. Tap on, dip, tap off, stop drip. I have a solenoid valve which would control it automatically but I haven't put it on yet.
 
yes i found the plans for a similar system using the sprinkler valve and the solenoid that controls it built with a pump bottle sprayer on a lizard forum

but like you said if you didn't want to run it off your hand power you could just as easily run a line from tap making sure its water tight

my one concern about that for the avg folk would be tap water quality

literally a very small percent of people have A+ water from tap

i have an ro unit that makes a good amount a day and fills a pressurized resovoir, I wonder if this would be the solution for everyone with poor to average water quality?
 
You could run the same thing I run from an RO unit. I think RO is a step int he right direction for water quality, but for something to live off of RO exclusively, you would probably find them to be difficient in minerals or something. RO can be almost too clean sometimes. My local water (Ozone Filtered, very hard, with a bit of fluorite) has worked fine for me, and I can never attribute a problem I have to the water as a cause.
 
If you dont want to run it by hand just get a sprinkler controller. Im sure they have them cheap at home depot but if not you can get them from Toro, Irritrol, or Rain Bird. These are leaders in sprinkler systems and other irrigation. The controllers are easy just like setting your vcr to record your fav program. We use special sprinkler wire to go from the controller to the solenoid valve but you can use speaker wire or dog fence wire. It really doesnt matter because the controllers are only 24 volts so most wire is ideal.
 
Yes and if you didnt want to get the controller Hunter makes a wireless valve that uses a 9 volt. They are a little more expensive but wouldnt have the wires from the controller to the valve and you still have multiple start times like the controller features. Using a supplier though is the best way to go. Home depot carries the low end stuff and honestly its not much cheaper money wise as what you get from a supplier.
 
will said you may find them to be deficient in minerals or something....from living exclusively off r.o. water


-i'm with you in that line of thinking, but I'd like to know a little more ...like for example how much minerals if at all are in rain water?

and how much of the chameleons diet minerals intake comes from its water, and not its food source, these are all very advanced questions I'm sure even highly knowledgeable people have trouble giving a precise answer to

or maybe they do?

and then onto the fact that chams hydrate through skin, is having this water on the skin bad? I'm not sure that minerals get absorbed through the skin do they? i'm sure things like chlorines and things of that nature would not be good, not to mention the high amount of lime we have in florida from the aquifer!
 
Back
Top Bottom