clarkrw3
New Member


In the Flooding thread a few asked about different ways to adequately drain a cage so that you did not have flooding issues or standing water on the bottom of the cage. The way I do it isn't anything great or really that original but just something I came up with taking different ideas and making them my own. I was asked to post pictures so here they are. I am using a LLLReptile drain tray that I modified and I have NO affiliation with the company just liked the idea.")
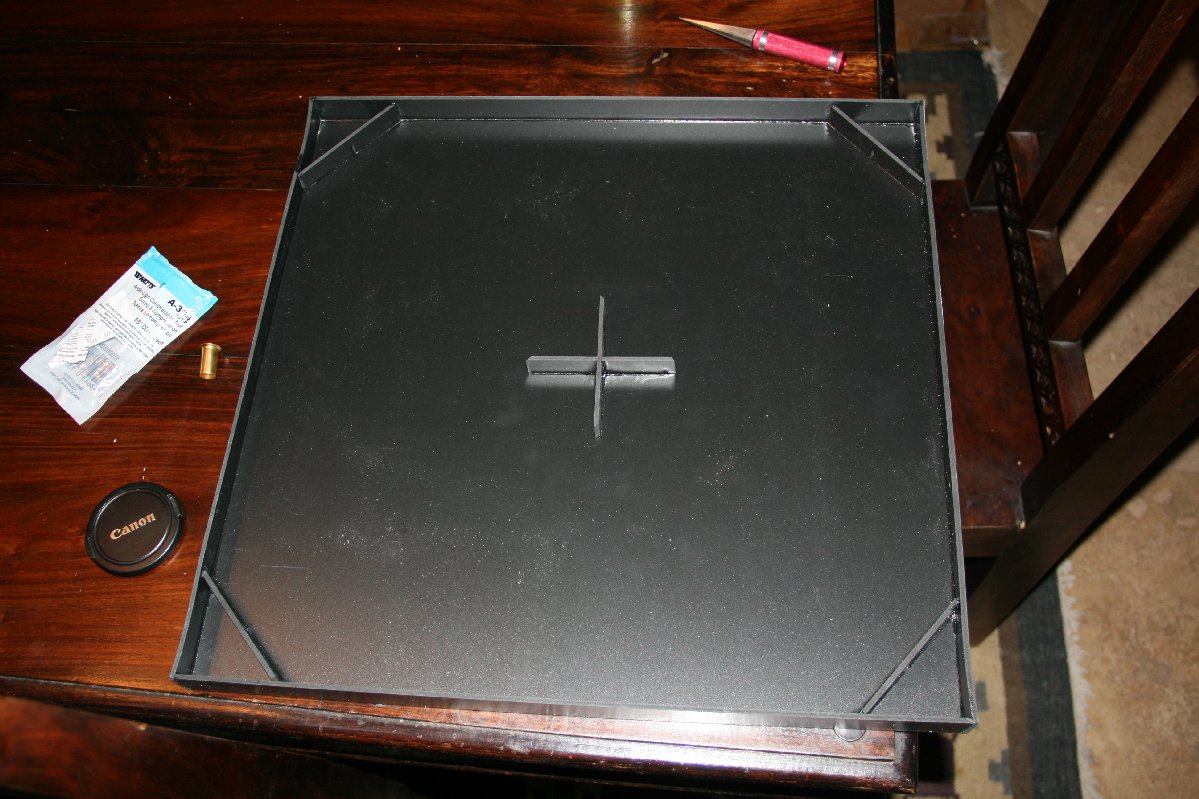
Here is what I started with. The tray is from LLL and they make sizes to fit most common sizes of chameleon cages.

Here is the package I got from lowes it has a few parts in the bag but I was only interested in one part.
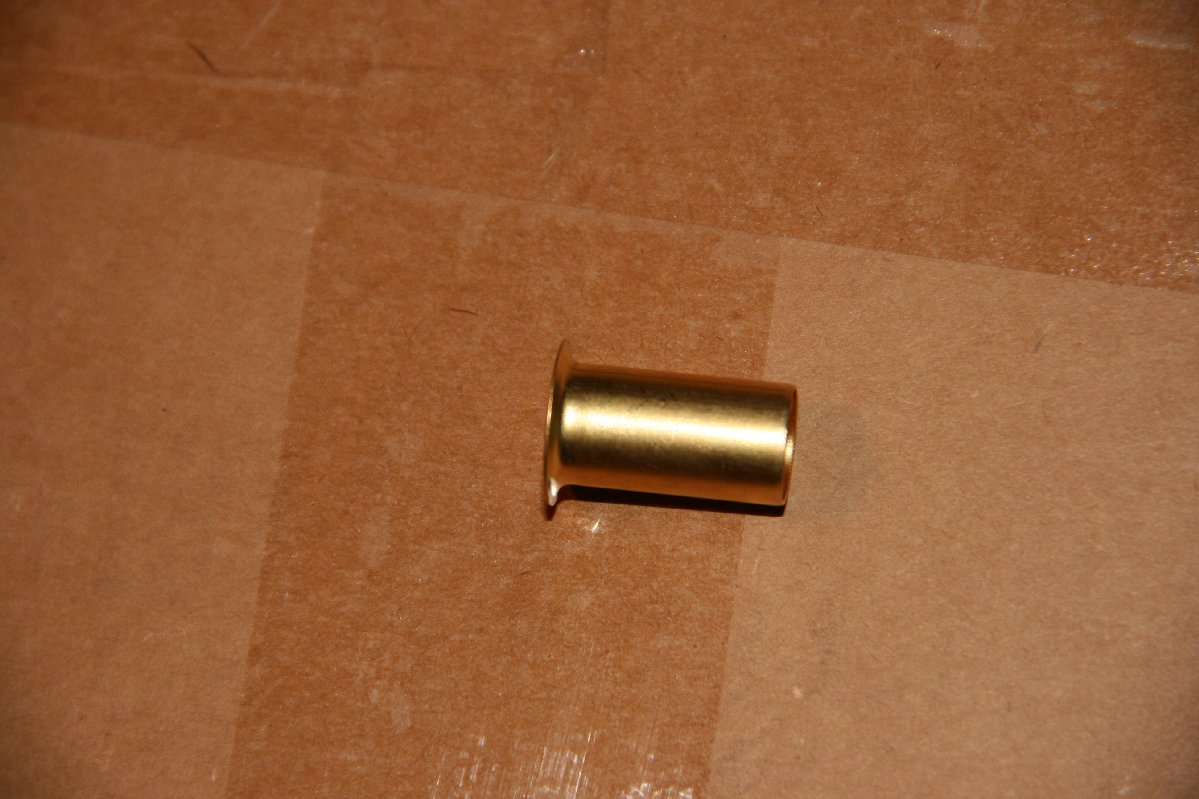
Here is the important part
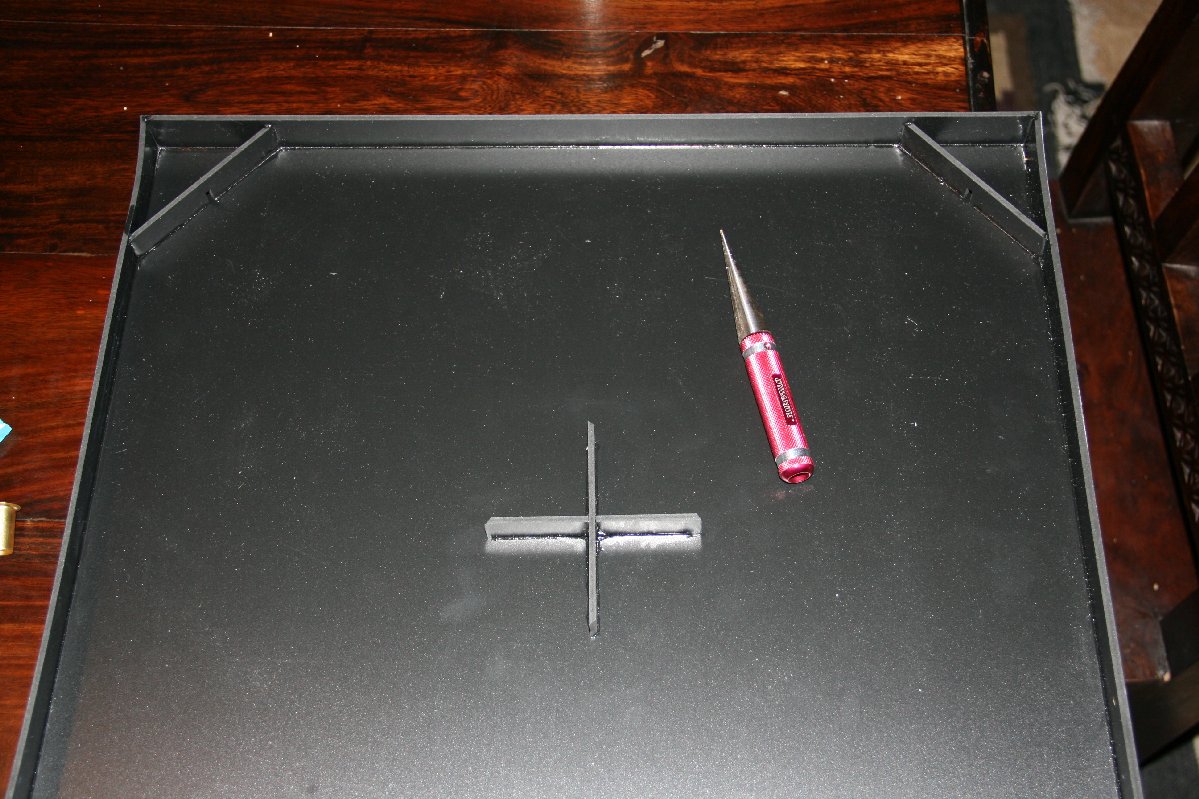
I have found through trial and error that the easiest way to make the correct hole for the brass tube is with an RC car body reamer like the one pictured.
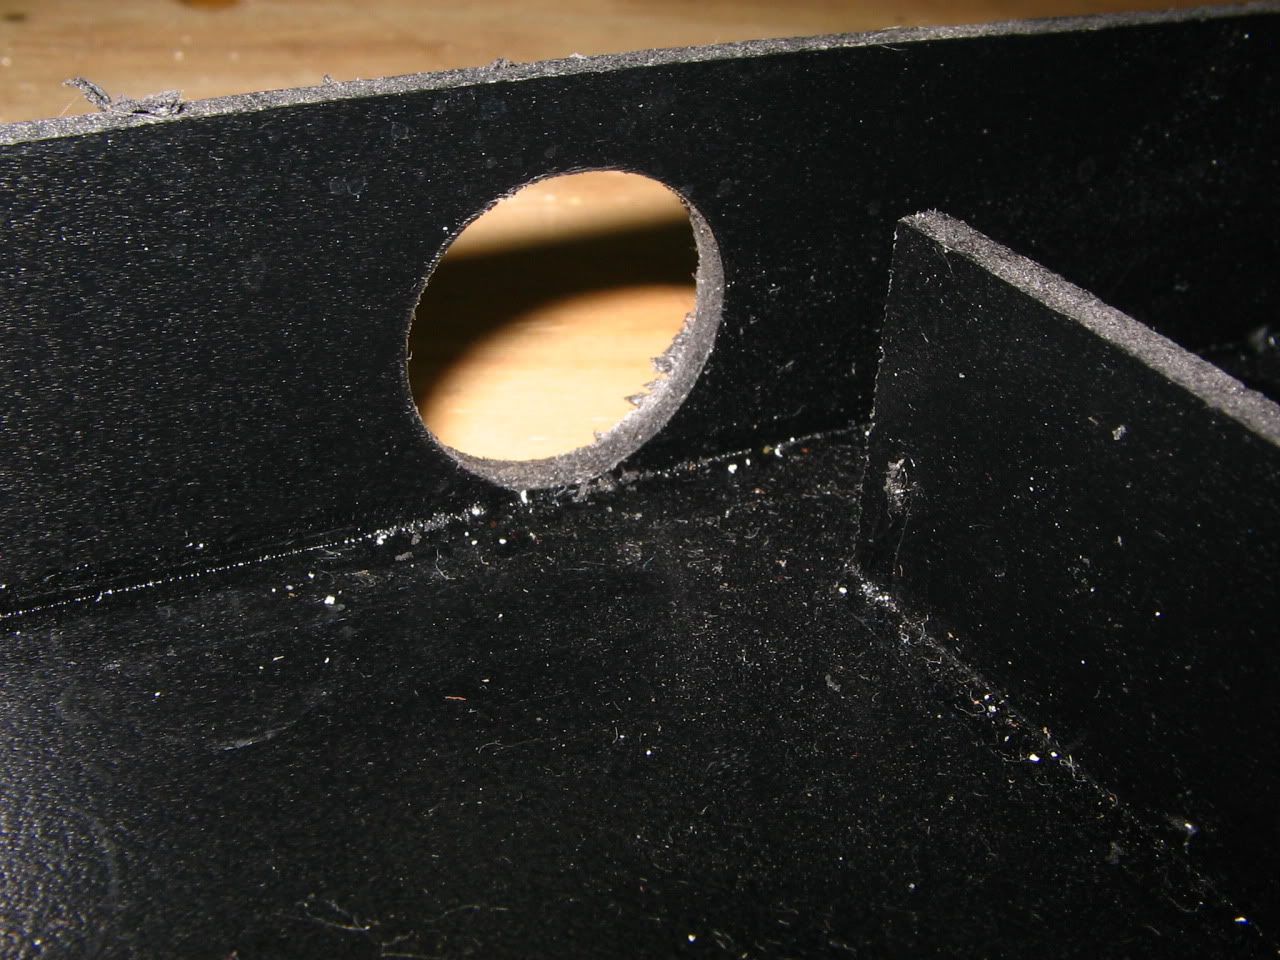
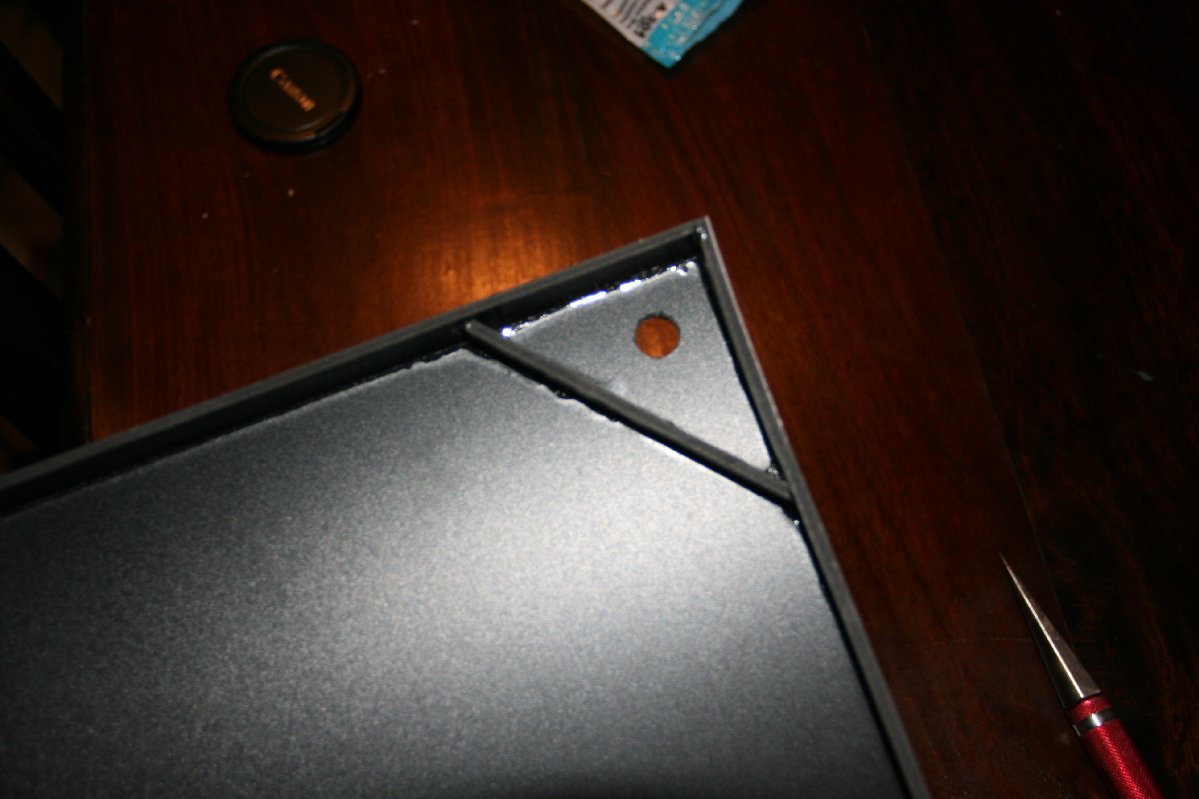
And this is the hole. At this point I also put 4 additional little holes in the support at this corner so that if the one hole in the support gets clogged you don't have back up. Sorry I didn't get pictures of the additional holes in the support.
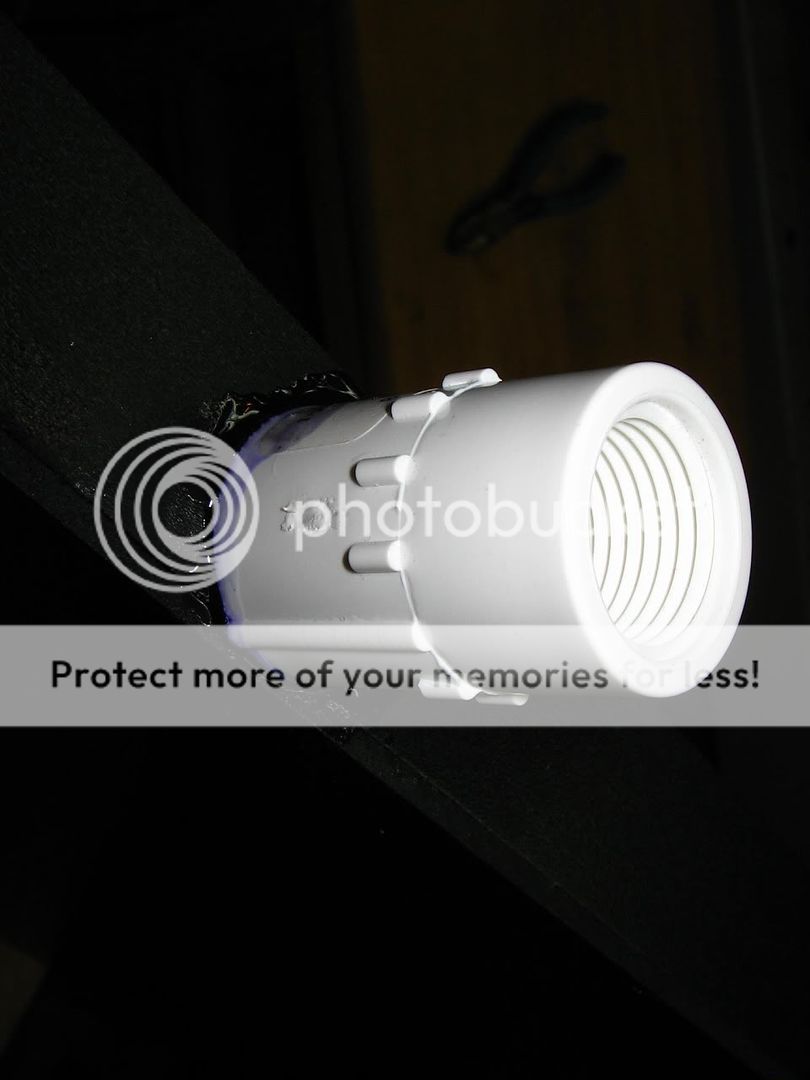
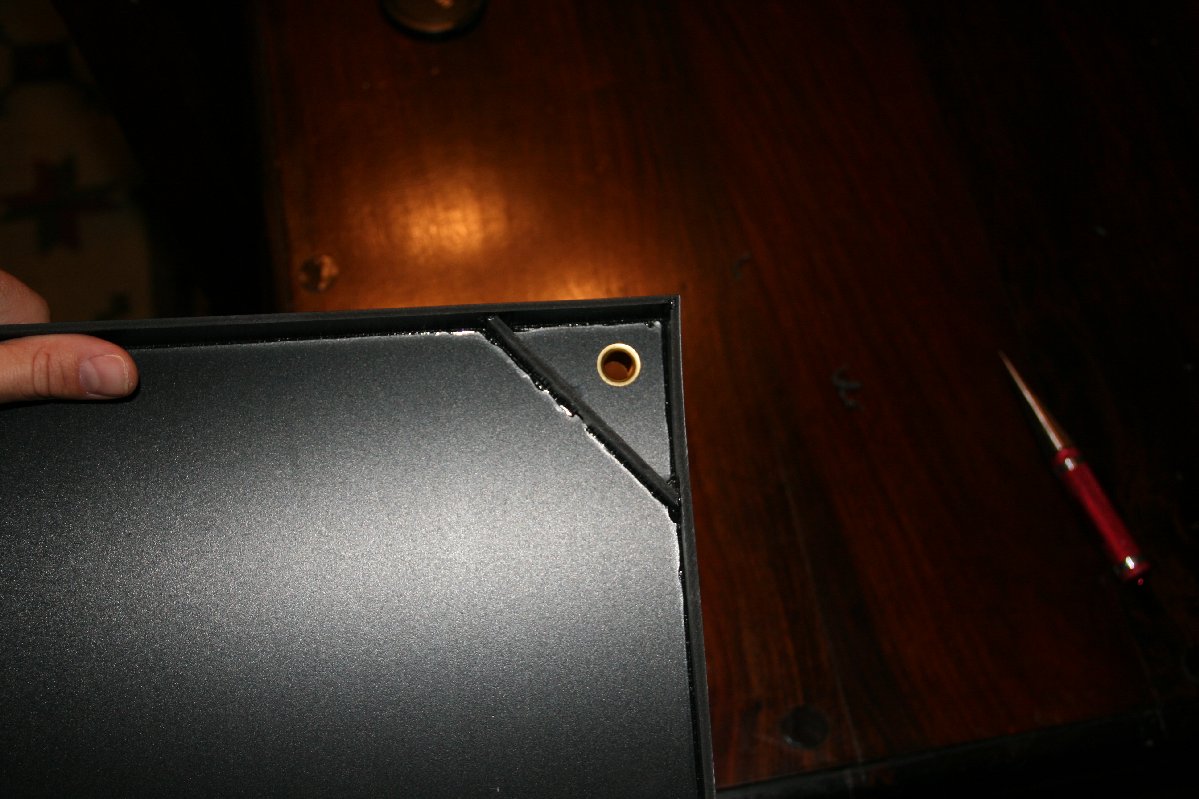
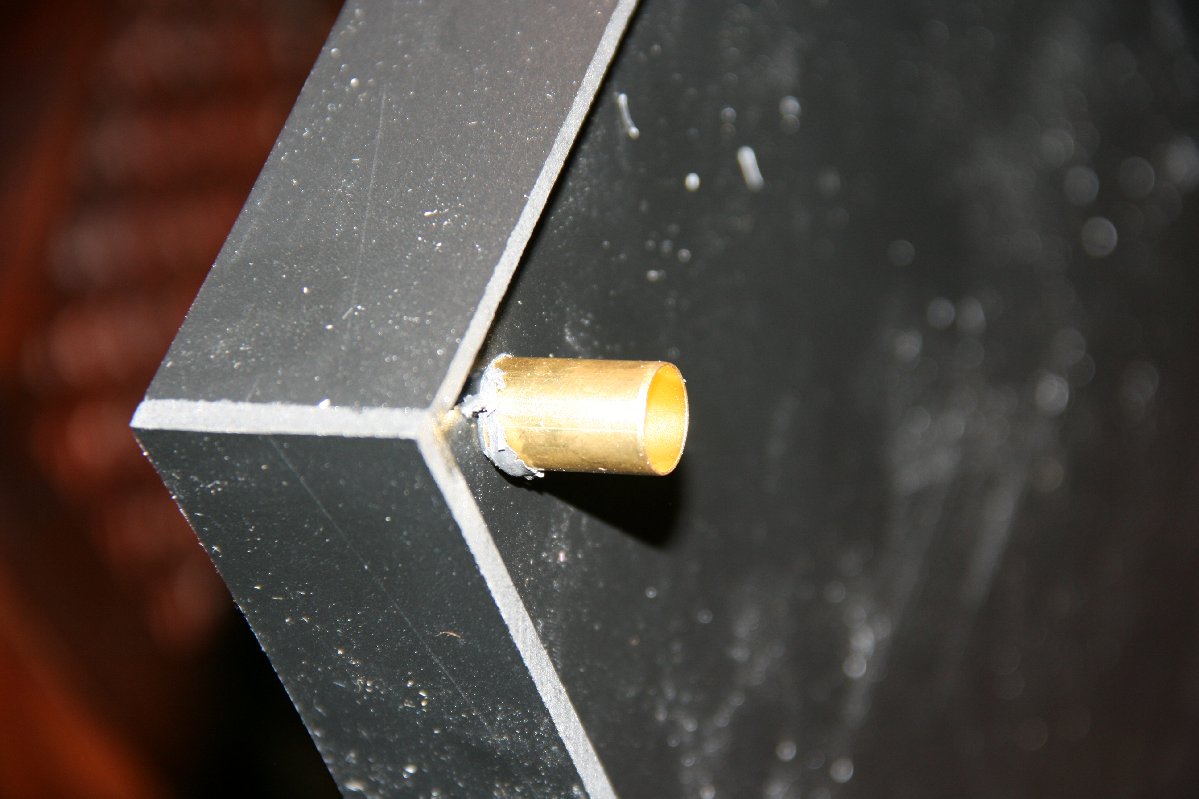
and here is the brass fitting super glued into the hole.
Now that you have it looking like this you can heat up some plastic tubing in some boiling water and press fit it over the brass fitting in your tray.
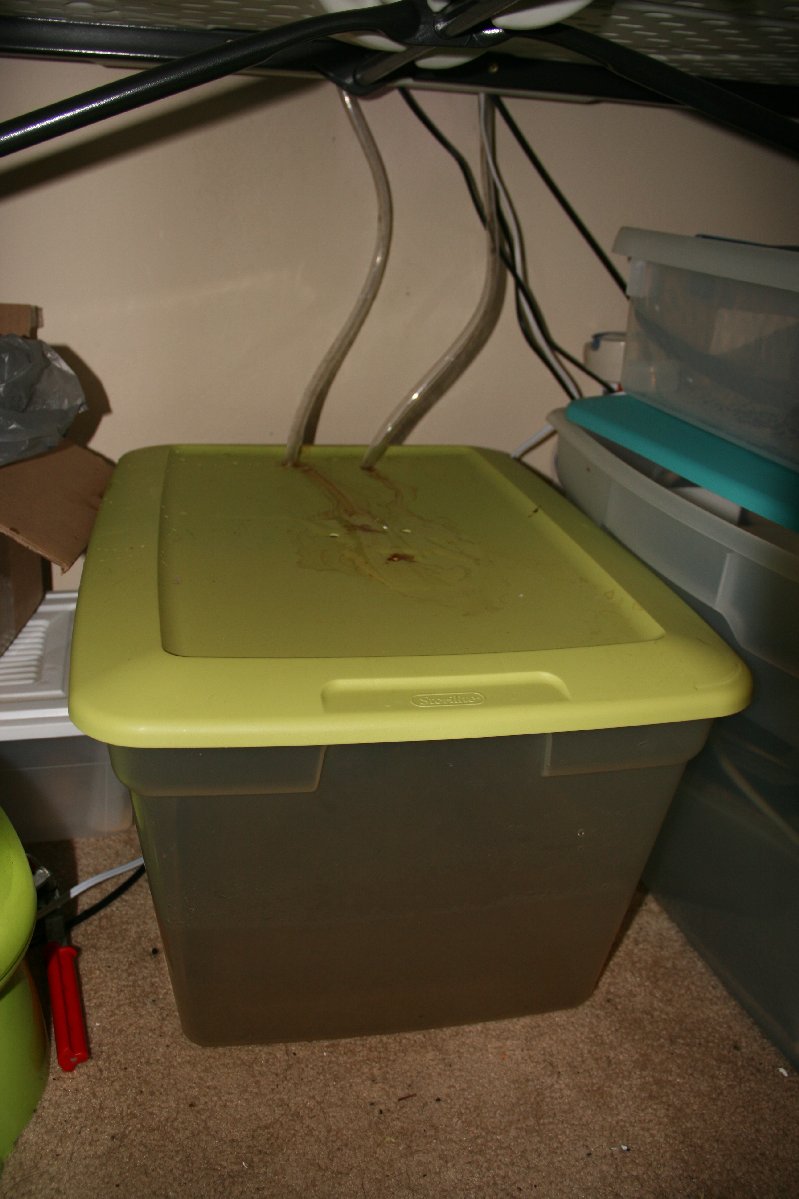
and run the tubes into whatever bucket you want. You can see from this picture that I have a couple of holes in the lid and there has been some water on the lid. This was due to me experimenting with how to drill the hole in the drainage tray. One of the first ones was drilled with a wood drill bit and a drill and it ripped up the tray a little bit. I was always going to add cocking around the bung to seal off the hole but found out that the water would just run down the tubing on the outside and to the top of the lid. With a couple of holes drilled in the lid it wasn't a problem. I would have fixed it "correctly" but it was on a baby cage that I wasn't planning on using past a month or two and when it isn't being used I will fix the ripped hole I have the bung through.
Then the only other things I did was to put a 1/4" something (doesn't matter what I have a little lid under it) on the opposite corner from the drain. Then place a few holes in low lying areas of the plastic in the bottom of the cage around where your plants sit or in the corner directly above the drain hole.
Here is what I started with. The tray is from LLL and they make sizes to fit most common sizes of chameleon cages.
Here is the package I got from lowes it has a few parts in the bag but I was only interested in one part.
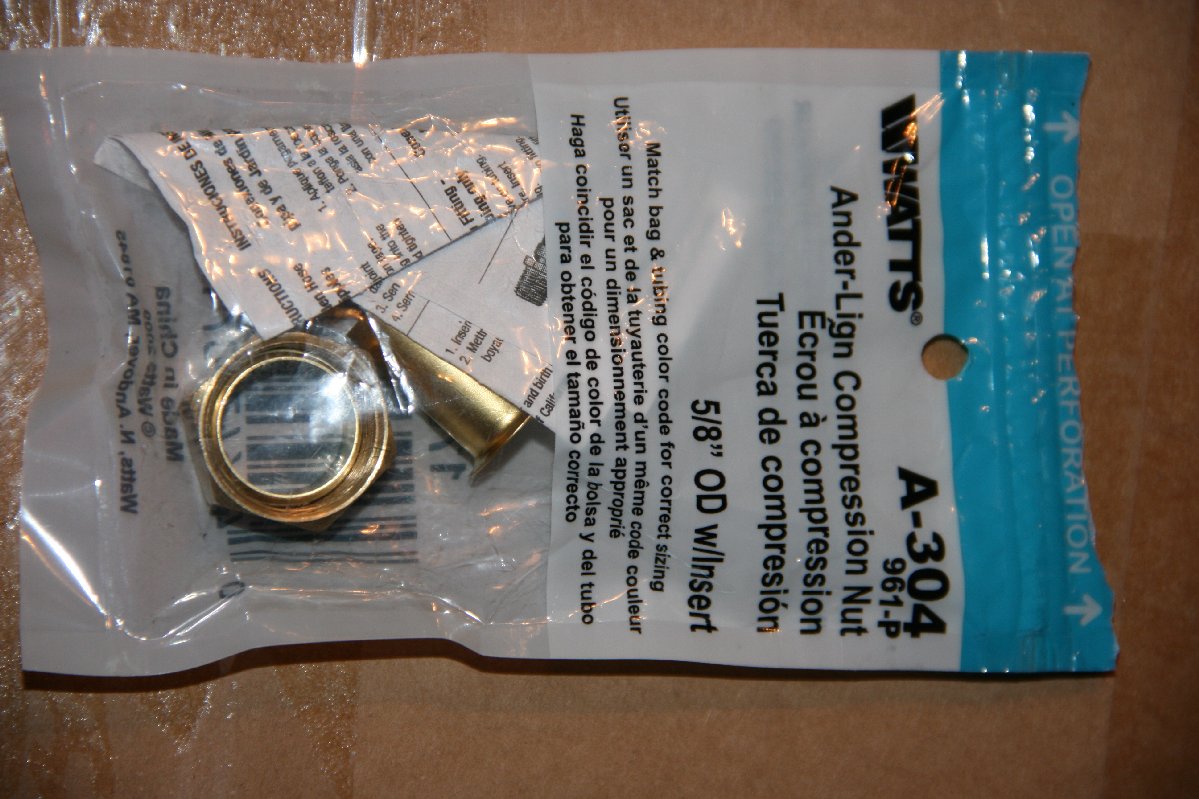
Here is the important part
I have found through trial and error that the easiest way to make the correct hole for the brass tube is with an RC car body reamer like the one pictured.
And this is the hole. At this point I also put 4 additional little holes in the support at this corner so that if the one hole in the support gets clogged you don't have back up. Sorry I didn't get pictures of the additional holes in the support.
and here is the brass fitting super glued into the hole.
Now that you have it looking like this you can heat up some plastic tubing in some boiling water and press fit it over the brass fitting in your tray.
and run the tubes into whatever bucket you want. You can see from this picture that I have a couple of holes in the lid and there has been some water on the lid. This was due to me experimenting with how to drill the hole in the drainage tray. One of the first ones was drilled with a wood drill bit and a drill and it ripped up the tray a little bit. I was always going to add cocking around the bung to seal off the hole but found out that the water would just run down the tubing on the outside and to the top of the lid. With a couple of holes drilled in the lid it wasn't a problem. I would have fixed it "correctly" but it was on a baby cage that I wasn't planning on using past a month or two and when it isn't being used I will fix the ripped hole I have the bung through.
Then the only other things I did was to put a 1/4" something (doesn't matter what I have a little lid under it) on the opposite corner from the drain. Then place a few holes in low lying areas of the plastic in the bottom of the cage around where your plants sit or in the corner directly above the drain hole.
")