Building a Vivarium from a Cabinet

Being the DIY lover that I am I've decided to make a majority of my (female veiled) Chameleon's cage myself. I found a tutorial on converting an old cabinet into a cham home (here) and I've decided that is what I'm going to be doing using a cabinet I got for $10 on Cragslist (I'll be getting it Wednesday). I'll be sanding and water proofing the wood, then using NEherp's background tutorial (here) and Josh's frogs tutorial (here) to make it pretty.

Its also going to be a fully planted, bio active vivarium, per NEherp's wonderful instructions (here) and using their soil to do it.

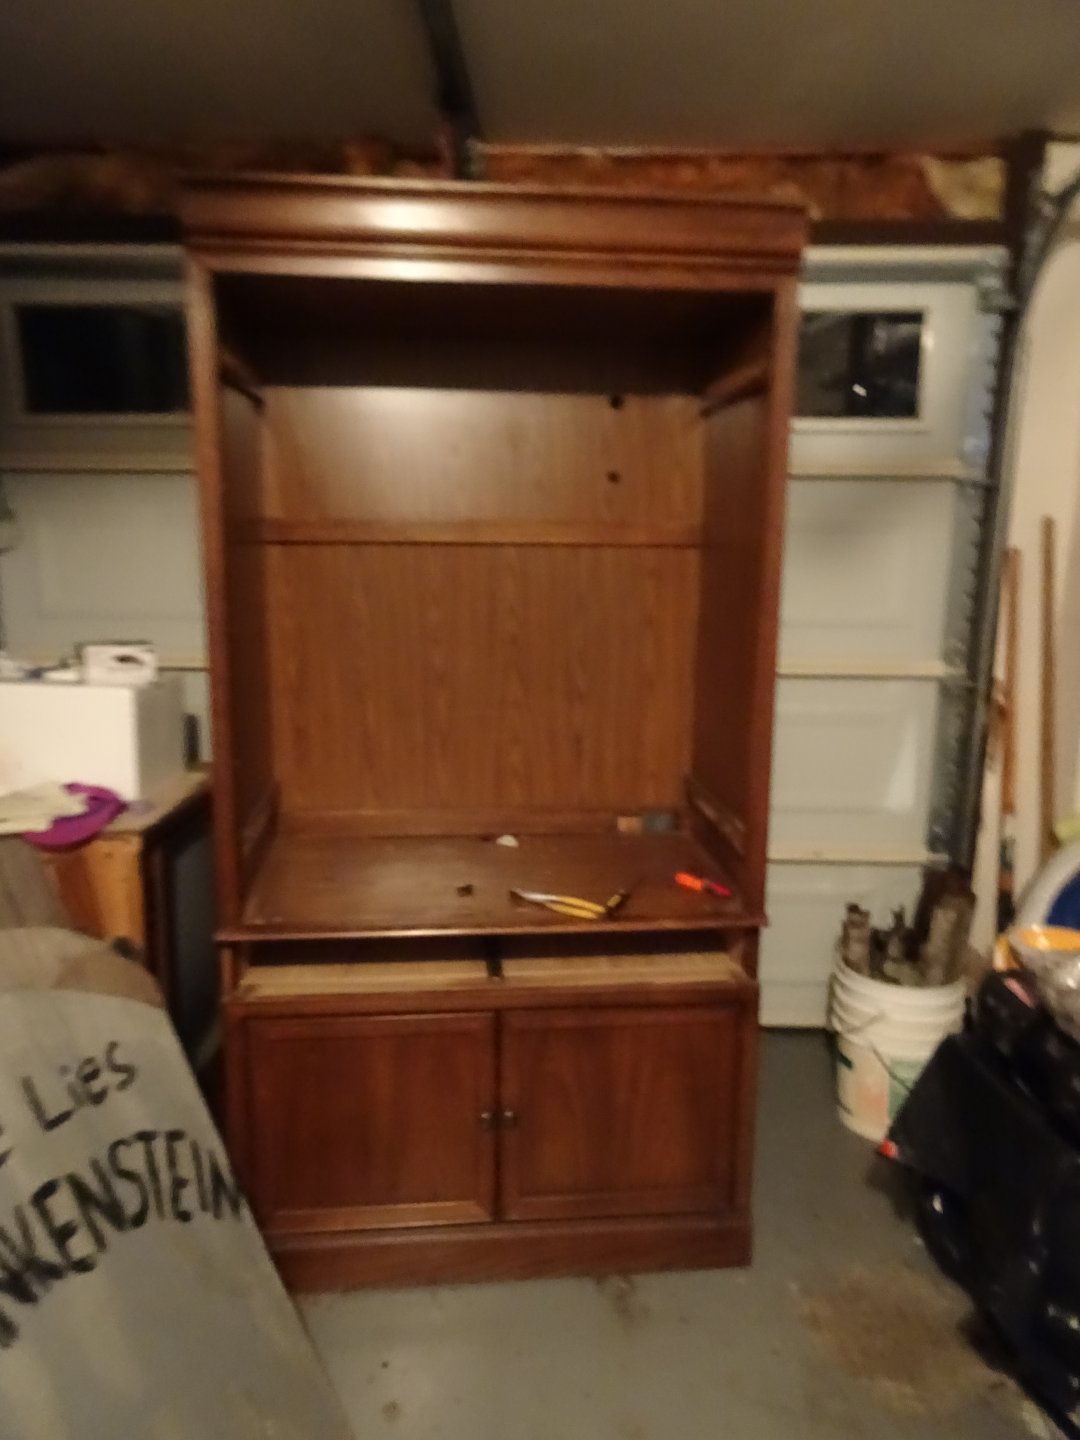
The cabinet measures 40" wide, 22" deep & 79" tall. Here's one of the photos the seller provided me, along with some notes that I added to help you visualize what I'm planning.

sss.png

Dark area: The area on either side of the "lights" I'm going to leave as a semi dark area for her, in case she wants to crawl all the way up there and be left alone.

Front: The front is going to be made of glass, with a strip of mesh at the bottom to allow airflow (think of the vents on an ExoTerra tank) and the Dark Area on either side of the lights will also have a mesh front. It will be a sliding door, not one that swings open.

Lights: I'm gonna cut a hole in the bottom of that part and add in metal screen that I can sit her lights on.

Mist system: I bought a hose made for setting up a mister today at lowe's (this) and I'll be building that into the ceiling as I go. The water tank will probably sit beside the lights.

Drain: I'm building a drain into the bottom, in case too much water under the soil ends up too much.

Decor: I bought some cork rounds from NEherp (two gallon sized random bags), and I'm gonna pick up some stuff at work once I see what I get from NEherp (I work at a pet store) and then I might bring in some wood from my backyard (I'll clean and bake it) and plant it with live plants and put in microfauna to keep it running smoothly.

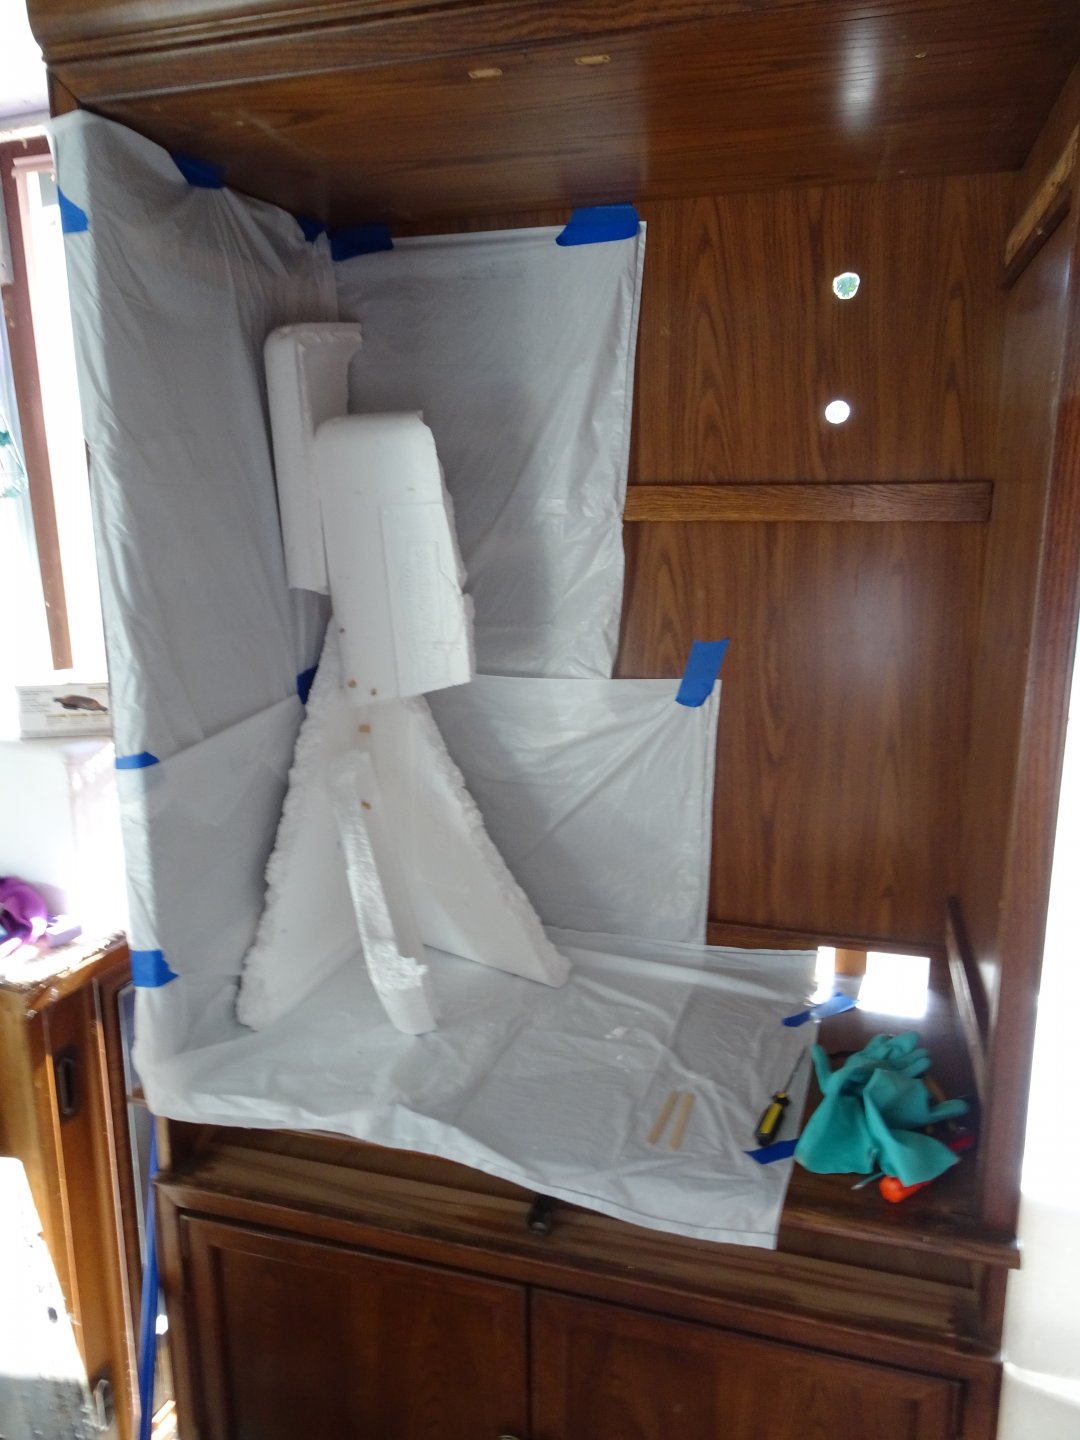
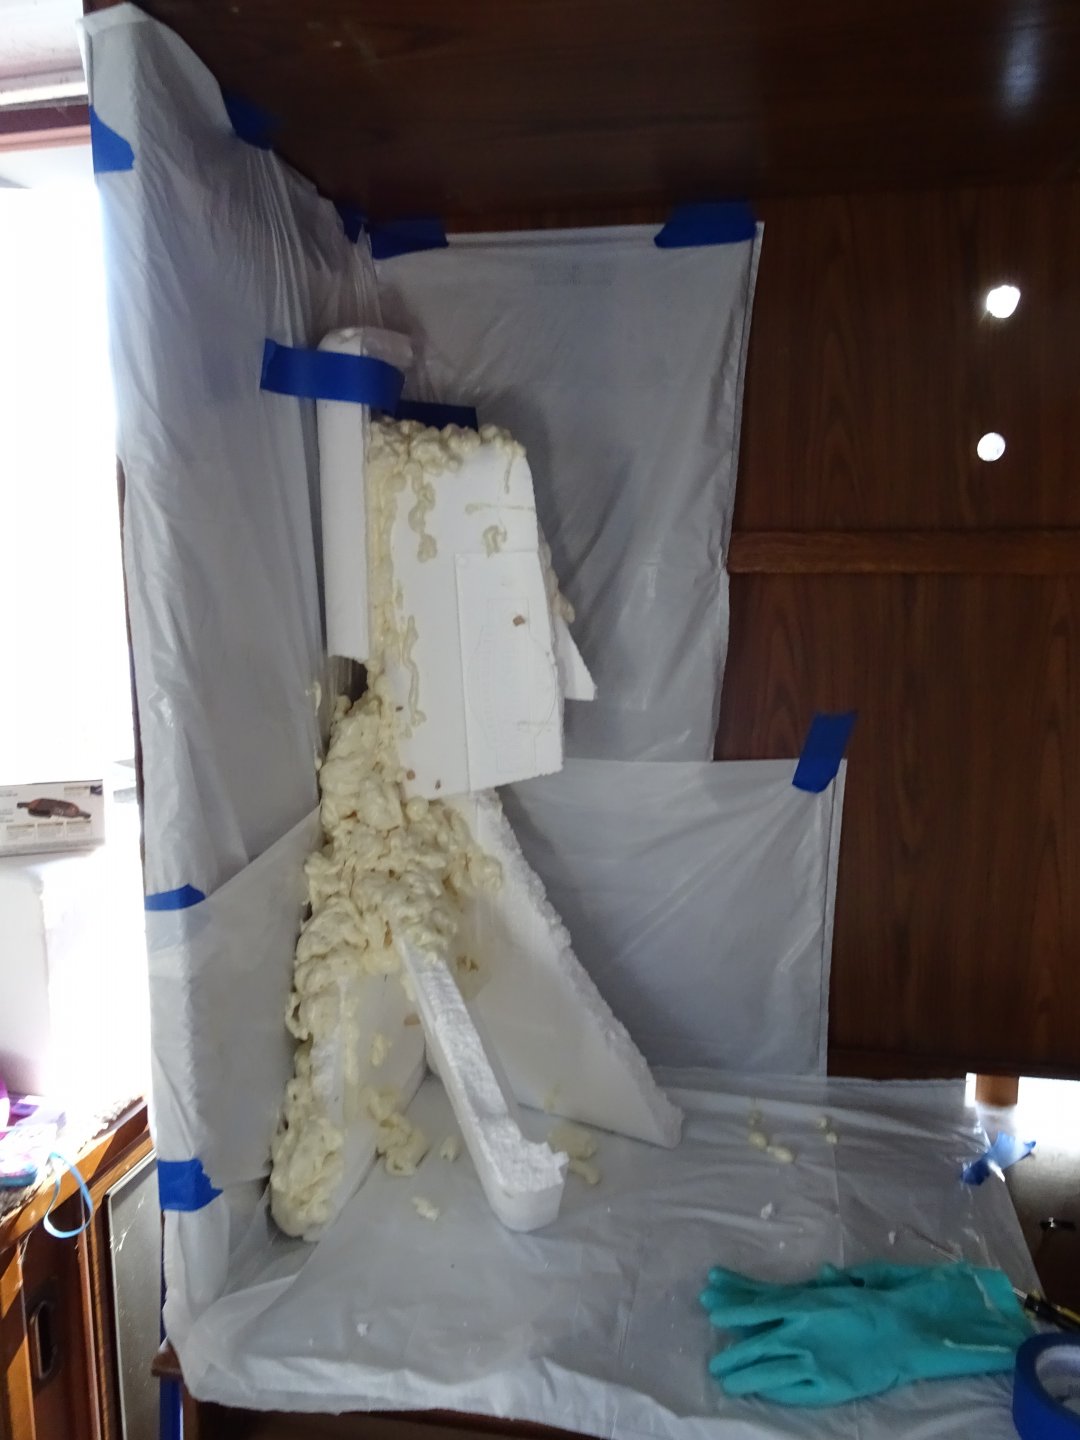
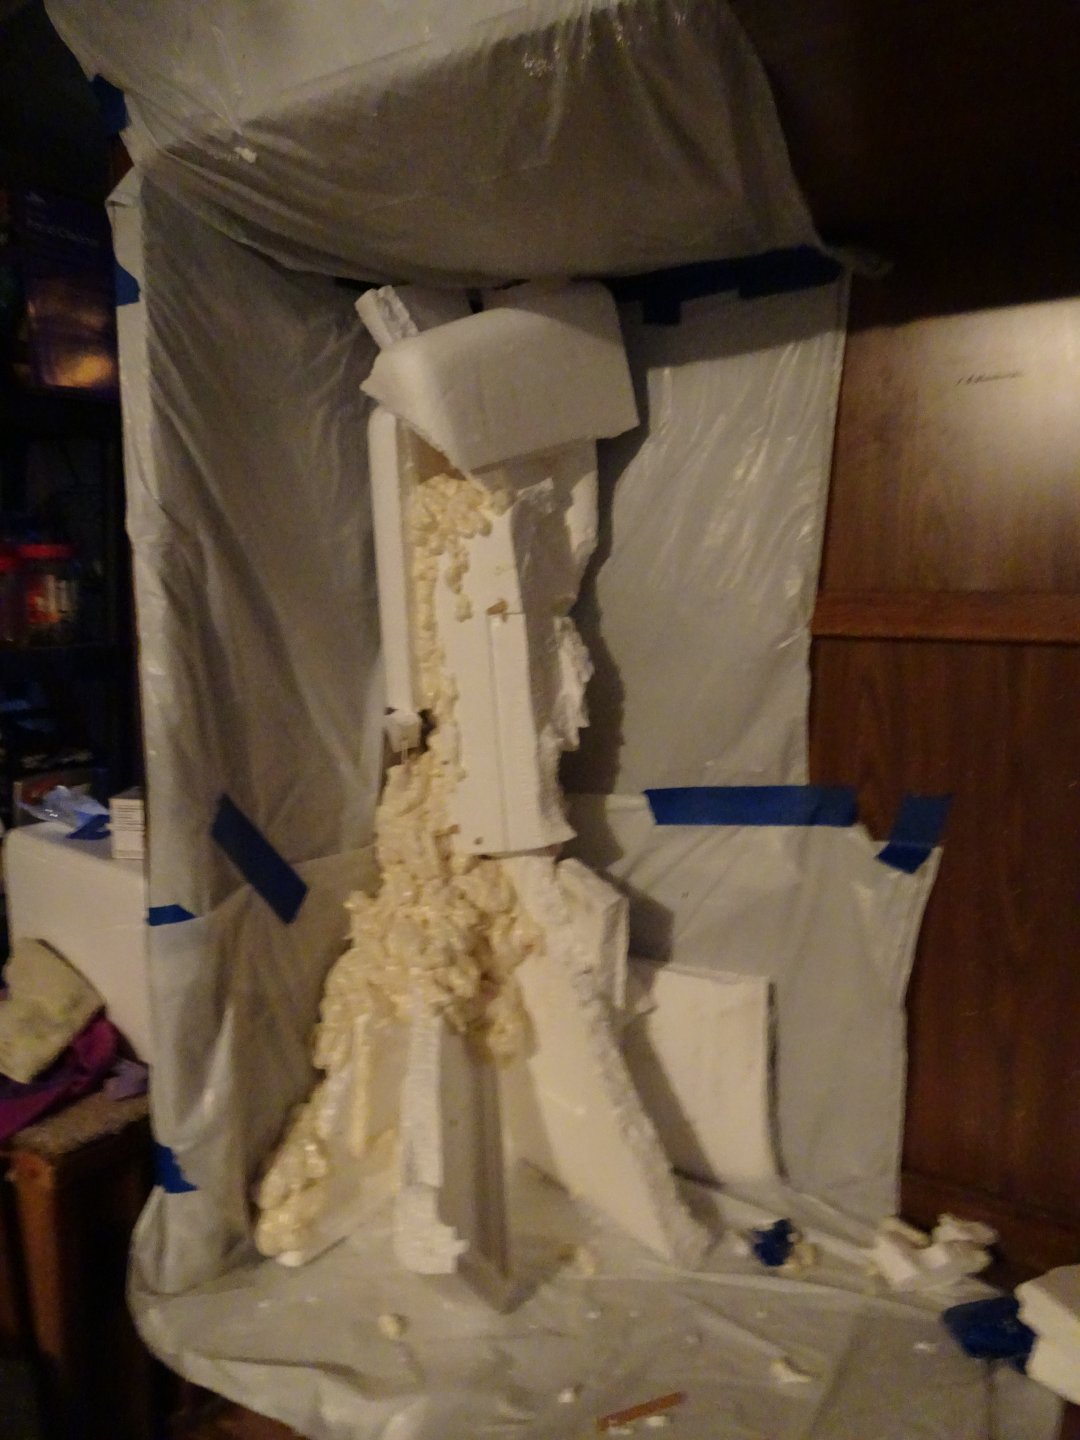
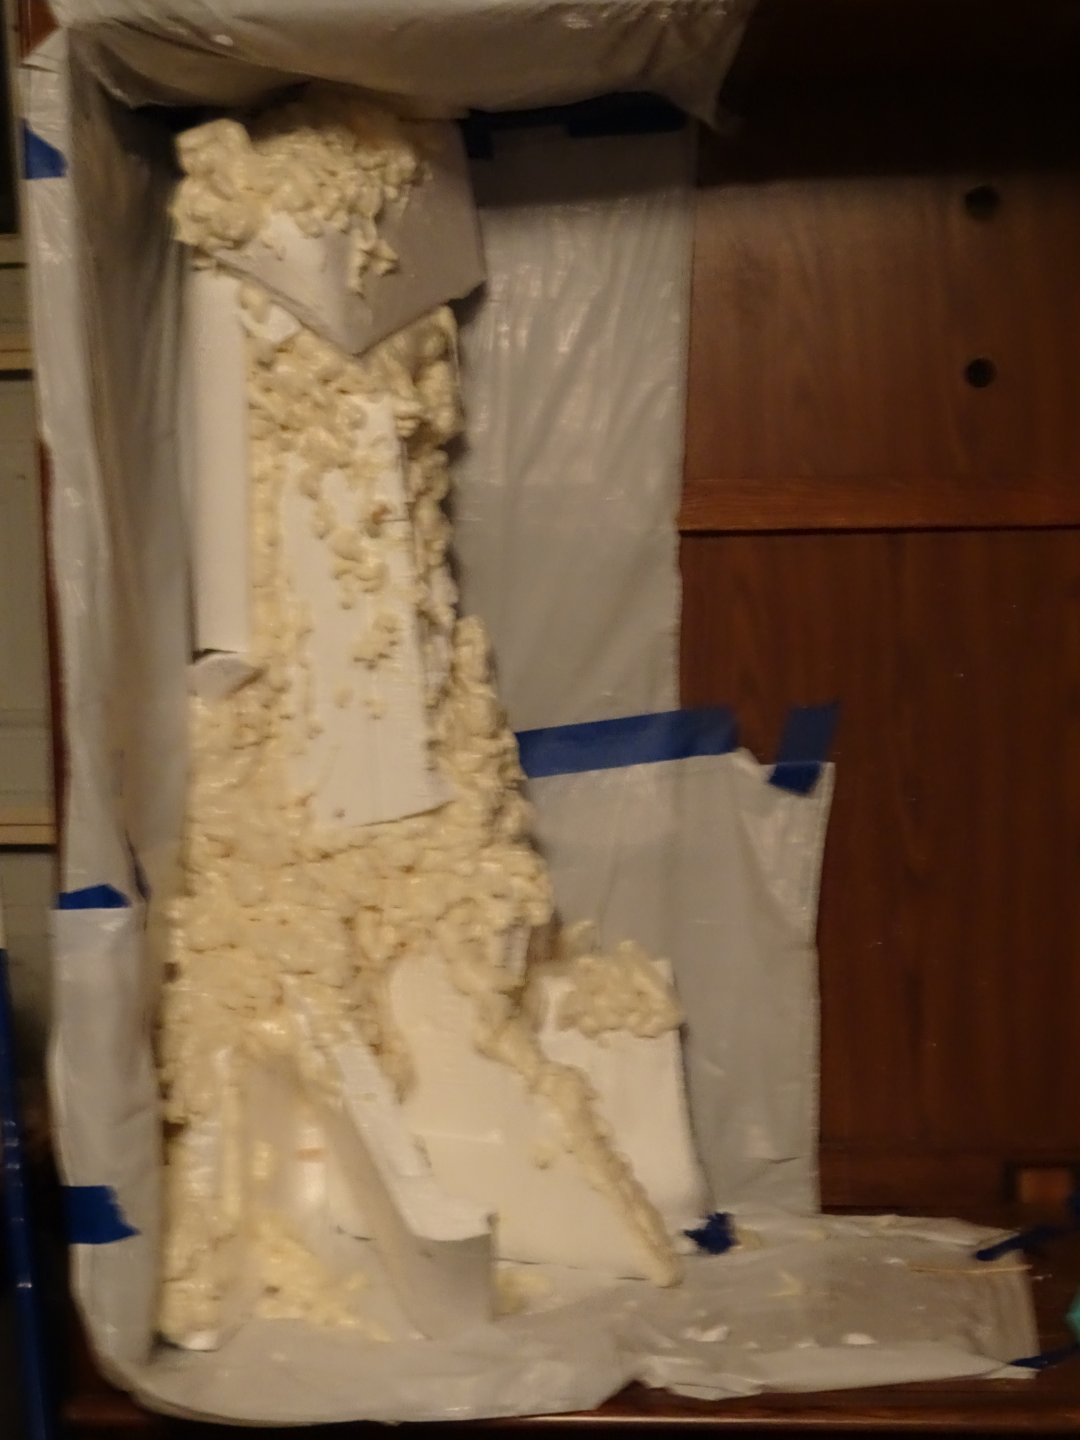
Plants: I'm intending to use some plants on the ground, as well as some of NEherp's moss and maybe leaf litter (from a magnolia in my yard, baked and processed LONG before it goes anywhere near her). But most of the plants I will have built into the background. To keep the stress of the weight off the foam I plant to anchor them to the wood of the cabinet before spraying foam.

Feeding: Probably gonna build in a few feeder dishes (aka deep bowls that I can drop worms, crickets, etc into) into the background similar to how you would build in a flowerpot (check the NEherp tutorial if you're not 100% sure what I mean). It won't be 100% free ranging, but she will still have to search them out.

I'll keep this updated as I go!!
 
Last edited:
Questions:
  • Should I install a fan?
    • I've seen this on some vivs and I'm not sure if that would benefit me, but if I'm gonna use it I want to go ahead and build it in to make it as unobtrusive as possible.
    • What's the best fan to add / how to add it
  • Tips for using the foam?
    • NEherp says to put down a tiny bit of silicone first, but I'm not sure if that would be different on wood.
  • What's the best thing to use to waterproof the wood? It will all be covered by either foam or silicone as I apply the background decorations, but I want to be extra sure I won't be dealing with rot.
    • Good Life Herps used Fiberglass resin
    • Someone at lowes recommended polycrylic
  • What are some really pretty / your favorite cham safe plants?
    • I love flowers and bright colors, so the umbrella plants that she has right now are rather saddening to me.
    • I've got the forum's list of safe plants, I just want to know what your favorites are.
  • Let it "cycle" ?
    • I've seen recommended that you should let the vivarium alone for a while before adding in the lizard.
    • The microfauna will be in the dirt for quite a while before going into the finished product because I'm getting them and the soil sometime this week, and I plan to set them up in a spare (ventilated) box until I need them. So does this count?
  • Waterfall???
    • Before anyone freaks out and starts screaming that I shouldn't have standing water in my cage (which is totally correct) let me explain what I'm thinking.
    • Something that is just a trickle of water running over the background and then disappearing under the ground.
    • Similar to this on Josh's frogs, without the pond in the front, or 0:35 on this video from youtube which is really stunning if you love the Mayas (like I do) and now its making me want to make a fantasy castle themed vivarium because the brickwork is amazing.
    • Of course, I'd have to figure out a way to filter it, so this might not work, but I wondered if something like this might be possible because I love the look and sound of waterfalls.
  • Paint
    • I know some paint is toxic to lizards, but if I wanted to do some highlighting (the one tutorial that I linked to made mushroom ledges) and such is there a safe paint?
    • They suggested watercolors.
  • Background dirt
    • If you've done this kind of thing you know that you sort of "paint" dirt onto the background.
    • NEherp offers a premade mix on their website, but I'm hoping to make my own. I have peat moss, but it is garden variety and I wondered if I could use it or would I need to bake it or?????
    • I also have coconut fiber and another thing I can't recall the name of that is pet grade (I bought it at work), and I'm going to mix those together and make the background dirt from that.
  • Monitors
    • I'm not sure where it would be best / most accurate / most aesthetically pleasing to mount my thermometer and humidity gages. None of the builds I've looked at seem to have any.
    • I'm planning to use three
      • One at the basking spot which just measures temp (its just a flat strip that sticks to whatever)
      • One in the middle (ish) which measures temp and humidity (its a bit bulky, about half an inch wide, two inches long, inch tall)
      • One near the bottom which just measures temp (its just a flat strip that sticks to whatever)
    • Is this overkill or not enough or????
  • Glass vs Plexiglass
    • For the sliding door on the front, which would be better?
    • I can have either cut to whatever size I need
    • Does one fog up less than the other?
  • Heat
    • Obviously I'm using lights, but this is REALLY big and I wanted to be sure it will be warm enough all over so is there anything else I would need to do to add heat?
  • If you've built something similar let me know and feel free to give pointers!!!!
 
Last edited:
Prices & Materials

This is just a rough estimate before I start, obviously once I get going there will be more expenses (I haven't even started buying most of the plants yet). So I'll do a full list once I'm done. Either way it will be MUCH cheaper than buying a premade one, even with the discount I can get at work. And I love building and designing, so its just more fun.

Anything that I marked as being bought from My Work I got a discount on because I work there, but I'm putting the "shelf price" here so you have a better idea of what you're in for.

Plants & Dirt & Organics
  • Isopod Starter Culture
    • $9.99
    • NEherp
  • Springtails Starter Culture
    • $6.99
    • NEherp
  • 2 Bags premixed Substrate
    • $6.49 (each)
    • NEherp
  • 2 Calculated Clay Substrate Add In
    • $1.25 (each)
    • NEherp
  • Oribit Preassembled Mist Cooling Kit
    • $17.49
    • Lowes
  • 4 boxes New Zealand Spagnum Moss
    • $3.99
    • My Work
  • Leaf litter
    • Free
    • Picked from my yard and then treated
  • Wood
    • Free
    • Brought in from my yard and treated
  • 5x6 inch Terrarium Moss
    • $ ????
    • NEherp
  • 3 Bags Coconut Fiber
    • $ ????
    • My work
  • 1 Bag Reptibark
    • $ ????
    • My work
Hardwood & Building Supplies
  • Cabinet
    • $10
    • Craigslist
  • 6 Silicone
    • $5.98 (each)
    • Lowes
  • 3 Foam
    • $3.68 (each)
    • Lowes
  • 2 Gallon bags of Cork
    • $???
    • NEherp
  • Glass
    • $ ????
  • Track for the door
    • $ ????
  • Plastic cups for planting in the background
    • $ ????
  • 8ft Aquarium tubing
    • $1.98
    • My work
  • Fake vine
    • $ ????
    • My work & NEherp
Other
  • Plastic Gloves
    • $ ????
  • Shipping
    • $10.99 NEherp
Total: $122.83
 
Last edited:
Today I got some seeds to grow plants for the enclosure. I had the thought of buying plants that had already been started - because I'm impatient - but the selection was no where near as good as what I could get in seeds (plus that way I know its pesticide free).

The plants I got are all from Tiki Reptile's Safe Plants List (here)
  • Marigold
  • Aster
  • Thunbergia
  • Zinnia
  • Lavender
  • Passion Flower
  • Nasturtium
  • Begonia
Obviously that is a lot of flowers, and I'm not going to fool myself into thinking I'm going to need all those plus the two that are already in her cage, but I figure I'll put whatever looks best with her and then put the rest in my garden.

 
Last edited:
I've started another thread (I am the queen of too many threads lol) specifically about having a female Chameleon in a bioactive vivarium because I'm sure that's a different ballgame than a male which most of the threads seem to be about (or at least, they don't specify a female as different). Here's the thread.

Oh, and my mother gave me a bunch more flower seeds that I'm going to plant and then see if any are safe for her. And I'm going to be getting the cabinet this afternoon!!!!

Do I need a special light bulb in her cage to promote plant growth? I will put in a basking light and a UVB one for her, but some people suggest various other things for plants. I'm looking at Exo Terra Natural Light CFLs.

I've seen some people say that its hard to light an entire enclosure, so I'm wondering if there is a way to build a few lights (that don't produce much if any heat) down the sides. Obviously they would have to be waterproof, but its an idea......

Whats the best way to waterproof the wood? I've seen people use polyurethane, fiberglass resin, or just plain silicone (which I don't think would be enough).

I know you don't need to clean bioactives as much as other cages, but whats the best way to keep the glass looking nice?

As I said in my first comment on this thread, I planned build in a mesh strip right along the bottom of the enclosure (just above the substrate), but I've seen some other suggestions that might work better, so I'm keeping track of them here. Whatever I do I want it to work well and be fairly unobtrusive.
  • Etteyah's Breathing Tube
    • They ran a metal pipe right along the dirt line and then covered the openings with mesh.
  • Fans
    • This is something I've seen several places, getting small, quiet fans and putting them near the bottom of the enclosure to promote plenty of healthy airflow.
  • Etteyah's Drilled Holes
    • This is something I'm not sure that I want to do, because I'm afraid of feeders getting out through the holes in the glass. But it is an idea.
 
Last edited:
It might be better to take out the shelving in the top section and cut out the top and cover it with screen and place your lights on top. The highest parts of the cage are their favorite where the feel safest like in a tree. Screening the top will create a chimney effect that creates ventilation. Cutting out and screening all or part of the sides will also help.
I think you will get sick of the maintenance a water feature requires. Everyone else I've read ending up tired of theirs.
They end up moldy with bugs and poop in them. You might be better of just creating a space that imitates a waterfall but is just a place for your dripper to run through.
Flowering plants take a lot of light. You need to put them up high or try plants with colored foliage.
Good luck with your project. Keep the pictures coming.
 
I just picked it up from the seller - still probably the best $10 I've ever spent - and man I did not realize how solid it was!! For some reason I was expecting particle board, but I'm happy to report that it is indeed solid, hardwood (which makes my job easier, as I won't have to reinforce it). The interior, where I will be building her home, is 37" wide by 44" Tall by 21" Deep (which is 140 gallons if it were a fish tank).

@ChamLB after seeing it in person I have to agree, theres much more room on the top than I was expecting and I'm definitely gonna rip out that shelf and put the lights above it. I'll just have to make it so that I can flip them on and off without having to climb on anything because its much taller than me and I'm not short!!! Yeah, that's a great point about the water, although I love the idea of something that's not on all the time / maybe hooked into my drip system so I can enjoy it here and there for a few minutes. And thanks for the tip about the plants!! I'll keep that in mind and grab some pretty colored foliage. I might work in some silk flowers to appease myself, although, my mother has really good luck with plants (we were given a ton after a funeral almost a decade ago, and finally had to give them away because they were multiplying and taking over our house). The flowers are going into the background and the bottom with be planted with an umbrella plant, this other thing I cannot for the life of me remember the name of, and maybe a bromeliad.

I'm hoping to be able to get the real vines to grow along the fake jungle vines and branches I got to add cover to the middle of the cage.

My mom had an idea of screening one side along the bottom and the opposite side along the top in order to create a sideways and upwards breeze (along with the hole in the top). But man is cutting through the wood on that thing gonna be hard!!!! I'll have to get my grandfather to lend me his power tools.

Tomorrow after my classes I'm gonna plant more seeds (mostly for the garden) and then start ripping out the shelving as well as the built in electricity (unfortunately its not in a place where its useful to me, instead its a fire hazard). I'm getting through so many podcasts while doing all this work, I just hope the neighbors can't hear it because I think they would be freaked out that I listen to stuff about true crime and serial killers in the garage!!

Thanks for the suggestions!!!!
 
Last edited:
If you put your lights on a timer it won't matter where the switch is. Just use a power strip for all of them and control it with a timer or if you need different times plug the timers into it.
You will need to borrow a drill to make a starting point hole and a jigsaw to make the cutouts you want. Use aluminum screen to cover the openings to keep your feeders inside.

That's actually a great idea!!! I already have a timer, I just haven't hooked it up yet, and for some reason I didn't think about this. Two heads really are better than one. Thanks!!!!
 
Today I planted a few more plants - not for the enclosure, just for fun - and then my mom and I went on a vine hunt in the woods. Once nice thing about my yard being mostly kudzu (if you've never encountered that terror, consider yourself lucky, its called "the vine that ate the south" for a reason) is that I had plenty to choose from. I'm going to clean them and them roll them up and store them in a box in the garage until I need them, then I'll get them wet again (to make them malleable) and place them in. I've devised a way to let me change out the vines if needed, so we'll see how they work!!

Then I started deconstructing the cabinet, I took out the TV stand at the bottom, the hooks from the door, and the shelves on top (which were a HUGE pain, let me tell you). I would have gotten more done, but I visited the high school I graduated from and got chatting with some old friends and teachers which was an amazing experience.

 
I previously stumbled across a great post about building a fake tree for your enclosure (here), so I decided that I wanted to make that for my vivarium and I started that today.


My friend gave me some styrofoam boxes which I ripped up to use to build the tree.


I wanted to make it to fit my vivarium, so I covered the inside with plastic trash bags so the foam wouldn't stick, and then I began placing the styrofoam. The instructions suggested using hot glue to hold the parts together, but that didn't want to work for me, so instead I would just punch holes in the styrofoam with a screw driver and then shove Popsicle sticks through. Worked like a charm.


The first can of Great Stuff didn't do very much, so I took a break, messed with some other stuff (including homework) and then came back to it later.


Before I added more foam I shoved in more styrofoam to bulk it up.


Here's the final product for tonight. Tomorrow I'll pull it out of the cabinet so I can lay it on the ground and spray more foam to fill it up.
 
Back
Top Bottom