Multivitamins
Chameleon Enthusiast
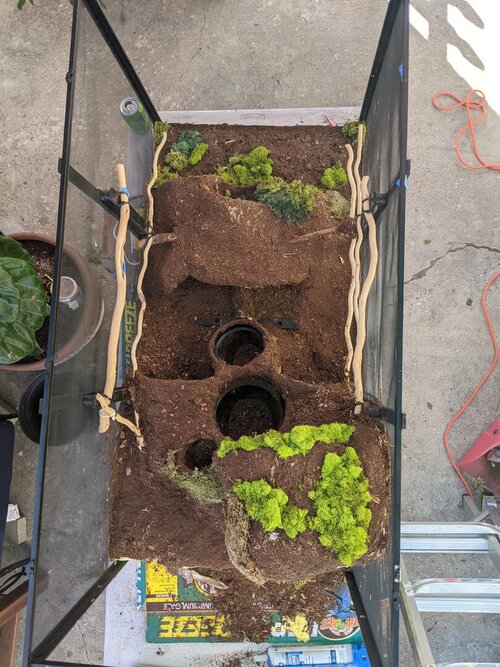
despite some set backs poor planning and having to work i made some progress, but also was considering making a change has anyone worked with items like this https://www.neherpetoculture.com/mossslurrycaresheet
will i be able to keep it that humid probably not but curious none the less i have several bags of craft moss from michaels and will use that but i might end up trying this if i find space for it or maybe just line another screen with it lol
will i be able to keep it that humid probably not but curious none the less i have several bags of craft moss from michaels and will use that but i might end up trying this if i find space for it or maybe just line another screen with it lol
Last edited:
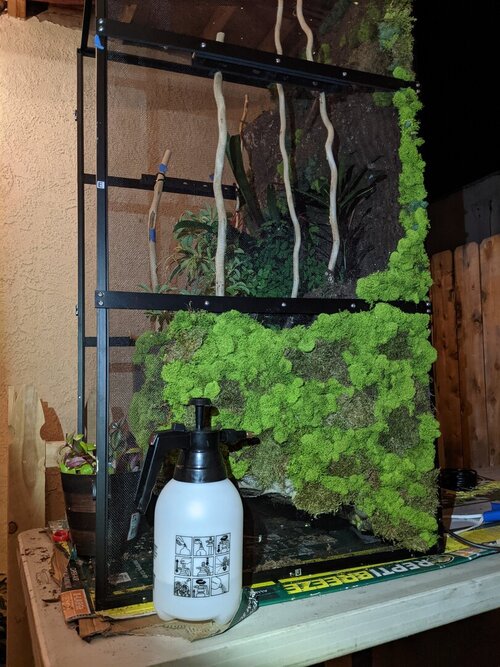
 seriously love it to supplement light I've toyed with it on the existing enclosure and use it to keep these plants alive now. Bang for buck is there and I appreciate the waterproofing on the switch.


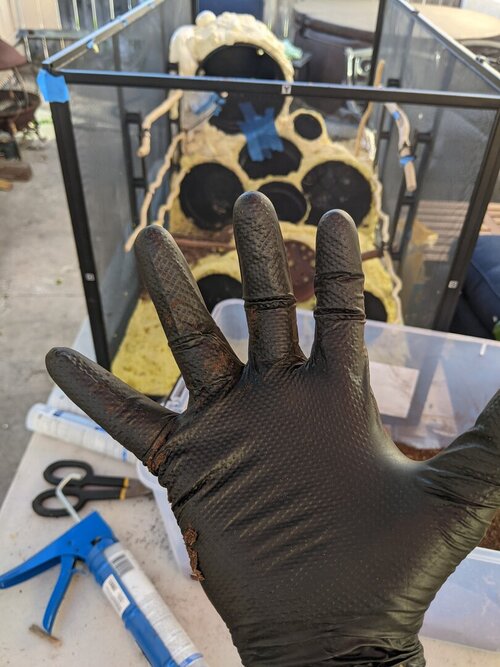

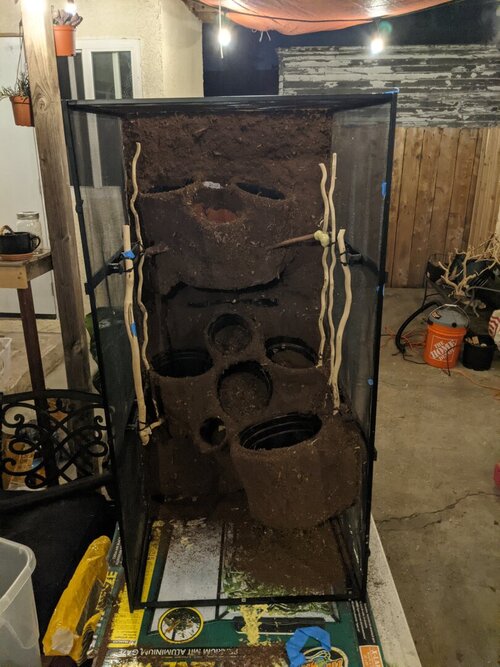
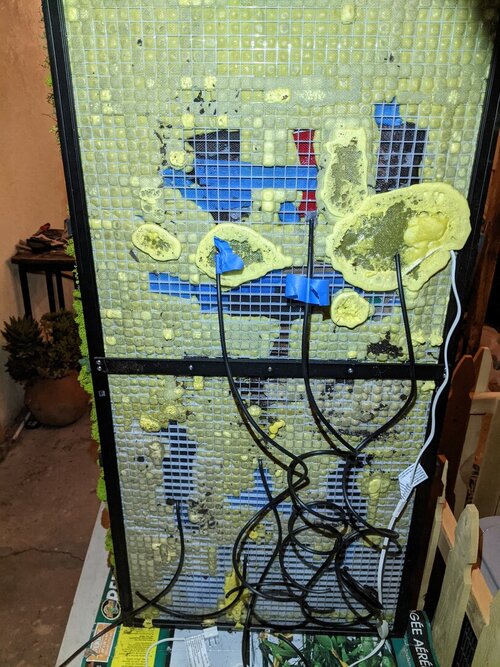
 Had a few ideas after several attempts this proved to be the one for my situation. A quick drill ran the lines and silicones them into the base before applying the great stuff