Multivitamins
Chameleon Enthusiast
I'm sure I'll have extra silicone. My stand is a very basic old end table with the dragon stand I don't mind drilling but this seems like way less work fortunately it's got the clearance to allow a bucket for collecting. I'm doing some sketches and trying to plan the placement out best. I spoke with a friend who is an an engineer and diy person he said his only concern was mounting the wall into the frame and cutting the light diffuser without compromising it it seems frail and rigid so I may need to torch off a section to allow the lights Access.The shims work great under the trays... One thing I wish I would have done was figured out how to affix them to the drainage tray on the back side. I had just placed them all along the back edge of the pan. I have had to shift cages and they pop outSo mine are all flat again lol
That led to another worry
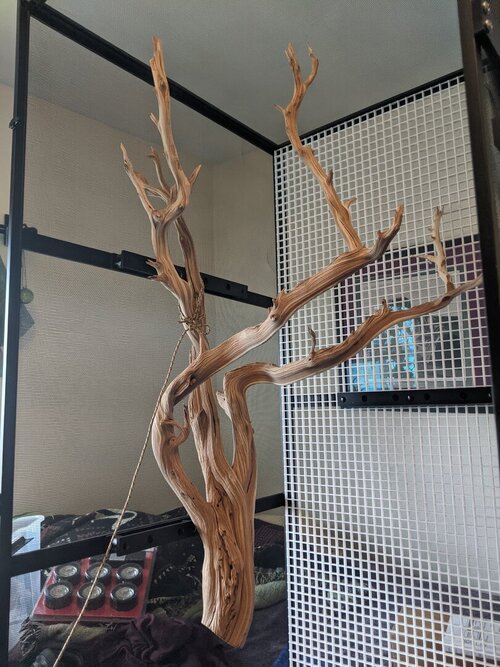
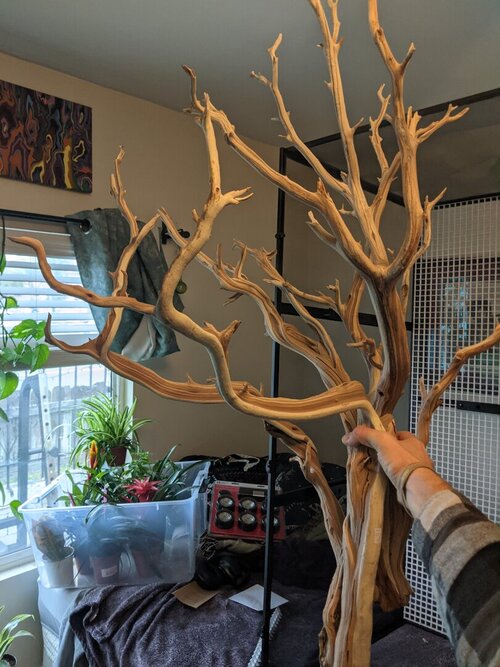
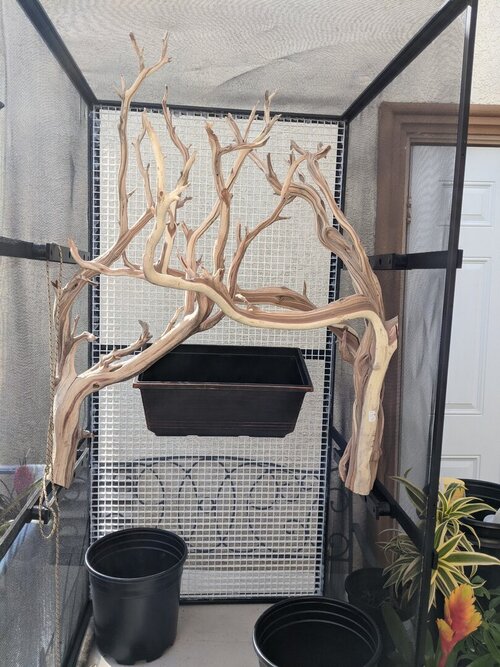
What's the best way to attach this to my enclosure / frame. I overlooked that I'm using a 2*2*4 zoomed and have dragon ledges is there a good thread on mounting the living wall ?


 and the old enclosure will be a summer home for outsider that I hope to convert into the planter box version that was shared on the chameleon academy.


 . Not sure if it will work I'll re evaluate once my blood glucose is back in range. .