about to go in a a new build / living wall

Multivitamins

Chameleon Enthusiast
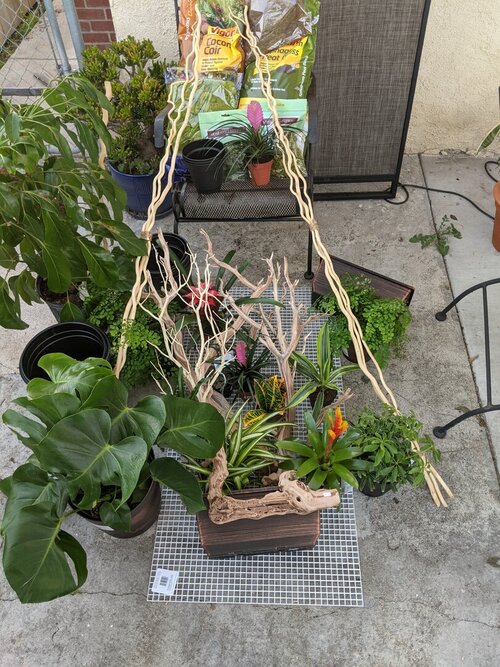
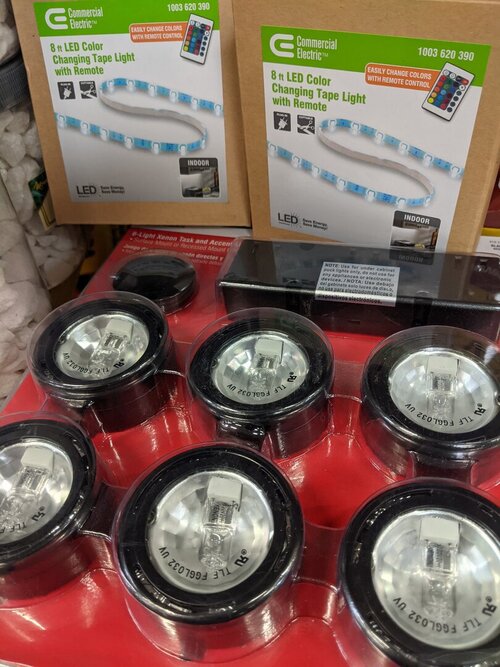
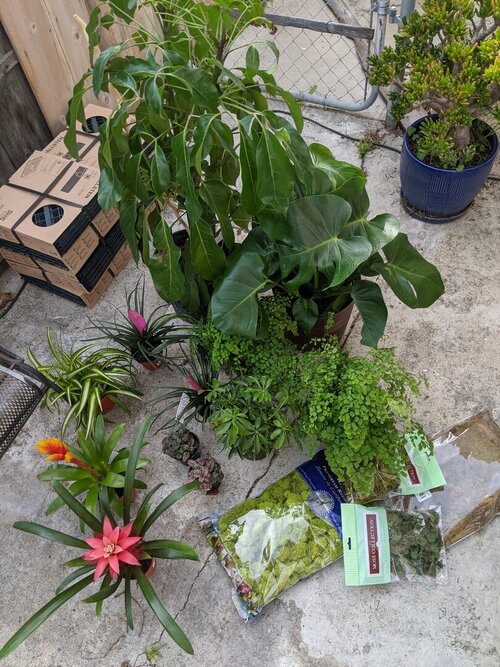
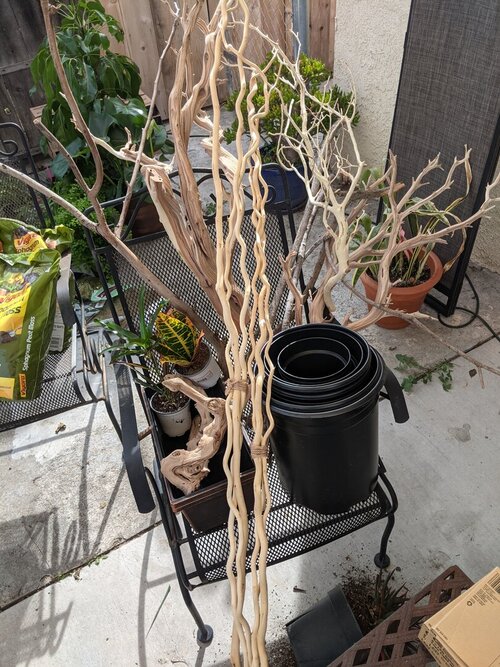
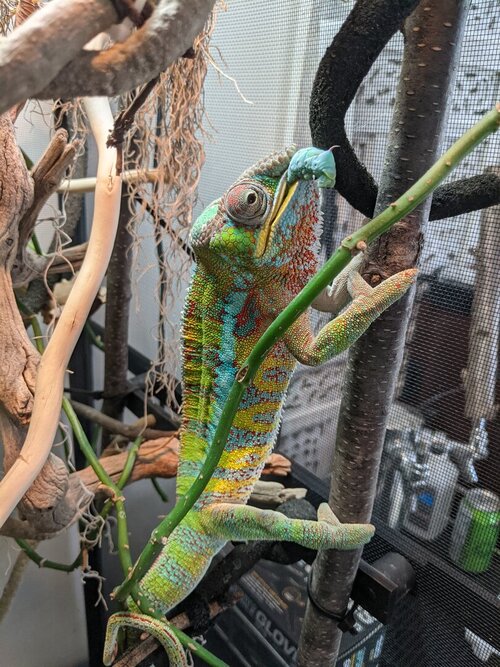
As the subject indicates I'm beginning a new build for summer home for my young adult male panther. He's been doing great and is overdue for a luxury condo instead of his timeshare I've got all the materials to build a living wall including the light diffuser new cage dragon ledges foliage Moss plants sticks branches and so on. I was just hoping to pick anyone's brain for useful dues or don'ts when applying the great stuff and silicone I did read that the liquid flex seal was preferable for spreading however I had three tubes of GE silicone 1 which has been expressed to be safe for chameleons. I'm really excited to add this enrichment to his life and enclosure I also know I will need supplemental lighting in the form of LEDs I know several people have advocated for the sansi brand and I hope to find a promo code otherwise I'll likely buy a jungle Dawn so that I can spotlight the supplemental lighting needs.


This is where I had some ideas when forming the great stuff I thought about building in a false ledge with an open bottom so that I could mount in a small LED fixture to showcase some of the bromeliads and more visually pleasing plans that demand higher light. Is this doable I've conceptualized an idea utilizing the light diffuser and a small planter where I would form an overhang and then cut out the interior leaving an open bottom (not visible to the eye or accessible to the chameleonmesh or screen it off once the fixture is) I was torn between supplemental LED strips or a single bulb idea does this sound doable or a total pipe dream. Just looking to get realistic feedback as this could definitely be a game changer in the overall aesthetic and performance of the enclosure.

I do apologize in advance for any typos as this message was made using voice to text while shopping for Moss... I just got lots and lots of moss for the wall. I'd rather see green foliage than raw peat moss so I'm a deck it out. Thank you in advance peace love and happiness.
Steve - multivitamins
 
It should also be noted that this new build will be the inside permanent home and his current enclosure a 2x4 screen will be moved to the planter box build from the chameleon academy I live in southern California and hope to build that into a suitable outside enclosure
 
I'm currently walking through a park trying to collect sticks and branches to add to what I have for a diverse size of diameters I was curious though I'm trying to stay alive or natural materials I don't want to use any of those fake Vines anymore after I issues and just general dissatisfaction does anyone have good advice on how to implement a naturalistic Vine or materials that can be used I did see the really thin like almost braided looking branches at the craft store but I felt like this might trap pasts or feces and it was afraid to implement that can anyone weigh in on options or alternatives they found successful I'm sorry to be so extra but I'm really diving in on this today even requested time off of work so that I can see this through to completion
 
20210122_143947.jpg

heres a pic of my build i did last summer, i had the same conundrum about spot lighting, i didnt want to have a bunch of intrusive looking wiring and lighting anywhere visible on the inside or outside (also you have to be conscious about water issues) the best compromise i came up with was a small led aquarium strip. The cable was small so i didnt have to drill anything too crazy to get power safely inside the enclosure. Curious what you come up with because im not a fan of rhe blue light in mine (altough rango likes it and i havent found a white light version)

as for the great stuff i can give you a couple tips
-hard contours are difficult to smooth with just a utility knife
-any planters youre making out of great stuff try to funnel the bottom and make sure you drill a drain hole after its cured
-it takes ALOT of silicone, i used sphagnum moss and coconut husk and despite all efforts a lot of spots were left exposed USE BROWN OR BLACK SILICON
-whatever youre sticking to the wall for texture make sure its 100% dry

hope youre build goes well, i had a ton of fun on mine
 
I'm currently walking through a park trying to collect sticks and branches to add to what I have for a diverse size of diameters I was curious though I'm trying to stay alive or natural materials I don't want to use any of those fake Vines anymore after I issues and just general dissatisfaction does anyone have good advice on how to implement a naturalistic Vine or materials that can be used I did see the really thin like almost braided looking branches at the craft store but I felt like this might trap pasts or feces and it was afraid to implement that can anyone weigh in on options or alternatives they found successful I'm sorry to be so extra but I'm really diving in on this today even requested time off of work so that I can see this through to completion
Oh be extra!!!! Let's see that step by step process Steve!
 
Well I've got about $300 in plants now about 100 ft of branches ranging from Manzanita oak finished and wild collected and cleaned.Three cans of great stuff and 4 tubes of g1 silicone should do right ? as far as attaching the substrate to the great stuff how much peat moss cocoa fiber sangam Moss is needed I was just at the nursery and don't want to have to make a second trip do you think 8 or 12 quarts will be enough or should I get more ? Should I use something beside mosses and peet moss ??? Just got coffee and lunch and will take photos of all my materials once I am home.
 
View attachment 292666
heres a pic of my build i did last summer, i had the same conundrum about spot lighting, i didnt want to have a bunch of intrusive looking wiring and lighting anywhere visible on the inside or outside (also you have to be conscious about water issues) the best compromise i came up with was a small led aquarium strip. The cable was small so i didnt have to drill anything too crazy to get power safely inside the enclosure. Curious what you come up with because im not a fan of rhe blue light in mine (altough rango likes it and i havent found a white light version)

as for the great stuff i can give you a couple tips
-hard contours are difficult to smooth with just a utility knife
-any planters youre making out of great stuff try to funnel the bottom and make sure you drill a drain hole after its cured
-it takes ALOT of silicone, i used sphagnum moss and coconut husk and despite all efforts a lot of spots were left exposed USE BROWN OR BLACK SILICON
-whatever youre sticking to the wall for texture make sure its 100% dry

hope youre build goes well, i had a ton of fun on mine
Thank you ! Yes I am going to mold in a planter box to have a false bottom and put a led strip into the living wall to help get light to my lower quadrants and plants under the canopy.
 
Well I've got about $300 in plants now about 100 ft of branches ranging from Manzanita oak finished and wild collected and cleaned.Three cans of great stuff and 4 tubes of g1 silicone should do right ? as far as attaching the substrate to the great stuff how much peat moss cocoa fiber sangam Moss is needed I was just at the nursery and don't want to have to make a second trip do you think 8 or 12 quarts will be enough or should I get more ? Should I use something beside mosses and peet moss ??? Just got coffee and lunch and will take photos of all my materials once I am home.
I always buy double of what I think I need for foam, substrate, and silicone for my backgrounds just in case, and I usually use most of it anyway. A stiff paintbrush and a big opening on the silicone tubes will help tons! I’m lazy and now press the substrate straight into the foam while it’s still wet and tacky, though. If you carve and silicone, using black or brown animal-safe silicone works best if you don’t use the Great Stuff Pond and Stone foam. There are tons of things you can use as the substrate to go over the foam, so just use what you think will look and work best for you!
 
I always buy double of what I think I need for foam, substrate, and silicone for my backgrounds just in case, and I usually use most of it anyway. A stiff paintbrush and a big opening on the silicone tubes will help tons! I’m lazy and now press the substrate straight into the foam while it’s still wet and tacky, though. If you carve and silicone, using black or brown animal-safe silicone works best if you don’t use the Great Stuff Pond and Stone foam. There are tons of things you can use as the substrate to go over the foam, so just use what you think will look and work best for you!
I ended up with two bags of peet and two bags of coco I hope the 4 silicone are enough good tips on the brush and the wide opening. My biggest worry is the substrate attachment to the wall
 
Hopefully you got latex gloves too you will need that for dealing with the spray foam and the silicone then coco fiber. Or your going to be one gooey mess lol

Loving those two huge plants you got!
 
Hopefully you got latex gloves too you will need that for dealing with the spray foam and the silicone then coco fiber. Or your going to be one gooey mess lol

Loving those two huge plants you got!
I got a box with a few left that fit xl lol for the great stuff I hope the nitrile will work the same it's what I've got lol. I am so nervous but I've solved my drainage issues. and will be shimming the back to create a slight slant and installing a bulkhead into my dragon stand tray to allow a drain line since it'll be to heavy to lift and remove the water/ tray.

I ended up getting the led strips and pucks and will be building overhangs from the light fixtures to allow a small area to mount puck lights (photo above) that are ment for under cabinet use but will work great as under plant use hehehe .... A few more sketches to solve ease my mind on placement and hopefully I'll have the first progress shots today.
 
Putting a slick tarp down under your cage when you lay it down to foam will help make sure it doesn’t get attached to the floor and you can peel the tarp right off! I learned that the hard way! 🤣 Nitrile gloves work the same as latex, don’t worry! Also make sure to wear a mask along with the gloves and have plenty of ventilation when foaming and siliconing and afterwards, too!
 
I got a box with a few left that fit xl lol for the great stuff I hope the nitrile will work the same it's what I've got lol. I am so nervous but I've solved my drainage issues. and will be shimming the back to create a slight slant and installing a bulkhead into my dragon stand tray to allow a drain line since it'll be to heavy to lift and remove the water/ tray.

I ended up getting the led strips and pucks and will be building overhangs from the light fixtures to allow a small area to mount puck lights (photo above) that are ment for under cabinet use but will work great as under plant use hehehe .... A few more sketches to solve ease my mind on placement and hopefully I'll have the first progress shots today.
The shims work great under the trays... One thing I wish I would have done was figured out how to affix them to the drainage tray on the back side. I had just placed them all along the back edge of the pan. I have had to shift cages and they pop out :( So mine are all flat again lol
 
Oh my goodness, I read your comment as the foam sticking, no the substrate... 🤦🏽‍♀️ Definitely make sure to use tons of silicone and go slow, steady, and tight in small areas with the foam to hopefully reduce the size of the bubbles created in the foam that’s visible after carving. Shaking off the excess substrate after the silicone dries and reapplying silicone and substrate in areas needed will help make sure everything is covered and secure! Make sure to do a final shake and vacuum of the substrate on the wall and bottom, too!
 
Back
Top Bottom