Hello All,
I came up with an idea for my new cage build. I'm sure it's been done before..but I hadn't read about it. Figured I'd share.
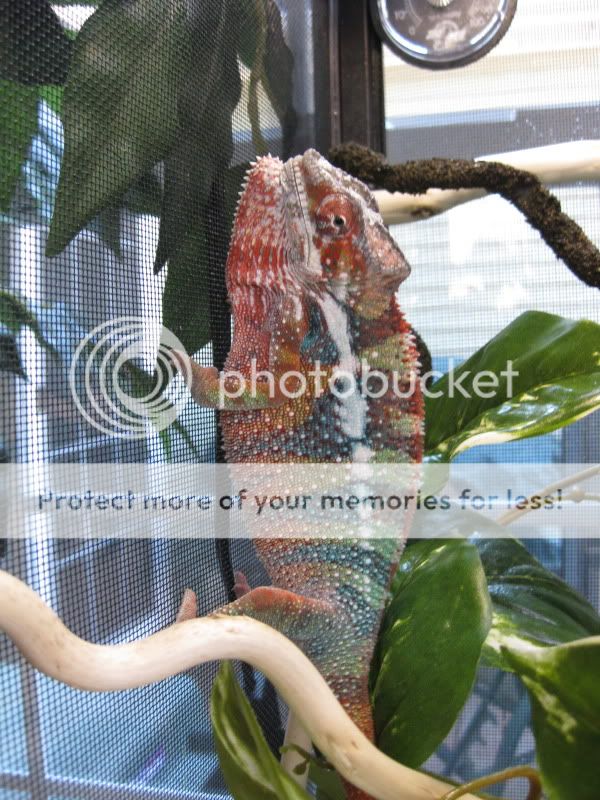
My last serious hobby before I recently moved was salt water reefs. There is a lot of work that goes into a nice display tank. Though I will not be able to create my own little mini-world...I figured I'd do my best to give my growing male Ambilobe a nice pad.
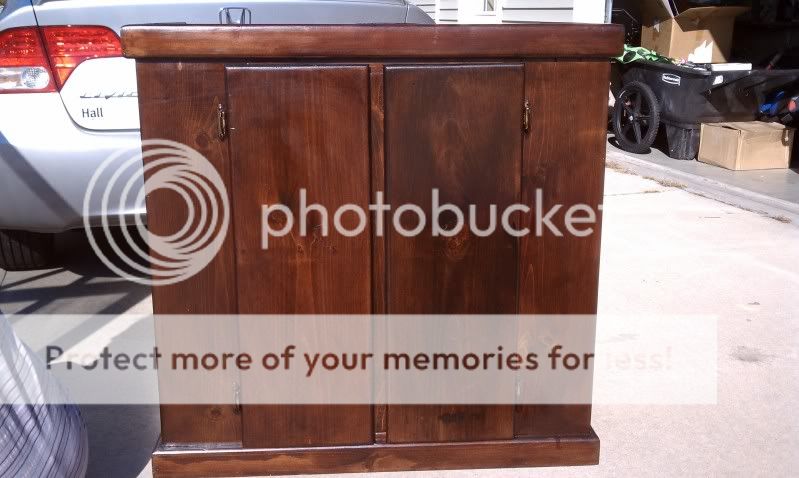
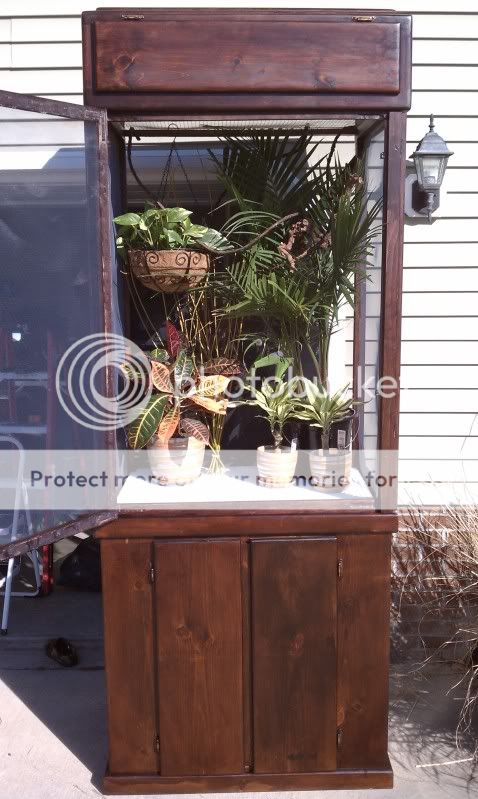
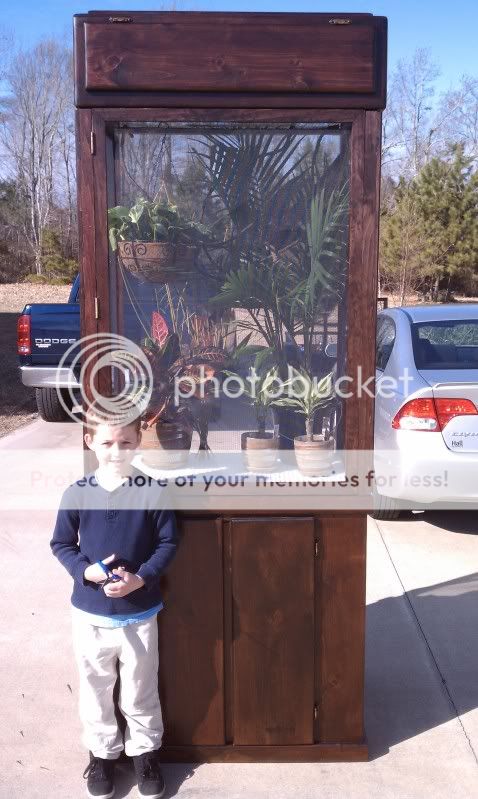
I'll start with the dimensions. It is in three parts. There is a stand for elevation, an enclosure for the inhabitant, and a canopy to hide lights and drippers and such. As we all know, chams are arboreal. I figured it would be better to build up than out. I decided to go with a cage size of 3ft wide by 2ft deep, by 4.5ft high. The stand elevates the cage another three feet, and the canopy adds little under foot to overall heighth, giving the total structure a dimension of 3ft wide X 2ft deep X 8.5ft high.
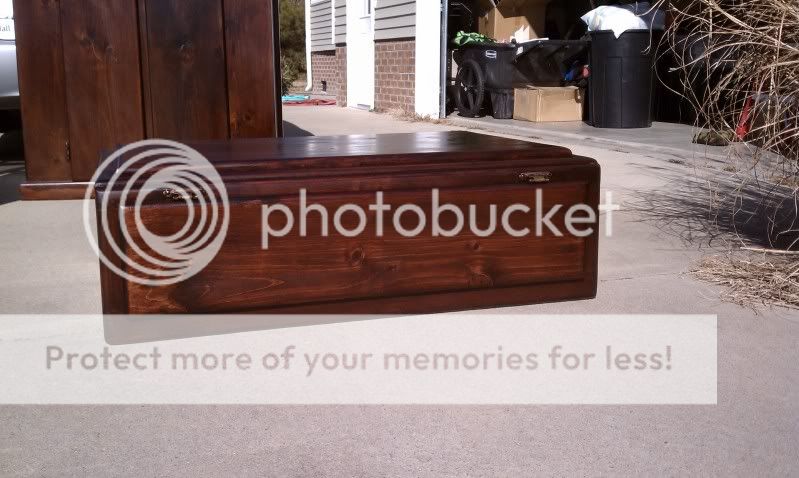
Since I was building it from scratch, I decided to custom build the base so it would be easy to clean.
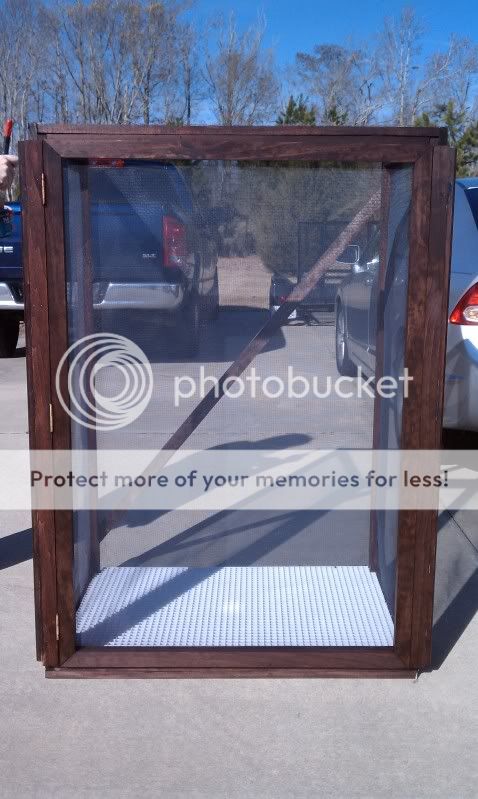
To start, I made sure the base of the enlosure had a "step down" from the edges to the middle of the stand.

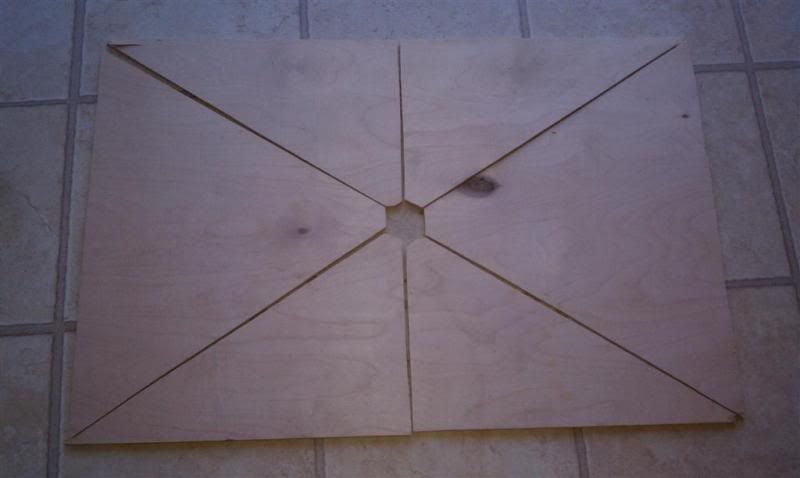
I then cut a rectangular piece of 1/4" birch veneer to fit the base of the enclosure and cut it like so...
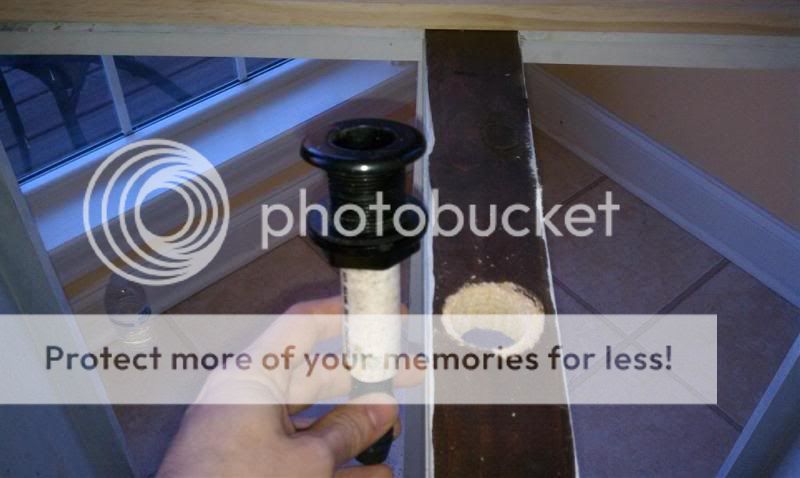
The hole in the center of the stand is for this...it's a drain that will lead to a 5gallon bucket under the cage, within the stand.
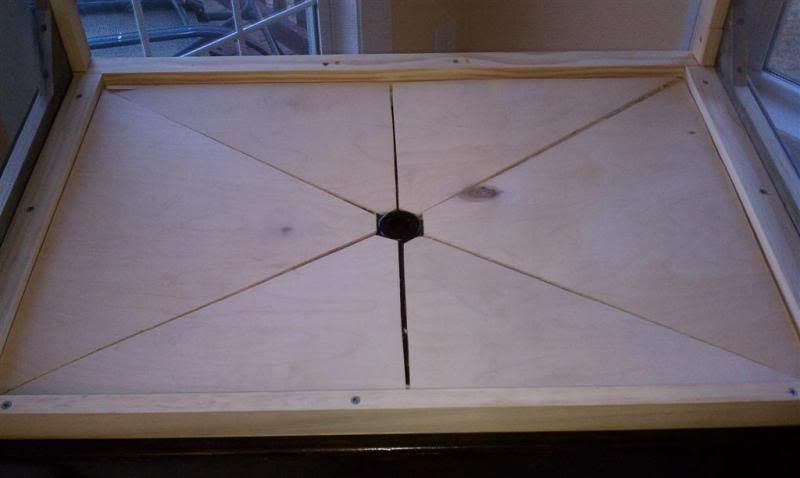
I then placed the pieces of the board together on top of the stand like so. The drain is placed in the middle. Because the birch is 3/4" higher on the outside edges than in the center where the drain hole is, I have a nice slope for run-off into the drain.
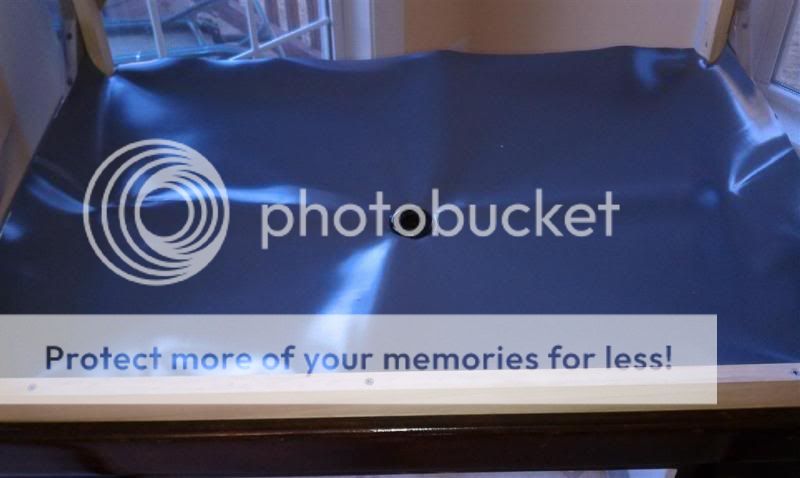
I went to Lowes and bought some 40 mil PVC sheeting used for shower pan liners for effective water run-off from misters and general maintenance (poop clean-up).
I cut it and layed it out on the sloped birch
I didn't take a picture, but I used a contact adhesive to permanently attach the PVC liner to the 1/4" birch plyboard. It is now smooth and flat...it looks custom fit.
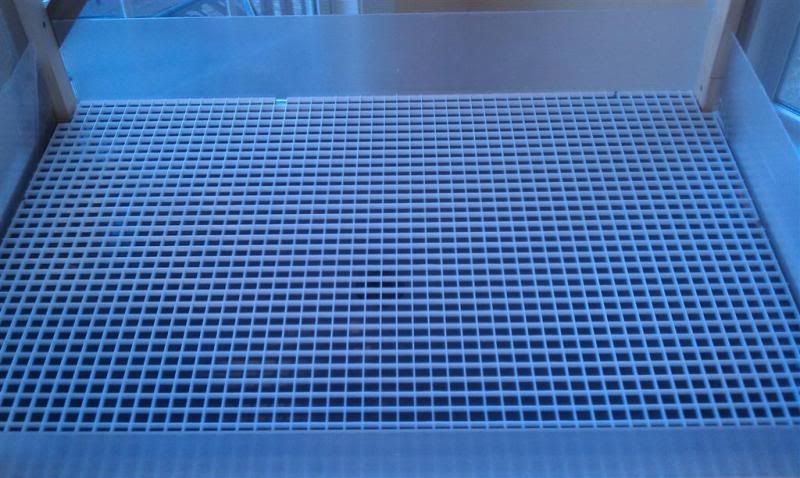
Because the base is sloped, I decided to place egg crate diffuser on top to provide a level surface for future plants.
Tonight I'll only be able to add pics of the base.
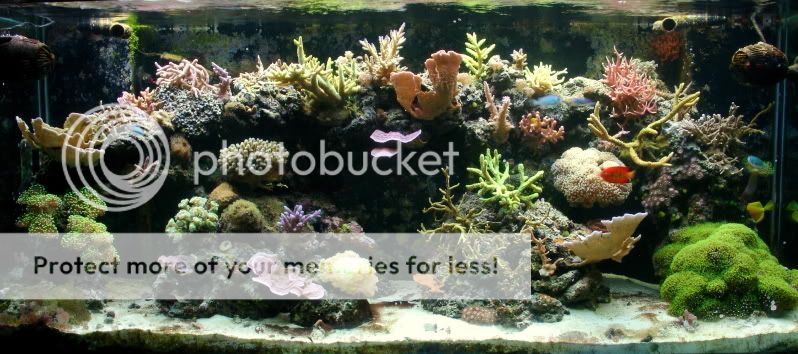
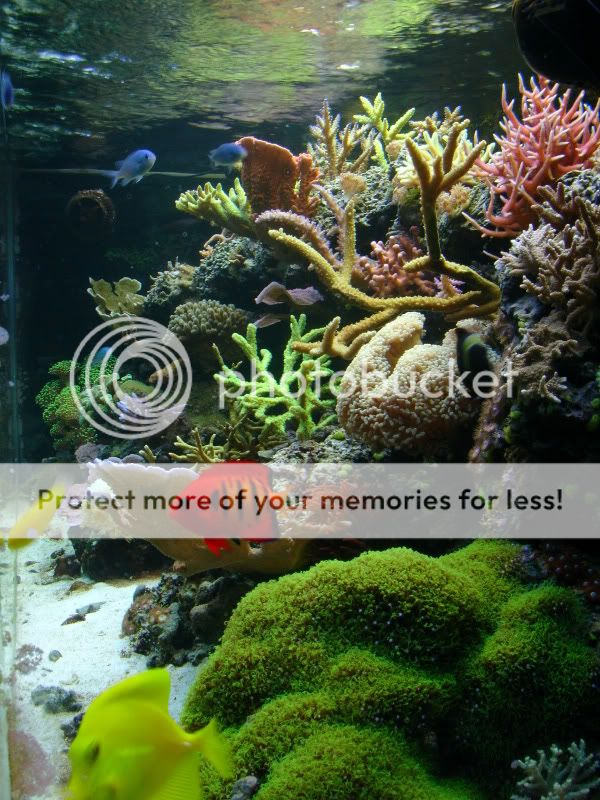
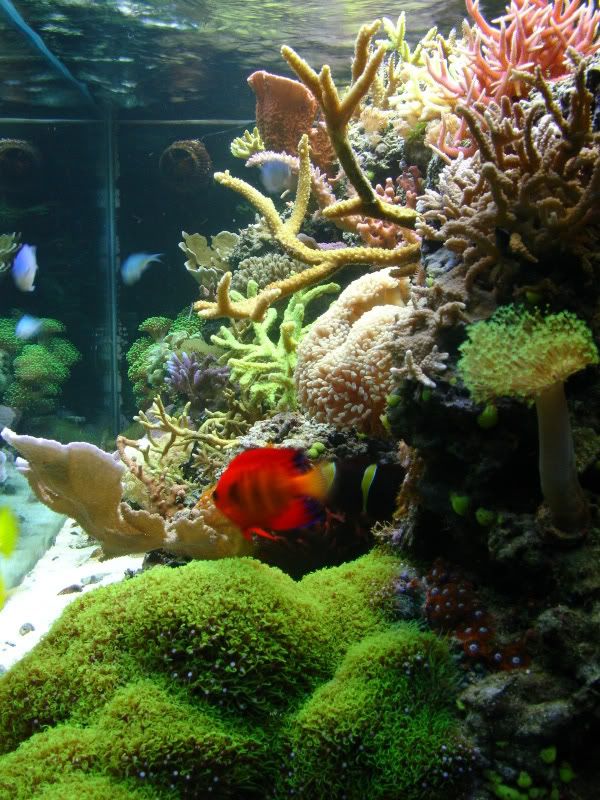
For grins, here's a few pics of my old reef. It was a 150 gallon...a lot of time and effort went into this...and money lol. I only grew aquacultured corals. It was a lot of fun. The tank was pretty young here, it matured quite a bit more over the years.
I came up with an idea for my new cage build. I'm sure it's been done before..but I hadn't read about it. Figured I'd share.
My last serious hobby before I recently moved was salt water reefs. There is a lot of work that goes into a nice display tank. Though I will not be able to create my own little mini-world...I figured I'd do my best to give my growing male Ambilobe a nice pad.
I'll start with the dimensions. It is in three parts. There is a stand for elevation, an enclosure for the inhabitant, and a canopy to hide lights and drippers and such. As we all know, chams are arboreal. I figured it would be better to build up than out. I decided to go with a cage size of 3ft wide by 2ft deep, by 4.5ft high. The stand elevates the cage another three feet, and the canopy adds little under foot to overall heighth, giving the total structure a dimension of 3ft wide X 2ft deep X 8.5ft high.
Since I was building it from scratch, I decided to custom build the base so it would be easy to clean.
To start, I made sure the base of the enlosure had a "step down" from the edges to the middle of the stand.

I then cut a rectangular piece of 1/4" birch veneer to fit the base of the enclosure and cut it like so...
The hole in the center of the stand is for this...it's a drain that will lead to a 5gallon bucket under the cage, within the stand.
I then placed the pieces of the board together on top of the stand like so. The drain is placed in the middle. Because the birch is 3/4" higher on the outside edges than in the center where the drain hole is, I have a nice slope for run-off into the drain.
I went to Lowes and bought some 40 mil PVC sheeting used for shower pan liners for effective water run-off from misters and general maintenance (poop clean-up).
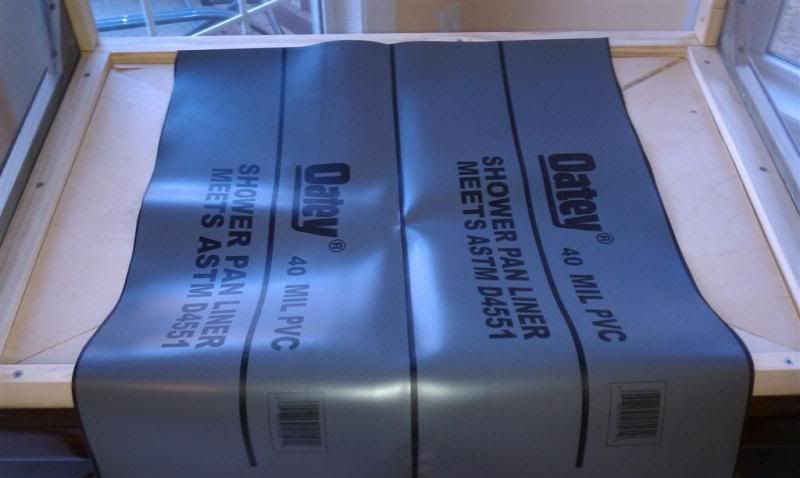
I cut it and layed it out on the sloped birch
I didn't take a picture, but I used a contact adhesive to permanently attach the PVC liner to the 1/4" birch plyboard. It is now smooth and flat...it looks custom fit.
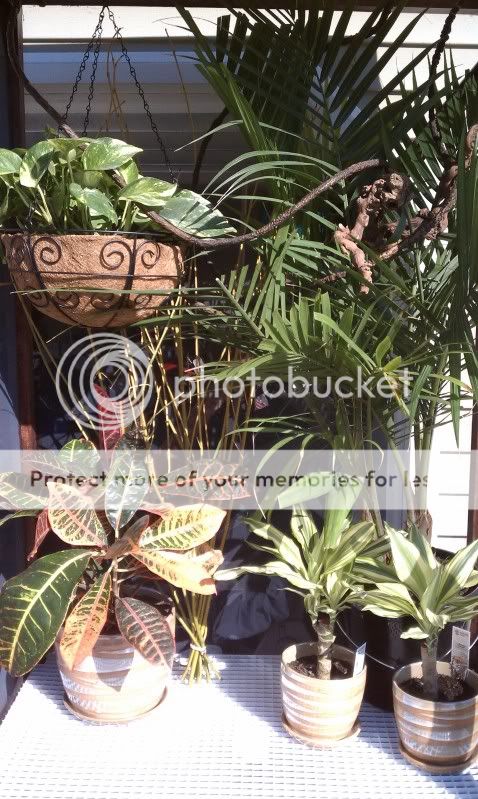
Because the base is sloped, I decided to place egg crate diffuser on top to provide a level surface for future plants.
Tonight I'll only be able to add pics of the base.
For grins, here's a few pics of my old reef. It was a 150 gallon...a lot of time and effort went into this...and money lol. I only grew aquacultured corals. It was a lot of fun. The tank was pretty young here, it matured quite a bit more over the years.
")


")