davemailcall
New Member
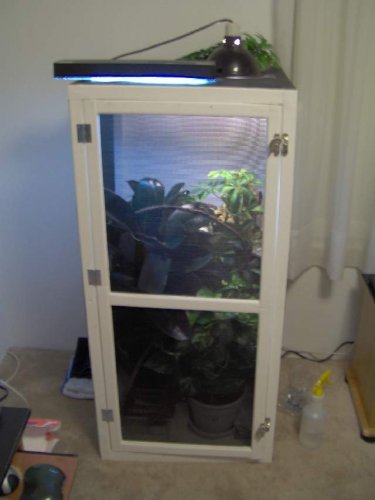
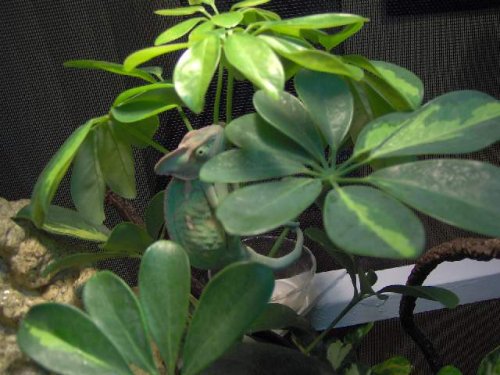
Ok, here is my cage. I have to add some more vines and fake plants to the top portion of my cage, but I don't have the cash flow to do it just yet. I think most will agree that there is plenty for now. Her little egg laying bowl is all the way in the back at the bottom for anyone who wants to know. I also put in a picture of Chloe just for fun. She looks pretty happy I think.
For all you critics out there...I'm not the best carpenter or painter, but for my first cage, I think it came out well.
Please bring on the comments!
For Aqua, and all those that want to know how I did it, continue on:
I bought about 6 2x2 boards at 8ft lengths. I also bought 2 1x2 boards at 8ft lengths for the door. I didn't really need all the boards, but I bought extra in case I goofed....and I did a few times. Trial and error! I first built the left and right sides at 24x48, then I cut 6 24(about...I think it was a little less) inch pieces to connect the sides and to add extra support. Notice at the middle of every side (including the door) I put in another brace. Once you do the sides, its up to you to decide how wide you want it, just keep in mind that the door will take 2inchs off each side on the front, depends on how much viewing space you want.
The bottom is just a piece of plywood that I cut to fit, there is also a brace underneath it to support the plants. The back is a solid piece of wood also cut to fit.
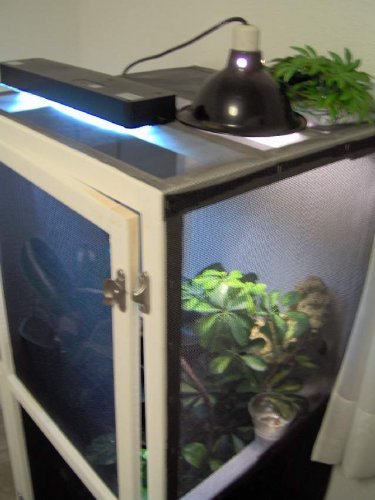
On the roof, I put in two braces to support the weight of the lights and would help prevent bowing of the mesh.
Also on the top, I cut some triangles to fit where I could staple gun, glue or screw plants or whatever into and make it generally easy on myself. In the middle on the back (you can see in the pictures) I also cut a larger triangle for my water feature (Yes I know many people hate them) with a hole for the cord out the back.
Sorry for the length, but only the people who want to build one needed to read the details! If anyone has questions, feel free to ask. It took me 3 days to build about 6hrs a day. (vacations rock!)
For all you critics out there...I'm not the best carpenter or painter, but for my first cage, I think it came out well.
Please bring on the comments!
For Aqua, and all those that want to know how I did it, continue on:
I bought about 6 2x2 boards at 8ft lengths. I also bought 2 1x2 boards at 8ft lengths for the door. I didn't really need all the boards, but I bought extra in case I goofed....and I did a few times. Trial and error! I first built the left and right sides at 24x48, then I cut 6 24(about...I think it was a little less) inch pieces to connect the sides and to add extra support. Notice at the middle of every side (including the door) I put in another brace. Once you do the sides, its up to you to decide how wide you want it, just keep in mind that the door will take 2inchs off each side on the front, depends on how much viewing space you want.
The bottom is just a piece of plywood that I cut to fit, there is also a brace underneath it to support the plants. The back is a solid piece of wood also cut to fit.
On the roof, I put in two braces to support the weight of the lights and would help prevent bowing of the mesh.
Also on the top, I cut some triangles to fit where I could staple gun, glue or screw plants or whatever into and make it generally easy on myself. In the middle on the back (you can see in the pictures) I also cut a larger triangle for my water feature (Yes I know many people hate them) with a hole for the cord out the back.
Sorry for the length, but only the people who want to build one needed to read the details! If anyone has questions, feel free to ask. It took me 3 days to build about 6hrs a day. (vacations rock!)

")

