First off, I'm wishing the best for your daughter!
This cage seems amazing, though! A few thoughts:
-You can use expanding foam on the plant pots on the bottom to make it look like it's coming out of the ground or a rock, etc
-Scheffleras are amazing plants that are sturdy, leafy, cheap, and durable! Their stems create tons of covered pathways, too! Those and pothos/philodendron are the easiest (and very cheap) plants, and enclosures can be made with just those two types (though I personally love variety in my enclosures)! Pothos and philodendrons are easy to take a cutting and make more, as well!
-I used both expanded PVC sheets and coroplast (there wasn't a big enough sheet if the expanded PVC for the biggest side, I was scared it wouldn't be sturdy enough, but it is!) on my cage backgrounds. I took the mesh off on one side that I knew would be permanent and put the other sheet on the inside of the cage with the mesh still there, and siliconed the edges and screwed it into the frame. Remember to let the silicone cure and off-gas for at least a week (I prefer two) or per silicone tube instructions. Make sure to use either pure 100% silicone with no additives or aquarium safe silicone!
-You'll want lots of branches of different diameters and species going in all directions! No toxic or sap-producing species, though. I use oak, ghostwood, manzanita, and small rough bamboo branches (I scuff then up with course sandpaper to add even more grip; Home Depot sells tall big bags for cheap in the outdoor section), and another species that I'm blanking on right now
-The Great Stuff Outdoor Pond and Stone is very durable, and I like to add whatever substrate I'll be using on it while it's still wet before it cures. It takes one less step, and the remaining missed spots you don't have to worry about water coming into the cut foam (though it doesn't really matter with this foam)
-Definitely drill plant pot drainage holes through the foam where the lowest point is in the foaned-in pots. I like to add a small layer of rinsed lava rock (super cheap and light) in the bottom of the pots then put fine screen over it to separate the soul and lessen soil loss.
-Organic worm castings are an AMAZING safe fertilizer for your plants!
-I would at least put something watertight on/under the outside of the cage to catch and contain all of the excess water, if you don't want to put that in the cage. Also make sure to have a drainage system, as well
-Make sure to get a Herpstat (or another highly rated thermostat)!, That along with digital temperature probes and digital hygrometer/thermometer combos are important! I use a thermometer probe and the thermostat probe at my cham's baking spot (where the top of her back is when she's on that branch) for accurate temperature readings. I place a digital thermometer/hygrometer combo bread there, in the middle of my cage, and at the bottom, as well.
-Make sure to keep the bottom screen panel on the front of the cage clear for ventilation to make sure the chimney effect works properly
-Make the stand at least tallenough for your drainage system to for under it, and make the cage as high as possible for your chan to feel safest. You can always use a little step latter to access the too if needed. The only need to get up there is to replace lights and fix misting nozzles
-If you haven't gotten one yet, definitely get a Solarmeter 6.5! It is the most important tool to have!
-I use a frame around my cage to lift the lights off of my cage (the frame is around a foot taller than the cage itself). Also make sure to tilt the basking bulb at an angle for a better and safer heat gradient
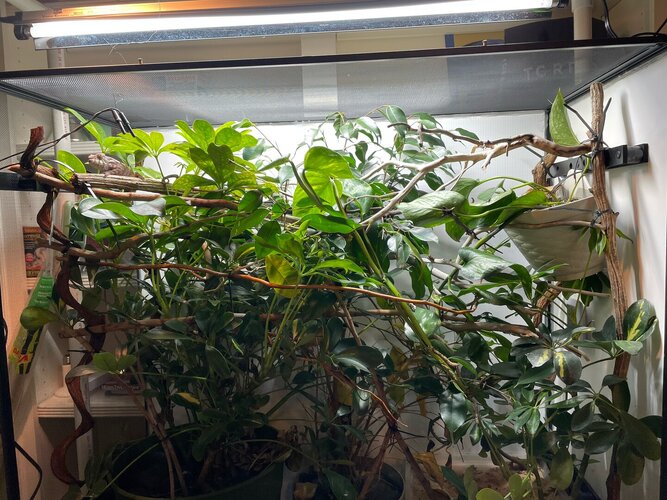
Here's my cage, let me know if you want pics of the drainage or lights!