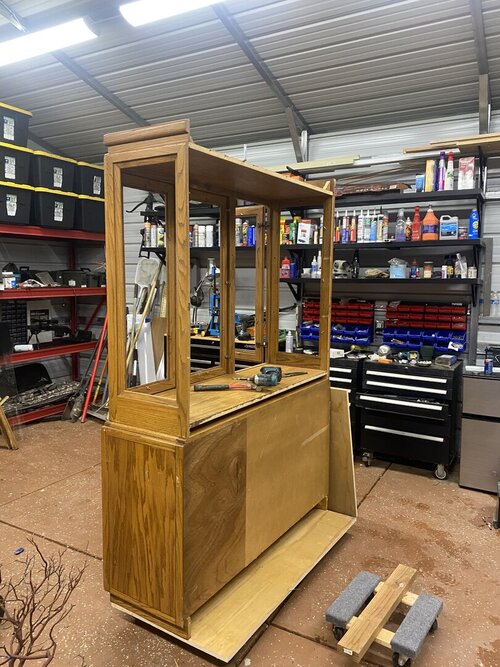
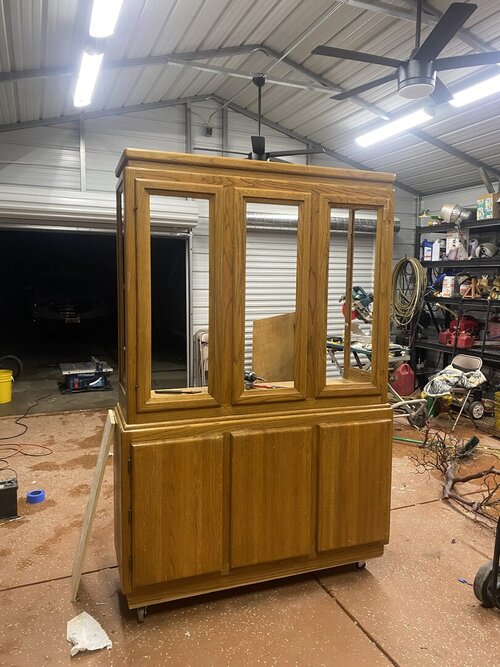
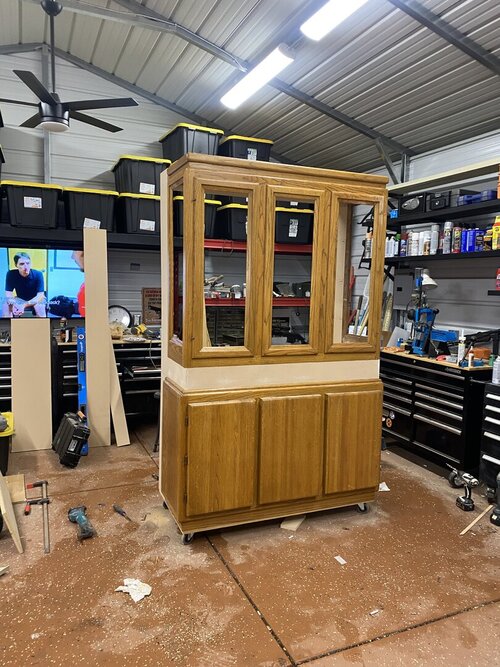
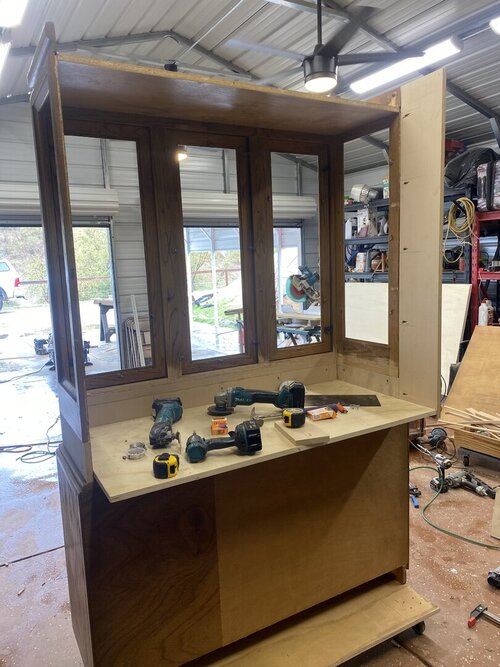
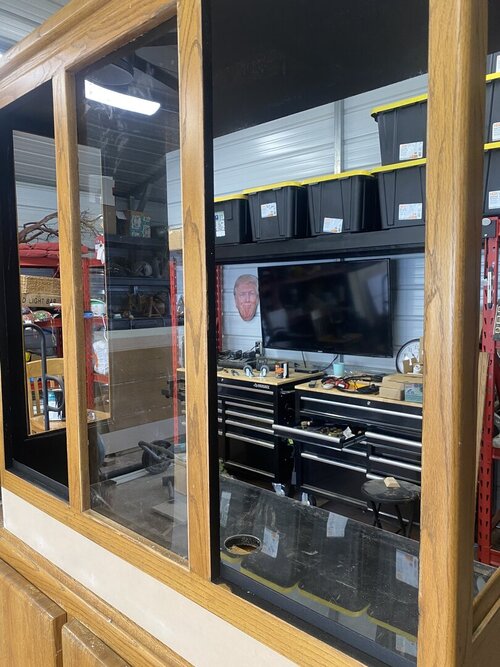
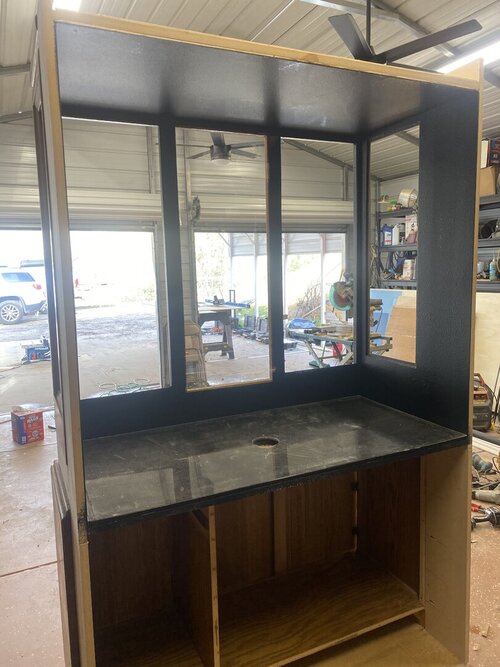
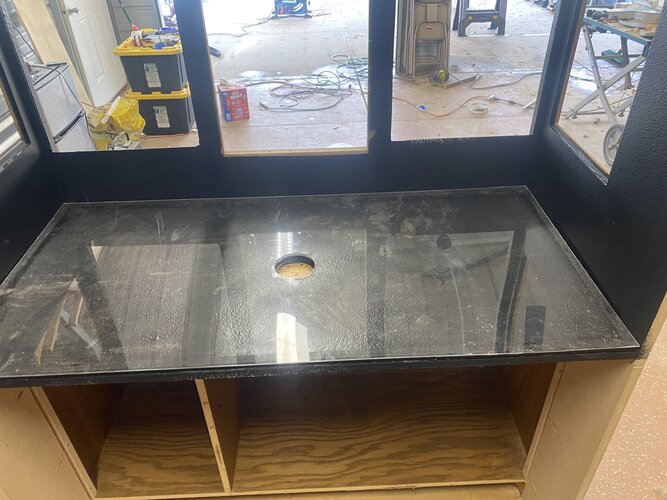
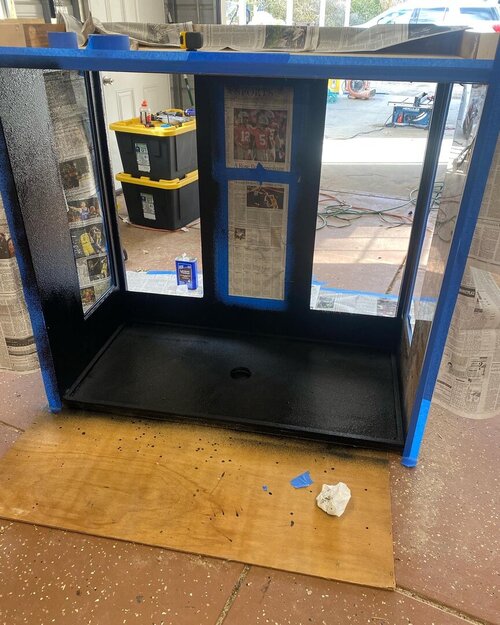
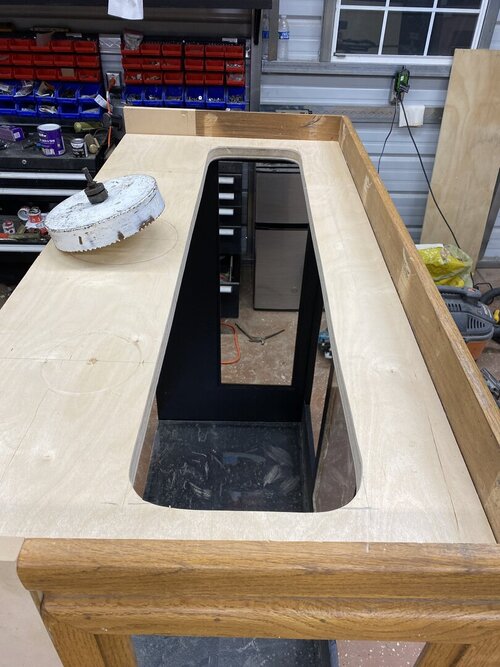
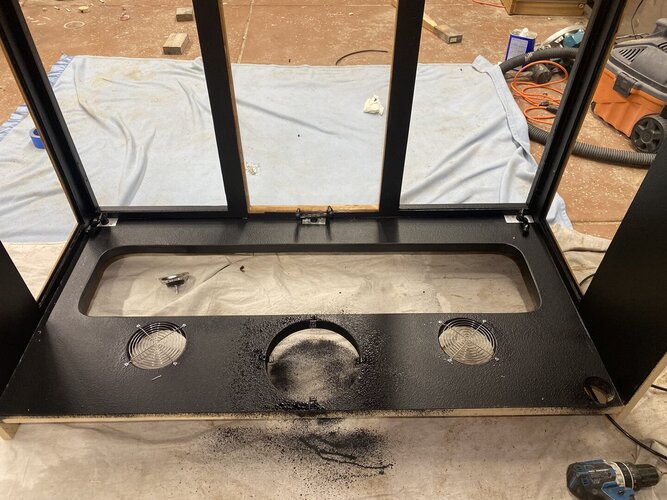
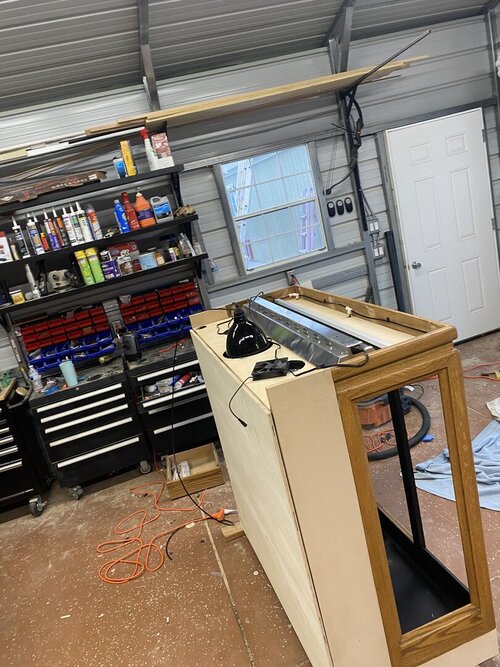
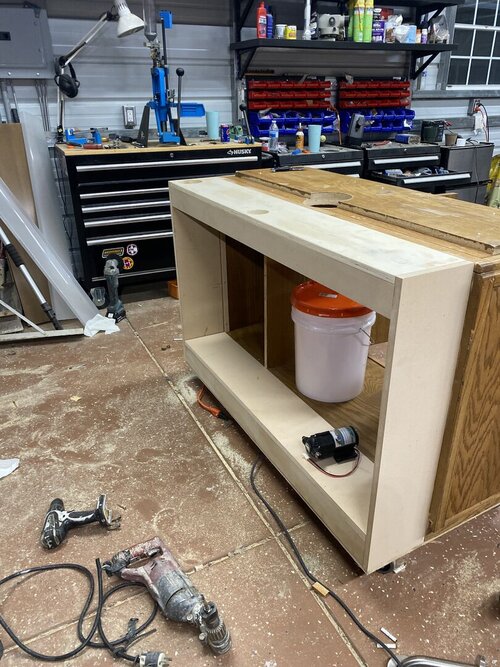
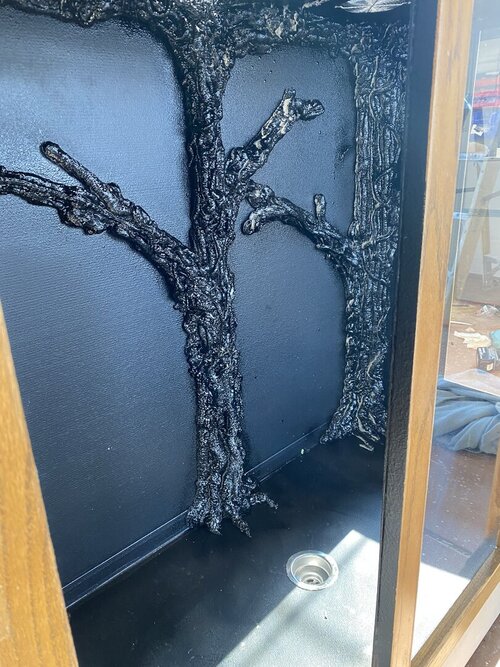
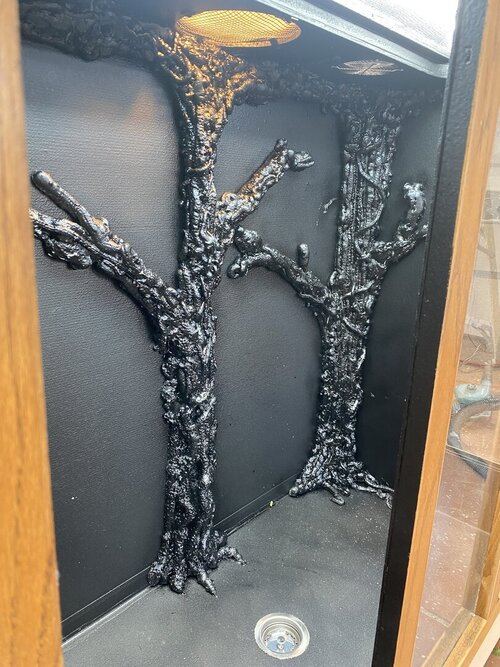
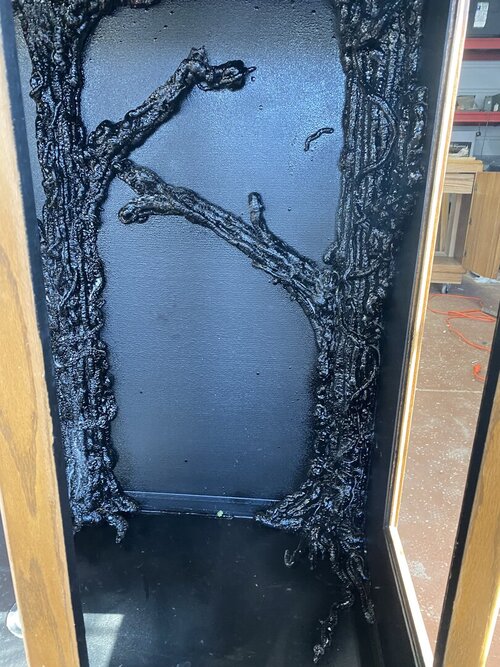
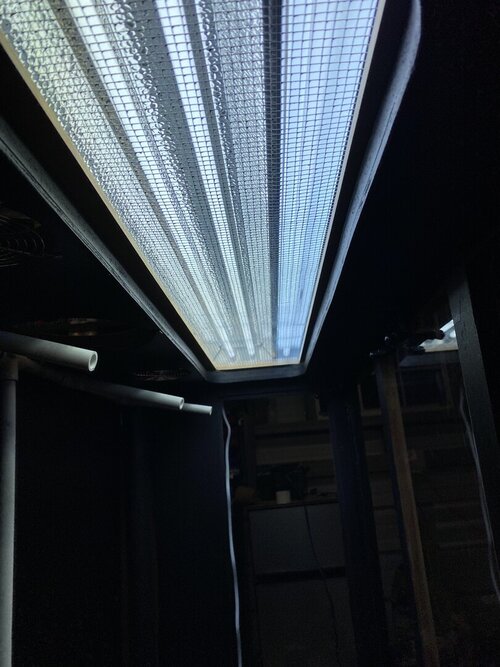
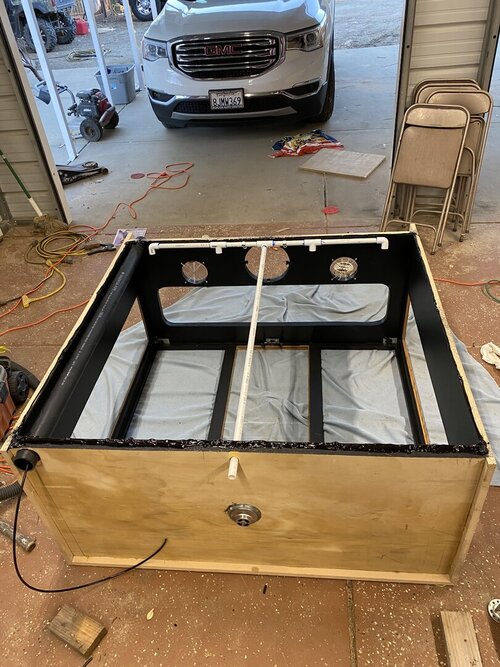
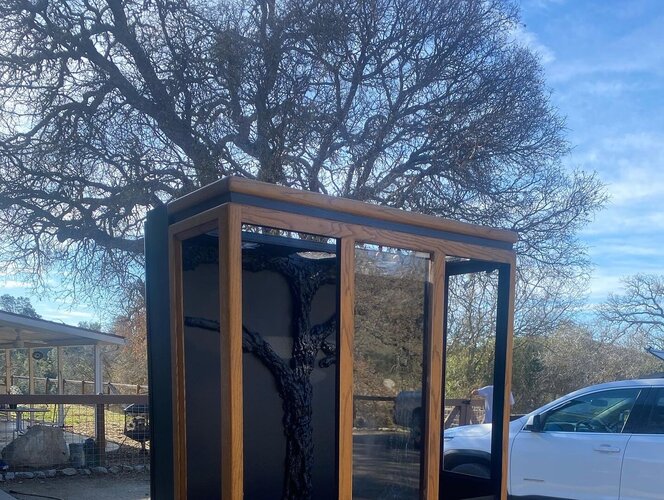
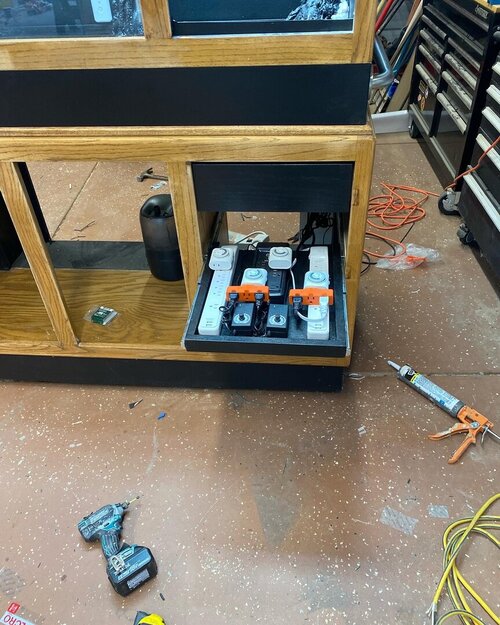
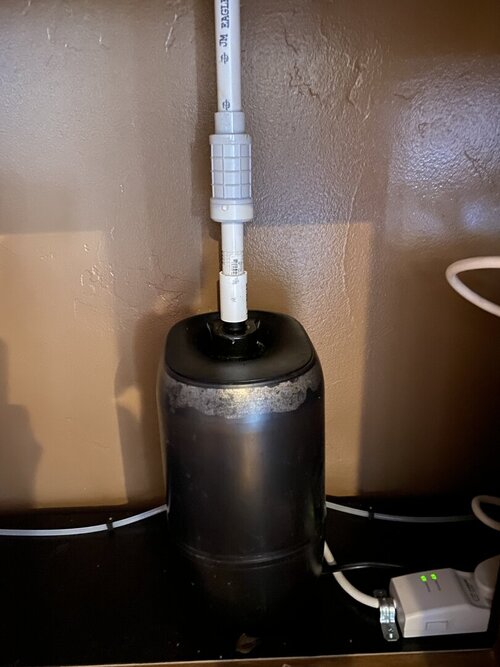
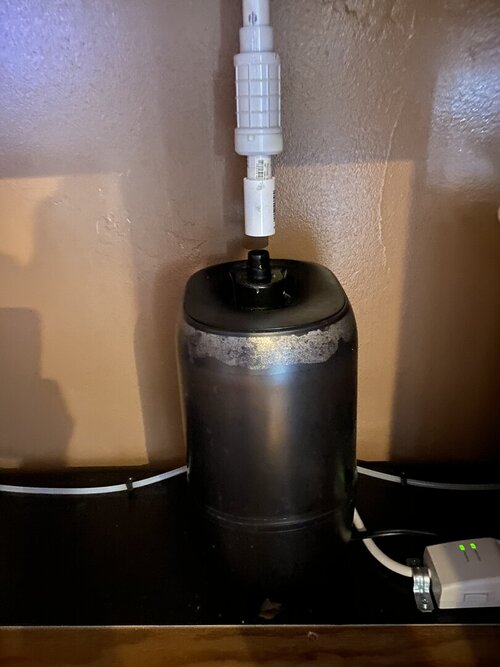
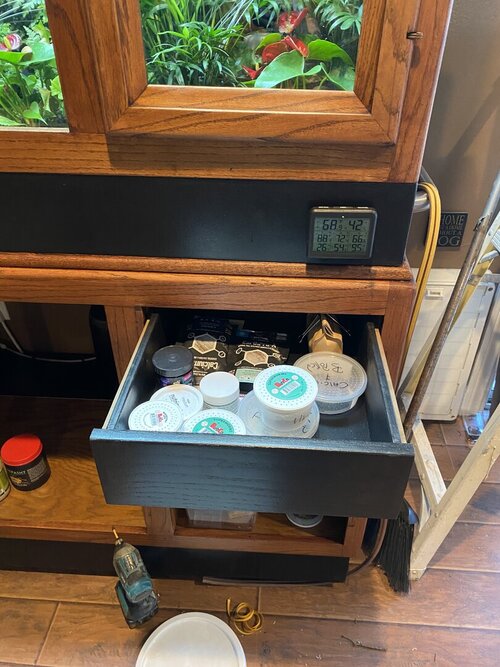
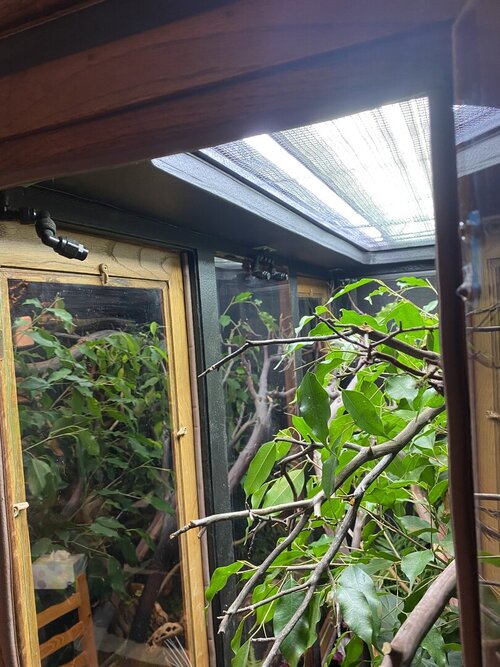
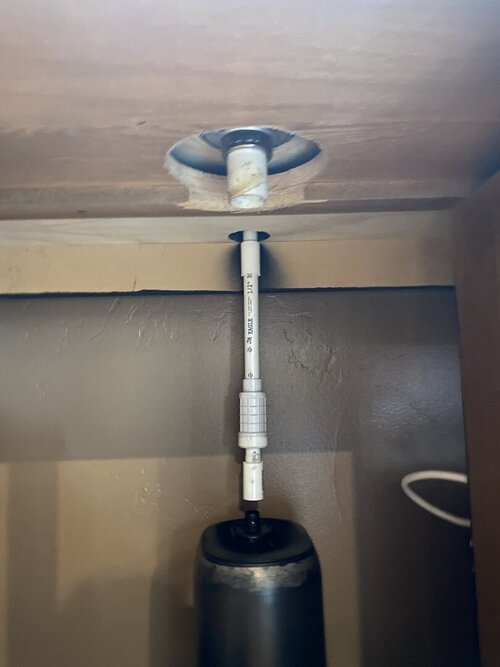
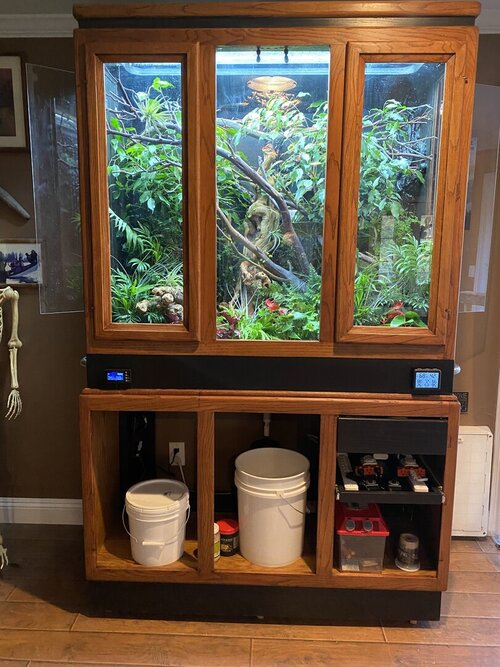
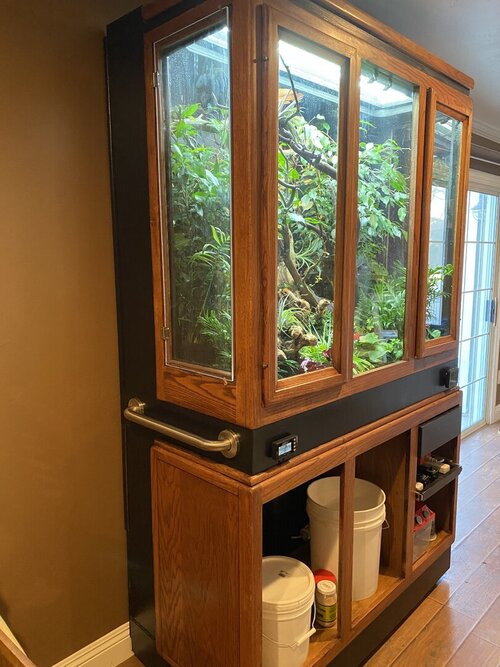
My favorite part is the pull out electrical tray , where I have all the timers very easy access all wires are hidden within the cabinet , The two fake black trees made out of spray foam have a 2 inch tube for light wires and miss King tubing to go down into the bottom of the cabinet without going outside of the cabinet , The center tree supports the misting system pvc which has four outlets to saturate the entire cabinet with fog , of course when the tank temperature is above 80 the fogger doesn’t work very well , I have it set to go off at 1 o’clock in the morning until four , when I wake up the entire set up is a big cloud .. before leaving for work I open up the side doors . It also has two powered fans variable speed . Which literally dry almost the entire tank out over the eight hours during the day , top of tank drops to about 30% humidity at 80° Center of the tank is 74 with about 50% humidity bottom of the tank generally stays about 64 at 90% humidity . So I have a great Gradient from top to bottom with three sensors