Old World
New Member
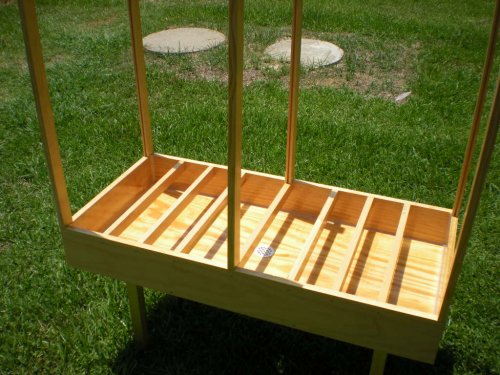
After a month or so, I have finally finished my drainage tables! The large one accomodates two 2'x2'x4' cages for my boys, and the small one accomodates two 18"x18"x36" cages for my girls.
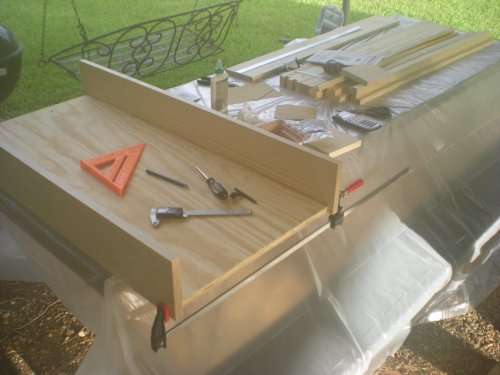
Squares and clamps are your best friends. The basin bottom is 3/4" BC exterior grade plywood. The sides are 6" select pine.
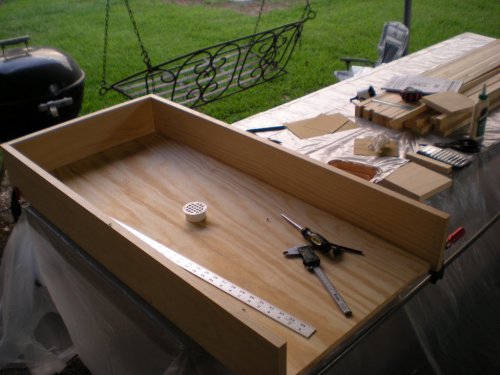
I drilled a 2-1/8" hole in the center of the basin and siliconed in a 2" PVC drain.
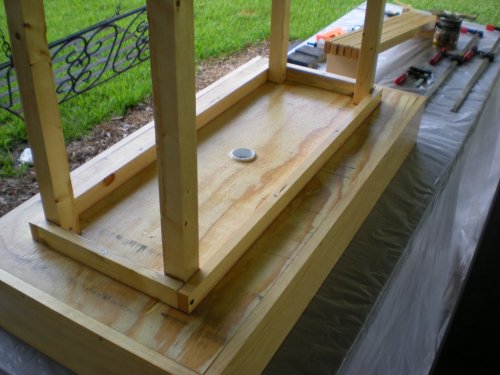
Underside of the small table. The drain is siliconed in. The legs and apron are made of pine, and the exterior is coated with 4 layers of Minwax Polyurethane. It was a process, let me tell you. Took forever to dry between coats, sand, then wipe with mineral spirits, then repeat. Titebond 3 is an excellent wood glue, btw.
The visual barrier supports are made of 2" select pine. I don't own a router, so I made the slots with my table saw. The slots will hold the Coroplast barriers in place, and I will be able to remove them easily for cleaning.
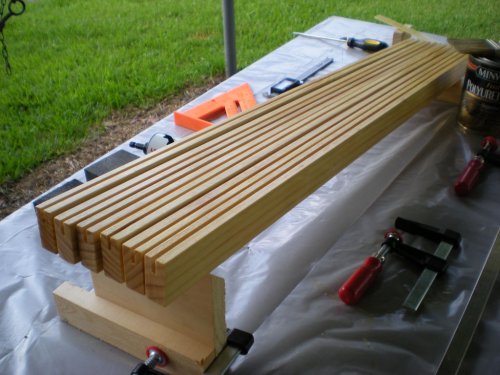
3 furring strips support each cage, so that water can drain into the basin.
Argh...it only let me load 5 pics, so I will do this in two parts...
Squares and clamps are your best friends. The basin bottom is 3/4" BC exterior grade plywood. The sides are 6" select pine.

I drilled a 2-1/8" hole in the center of the basin and siliconed in a 2" PVC drain.

Underside of the small table. The drain is siliconed in. The legs and apron are made of pine, and the exterior is coated with 4 layers of Minwax Polyurethane. It was a process, let me tell you. Took forever to dry between coats, sand, then wipe with mineral spirits, then repeat. Titebond 3 is an excellent wood glue, btw.

The visual barrier supports are made of 2" select pine. I don't own a router, so I made the slots with my table saw. The slots will hold the Coroplast barriers in place, and I will be able to remove them easily for cleaning.

3 furring strips support each cage, so that water can drain into the basin.

Argh...it only let me load 5 pics, so I will do this in two parts...
