Zillas new Custom Cage

pedro92

New Member
Hello everyone here is the enclosure i have been building for the last few weeks i spend about 2 hrs a day 5 days a week and finished it in three to four weeks. I hope you like this very much and i took many pictures to show everyone how to do it. If you have any ?'s please ask. I was thinking of selling it but havent made my mind up yet.
Supplies:
Oak plywood.- Cabinet sides and bottom
Oak- Used to face edges of oak plywood
Particle Board- Back of cage
Great stuff big gap filler-Rock effect
Spar varnish- Waterproof wood
Black Sand- Rocky effect
Drift wood
Fake plants
And cage accesories
 

Attachments

  • Bottom view almost done.JPG
    Bottom view almost done.JPG
    52.1 KB · Views: 257
  • Front view.JPG
    Front view.JPG
    55.9 KB · Views: 418
  • Front view almost finished.JPG
    Front view almost finished.JPG
    68.8 KB · Views: 313
  • Partial back finished.JPG
    Partial back finished.JPG
    92.6 KB · Views: 299
  • S4020001.JPG
    S4020001.JPG
    64.4 KB · Views: 295
More pictures of cage. The picture of the three wood strips is the oak facing
 

Attachments

  • S4020002.JPG
    S4020002.JPG
    68.3 KB · Views: 238
  • S4020003.JPG
    S4020003.JPG
    63.1 KB · Views: 193
  • S4020005.JPG
    S4020005.JPG
    46.4 KB · Views: 181
  • S4020031.JPG
    S4020031.JPG
    54 KB · Views: 205
  • S4020032.JPG
    S4020032.JPG
    49.2 KB · Views: 231
The picture of the side with a small corner cut out is also known as a toe kick. Have you ever stubbed your toe on a desk or dresser? This helps that not to happen.
 

Attachments

  • S4020033.JPG
    S4020033.JPG
    37.1 KB · Views: 195
  • S4020053.JPG
    S4020053.JPG
    54.1 KB · Views: 255
  • S4020054.JPG
    S4020054.JPG
    57.5 KB · Views: 204
  • S4020055.JPG
    S4020055.JPG
    76 KB · Views: 250
  • S4020057.JPG
    S4020057.JPG
    128.3 KB · Views: 401
Few pictures of the rocky effect. To do this you use the great stuff and spray out carefully and cover with sand.
 

Attachments

  • S4020074.JPG
    S4020074.JPG
    54.7 KB · Views: 267
  • S4020077.JPG
    S4020077.JPG
    42.9 KB · Views: 295
  • S4020078.JPG
    S4020078.JPG
    61.8 KB · Views: 257
  • S4020080.JPG
    S4020080.JPG
    87.9 KB · Views: 220
  • S4020081.JPG
    S4020081.JPG
    74.7 KB · Views: 274
I used clear silicone to seal edges.

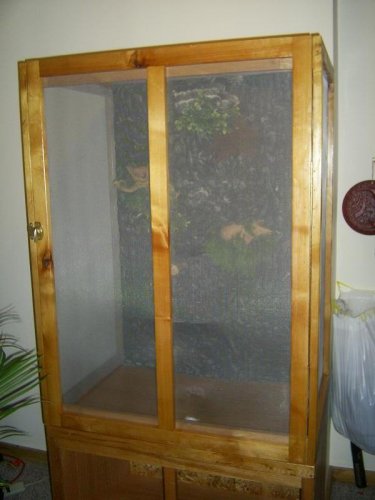
How to build a custom cage for your chameleon
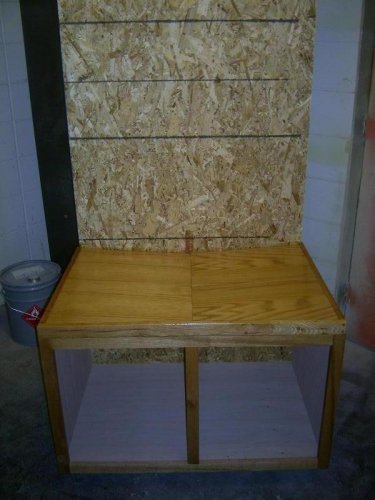
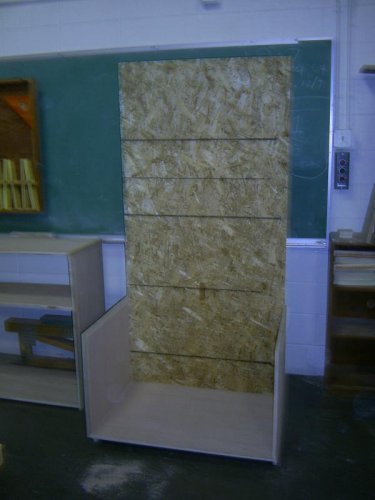
1. Cut a backboard to desired height and width of cage.
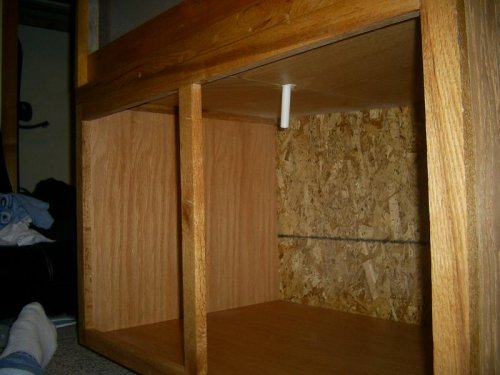
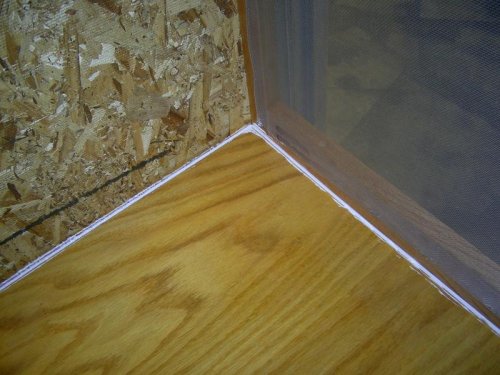
2. Have (2) pieces of oak plywood for the cabinet sides, and then cut a toe kick on front of the bottom pieces to prevent stubbing of toe on wood.
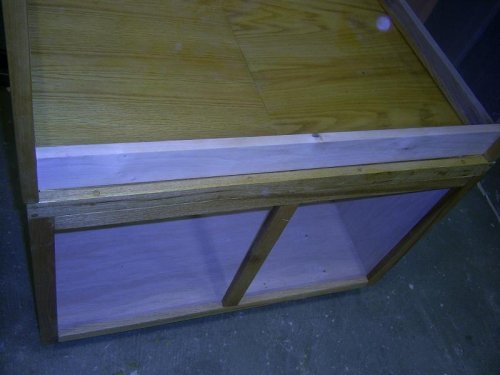
3. Cut a dado above your toe kick for the base of cabinet, and cut a rabbet on back of base pieces for the backboard to place into.
4. Cut a rabbet on the back of oak plywood sides for the backboard to be placed in.
5. If your backboard is ¾” then you will need to make a ¾” rabbet.
6. Place pieces together before gluing to check correctness.
7. First put glue in dados and smear to cover surface.
8. Place base of cabinet into the dados and clamp snuggly.
9. Allow glue to dry before removing clamp.
10. Then place backboard into rabbets and clamp, if possible use a staple or nail gun to add extra hold.
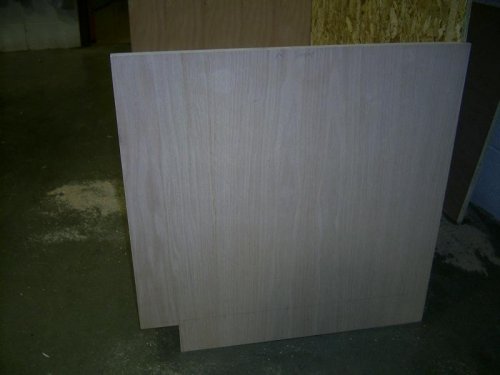
11. Cut facing strips for the front of cabinet using oak. You will need (2) pieces the length and width of the sides, (2) pieces the length of space between the sides of cabinet, and (1) piece the height of the space between the top and bottom pieces.
12. Screw all pieces together and check the fit of facing to the cabinet before gluing.
13. Apply the facing to the front of cabinet by using spread out glue and clamps.
14. After the glue on the facing dries make a facing for the top using the same method as the front but without the middle piece.
15. Use a forestner bit to cut a hole for screw to lie in.
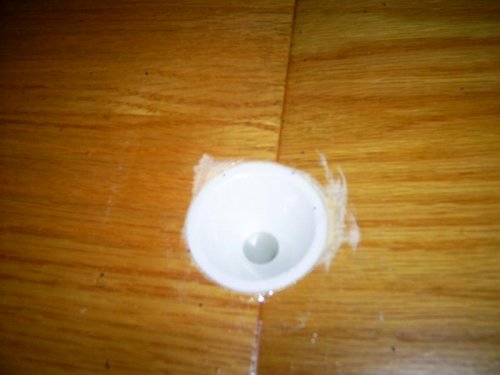
16. Glue, screw, and clamp facing onto the plywood top.
17. Then you must make a drain out of two pieces of oak plywood giving each piece a descending angle for water to run down.
18. I am not going to explain the drain because it was the hardest part for me to figure out, and it requires many tools and steps.
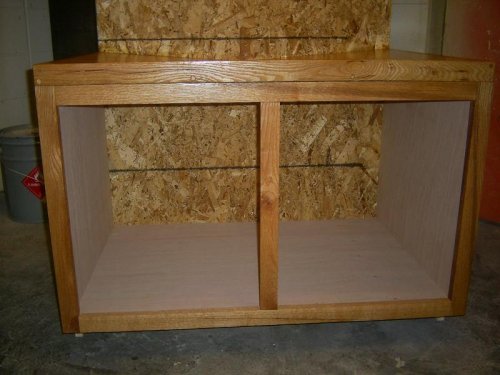
19. After putting drain in I coated very well with Spar Varnish to waterproof it. Use at least 4-6 coatings more the merrier.
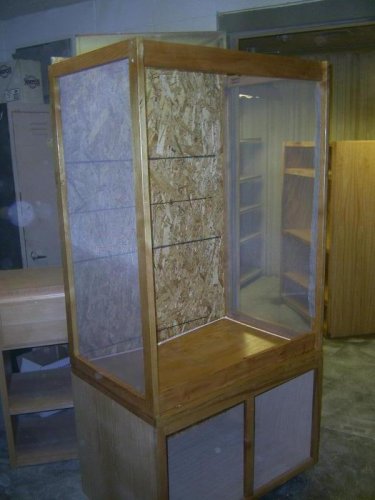
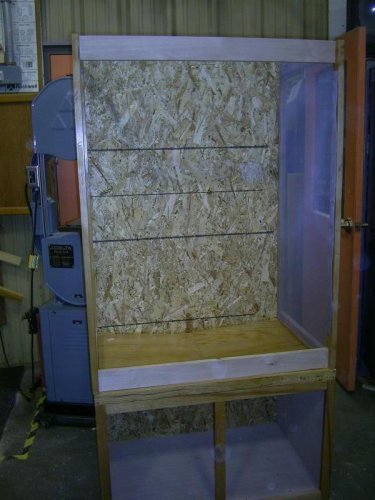
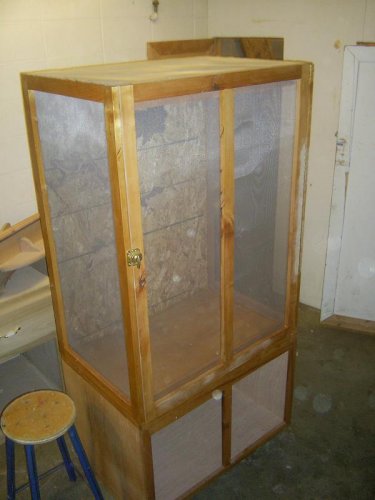
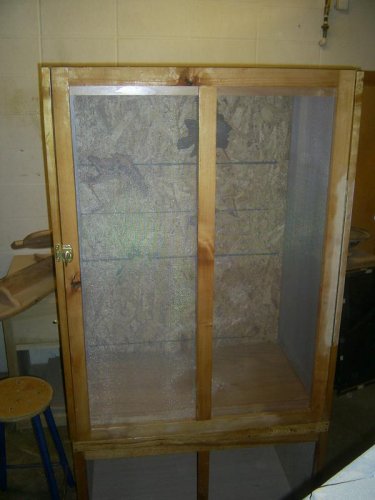
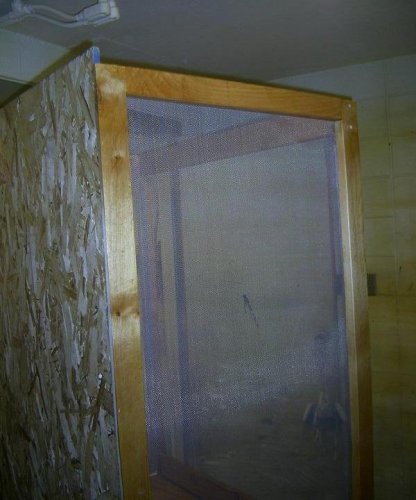
20. Then you build sides and I used a pocket saw for the top and bottom piece and put together a rectangle for sides.
21. Rabbet the back of the sides to fit against the backboard for extra stability.
22. Attach sides to back and top of cabinet.
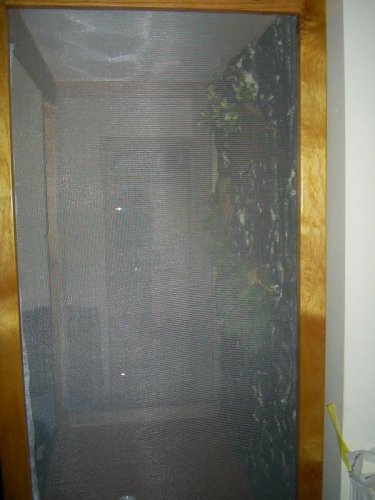
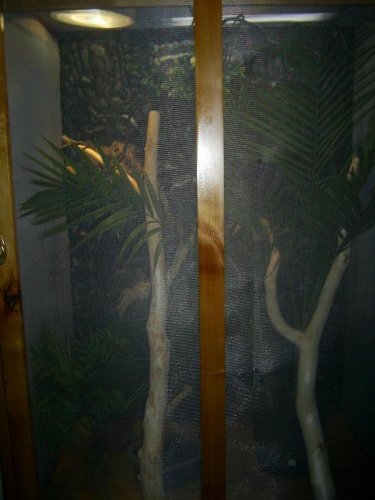
23. At this point all wood for top half should be Spar varnished.
24. Attach screen using squeeze stapler.
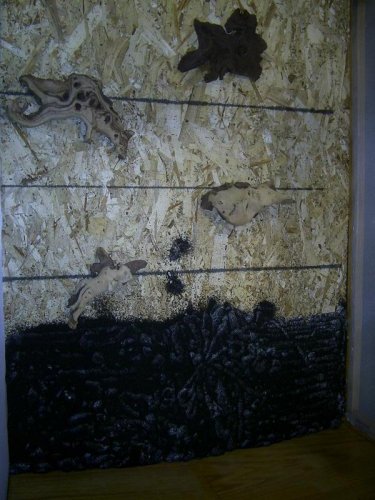
25. Attach the boards running between sides of cage to stop door. Spar varnish this also. Use a forestner bit to inlay the screw head and I used a 9/64” bit to pre drill hole to prevent splitting and ensure accurate piecing.
26. Silicone the drain edges making sure there are NO cracks.
27. Make the top of your cage and add screen. Spar varnish the wood.
28. Make cabinet doors.

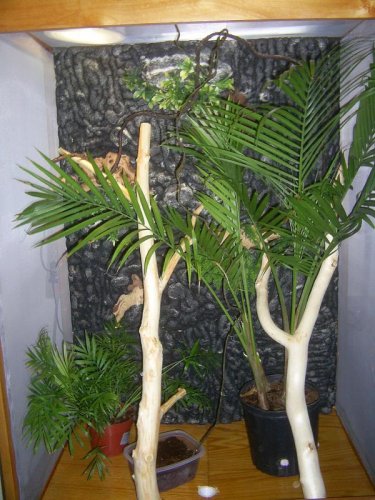
And that is how i made a custom cage. Not every step is in this but if you ask i can answer.

JULIURS i used a funnel and drilled a hole on bottom of the waterproof drain and counter sunk the funnel in to wood and put bucket under drain inside cabinet.
 

Attachments

  • Side view ad.JPG
    Side view ad.JPG
    66 KB · Views: 188
  • Silicone view.JPG
    Silicone view.JPG
    82.7 KB · Views: 275
  • S4020082.JPG
    S4020082.JPG
    104.8 KB · Views: 307
Hi, how much did everything cost if you don't mind me asking? I'm thinking of making one myself or having it done. Thanks!
 
Could you take a picture of the underside of the bottom? I'm interested to know how you attached the wood to give it that nice incline. I never could figure out a good way to do it.
 
yes i will post a picture tomorrow. I just cut two boards at the same degree where boards touch together and same degree where they touch the outside. The drain was the hardest part for me but i will try to explain it.

How much do you think this cage could sell for?
 
looks great (gotta love that wood look) and looks very well built! interesting water evacuation system as well, does all the water run straight to the funnel? looks very efficient, let us know how it holds up
 
Well it is holding up great, Water is draining good but i have better ideas for the next one im going to build plus it is going to be pure oak which is 2.40$ a board foot which is really cheap for oak. What do you think i could sell this for.
 
$200-300 ?????

It's kinda hard to put a price on that without seeing it in person...

It looks great though - nice job!!
 
Yea, I like the decline floor for the drip system. Im building my cage now and was thinkin of something like that. And about the toe cut think. Looks like there are two spots to stub your toe now...haha That would suck!
 
Chris,

Are you thinking you want to sell these?
I think you could get a decent price ... but what about shipping?
I think you would have to do one of two things, either travel and do the installs yourself and charge the client accordingly ($$$$$!!!)
Or, make detailed plans, copy them and sell those for $10 or $20 on a dedicated site or e-bay or something like that.
I would go the plan route as it would be (I think) in the end more profitable.

-Brad
 
how should i do the plans. how should i write them up and etc. I want to build one more and sell it and make it local pick up. This guy offered 400 for a glass one but i didnt want to deal with glass. I did this cage in my highschool class so there isnt a way to build at home til i buy some tools.
 
Why don't you have your instructor help you figure out how to map out the plans.
I think you could sell them.

-Brad
 
Thank you. I might be making another cage same design but with pure oak since our oak prices dropped one dollar so it is 2.40$ a board foot and i will make the back wall better. Any other ideas
 
Back
Top Bottom