hey guys, new to the forum but not really new to keeping chameleons, though its been quite awhile. Ive kept veileds and jacksons before and even had some success breeding my jacksons. Well, they've long since passed and thought I would get back into it with a new Nosy be. Figured Id start by sharing the new enclosure I am in the process of building. In the past I have always bought enclosures, this time around I decided to build my own from scratch. (Mind you Ive never built a thing in my life; so there has been a bit of trial and error) I have a few pictures of the route I took and some of my own ideas I used to try and make it work. Hopefully they might help some of you out and avoid some of the mistakes I made. Its still a work in progress.
  Greets!
Enclosure measures 4'x2'x2'


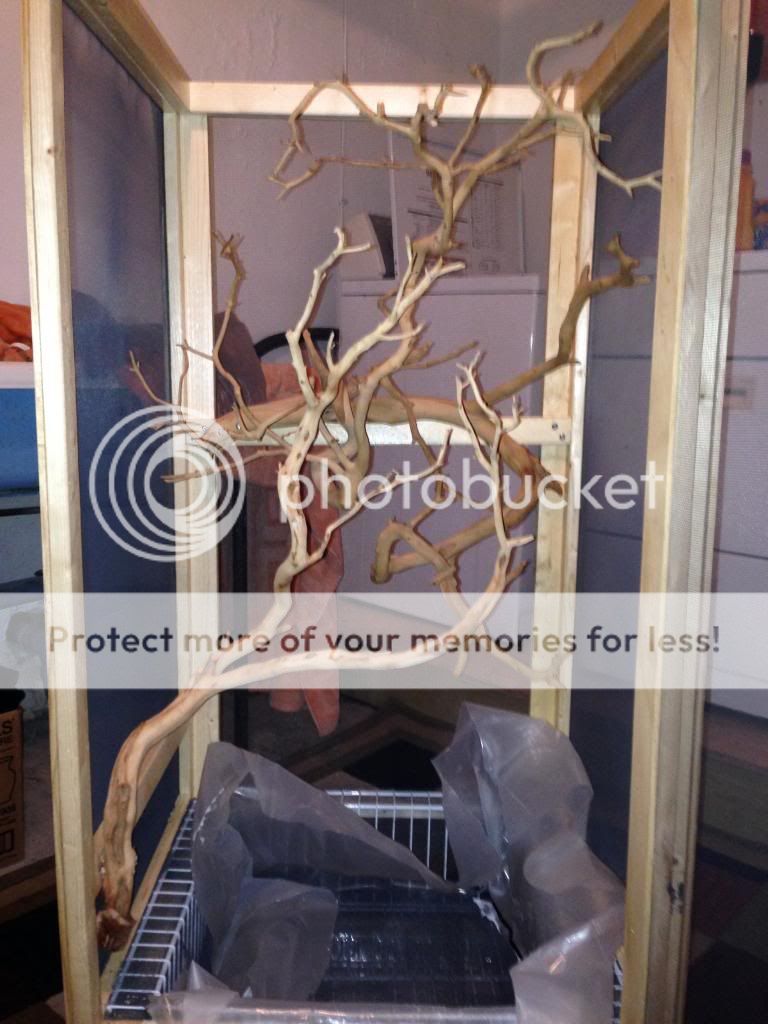
Above is the plant box I created to fit the enclosure by cutting up some closet shelving and zip tieing it together. I lined the whole thing with screen and the walls with plastic to only allow water to drain through bottom and not out sides.

Above is the drip pan I made. All I did was buy 2 baking sheets from food store, then cut and hot glued them together to fit the bottom tight.
 [/URL][/IMG]
drip pan underneath plant box.


The fun part.

I planted a weeping fig, golden pothos, hoya, and honey suckle. As you can see it will be awhile before they grown but thats ok because my little guy will be in a smaller enclosure for a few months. The top of the enclosure will be fitted with a 18" 6500k grow light along with the rest of the lighting. Im going to add more soil, then all that unattractive plastic will be trimmed and hidden from view. Everything was coated several times with a water based polyurethane to prevent warping, mold, etc. I try to keep everything real with no artificial plants. I will use some fake vines but thats about it. The left side of the enclosure will eventually be fit with a mist king and there will be a lot more climbing wood added. One of the biggest obstacles was making the plant box "bug tight" so no critters can get below it where they wont be eaten. Lots of screen and staples was somewhat of a solution So as you can see its a work in progress but is coming along. Ill post up some pictures of the finished product and my little cham in a couple weeks. Hope you guys enjoy. Feel free to ask any quesitons
Enclosure measures 4'x2'x2'

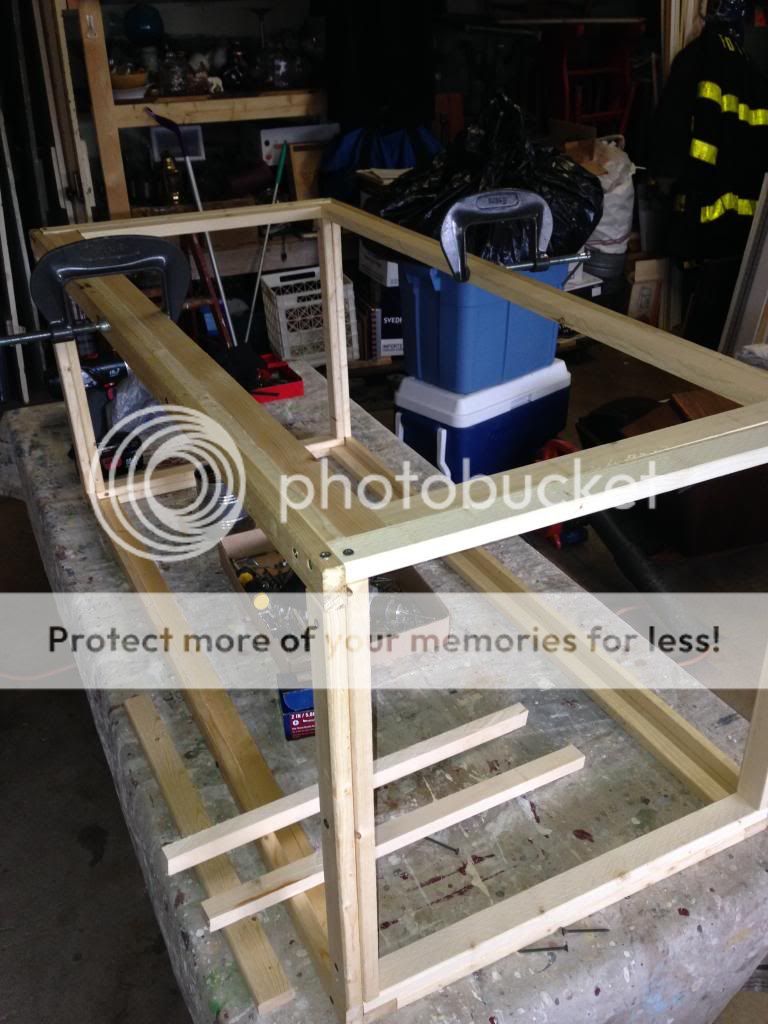
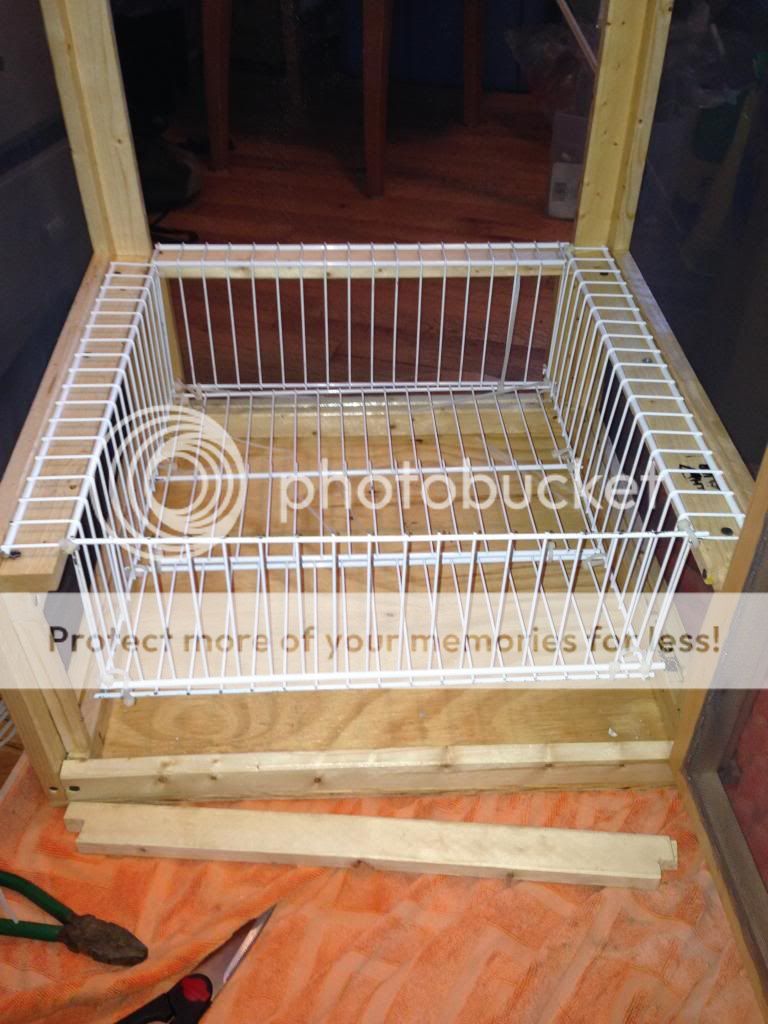
Above is the plant box I created to fit the enclosure by cutting up some closet shelving and zip tieing it together. I lined the whole thing with screen and the walls with plastic to only allow water to drain through bottom and not out sides.
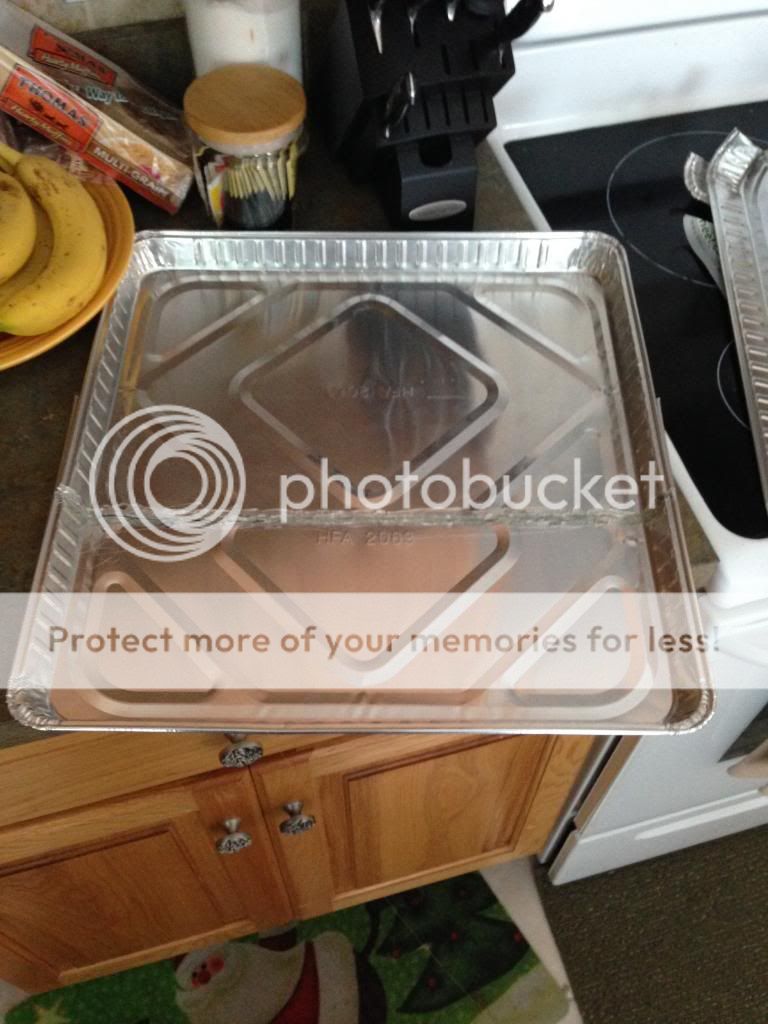
Above is the drip pan I made. All I did was buy 2 baking sheets from food store, then cut and hot glued them together to fit the bottom tight.

drip pan underneath plant box.
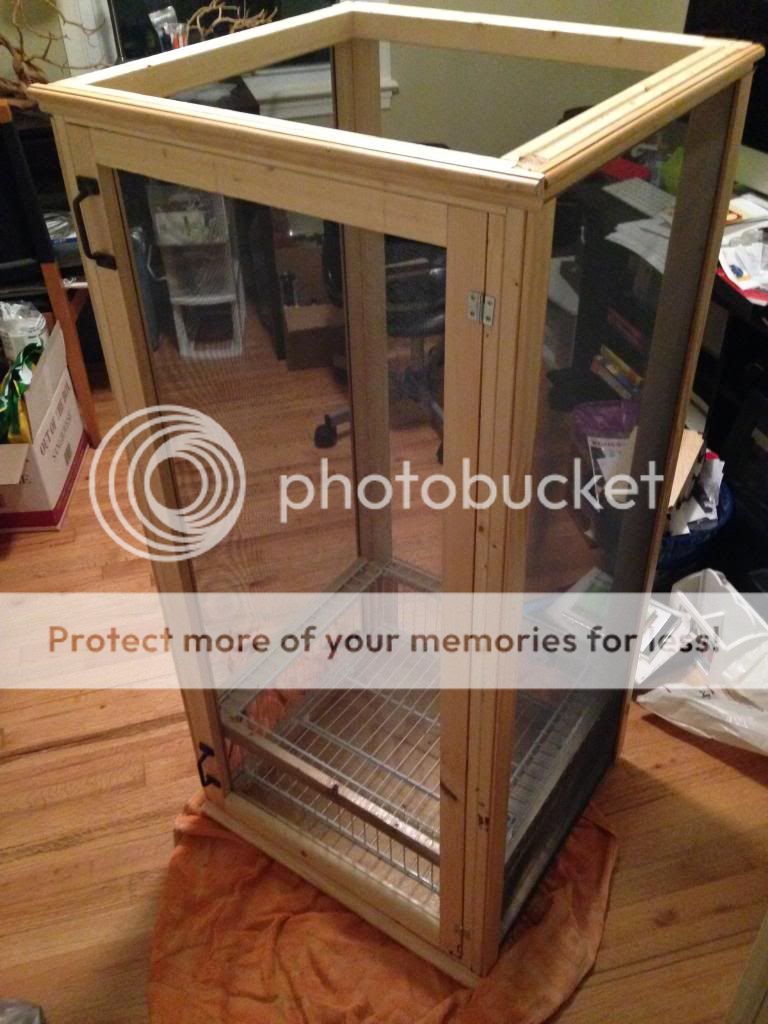
The fun part.
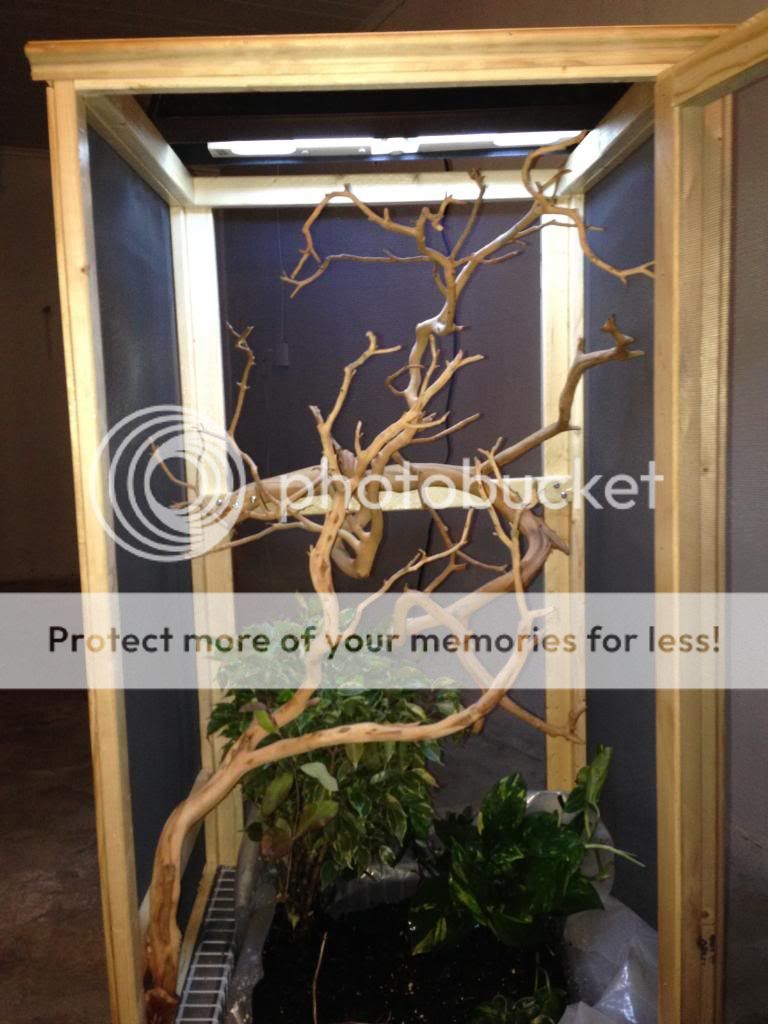
I planted a weeping fig, golden pothos, hoya, and honey suckle. As you can see it will be awhile before they grown but thats ok because my little guy will be in a smaller enclosure for a few months. The top of the enclosure will be fitted with a 18" 6500k grow light along with the rest of the lighting. Im going to add more soil, then all that unattractive plastic will be trimmed and hidden from view. Everything was coated several times with a water based polyurethane to prevent warping, mold, etc. I try to keep everything real with no artificial plants. I will use some fake vines but thats about it. The left side of the enclosure will eventually be fit with a mist king and there will be a lot more climbing wood added. One of the biggest obstacles was making the plant box "bug tight" so no critters can get below it where they wont be eaten. Lots of screen and staples was somewhat of a solution
