Drone
New Member
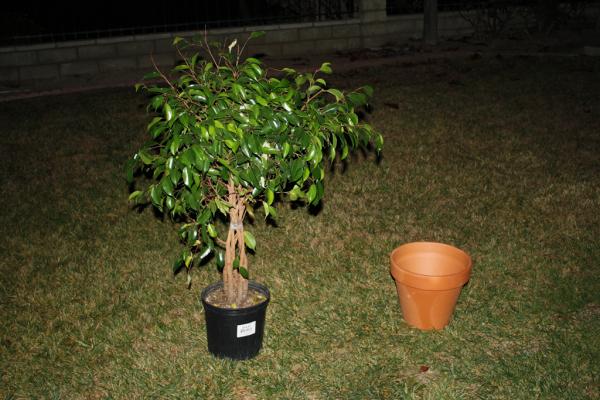
Repotting your plants is essential to their well-being.
When I worked in the Garden Department for Home Depot we would tell the customers to repot their plants about once a year. this wasn't just to sell more pots. I've seen many dead plants because owners would leave them in the container they came in from the nursery (obviously Home Depot doesn't grow their own plants) for an extended period of time allowing for root bind to completely choke off their plant.
You repot from a smaller size to a larger sized pot. 8"->10"->12"->14" ect
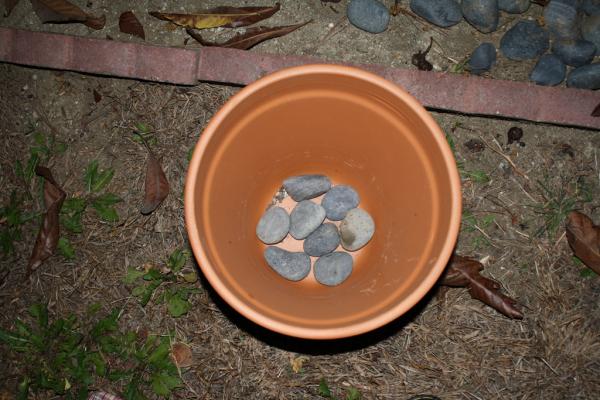
this also allows you to provide better drainage if you feel the current setup is insufficient.
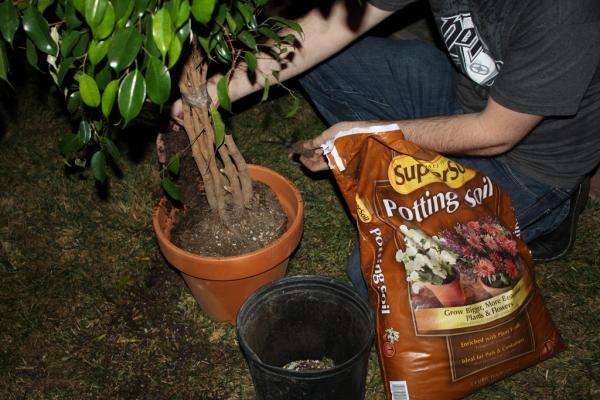
My personal preference is Terracotta. It's cheap and effective. Looks wet when wet, dry when dry. Allows for roots to breathe and even for water to evaporate through the pot.
Usually the plastic container will fit inside the new pot.

I've put some stones in the bottom to allow for better drainage. If you want to get more elaborate and provide even better drainage you could put a layer of gravel over this. A single layer of stones around the drain hole has been sufficient for me.
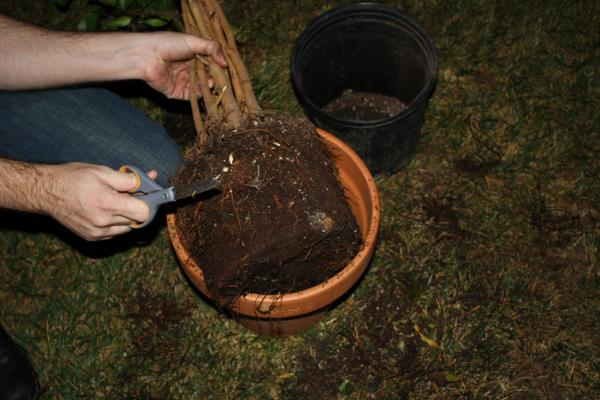
Like most storebought plants, this one already has excessive roots.
I'm going to tear at the bottom and sides ripping off roots that have extended themselves a bit too much, possibly blocking further growth.
Take clippers to the larger ones if you have to.
On the bottom here you can see the bottom left ready to put in the pot, the top right still formed to the shape of the container.
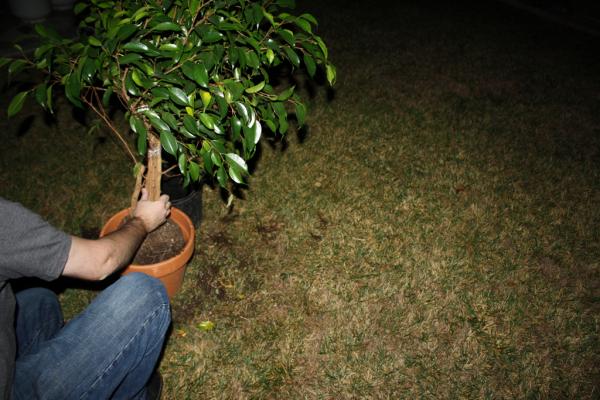
Fit the rootball in the pot to check. I think I had about 2" of soil above the rocks under the plant. It's actually a bit closer to the top than than I'd prefer but it will work")
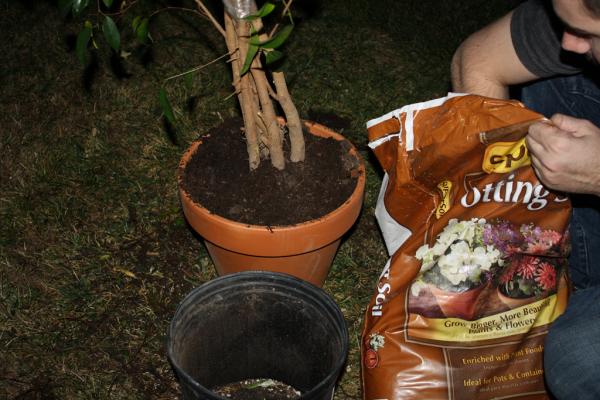
Fill the sides. You don't need to pack it extensivly, just a firm amount without large air pockets is good. the top of the soil should be at the bottom of the lip.
Overfilled because it will pack down when I water it
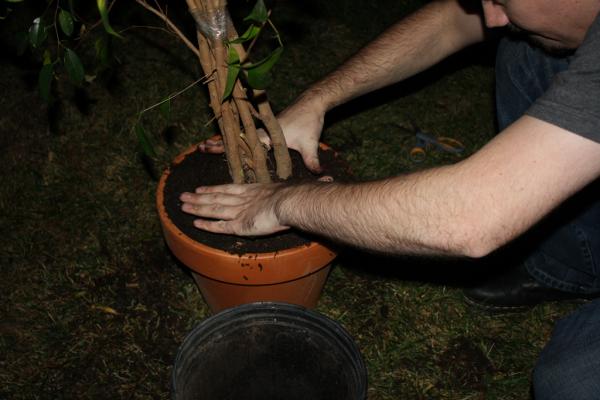
Firmly pushing from the top to adjust the plant to make sure it stands up straight. You do not want to pack the dirt every time you add another handful. Once at the end is enough.
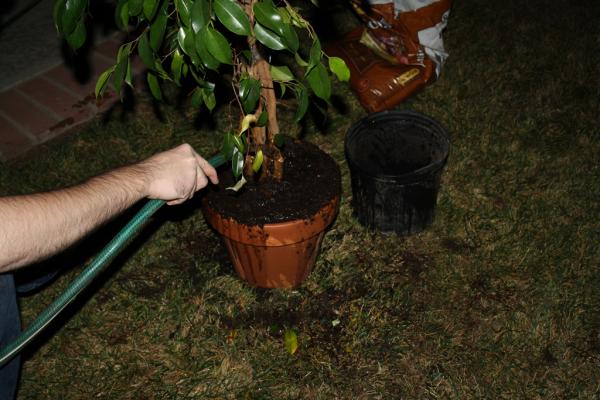
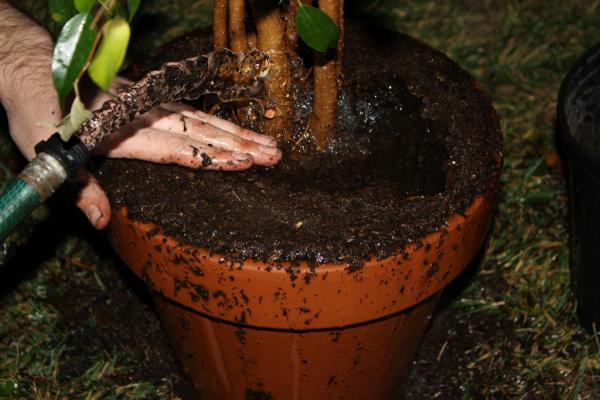
Here's the fun part: fill with water. Don't forget to spray your sister without getting your camera wet
Skim off the wood and lighter particles that float to the top.
I don't want my lizard eating any of this crap. When you water, you should fill the pot completely to allow the water to soak in thoroughly and evenly. I don't want to deal with it soil spilling over and having to clean it later
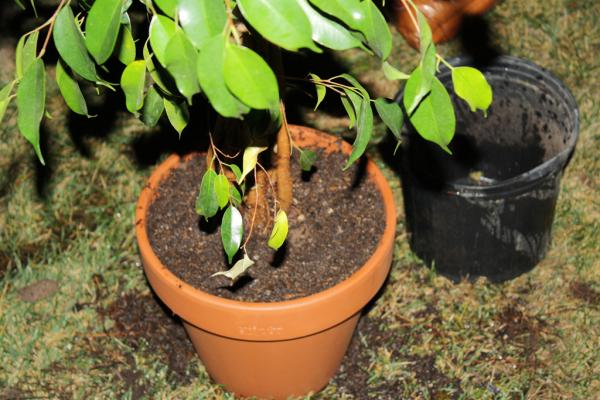
All done, the soil a little closer to the top than I'd like for watering purposes, but ok. It should come up to the inside line.
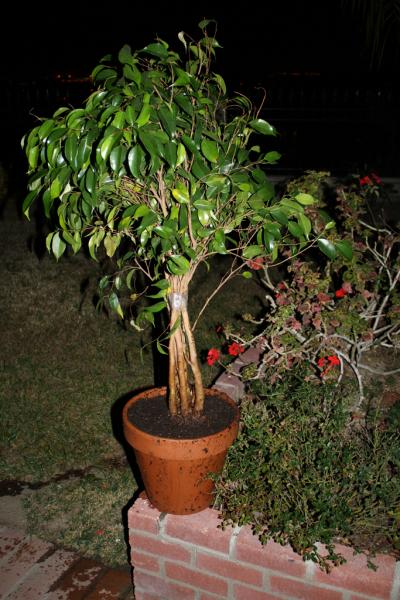
All finished! When this plant was in the store it looked more like a shrub and had much dead growth. I bound the larger branches together, trimmed off the bottom and dead branches, and man the plant looks nothing like something that should have been in the trash.
I ended trimming more off to fit into the 4' cage, but I've got a ton of light-green new growth coming out. It's doing great in the right cage on this thread here: https://www.chameleonforums.com/panther-enclosures-20698/
When I worked in the Garden Department for Home Depot we would tell the customers to repot their plants about once a year. this wasn't just to sell more pots. I've seen many dead plants because owners would leave them in the container they came in from the nursery (obviously Home Depot doesn't grow their own plants) for an extended period of time allowing for root bind to completely choke off their plant.
You repot from a smaller size to a larger sized pot. 8"->10"->12"->14" ect
this also allows you to provide better drainage if you feel the current setup is insufficient.
My personal preference is Terracotta. It's cheap and effective. Looks wet when wet, dry when dry. Allows for roots to breathe and even for water to evaporate through the pot.
Usually the plastic container will fit inside the new pot.
I've put some stones in the bottom to allow for better drainage. If you want to get more elaborate and provide even better drainage you could put a layer of gravel over this. A single layer of stones around the drain hole has been sufficient for me.
Like most storebought plants, this one already has excessive roots.
I'm going to tear at the bottom and sides ripping off roots that have extended themselves a bit too much, possibly blocking further growth.
Take clippers to the larger ones if you have to.

On the bottom here you can see the bottom left ready to put in the pot, the top right still formed to the shape of the container.
Fit the rootball in the pot to check. I think I had about 2" of soil above the rocks under the plant. It's actually a bit closer to the top than than I'd prefer but it will work
Fill the sides. You don't need to pack it extensivly, just a firm amount without large air pockets is good. the top of the soil should be at the bottom of the lip.
Overfilled because it will pack down when I water it
Firmly pushing from the top to adjust the plant to make sure it stands up straight. You do not want to pack the dirt every time you add another handful. Once at the end is enough.
Here's the fun part: fill with water. Don't forget to spray your sister without getting your camera wet
Skim off the wood and lighter particles that float to the top.
I don't want my lizard eating any of this crap. When you water, you should fill the pot completely to allow the water to soak in thoroughly and evenly. I don't want to deal with it soil spilling over and having to clean it later
All done, the soil a little closer to the top than I'd like for watering purposes, but ok. It should come up to the inside line.
All finished! When this plant was in the store it looked more like a shrub and had much dead growth. I bound the larger branches together, trimmed off the bottom and dead branches, and man the plant looks nothing like something that should have been in the trash.
I ended trimming more off to fit into the 4' cage, but I've got a ton of light-green new growth coming out. It's doing great in the right cage on this thread here: https://www.chameleonforums.com/panther-enclosures-20698/
Last edited by a moderator: