Dsignrguy
Member
I finished my ne cage, so I thought I'd put up some pics of my current set-up as well as the new one.
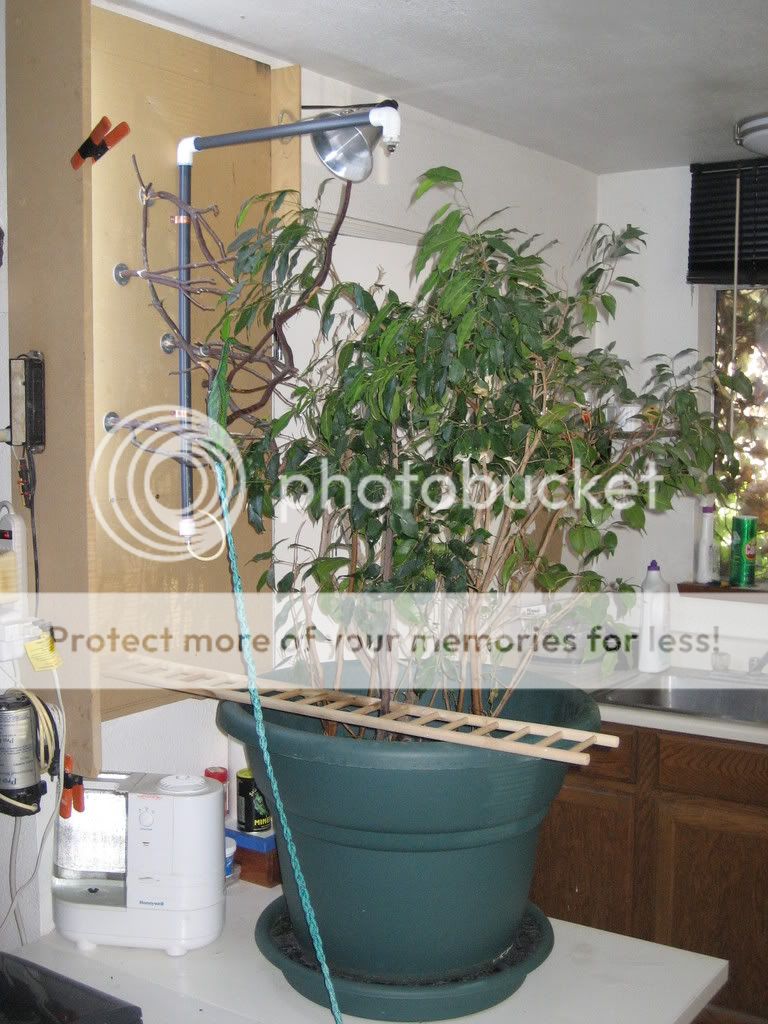
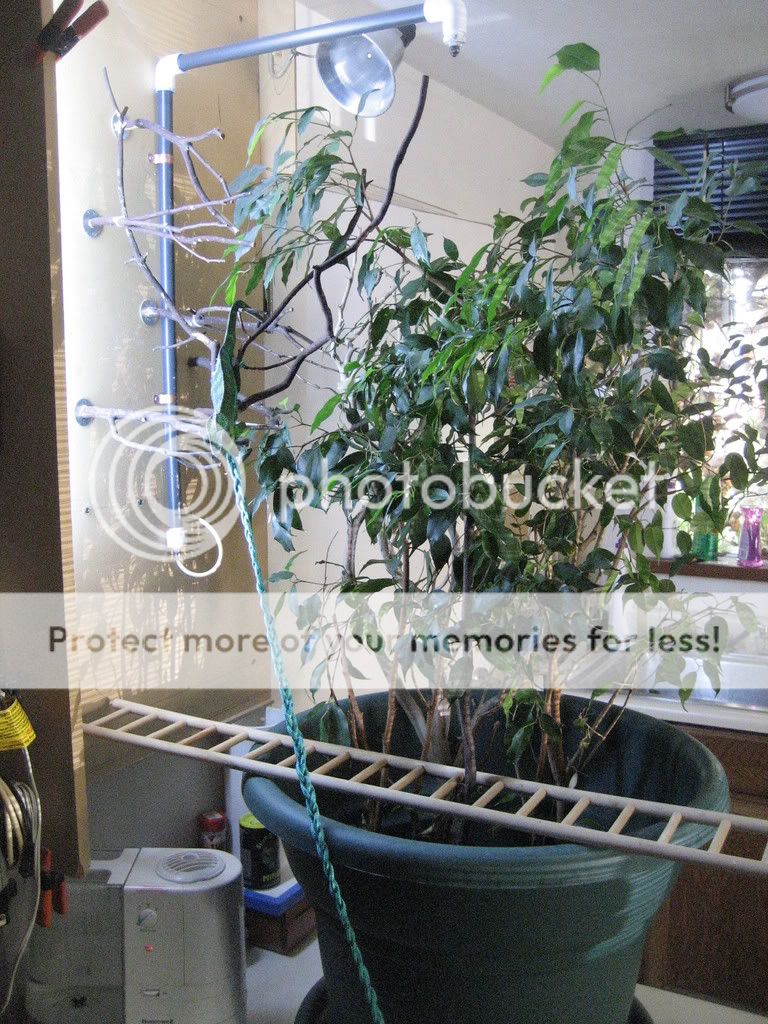
First, the current set-up:
He free-ranges in my very small studio apt. He has a med. size ficus in a big pot an a table. There's is a large board mounted on the wall next to the ficus with lots of branches mounted on it, as well as his misting system and UVB tube. there is also a rope ladder so he can go wherever he wants(but he usually sticks to his "room").

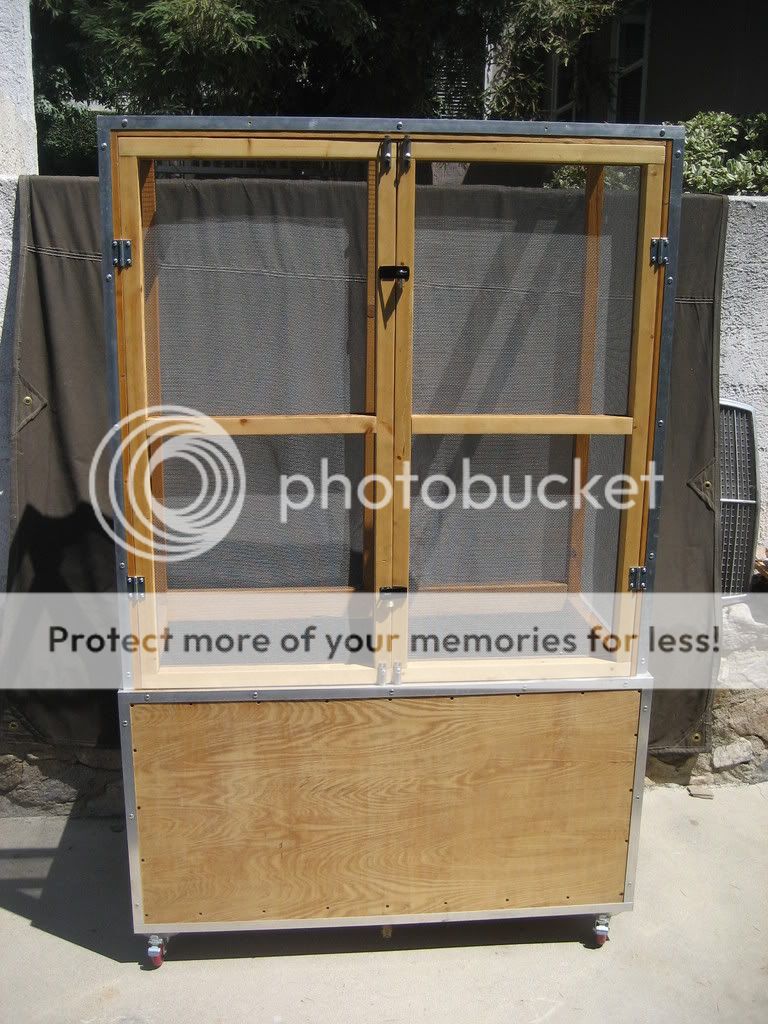
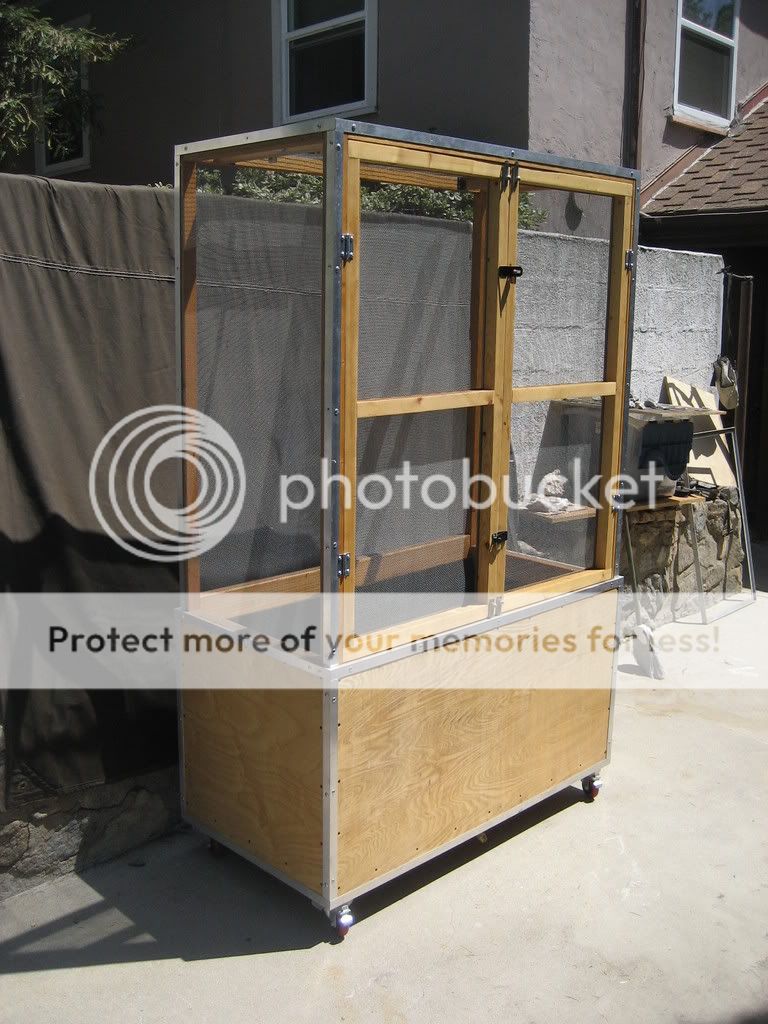
I really like this setup, but we all know that it's better for them to live outside, so I decided to build a cage for him that is intended to go both indoors and out.
It measures 24x48x72, all the wood is sealed.It's on some pretty nice casters, so I can move it inside/outside easily. The bottom 24" is actually designed to be a planter box and is sealed and rubber coated (I've filled it with water and it holds it). there is 4" of water run-off space at the bottom so the soil wont get too wet, and its completely plumbed for drainage. Its currently got 3 misting nozzles, and sockets for 2 36"UVB tubes when it's inside. The screen is all 1/8" hardware cloth(which should keep out the raccoons..etc.), and all the edges are covered. All I have left to do is buy some plants, soil, and rocks, and hook up the promist and electronics
So here's the "new diggs":
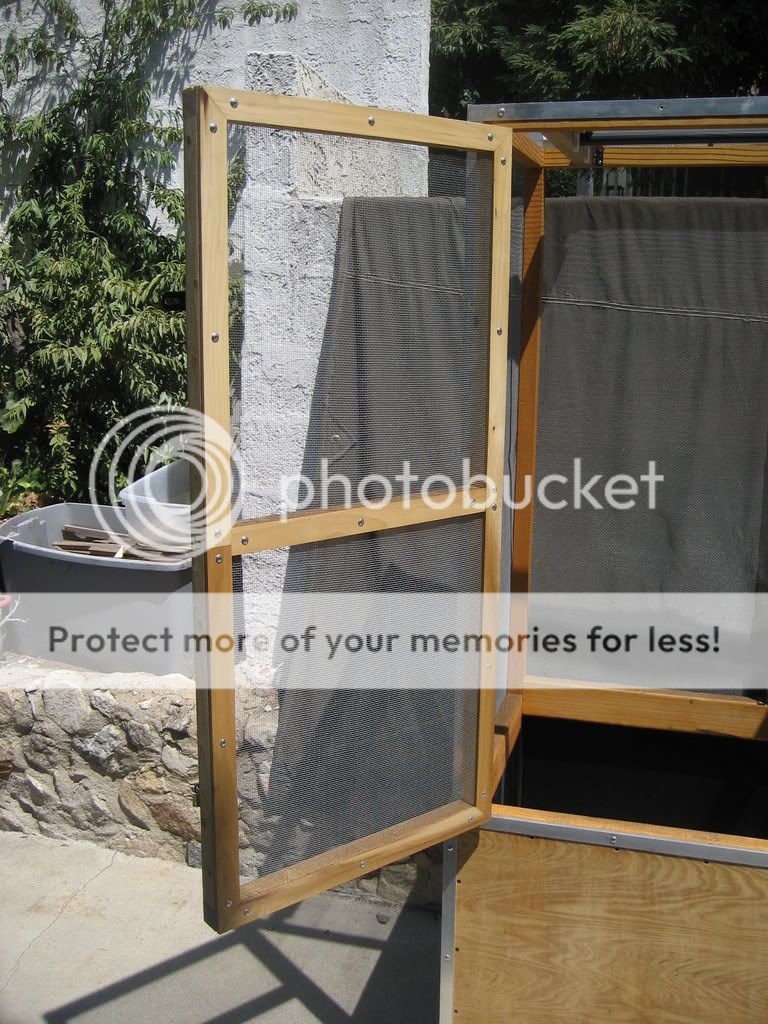
The front (notice the outward "French doors")
front/side 3/4 view
The back
door inside
door detail (to hide the screen edges)
outer door details (sliders to keep the doors closed, and locks to keep out the 2 legged predators)
misting rod and light sockets(the ^%#@ camera kept focusing on the screen, sorry)
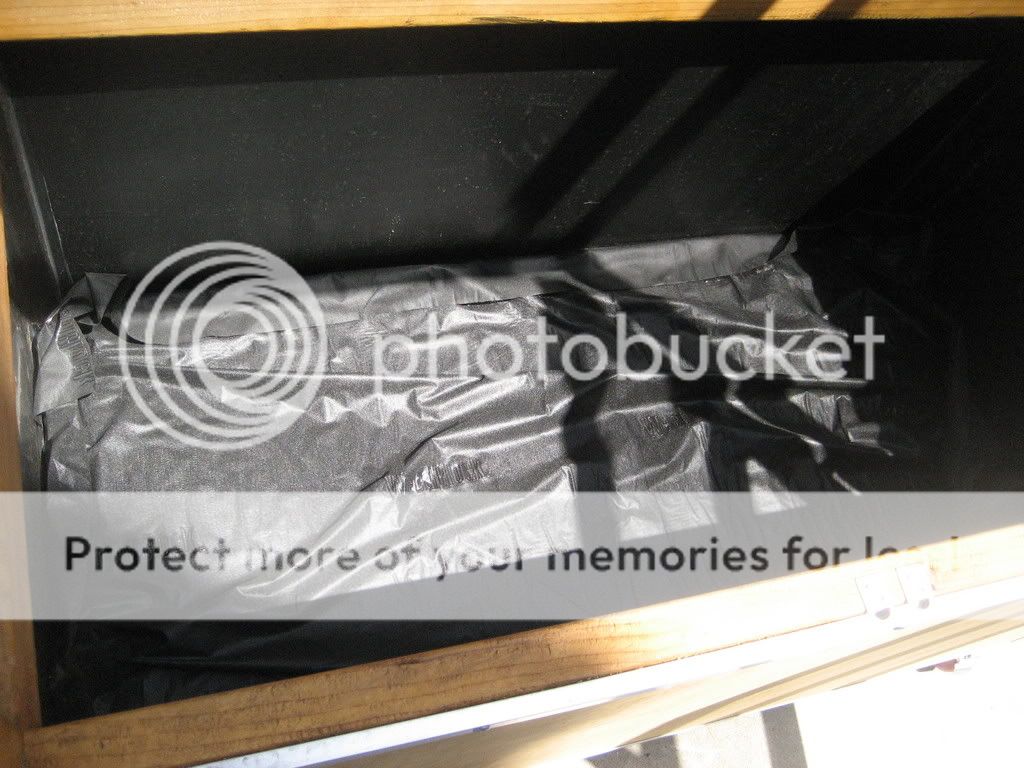
the bottom sealed planter box with 4" of run-ff and supports
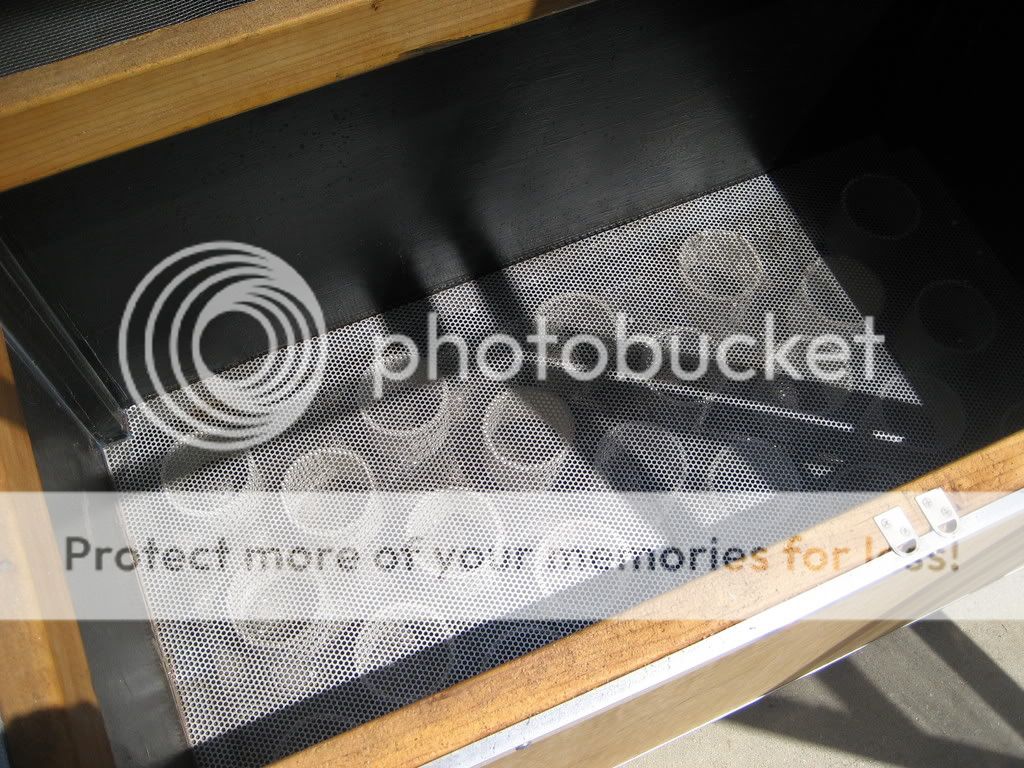
special perforated rubber cloth that will hold the soil and let the water through
and finally, the bottom with copper plumbing and casters. the casters have upside-down tupperware bowls dusted with anti-ant powder to keep the ants out.
and when I move it inside, I can pop the hinge pins and remove th door so he can still free-range.
let me know what Y'all think.
First, the current set-up:
He free-ranges in my very small studio apt. He has a med. size ficus in a big pot an a table. There's is a large board mounted on the wall next to the ficus with lots of branches mounted on it, as well as his misting system and UVB tube. there is also a rope ladder so he can go wherever he wants(but he usually sticks to his "room").

I really like this setup, but we all know that it's better for them to live outside, so I decided to build a cage for him that is intended to go both indoors and out.
It measures 24x48x72, all the wood is sealed.It's on some pretty nice casters, so I can move it inside/outside easily. The bottom 24" is actually designed to be a planter box and is sealed and rubber coated (I've filled it with water and it holds it). there is 4" of water run-off space at the bottom so the soil wont get too wet, and its completely plumbed for drainage. Its currently got 3 misting nozzles, and sockets for 2 36"UVB tubes when it's inside. The screen is all 1/8" hardware cloth(which should keep out the raccoons..etc.), and all the edges are covered. All I have left to do is buy some plants, soil, and rocks, and hook up the promist and electronics
So here's the "new diggs":
The front (notice the outward "French doors")
front/side 3/4 view

The back
door inside
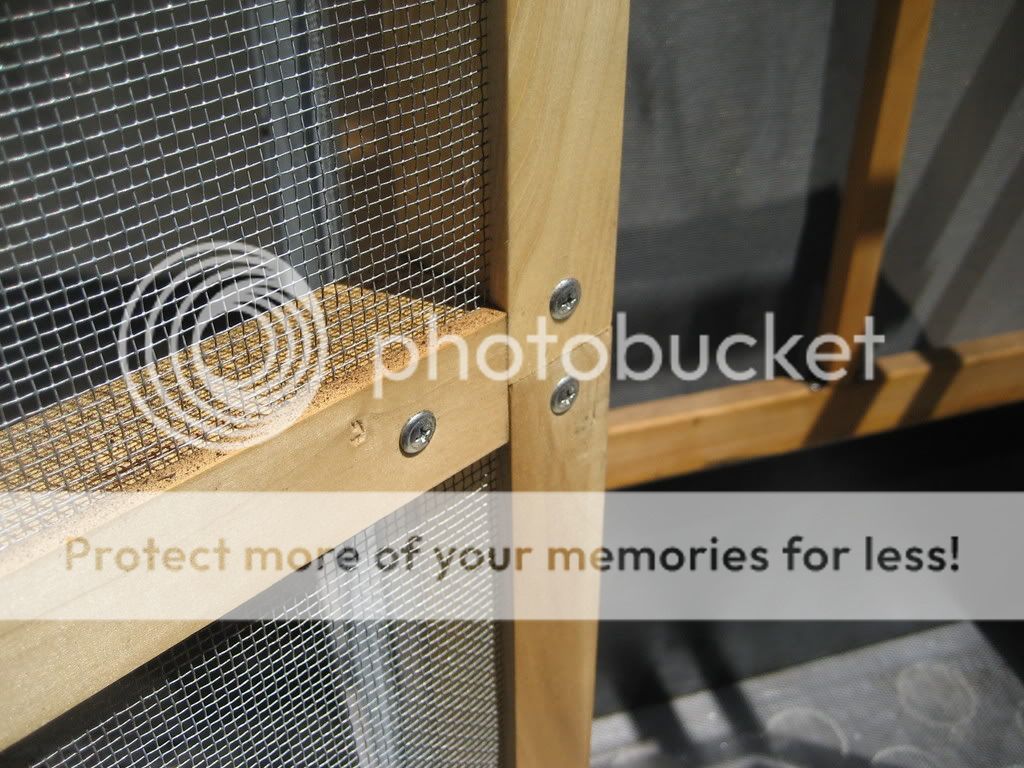
door detail (to hide the screen edges)
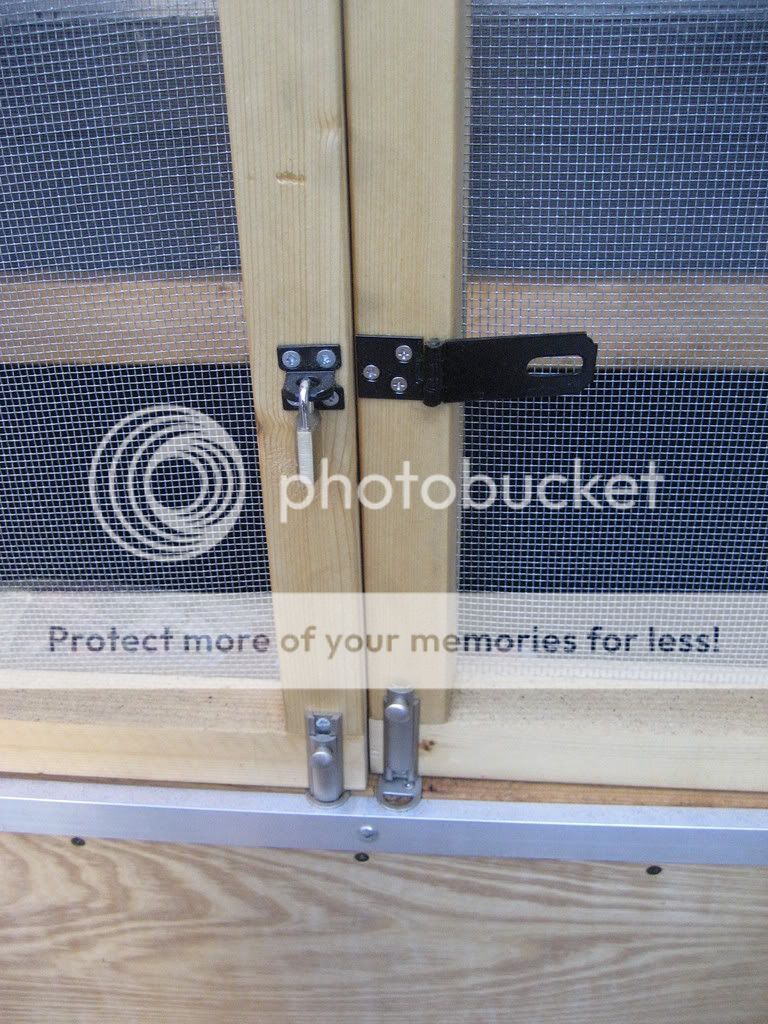
outer door details (sliders to keep the doors closed, and locks to keep out the 2 legged predators)
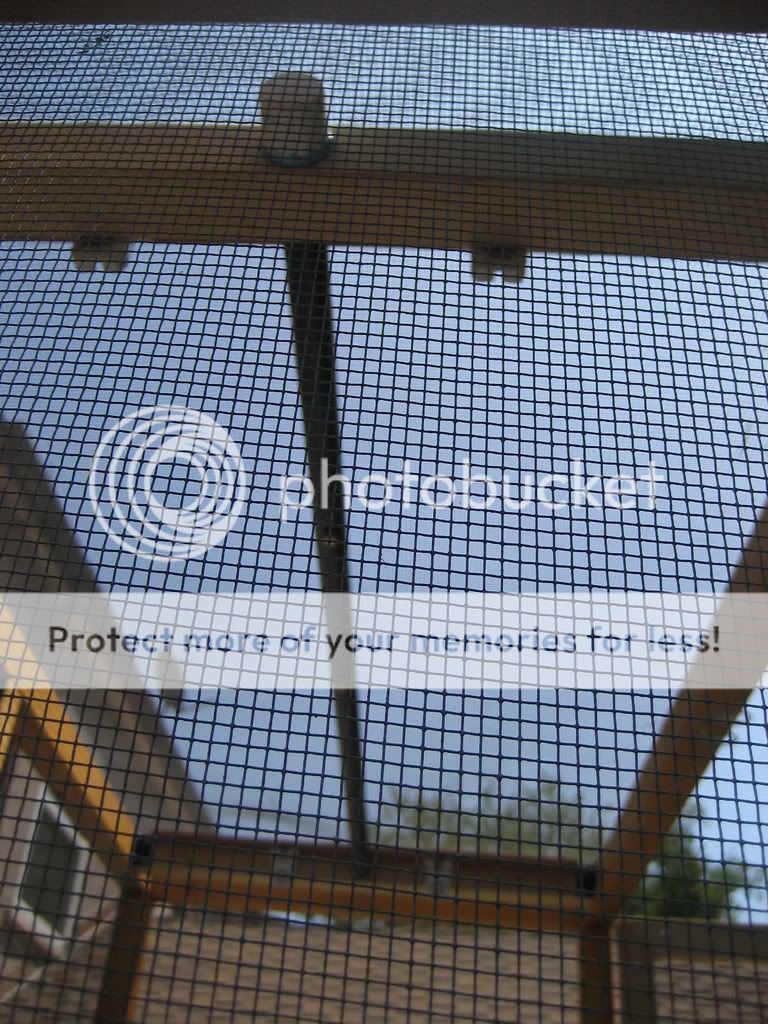
misting rod and light sockets(the ^%#@ camera kept focusing on the screen, sorry)
the bottom sealed planter box with 4" of run-ff and supports
special perforated rubber cloth that will hold the soil and let the water through
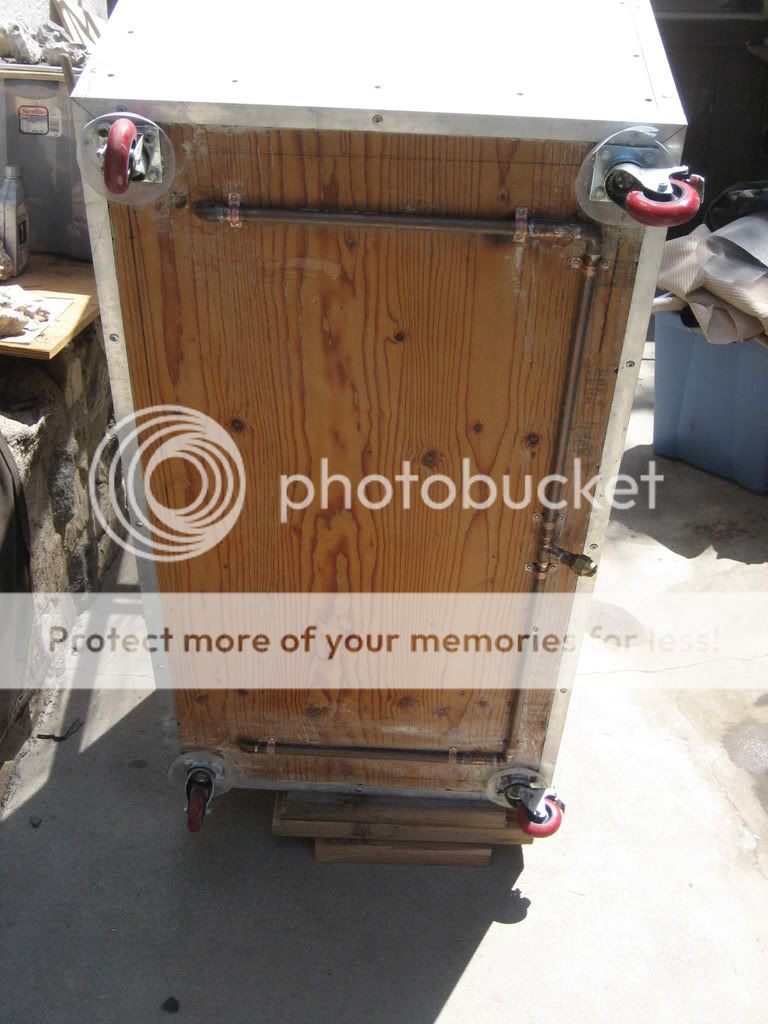
and finally, the bottom with copper plumbing and casters. the casters have upside-down tupperware bowls dusted with anti-ant powder to keep the ants out.
and when I move it inside, I can pop the hinge pins and remove th door so he can still free-range.
let me know what Y'all think.
")