ZenChameleons
New Member
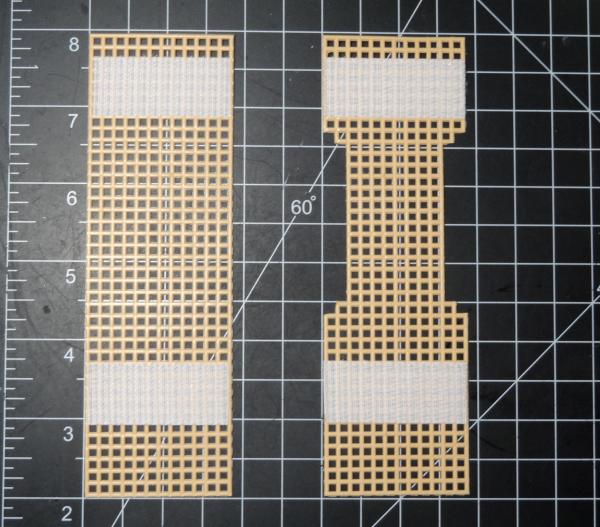
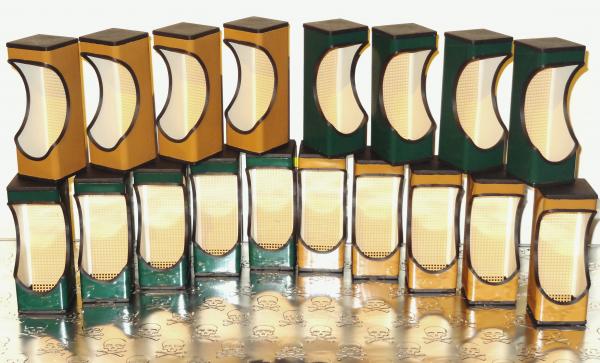
Wow this is so cool, I am making three of these this weekend!
Follow along with the video below to see how to install our site as a web app on your home screen.
Note: This feature may not be available in some browsers.


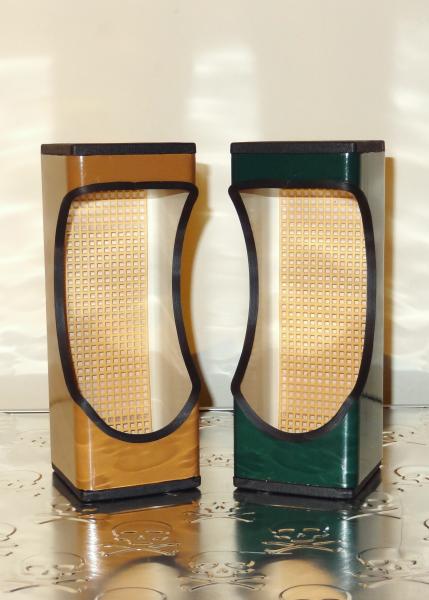

They look great! I can't wait to get rid of the eye sore I made
(PayPal would be an easy way to pay... just an idea)
They look absolutely fantastic. I bet you never imagined the road that first picture put you on! I can't wait to get mine. Thanks so much!
Don't forget me. I ordered mine months ago
They are awesome! Keep me updated on the prices as well please!
How much are they and how much, in general, is shipping?