Lpsouth1978
Avid Member
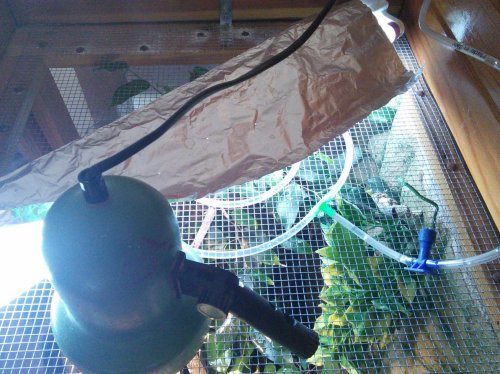
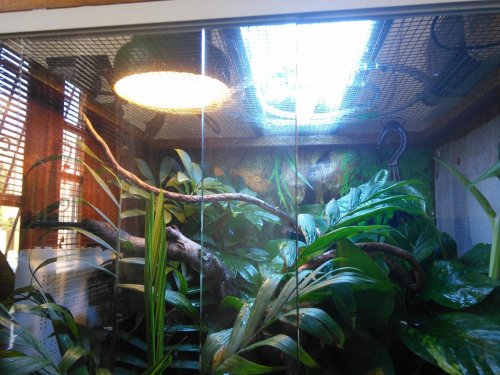
I totally get the vision! My panthers HATE the mist and run from it then drink from the leaves once it has shut off. I am thrilled to try this out and see how they react. I should have it done in an hour or so and will post a video once it is up and running.