Andrew1283
Chameleon Enthusiast
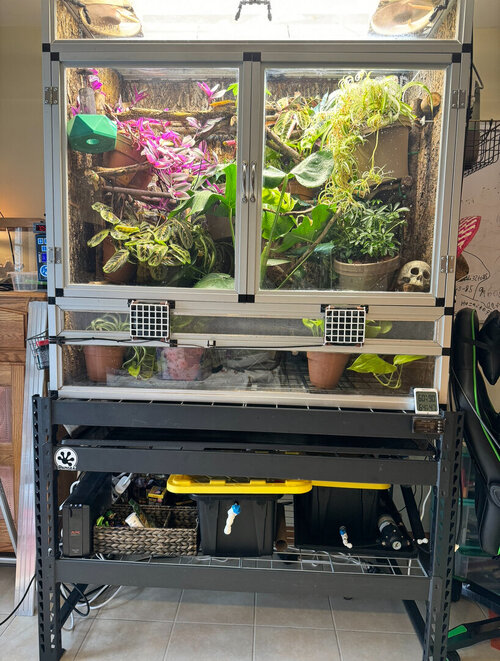
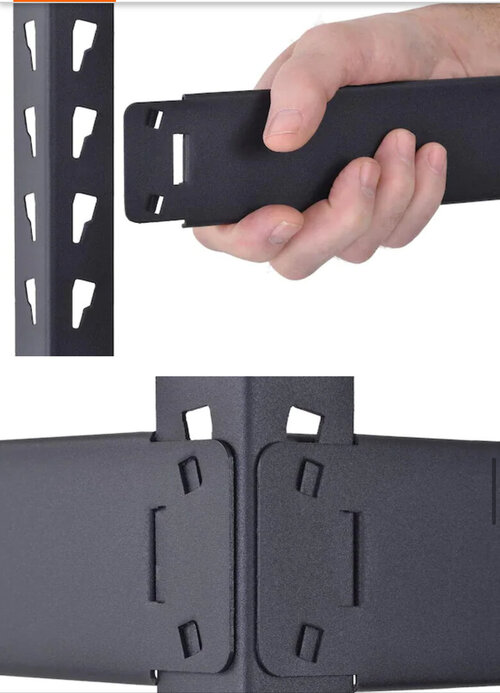
These racks are amazing but need slight mods to fit two side-by-side XL Reptibreeze enclosures. The problem is the angle irons.
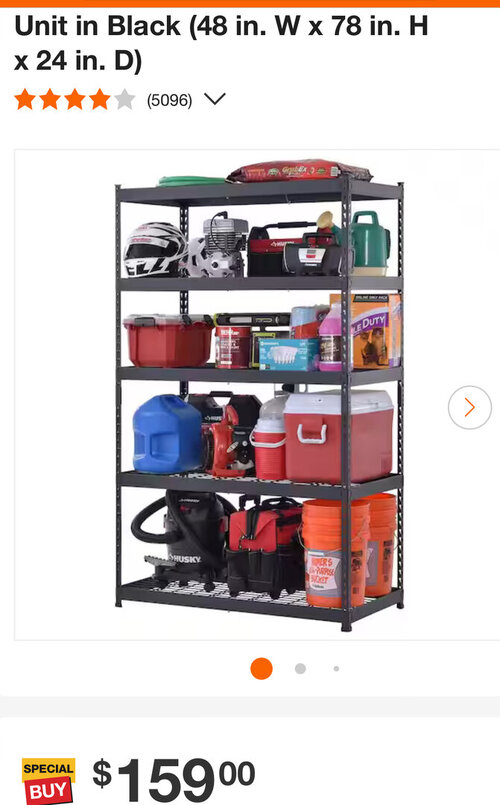
https://www.homedepot.com/p/Husky-5...-W-x-78-in-H-x-24-in-D-N2R482478W5B/319132811
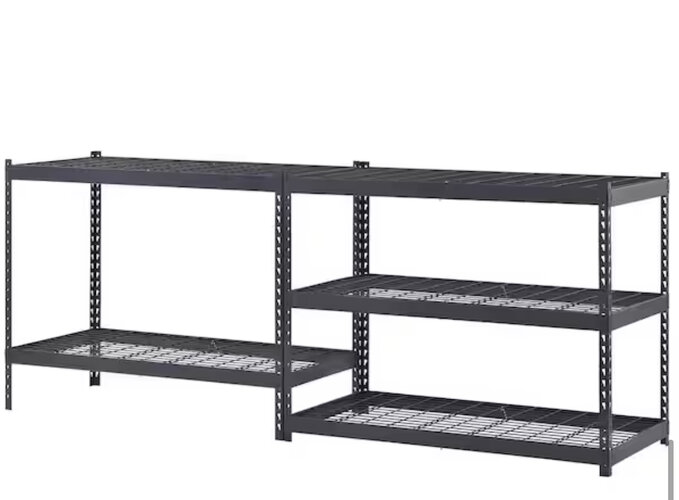
The rack can be stacked 4 shelves tall or you can make two different racks. I prefer the latter.
With some slight mods, you can have 4 XL Reptibreeze cages on really solid wire shelving for just $150.00!
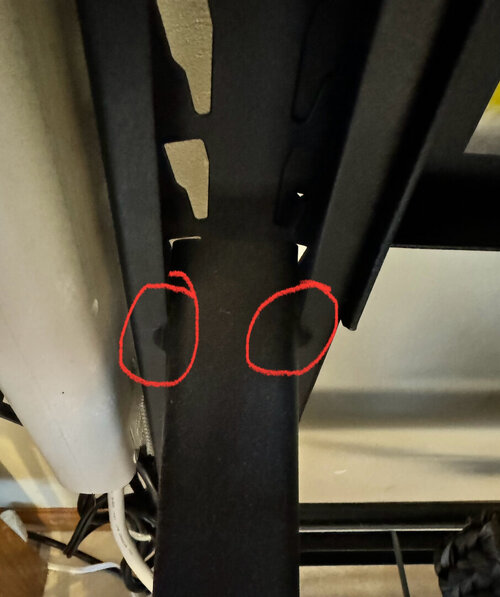
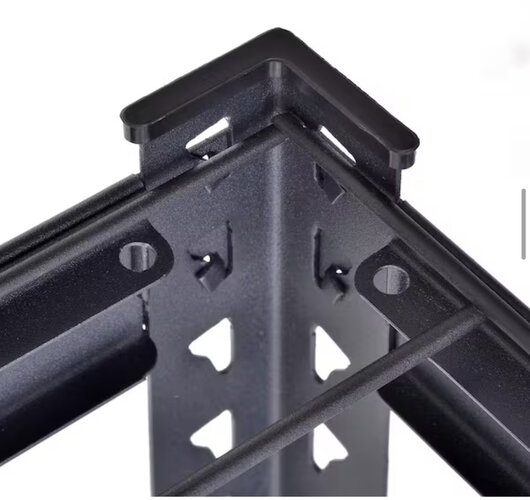
Look at the pictures below. The angle irons stick up in each corner, so you don’t have the full 24” X 48” of shelf space. I used an angle grinder with a metal cutting wheel to cut those angle irons flush with the grate.
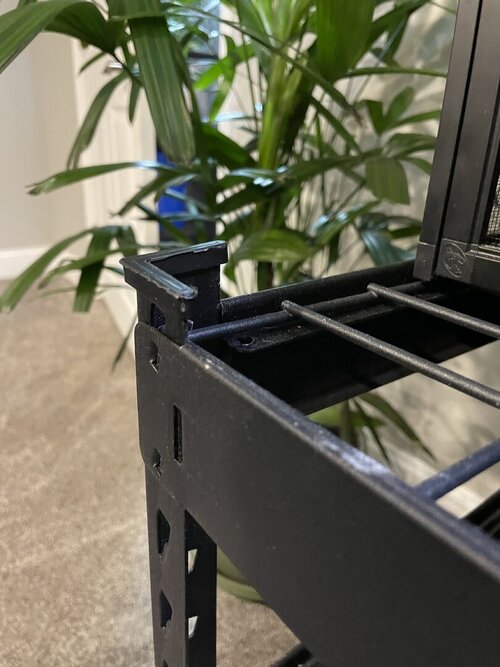
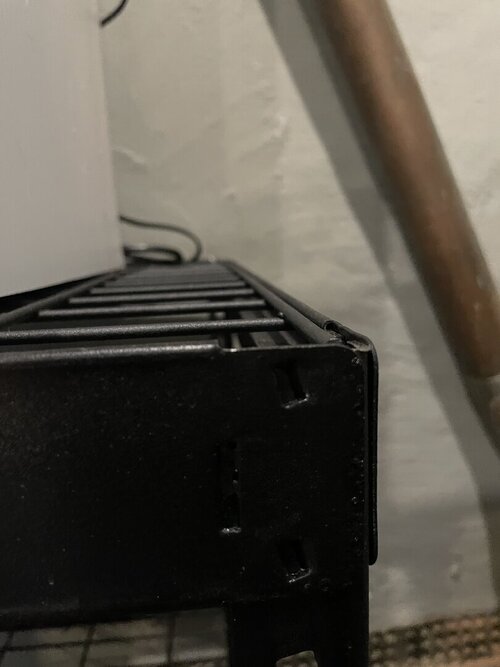
The last two photos are before and after. You could also do this with a hack saw if you want to build some muscles. But the angle grinder really cuts the irons down flush and quick.
https://www.homedepot.com/p/Husky-5...-W-x-78-in-H-x-24-in-D-N2R482478W5B/319132811
The rack can be stacked 4 shelves tall or you can make two different racks. I prefer the latter.
With some slight mods, you can have 4 XL Reptibreeze cages on really solid wire shelving for just $150.00!
Look at the pictures below. The angle irons stick up in each corner, so you don’t have the full 24” X 48” of shelf space. I used an angle grinder with a metal cutting wheel to cut those angle irons flush with the grate.
The last two photos are before and after. You could also do this with a hack saw if you want to build some muscles. But the angle grinder really cuts the irons down flush and quick.

")