Will Hayward
New Member


Someone asked me this recently, and although there are faaar better people with better experience to answer this, none of them have come forward so, I'll post some things that I personally try to follow for entering this contest. If anyone else would like to contribute do so.
Here are some tips for better general photo taking. They apply to any photo taking but should be used for this as well.
Resize you photo to 900 x 600px, because the Full view is so large it does a few things;
Composition:
Blurry:
Animal subjects in specific:
Backgrounds:
Here are some tips for better general photo taking. They apply to any photo taking but should be used for this as well.
- It's not the equipment you use that makes a good photo, it's the knowledgeable people who are using them. Knowing how to take a photo is important, but just the same is knowing how to use your camera to the best of it's abilities. There are some very popular photographers using very old or odd tools, Point-and-shot-digitals, Cell phone cameras, and Polaroids.
- When you take photos, especially for contests like this one, don't use a photo that you had just taken on a whim. Instead plan and set out to take photos purposely. Not just, "Oh my chameleon is being colourful/funny/angry, I should take a piccy". Ultimately, be it consciously or subconsciously this will make for a better photo in the end.
- For less pro cameras with fixed lenses, get closer if at all possible instead of zooming. Also, Never use "digital zoom".
Resize you photo to 900 x 600px, because the Full view is so large it does a few things;
- Loads slower for people with dialup, so they are less likely to wait and vote,
- It is too large to even closely fit on the monitors that most people have,
- it shows any mistakes and grain in the photo.
Composition:
- Rules of photography are actually just guidlines, breaking one or all of them has often created some of the best and most famous photos seen, but there's less chance.
- Keep it simple. No eye distraction.
- Rule of thirds. Divide an image into three parts horizontally and vertically. Placing your subject at a power point (where the lines intersect) makes a photo pleasing for the eyes and mind to understand. Nothings worse than the subject centered dead middle of the photo- as it wastes everything else in frame. EXAMPLE
- "Take two"- its similar to "measure twice, cut once" but instead compose the image, blink and check you composition again for any problems, then shoot.
- Ask yourself, is there a better angle to take this photo? What about if I move slightly to the subjects right? What about if I go in closer and emphasize on something that people don't usually notice? EXAMPLE
- Leading lines. These are used to draw the attention of the eyes across the photo, rather than sporadically taking in details. EXAMPLE
- Eye/Head Space. Leave open areas in front of a subject that is moving or looking. EXAMPLE
Blurry:
- Use a tripod, or an improvised base to steady your hands and the camera.
- Not enough light? Use flash, or lights, or if possible with a still subject and a decent camera, use a manual long exposure.
- "But my flash makes everything white and less textured!" Tape a tissure over the flash to diffuse it.
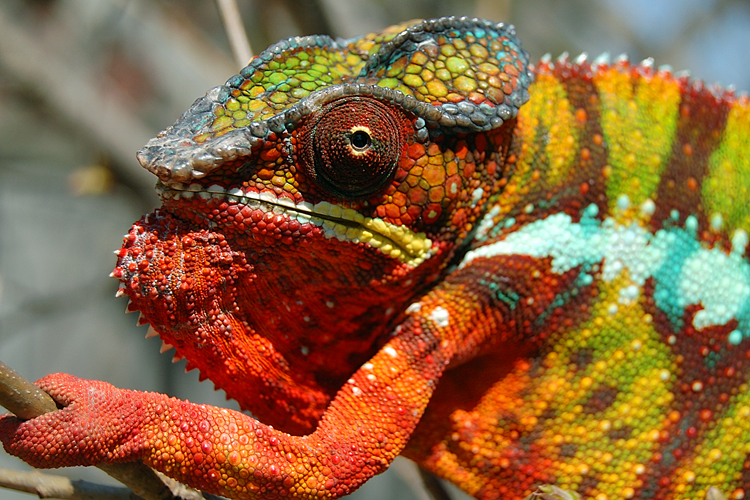
Animal subjects in specific:
- Focus on the eyes. EXAMPLE
- Either make eye contact (preferably with both eyes) or
- their eyes must be looking at something purposefully that the photo viewer knows about (food, other chameleon etc) EXAMPLE
- Taking a photo of something blue, and using a light for a better lit subject? Don't use an incandescent bulb that glows orange... instead use a compact florescent that has a cool glow, so that the subject doesn't turn greenish, but rather compliments the color. Works vice versa. Noon-time sunlight is usually quite clean white.
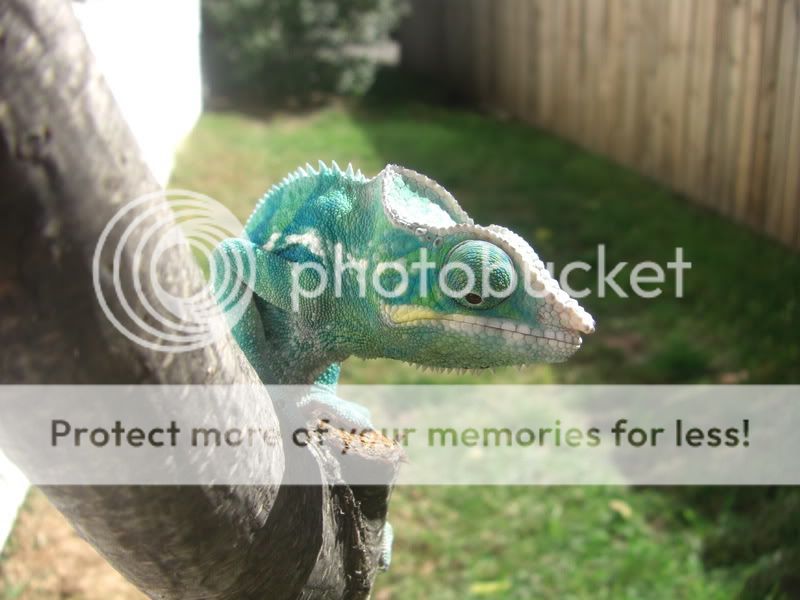
Backgrounds:
- Simple and easy on the eyes
- Unless something in the background pertains to the photo, the background should be out of focus. Do this by manually controlling the exposure and playing with the depth of the photos focus (depth of field) with aperture settings and different lenses. EXAMPLE
- Either use a complimenting colour, EXAMPLE or
- instead you a contrasting colour behind the subject.
")
