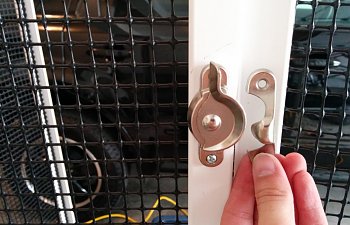
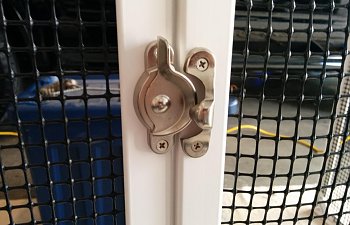
So... always measure twice, cut (or drill) once. Especially when installing closures. First time around... oopsie! I used the self-tapping screws that came with the latch for installation.
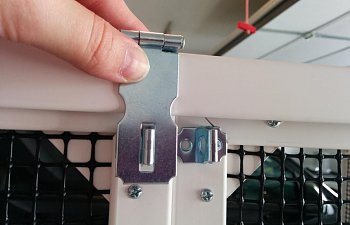
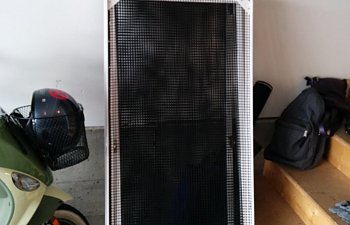
I also added an additional latch for security at the top of the cage to secure the top to the frame. Depending on how flexible your cage is (this construction is very flexible, particularly without a back or bottom panel), you may find having extra connection points necessary.
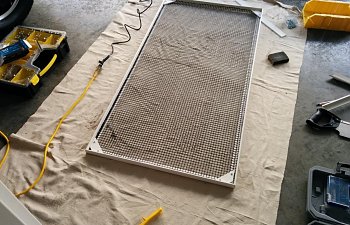
Finally, the top panel is a single piece, built slightly larger than the body frame so that it sits on it like a lid. Conveniently, the screws for the corner reinforcing provide a great way to secure the side panels in place! I wish I had actually planned for that.
----------------------------------------------
Back to Step 6:
http://www.chameleonforums.com/blog...-giant-outdoor-cage-step-6-gettin-hingey.html
Forward to Step 8: Zen and the Art of Chameleon Decorating
http://www.chameleonforums.com/blog...cage-step-8-zen-art-chameleon-decorating.html
I also added an additional latch for security at the top of the cage to secure the top to the frame. Depending on how flexible your cage is (this construction is very flexible, particularly without a back or bottom panel), you may find having extra connection points necessary.
Finally, the top panel is a single piece, built slightly larger than the body frame so that it sits on it like a lid. Conveniently, the screws for the corner reinforcing provide a great way to secure the side panels in place! I wish I had actually planned for that.
----------------------------------------------
Back to Step 6:
http://www.chameleonforums.com/blog...-giant-outdoor-cage-step-6-gettin-hingey.html
Forward to Step 8: Zen and the Art of Chameleon Decorating
http://www.chameleonforums.com/blog...cage-step-8-zen-art-chameleon-decorating.html