1st DIY Enclosure

Banksy

Member
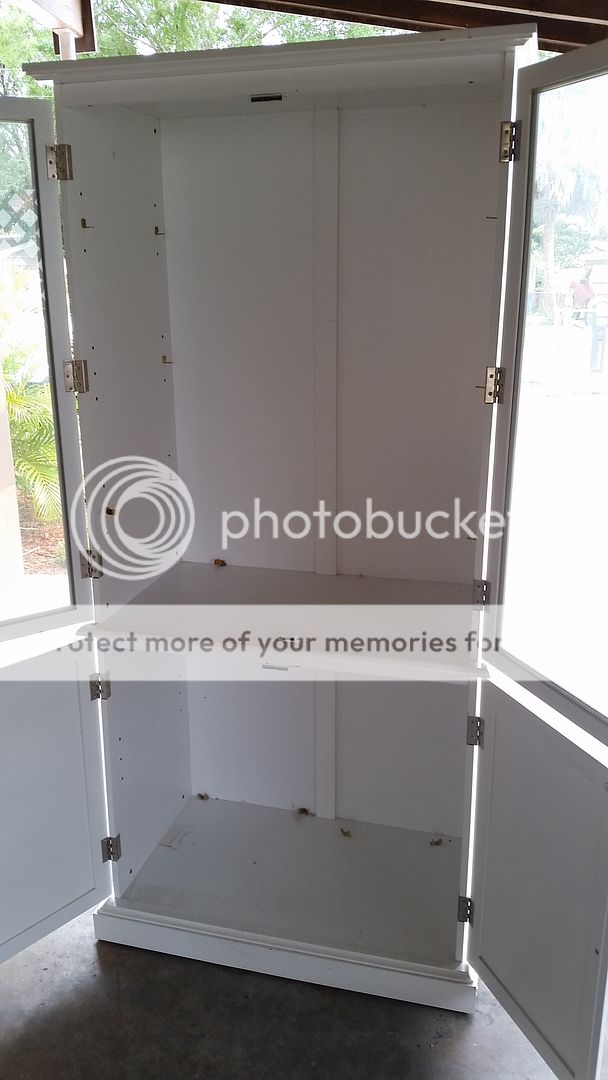
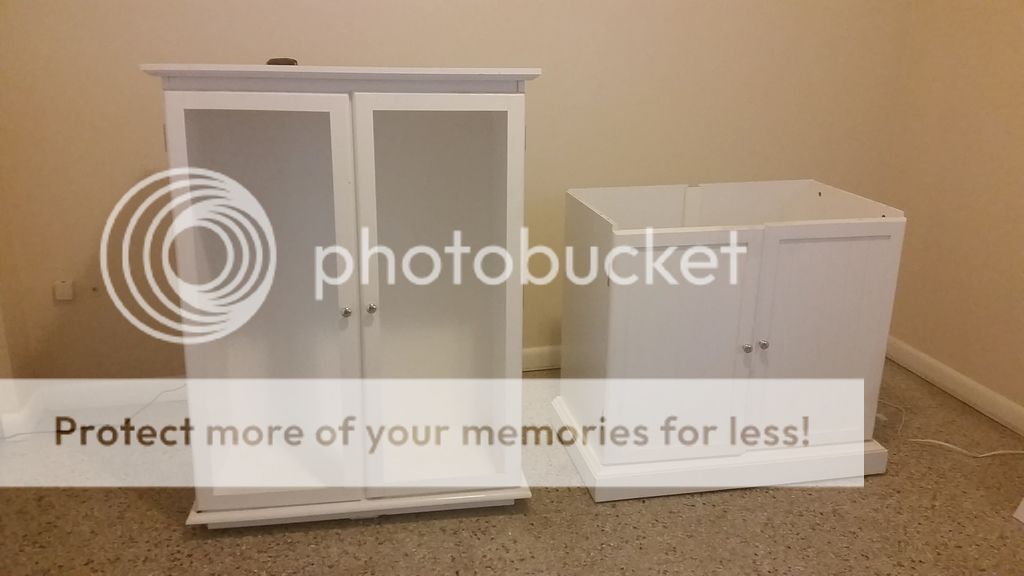
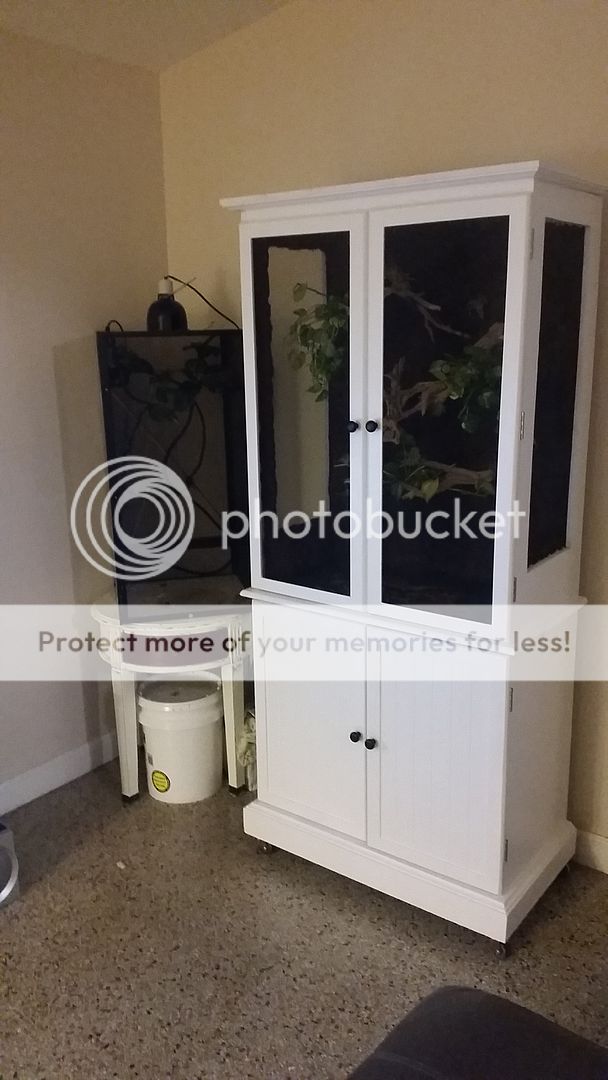
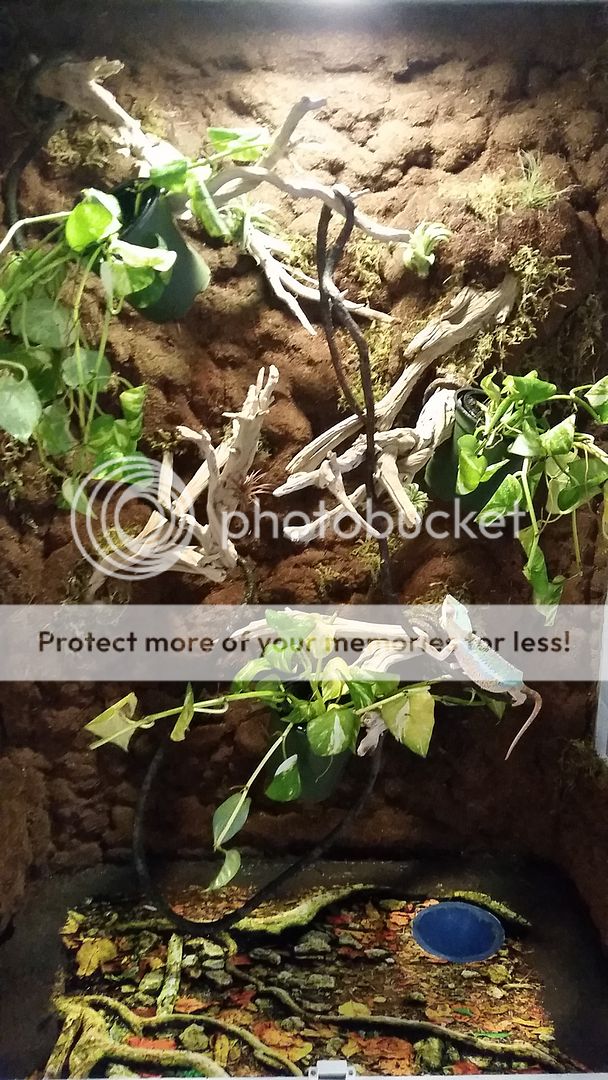
Here is the almost finished project of a China Cabinet I picked up off of Craigslist to re purpose into my current vivarium. I still need to transfer my artificial vines, hood lighting, and mount my MistKing nozzles.

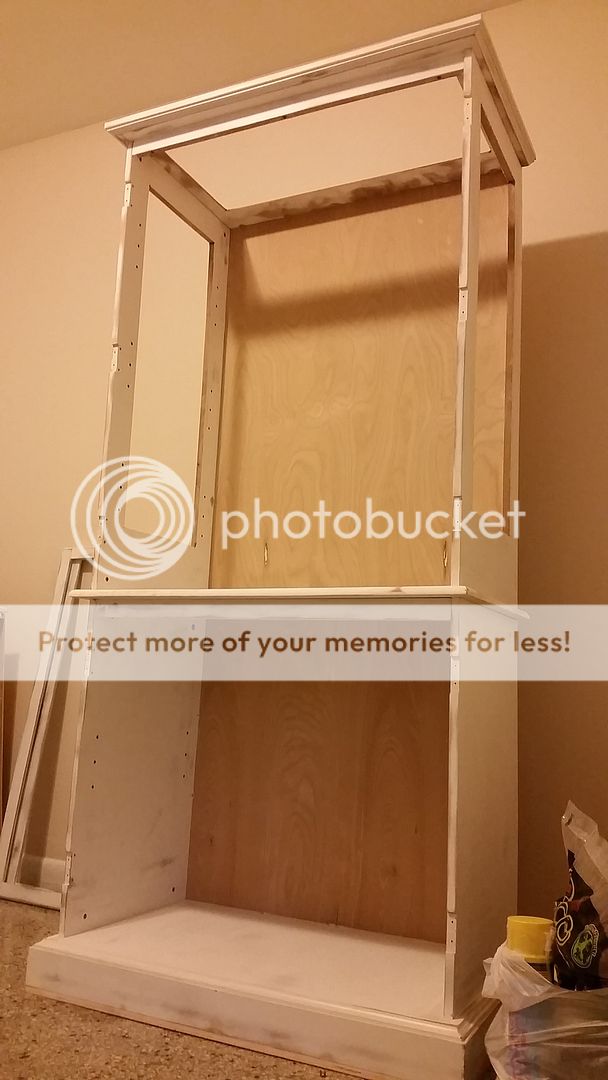
The original cabinet was cheap particle board with laminate, but the measures I've taken should make it bulletproof, or at least waterproof.





Looks like a great project! Hopefully when I save enough money I can build one for my cham. Keep up the great work! :D
 
Thanks fellas. I originally thought "yea this will be cheap. Get a used cabinet, little bit of supplies, and I'm done."

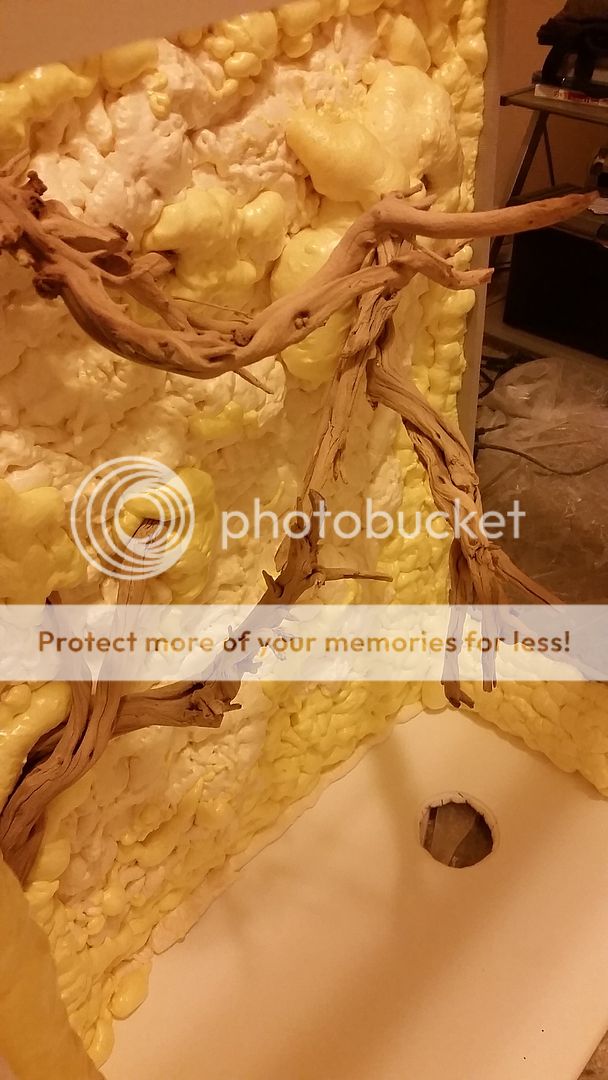
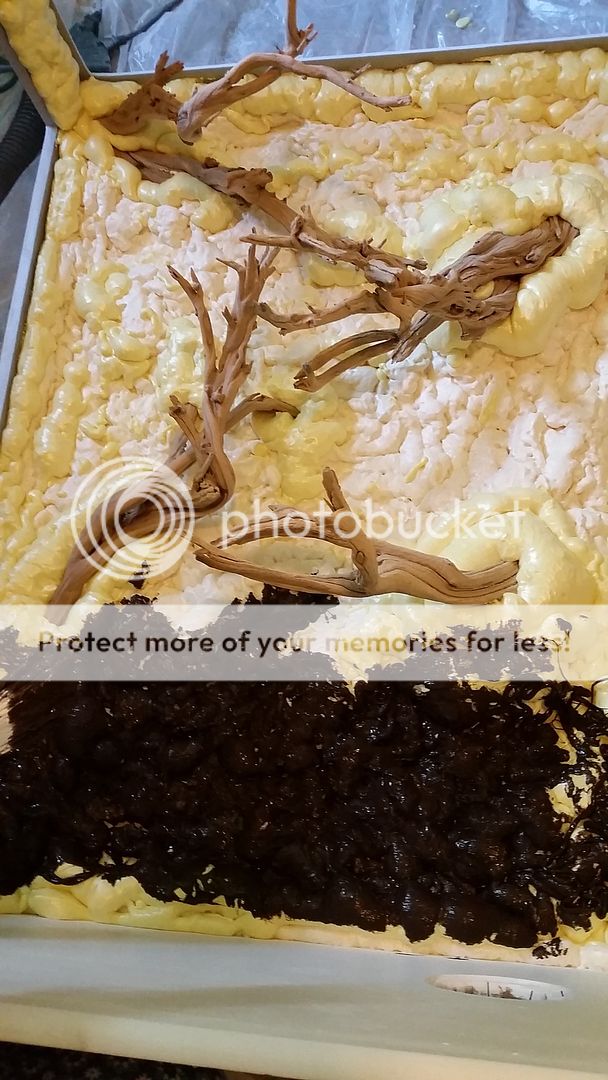
In actuality I spent around $450.00 on everything. Probably more, but we'll leave it at that. The cabinet itself was $100.00 and the remaining went to supplies - 8 bottles of silicone, 6 bottles of foam, 1 gallon of high end outdoor paint/primer, birch wood for reinforcing, coconut fiber/ moss, ghost wood (effing expensive), stainless hardware, aluminum screening, Tilandsia air plants, and whatever else I'm forgetting.

I'm transferring over my MistKing, Powersun Lamp/Bulb, and an artificial vine from my old setup today. Last thing to pick up is a 30" T5 Hood and a 6500k bulb to help the plants.

The foliage cover is kind of sparse since those are day old spliced/planted Pothos, so I'm hoping it fills in, otherwise I might have to rethink my approach.
 
Very nice. There have been some really great custom enclosures on the forum recently.
 
Very nice. There have been some really great custom enclosures on the forum recently.

Thank you kindly. I spent a solid week researching some of the background techniques from this board as well as the dart frog boards.
 
Thanks fellas. I originally thought "yea this will be cheap. Get a used cabinet, little bit of supplies, and I'm done."

In actuality I spent around $450.00 on everything. Probably more, but we'll leave it at that. The cabinet itself was $100.00 and the remaining went to supplies - 8 bottles of silicone, 6 bottles of foam, 1 gallon of high end outdoor paint/primer, birch wood for reinforcing, coconut fiber/ moss, ghost wood (effing expensive), stainless hardware, aluminum screening, Tilandsia air plants, and whatever else I'm forgetting.

I'm transferring over my MistKing, Powersun Lamp/Bulb, and an artificial vine from my old setup today. Last thing to pick up is a 30" T5 Hood and a 6500k bulb to help the plants.

The foliage cover is kind of sparse since those are day old spliced/planted Pothos, so I'm hoping it fills in, otherwise I might have to rethink my approach.
Haha yea,I had the same thought,then about $300+ later I had a presentable chameleon enclosure lol.
Yours looks really really well done.
You should look at light your reptiles for a t5,Todd is awesome and will give you a great product with great customer care.
 
Haha yea,I had the same thought,then about $300+ later I had a presentable chameleon enclosure lol.
Yours looks really really well done.
You should look at light your reptiles for a t5,Todd is awesome and will give you a great product with great customer care.

Thanks. It was a lot of work, but I think it paid off. Considering I started with a cheap particle board/laminate cabinet, I wanted to take every measure to make sure it would last through the years. Hence the outdoor paint, stainless hardware, reinforcing, etc. We'll see how time treats it.

I found a 30" Zoomed Hood at a local vet shop for $50.00, and the T5 6500K bulb for around $9.00 which is comparable to online - give or take. I'll check out his website and if he beats it then I'll definitely go that route.
 
Here is a few photos of the cage setup and introducing him to it. Threw a few vines in and put up my previous Powersun, so I think it'll have great lighting once the plant light is up - not to mention get the Pothos growing faster to really fill in the sparse areas. He seemed a bit overwhelmed at first.

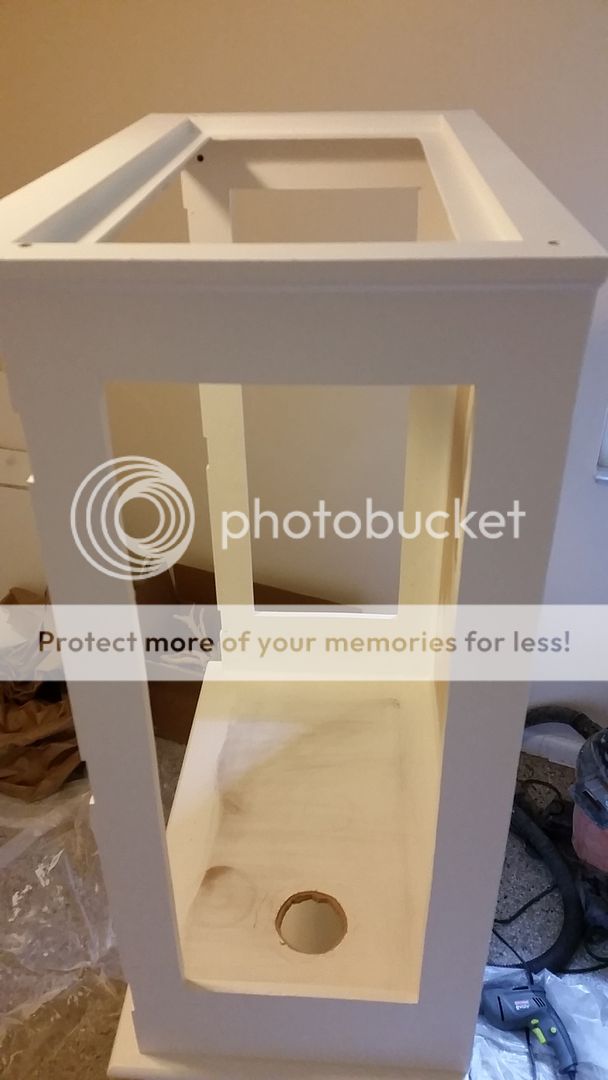
Still need to drill a hole in the rear lower cabinet for the MistKing setup and create some type of Z bracket for the nozzle up top to avoid putting the nozzle through the screen on this setup.


This looks really, really good! I have been trying to decide on a way to seal my armoire better than just the Thompsons Deck sealer that I used and all I could think of to protect the wood from water was Plexiglas sheets lining the interior. I like your approach waaaaay better! Thanks for sharing, looks great!
 
Wow, I'm so impressed with all the nice enclosures I've seen lately. I'd love to know how poo pick up goes. I wonder if you could clear coat the whole bottom. That way you could see everything but wiping up poo would be a snap. Really beautiful work?
 
This looks really, really good! I have been trying to decide on a way to seal my armoire better than just the Thompsons Deck sealer that I used and all I could think of to protect the wood from water was Plexiglas sheets lining the interior. I like your approach waaaaay better! Thanks for sharing, looks great!

Just be sure you use a paint/primer mix for outdoor use. The outdoor paint stands up against the elements a LOT stronger. I went with Valspar Duramax 365 since it's mold/mildew/algae resistant. Just be sure it airs out a lot. I even picked up a Polycrylic sealer, but after I saw how well the paint set I didn't even use it. If you're painting laminate, make sure you sand down the surface lightly with 400grit and don't go down to the press board, otherwise the paint won't stick. For any gaps where the furniture met I used clear GE2 silicone and painted over it.
 
Wow, I'm so impressed with all the nice enclosures I've seen lately. I'd love to know how poo pick up goes. I wonder if you could clear coat the whole bottom. That way you could see everything but wiping up poo would be a snap. Really beautiful work?

Thanks! He's an 8 month old Ambilobe. The Herp shop I got him from said Yellow Bar, which I've never heard of, so I assume he's a Blue Bar.

For the poo, I had an issue in my Reptibreeze with it staining the plastic bottom. In this case I ended up using a vinyl sheet with a jungle floor image to help hide any staining. And as for the cleanup goes, the enclosure is designed to take water abuse, so I will just spray down the leaves/vines/floor and let it all drain through the funnel and into the 5 gallon bucket below. My original plan was the use a utility sink and cut the depth down to the base, but $50 on a floor wasn't justified. Instead I just used silicone to seal everything and made my own slope.
 
Thanks! He's an 8 month old Ambilobe. The Herp shop I got him from said Yellow Bar, which I've never heard of, so I assume he's a Blue Bar.

For the poo, I had an issue in my Reptibreeze with it staining the plastic bottom. In this case I ended up using a vinyl sheet with a jungle floor image to help hide any staining. And as for the cleanup goes, the enclosure it design to take water abuse, so I will just spray down the leaves/vines/floor and let it all drain through the funnel and into the 5 gallon bucket below. My original plan was the use a utility sink and cut the depth down to the base, but $50 on a floor wasn't justified. Instead I just used silicone to seal everything and made my own slope.

That's pretty much what I did,sloped the floor to help drain it out and I roll mine over to the kitchen sink and use the spray nozzle to rinse it down the drain
 
Back
Top Bottom